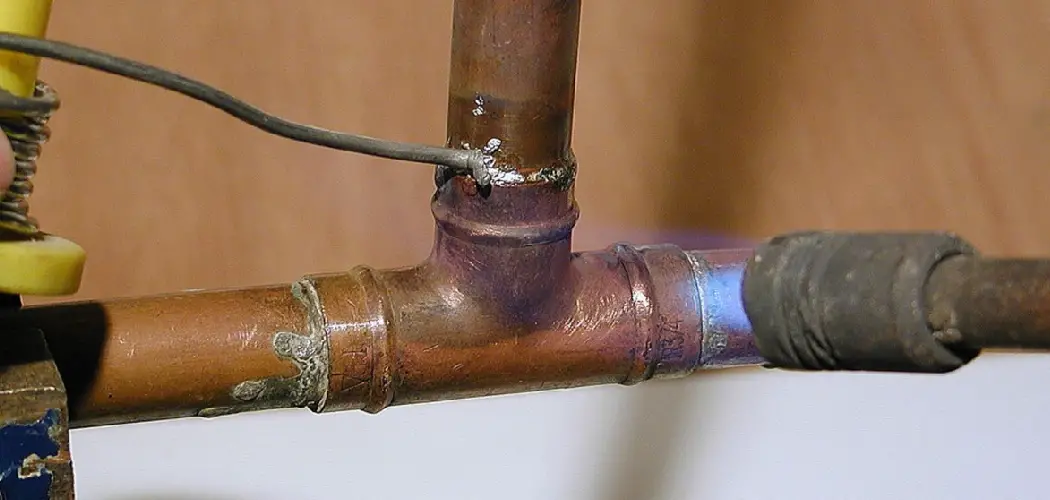
When working on plumbing projects, one common challenge is dealing with old solder on copper pipes. Whether you’re making repairs or modifications, removing old solder is a crucial step to ensure secure and leak-free connections. In this comprehensive guide, we will take you through the process of how to remove old solder from copper pipe.
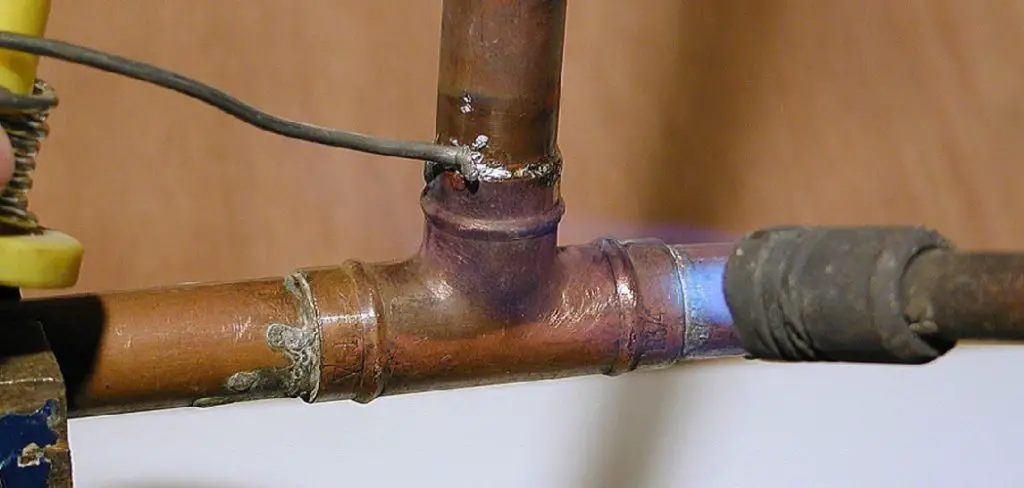
We will cover the necessary tools, techniques, and safety precautions required for this task. Whether you’re a seasoned DIY enthusiast or a novice plumber, understanding how to remove old solder is essential. This knowledge will empower you to repurpose or replace copper pipes, saving you time and money on plumbing projects. By the end of this article, you’ll be well-equipped to tackle the removal of old solder from copper pipes confidently and efficiently, ensuring the success of your plumbing endeavors.
Reasons for Reworking or Repairing Copper Pipe Joints
Copper pipes have been used for centuries as a reliable and durable material for plumbing systems. However, over time, these pipes may develop leaks or start to corrode, causing issues with the system’s efficiency and functionality. In such cases, it becomes necessary to repair or replace the affected sections of copper pipe.
One common cause of problems with copper pipe joints is old solder that has become brittle and cracked over time. Solder is a metal alloy used to join two pieces of copper pipe together by creating a watertight seal between them. While solder is typically long-lasting, exposure to extreme temperatures and aging can weaken its bond, leading to leaks in the joint.
Moreover, when copper pipes are initially installed, excess solder may be applied around the joint, causing bulges or unevenness. This can result in misaligned fittings or even blockages within the pipe, which can affect the flow and pressure of water through the system.
Another factor that may require reworking or repairing copper pipe joints is incorrect installation techniques. Soldering is a skill that requires precision and attention to detail, as any gaps or defects during application can cause leaks in the future. Inexperienced or careless technicians may make mistakes when soldering, leading to weak joints that need to be fixed.
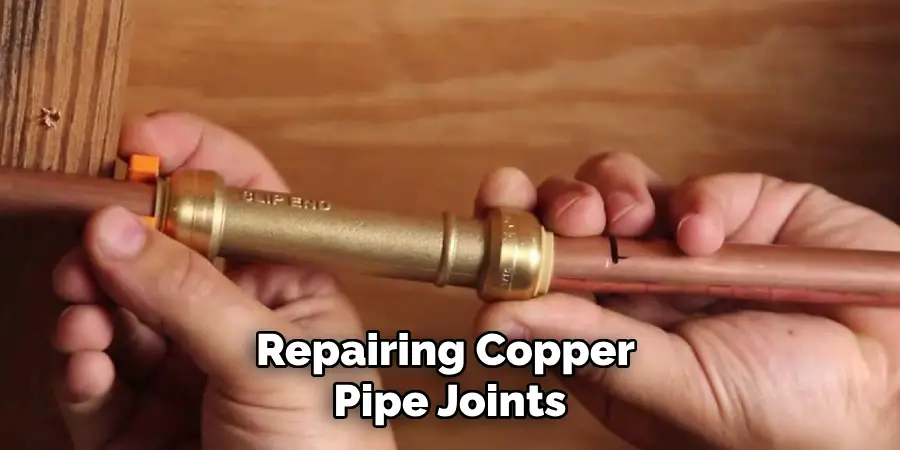
Additionally, changes in water chemistry can also contribute to the degradation of soldered copper pipe joints. Water with high acidity levels can cause corrosion and deterioration of solder over time. This issue is particularly prevalent in areas with hard water, which contains high levels of minerals that can wear down the solder’s integrity.
10 Methods How to Remove Old Solder from Copper Pipe
1. Mechanical Sanding
Mechanical sanding is a great way to remove old solder from copper pipes. This method involves using a hand-held rotary tool with a sanding attachment to grind down the solder. The process is relatively quick and easy and requires minimal effort. It’s important to use caution when sanding as you don’t want to damage the copper pipe in the process.
2. Chemical Stripping
Chemical stripping is another effective method for removing old solder from copper pipes. This method involves using a chemical stripper, such as an acid or alkaline solution, to dissolve the solder.
Chemical strippers are available in both liquid and gel forms and can be applied directly to the affected area with a brush or cloth. It’s important to wear protective gear when using chemical strippers, as they can be hazardous if inhaled or ingested.
3. Heat Gun
A heat gun is another tool that can be used to remove old solder from copper pipes. This method involves heating up the affected area with a heat gun until the solder melts away from the pipe surface.
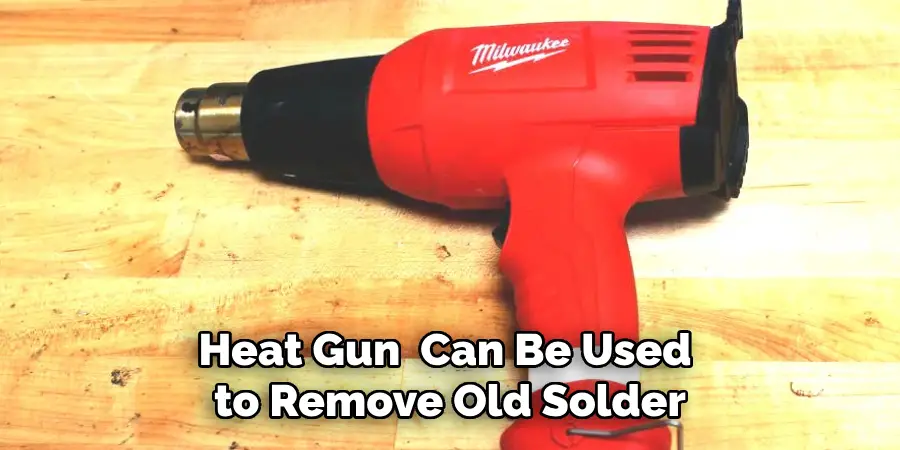
Heat guns are available in both electric and gas models and can be used on small areas as well as large ones depending on your needs. It’s important to use caution when working with heat guns as they can cause serious burns if not handled properly.
4. Solder Sucker
A solder sucker is one of the most popular tools for removing old solder from copper pipes, especially in tight spots where other methods may not work as well. This device uses suction to pull melted solder away from the pipe surface, making it easier to remove without damaging the pipe itself.
Solder suckers are relatively inexpensive and easy to use, making them a great option for DIYers who don’t have access to more expensive tools or techniques.
5. Flux Remover
Flux removers are specially formulated chemicals that can be used to remove old flux residue from copper pipes after soldering has been completed. These products are designed specifically for this purpose and will help ensure that all of the old flux residues is removed before any new soldering takes place, which helps prevent future problems with corrosion or leaks due to poor connection points between two pieces of metal caused by leftover flux residue on either side of the joint being soldered together.
6. Wire Brush
A wire brush is another simple tool that can be used for removing old solder from copper pipes in tight spots where other methods may not work as well due to its small size and shape that allows it access into tight spaces around fittings or valves where larger tools cannot reach easily without causing damage to surrounding surfaces or components.
The wire brush should only be used on sections of pipe that do not contain any fragile components such as O-rings or seals since these could easily get damaged during cleaning. Additionally, care should always be taken when using wire brushes since their sharp bristles could cause injury if mishandled.
7. Sandpaper
Sandpaper can also be used for removing old solder from copper pipes although it should only be used on sections of pipe that do not contain any fragile components such as O-rings or seals since these could easily get damaged during cleaning.
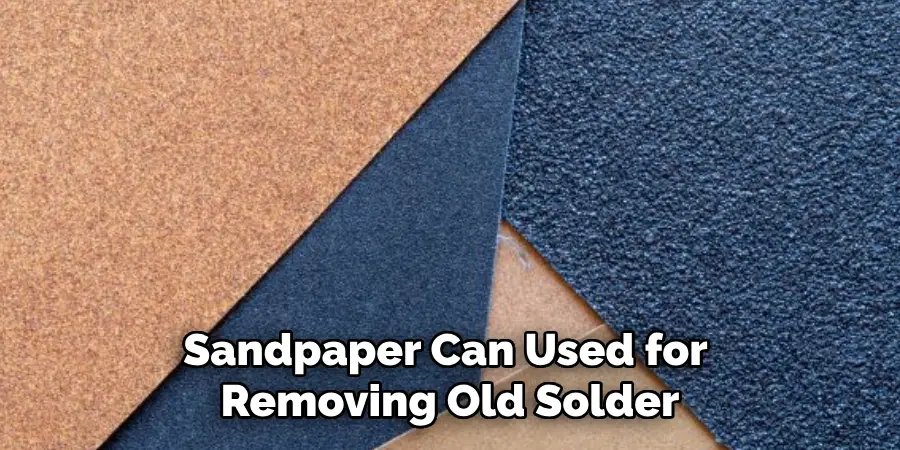
Additionally, care should always be taken when using sandpaper since its abrasive nature could cause injury if mishandled. When using sandpaper, start off with a medium grit paper, then move up gradually until you achieve your desired result. Once finished, make sure you clean off any remaining particles with some rubbing alcohol before reassembling your plumbing fixtures.
8. Plumbers Putty
Plumbers putty is another common material used by plumbers for various tasks, including sealing joints between two pieces of metal such as those found on copper piping systems. Plumbers putty works by forming an airtight seal between two surfaces which prevents water leakage while also allowing for easy removal should repairs need to take place at some point down the line.
To use plumbers’ putty for removing excess solder from copper piping systems, simply apply some putty onto a clean rag, then gently rub it over the affected area until all traces of excess solder have been removed. Be sure not to apply too much pressure while doing this so you don’t accidentally scratch or damage your plumbing fixtures in any way.
9. Soldering Iron
Using a soldering iron is one of the more advanced methods for removing excess solder from copper piping systems but it requires skill and patience in order to achieve good results without damaging your plumbing fixtures. To use this method, first turn off all power sources connected to your plumbing system, then begin by heating up each section of pipe individually until all traces of excess solder have been completely melted away.

Be sure to move your soldering iron in a circular motion around the affected area so you don’t accidentally create any hot spots which could cause damage to nearby components or surfaces. Once finished, allow time for the pipe to cool off before reassembling your plumbing fixtures.
10. Professional Assistance
If all else fails or if you simply don’t feel comfortable attempting to remove old solder from copper pipes on your own, it’s always best to seek professional assistance. Plumbers and other professionals have access to specialized tools and techniques that can effectively remove old solder without causing damage to your plumbing system. It may cost more upfront compared to DIY methods, but it will save you time, and effort, and potentially costly mistakes in the long run.
Things to Consider When Removing Old Solder from Copper Pipe
When it comes to removing old solder from copper pipe, there are a few things that you should keep in mind to ensure a successful and safe process. Here are some important factors to consider before you begin:
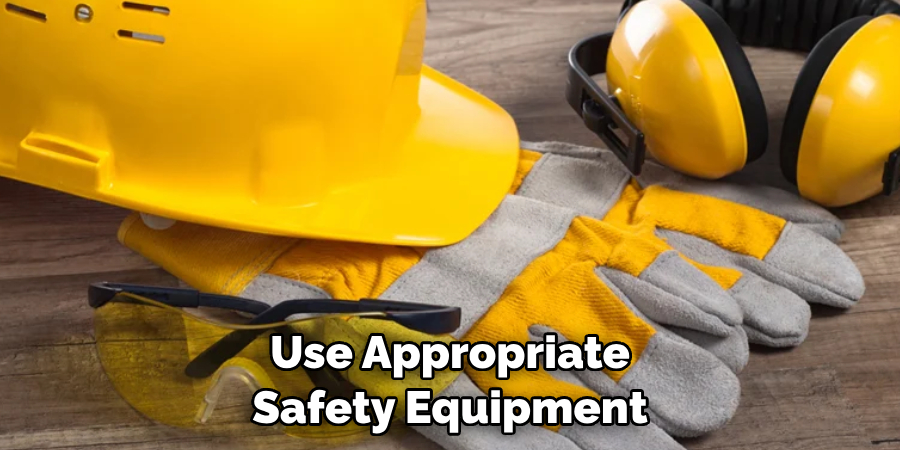
- Safety first: Before you start working with any type of solder or flux, make sure you have the necessary safety equipment such as gloves, goggles, and a well-ventilated area. Solder can contain harmful chemicals and fumes, so it’s important to protect yourself.
- Identify the type of solder: There are different types of solder used for copper pipes, including lead-based and lead-free solders. It’s important to know which type was used on your pipes as this will affect the removal process.
- Use the right tools: In order to effectively remove old solder, you will need a few tools such as a soldering iron, flux remover, and copper pipe cutter. Make sure you have these on hand before you begin.
- Clean the pipe: Before attempting to remove any old solder, it’s important to clean the surface of the copper pipe. This will help ensure better adhesion for new solder later on.
- Heat up the old solder: Using a soldering iron, heat up the area where the old solder is located. This will make it easier to remove as it becomes more pliable.
Conclusion
Overall, removing solder from a copper pipe takes a lot of patience and skill. Using the methods listed above will help ensure that you remove all of the solder without damaging the pipe below it or getting any harmful substances into your home. If you find yourself out of your league, don’t be afraid to call a professional for assistance. It may cost you extra money, but it could make all the difference in preserving and improving the overall condition of your plumbing system and pipes.
If you do decide to take on this project, be sure to follow every step with care as you work your way through it. Have quality tools on hand to help the process move along more quickly. Taking these steps helps guarantee a successful solder removal so that you can confidently complete projects related to how to remove old solder from copper pipe.

