The purpose of this article is to provide a practical guide on how to remove p-trap without wrench, catering to those who may lack specific plumbing tools.
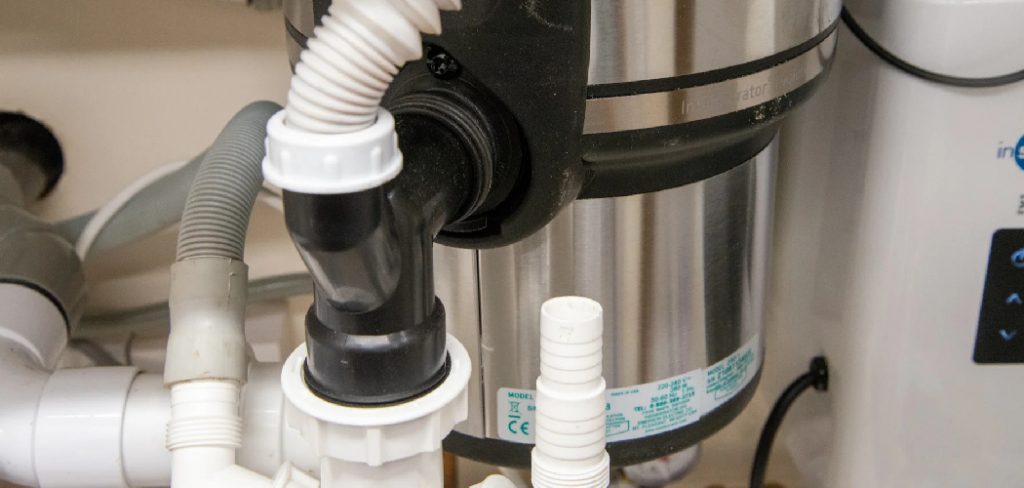
A P-trap is a U-shaped pipe situated beneath the sink that serves an essential function: it prevents harmful sewer gases from entering your home while trapping debris that could lead to clogs in your drainage system.
In this guide, we will explore alternative methods and tools that can simplify the process of removing the P-trap, ensuring that anyone can confidently undertake this task, even without a wrench. Following the outlined steps, readers can effectively manage their plumbing needs, promoting maintenance and cleanliness in their sink systems.
Why You Might Need to Remove a P-Trap
Removing a P-trap can be necessary for various reasons, primarily related to maintaining a clear and functioning drainage system. One common reason is addressing a clogged drain. Over time, hair, grease, soap scum, and food particles can accumulate in the P-trap, leading to blockages that prevent proper water flow. In such cases, detaching the P-trap allows for the safe removal of these obstructions, restoring optimal drainage.
Another reason for removing the P-trap is routine maintenance or cleaning. Regularly cleaning the P-trap is essential to plumbing upkeep, as it can significantly reduce the likelihood of future clogs. By periodically checking and clearing out the P-trap, homeowners can ensure a smooth operation of their drainage systems, preventing the inconveniences and potential damages that come with plumbing issues. Regular maintenance extends the life of plumbing fixtures and enhances overall hygiene in the household.
Tools and Materials You’ll Need
Before you begin the process of removing the P-trap without a wrench, gather the following tools and materials to ensure a smooth operation:
- Rubber Gloves: These gloves will protect your hands from dirty water and debris trapped in the P-trap and provide a better grip.
- Bucket or Bowl: Place this beneath the P-trap to catch any water that may spill when removing it, preventing a mess in your workspace.
- Towel or Rags: Keep these handy for wiping up spills or debris during the process, ensuring
- Pliers (Optional): If you encounter particularly tight slip nuts, having a pair of needle-nose pliers on hand can help you loosen them without damaging the components or requiring additional tools.
Having these items ready will streamline the removal process and help you confidently tackle the task.
Preparing to Remove the P-Trap
Turn Off the Water Supply
While it’s not always necessary to turn off the water supply when removing a P-trap, it’s a good precaution. This simple step helps prevent any unexpected water flow while you’re working, ensuring that you can focus on the task without worrying about potential spills or messes during the removal process.
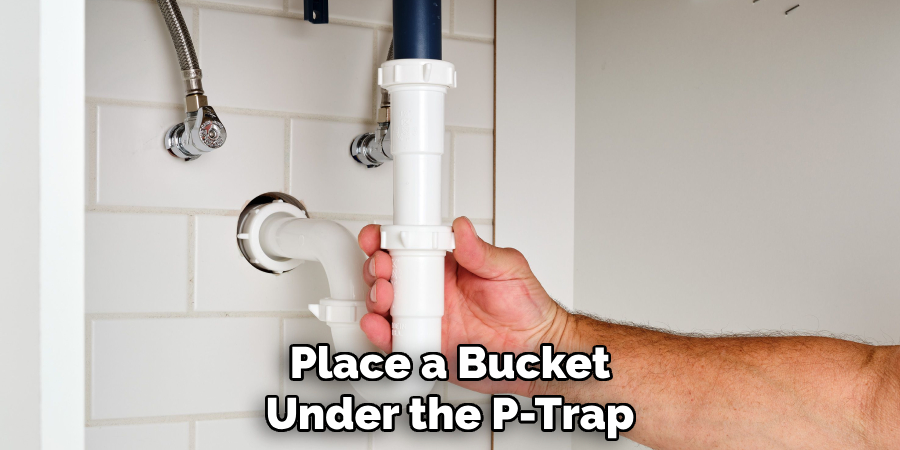
Place a Bucket Under the P-Trap
Position a bucket or bowl directly underneath the P-trap. This will catch any water that may be sitting in the pipe when you remove it, minimizing the chances of water spilling onto your floor and creating a mess. Having this in place will make the removal process much more manageable.
Protect the Area
To further safeguard your workspace, lay down towels or rags around the area where you’ll be working. This will absorb any spills and provide an extra layer of protection for your floor, making cleanup easier and helping to maintain a tidy environment as you work on the plumbing.
How to Remove P-Trap Without Wrench: Step-by-Step Guide
Step 1: Loosen the Slip Nuts by Hand
Begin by locating the slip nuts on the P-trap, typically found at both ends—one connecting the trap to the drain and the other to the wall pipe. Firmly grasp the slip nuts and twist them counterclockwise to loosen them. Many P-traps are made from plastic, so they often don’t require excessive force—simple hand pressure should suffice.
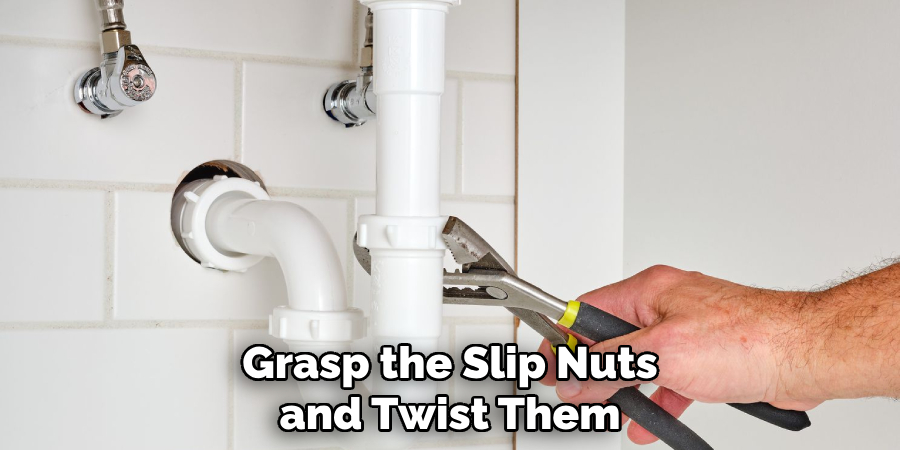
If the slip nuts are too tight to loosen comfortably, consider using a damp cloth for better grip or rubber gloves to enhance friction. These simple adjustments can make all the difference in managing stubborn nuts and help you feel more confident tackling this DIY plumbing task.
Step 2: Detach the P-Trap
Once the slip nuts are sufficiently loose, gently pull the P-trap away from both the drainpipe and the wall pipe. Be cautious during this step to avoid damaging any components. As you remove the trap, direct any residual water into the bucket or bowl underneath to prevent spills. After draining the water, take a moment to inspect the P-trap for any clogs or debris that may have accumulated over time.
If you notice a buildup, cleaning it out can be an excellent opportunity to ensure the proper functioning of your drainage system. Use a small brush or a wire to effectively remove any lodged debris. This maintenance will help prevent future clogs and ensure that your plumbing remains in good working condition.
Step 3: Troubleshooting Tight Slip Nuts
If you encounter slip nuts that are too tight to loosen by hand, don’t worry; there are alternative solutions to consider. Using needle-nose pliers or another tool with a narrow grip can help in gently twisting the slip nuts. However, exercise caution to avoid overtightening or stripping the threads, as this can complicate reassembly. For metal P-traps, applying heat can also assist in loosening tight slip nuts.
You can use a hair dryer to gently warm the metal, causing it to expand slightly, which may loosen the nuts more easily. This simple method can save you time and frustration while working on your plumbing. Always ensure that you are working with care and precision to avoid damaging any components, reinforcing your ability to maintain your plumbing effectively.
Inspecting and Cleaning the P-Trap
Check for Clogs
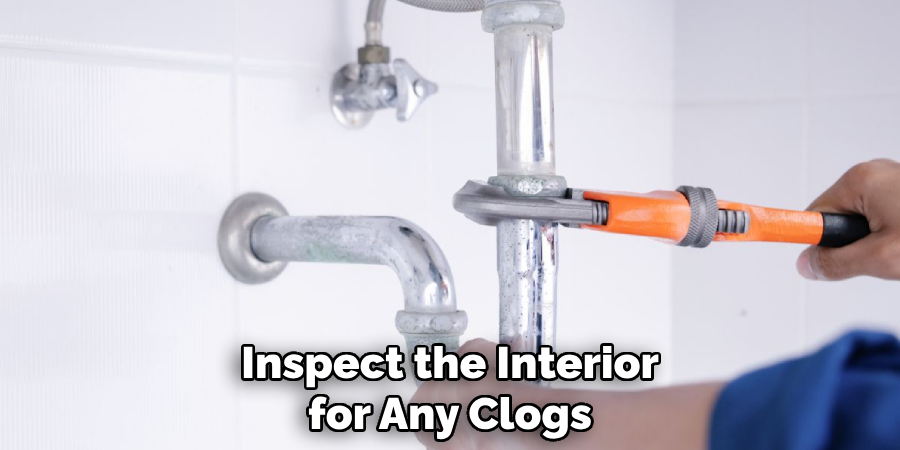
After detaching the P-trap, carefully inspect the interior for any clogs or obstructions. Common culprits include hair, food particles, and grease buildup, all of which can impede water flow. To remove these blockages, use your fingers or a small tool to dislodge any visible debris. A wire hanger or a plumbing snake can be effective for tougher buildups. Ensure you check both ends of the trap, as clogs may also accumulate near the connections.
Clean the Trap Thoroughly
To thoroughly clean the P-trap, soak it in warm, soapy water for about 15-30 minutes to help loosen any stubborn grime. After soaking, use a brush or an old toothbrush to scrub the interior surfaces, paying special attention to crevices where buildup may linger. Rinse the trap under warm water to remove any remaining soap and debris, ensuring that it is completely clean before reinstallation. This routine cleaning will help maintain optimal drainage performance.
Reassembling the P-Trap
Reattach the P-Trap
With the P-trap cleaned and inspected, position it back onto the drainpipe and wall pipe. Ensure that both ends align properly, creating a snug fit to avoid any future leaks. Carefully slide the trap onto the pipes until it is securely in place, ensuring that the trap curve is oriented downwards to facilitate proper drainage.
Hand-tighten the Slip Nuts
Once the P-trap is positioned correctly, proceed to hand-tighten the slip nuts. Grasp each nut and twist them clockwise until they are secure, ensuring they are snug without over-tightening. Over-tightening can cause damage to the threads or the P-trap itself, leading to leaks. After tightening, running water through the system and checking for any leaks around the connections is essential. If you notice any dripping, simply tighten the slip nuts a little more until the connection is secure.
Frequently Asked Questions (FAQs)
1. What Tools Do I Need to Remove a P-Trap without A Wrench?
You can remove a P-trap without a wrench using your hands to loosen the slip nuts. Additionally, having rubber gloves or a damp cloth can provide better grip. For stubborn nuts, needle-nose pliers or similar tools may be helpful but proceed with caution to avoid damage.
2. How Often Should I Clean My P-Trap?
It’s advisable to inspect and clean your P-trap at least once a year or more frequently if you notice slow drainage or unpleasant odors. Routine maintenance can help prevent clogs and ensure the efficient functioning of your plumbing system.
3. What Should I Do if I Find a Clog in The P-Trap?
If you encounter a clog while inspecting your P-trap, use your fingers, a wire hanger, or a plumbing snake to remove the debris. If the blockage persists, consider soaking the trap in warm, soapy water and scrubbing it to dislodge any stubborn buildup.
Conclusion
In summary, knowing how to remove p-trap without wrench can empower homeowners to tackle plumbing issues effectively. The process begins with loosening the slip nuts by hand, then detaching the P-trap while directing residual water into a bucket. Once removed, inspecting and thoroughly cleaning the trap to eliminate any clogs is crucial, ensuring optimal function.
After cleaning, carefully reattach the P-trap and hand-tighten the slip nuts, checking for leaks afterward. Regular maintenance of your plumbing components is essential to prevent potential issues, as a proactive approach can save time and frustration in the long run. If you don’t have a wrench handy, don’t hesitate to try this DIY method—your confidence in maintaining your plumbing system will only grow with practice!
