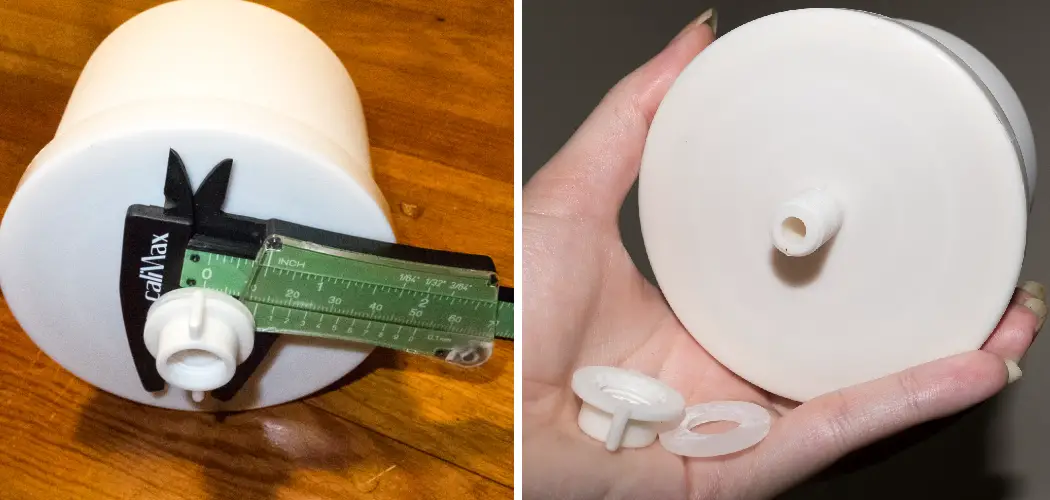
Removing a plastic nut from a toilet tank may seem like a daunting task, but with the right tools and a bit of guidance, it can be accomplished with ease. This process is often necessary when replacing a worn out flush valve or making repairs to the tank’s components.
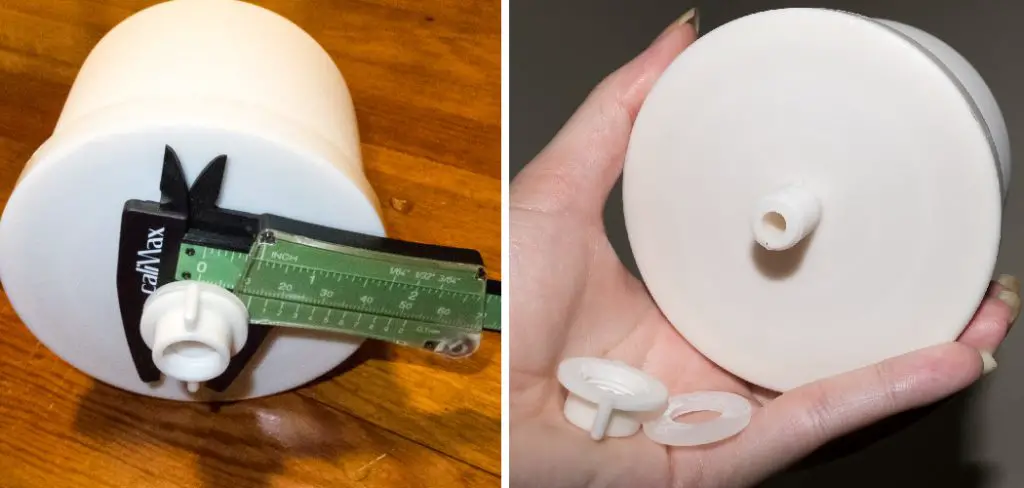
In this guide, we will walk you through the steps on how to remove plastic nut from toilet tank needed to safely and effectively remove the plastic nut, ensuring your toilet is back in proper working order in no time.
Whether you’re a DIY enthusiast or a novice, these instructions will provide you with the confidence needed to tackle this project.
What is a Plastic Nut?
A plastic nut is a fastener typically used in plumbing fixtures, particularly in toilet tanks, to secure various components like the flush valve or the fill valve. Unlike metal nuts, which can corrode over time, plastic nuts are resistant to rust and corrosion, making them ideal for use in wet environments.
They are usually lightweight and easy to handle, allowing for straightforward installation and removal. However, due to their material, plastic nuts can sometimes become brittle with age or excessive exposure to cleaning chemicals, making it essential to handle them carefully during repairs or replacements.

Why Do You Need to Remove a Plastic Nut?
There are several reasons why you may need to remove a plastic nut from your toilet tank. The most common reason is when replacing the flush valve or fill valve, as mentioned earlier. In some cases, the nut may have become damaged or worn out and needs to be replaced for proper functioning of the toilet.
Another reason could be that the toilet was not installed correctly, and the nut is preventing secure attachment of components, leading to leaks or other issues. Whatever the reason may be, removing a plastic nut from a toilet tank is necessary for maintaining optimal performance and functionality.
Tools Needed
Adjustable Wrench
An adjustable wrench is a must-have tool for removing plastic nuts from toilet tanks. It has an adjustable jaw, allowing it to fit different sized nuts and bolts. This versatility makes it a valuable tool in any DIYer’s toolbox.
Pliers
Pliers are another essential tool for this task. They have a firm grip that can hold onto the nut while you loosen it with the wrench.
Penetrating Oil
If your plastic nut has become stuck or difficult to remove, using a penetrating oil can help loosen it up and make removal easier.
8 Step by Step Guides on How to Remove Plastic Nut From Toilet Tank
Step 1: Turn Off Water Supply
Before starting any work on your toilet tank, it’s crucial to turn off the water supply to prevent any leaks or overflow during the process. Locate the shut-off valve, usually positioned on the wall behind the toilet.
Turn the valve clockwise until it stops to ensure the water flow is completely cut off. Once the water supply is turned off, flush the toilet to drain the tank, which will reduce the chances of spillage when you begin to remove the plastic nut. This step sets the foundation for a safe and effective repair.
Step 2: Remove the Tank Lid
Once the water supply is turned off and the tank is drained, the next step is to remove the tank lid. Start by gently lifting the lid off the tank, being cautious not to drop it as it is typically made of ceramic and can break easily. Set the lid aside in a safe place to avoid any accidents.
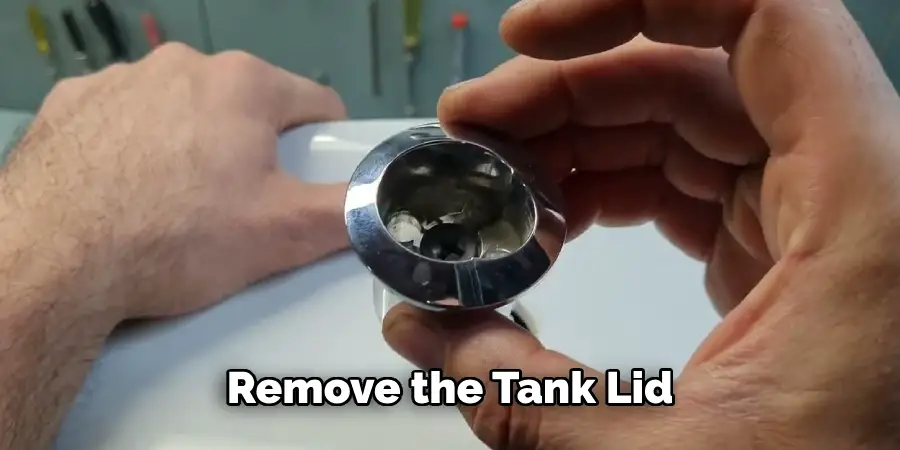
With the lid removed, you will have clear access to the internal components of the toilet tank, including the plastic nut that you need to remove. Make sure to inspect the interior for any additional issues that may need addressing while you’re working.
Step 3: Locate the Plastic Nut
With the tank lid removed, the next step is to locate the plastic nut. Depending on the configuration of your toilet, the plastic nut is typically situated at the base of the flush valve or fill valve. It appears as a circular, threaded component fastening the valve to the tank. Carefully examine the area around these valves to identify the nut.
If necessary, use a flashlight to illuminate any dark spots inside the tank for better visibility. Ensure that you can clearly see the plastic nut before proceeding to the next step, as this will facilitate easy access during removal.
Step 4: Secure the Flush Valve or Fill Valve
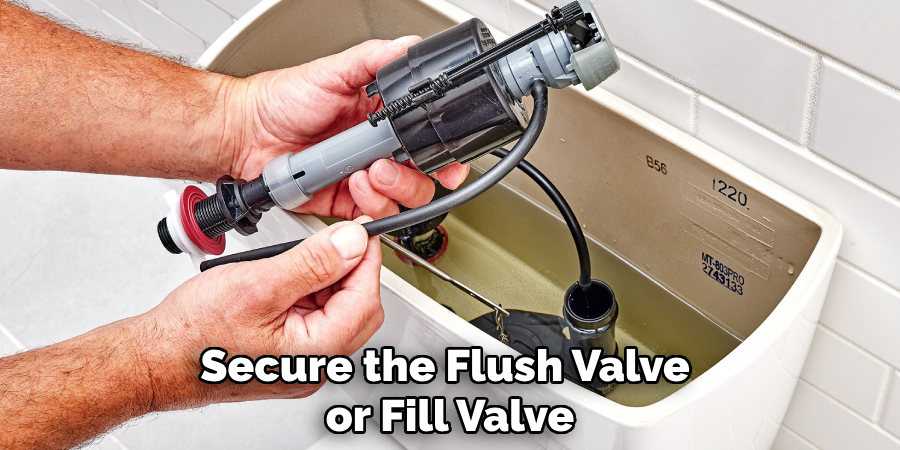
To remove the plastic nut, you will need to secure either the flush valve or the fill valve, depending on which one it is attached to. Start by locating the valve that has the plastic nut attached to it and hold onto it firmly with your hand.
If needed, use pliers to provide a more secure grip on the valve while you work on loosening the nut. This step is crucial as it provides stability and prevents any damage to internal components while removing the nut.
Step 5: Loosen the Plastic Nut
With one hand firmly holding onto the flush or fill valve, use an adjustable wrench to turn the plastic nut counterclockwise. You may also use pliers for this step, depending on your preference and what provides a better grip.
Make sure to apply steady pressure while turning the nut to avoid any damage to the valve or tank. If you encounter resistance, stop immediately and re-evaluate your approach. You may need to apply penetrating oil at this point if the nut is stuck or difficult to remove.
Step 6: Remove the Plastic Nut
Once the nut has been loosened enough, it should come off easily with continued gentle turning. If it doesn’t, you may need to apply more pressure using the pliers or wrench while turning.
Be careful not to use excessive force as this can damage the valve or other components in the tank. As an alternative, you can also try tapping the nut lightly with a hammer to loosen it further before attempting to remove it again.
Step 7: Install New Plastic Nut
After successfully removing the old plastic nut, inspect its condition and make sure it needs replacement. If necessary, clean any residue from the threads of the valves before installing a new plastic nut. This step ensures a secure fit and prevents any leaks in the future.
To install the new plastic nut, simply thread it onto the valve in a clockwise direction. Use your hand to tighten it as much as possible, and then use the wrench or pliers for final adjustments. Remember not to over-tighten the nut as this can cause damage.
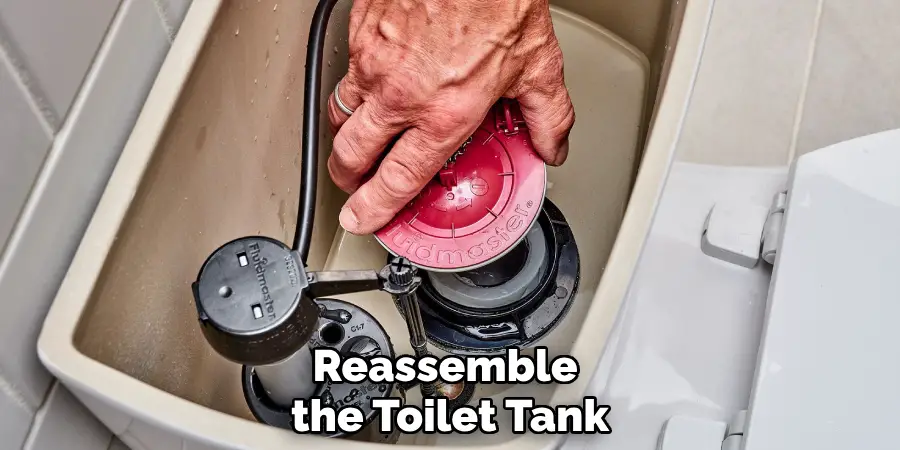
Step 8: Reassemble the Toilet Tank
With the new plastic nut installed, you can now reassemble the toilet tank by following these steps:
- Place the tank lid back on top of the tank and make sure it sits securely.
- Turn on the water supply and allow the tank to fill up with water.
- Once full, flush the toilet a few times to ensure there are no leaks or other issues.
- If everything appears normal, congratulations! You have successfully removed and replaced a plastic nut from your toilet tank.
Following these steps will make the process of removing a plastic nut from your toilet tank simple and efficient. Always remember to take necessary safety precautions, like turning off the water supply and using proper tools, to avoid any accidents or damage.
Additional Tips
- If you encounter resistance while trying to remove the plastic nut, do not use excessive force. Instead, try using penetrating oil or tapping the nut lightly with a hammer to loosen it.
- If you are unsure about any step in the process, consult a professional plumber for assistance.
- Regular maintenance and inspections of your toilet can prevent issues like stuck plastic nuts from occurring in the first place. Make sure to check for any signs of wear and tear and address them promptly.
By following these tips and steps on how to remove plastic nut from toilet tank, you can successfully remove a plastic nut from your toilet tank without any hassle or damage. Remember to take necessary precautions and always seek professional help if needed.
Frequently Asked Questions
Q: Can I Use Pliers to Remove the Plastic Nut?
A: Yes, you can use pliers or an adjustable wrench to loosen and remove the plastic nut. Make sure to use gentle and steady pressure to avoid any damage.
Q: Why is the Plastic Nut Stuck?
A: The plastic nut may be stuck due to corrosion or buildup on the threads. You can try using penetrating oil or tapping lightly with a hammer to loosen it before attempting to remove it again.
Q: How Often Should I Check My Toilet for Maintenance?
A: It is recommended to check your toilet for maintenance at least once a year, or more frequently if you notice any issues such as leaks or unusual sounds. Regular maintenance can prevent problems like stuck plastic nuts from occurring.
Conclusion
Removing a plastic nut from a toilet tank may seem like a daunting task, but with the right tools and following these step-by-step guides on how to remove plastic nut from toilet tank, it can be done easily and effectively.
Remember to always turn off the water supply before starting any work on your toilet tank and exercise caution throughout the process to avoid any damage or accidents. With proper maintenance, your toilet should function smoothly and efficiently for years to come.

