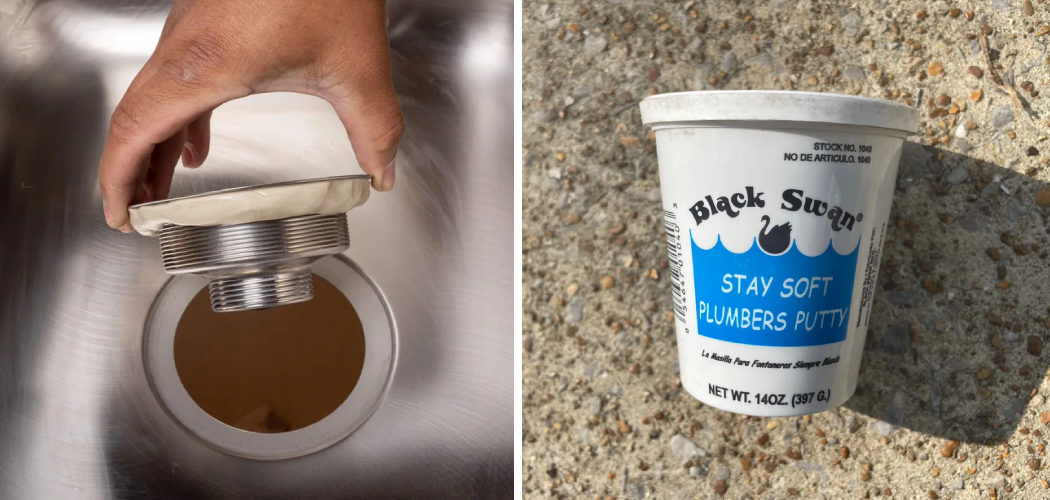
Removing plumber’s putty can be a necessary task when you’re working on plumbing repairs or renovations. Plumbers putty is commonly used to create watertight seals around fixtures and pipes, but when it’s time for adjustments or replacements, knowing how to remove it is essential.
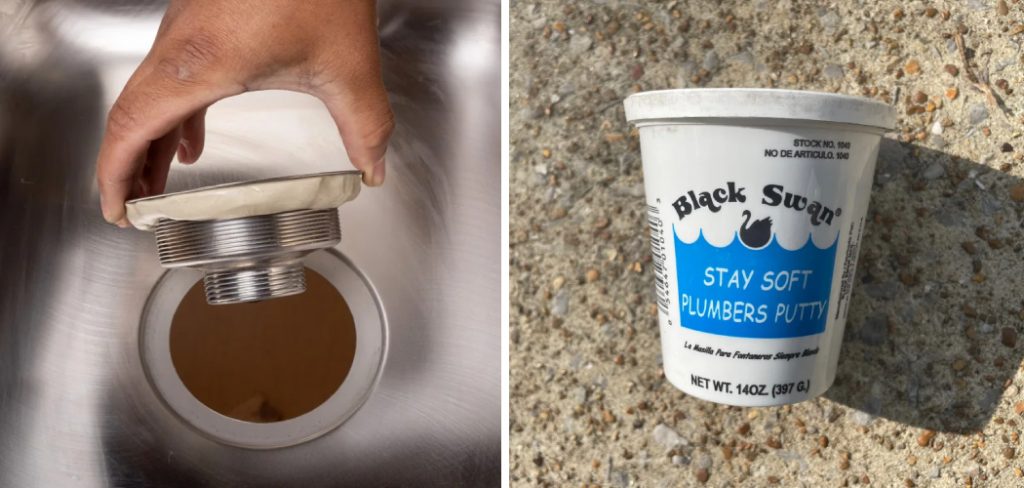
This article will guide you through various methods and techniques for effectively removing plumbers putty. Whether you prefer the simplicity of using your bare hands, a soapy water solution, or specific tools, each method is designed to help you clean up old putty and prepare the surface for new applications.
Additionally, understanding how to remove plumbers putty can save you time, prevent potential leaks, and ensure that your plumbing projects are successful. From DIY enthusiasts to professionals, mastering the art of putty removal is a valuable skill for anyone working with plumbing fixtures and fittings.
The Need for Removing Plumbers Putty
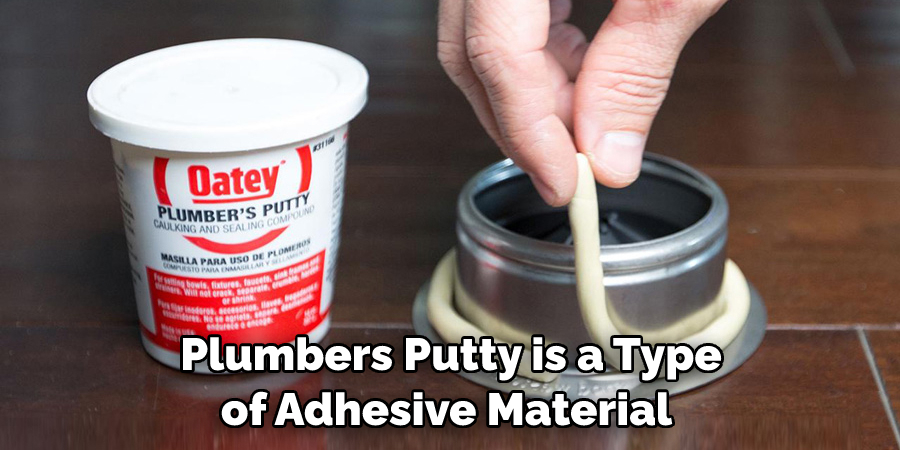
Plumbers putty is a type of adhesive material that is commonly used in plumbing projects. It is a soft, moldable substance that can be used to create watertight seals around pipes and fixtures. While it is an essential tool for any plumber, there may come a time when you need to remove the putty.
One common reason for removing plumbers putty is when you need to make repairs or replacements on plumbing fixtures. Plumbers putty can become hardened and difficult to remove over time, making it necessary to replace old putty with fresh putty.
Another reason for removing plumbers putty is if the seal has been compromised. If the putty has cracked or dried out, it can no longer effectively seal out water and may need to be removed and replaced.
In some cases, plumbers putty may also need to be removed if it is discolored or has an unpleasant odor. This can happen due to the growth of mold or mildew on the putty, which can occur in damp environments. Removing and replacing the putty is necessary not only for aesthetics but also for maintaining a clean and hygienic environment.
Lastly, it is important to note that plumbers putty should not be used on certain materials, such as marble or granite. If the putty has been mistakenly applied to these surfaces, it will need to be removed promptly to avoid causing damage.
10 Methods How to Remove Plumbers Putty
1. Using a Plastic Scraper
The most common way to remove plumbers’ putty is by using a plastic scraper. This method is simple and effective, as the plastic scraper can easily scrape off the putty without damaging the surface underneath. To use this method, start at one corner of the putty and gently scrape it away in small sections until all of the putty has been removed. Be sure to clean up any excess putty with a damp cloth after scraping.
2. Using Hot Water
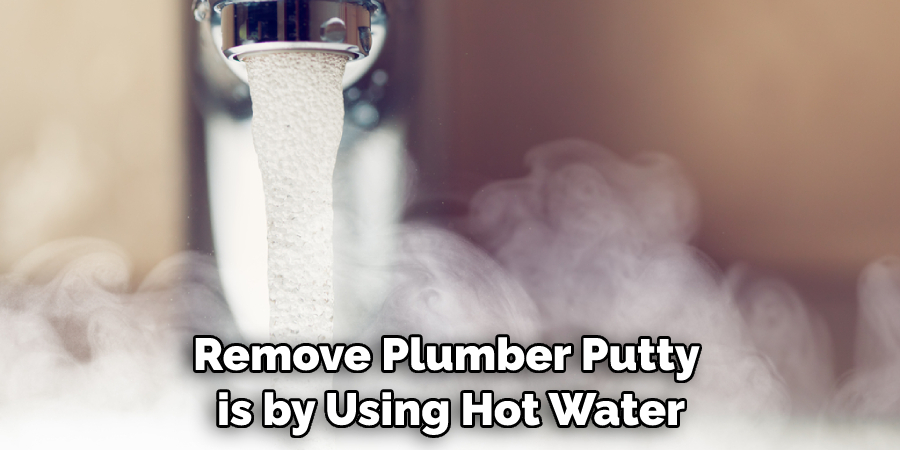
Another effective way to remove plumbers’ putty is by using hot water. The heat from the hot water helps to soften the putty, making it easier to scrape off with a plastic scraper or other tool. To use this method, fill a bucket with hot water and submerge the area where the plumber’s putty is located for several minutes before scraping it off with a plastic scraper or other tool.
3. Using Mineral Spirits
Mineral spirits are an effective solvent that can help to loosen and dissolve plumbers’ putty. To use this method, apply some mineral spirits directly onto the area where the plumber’s putty is located and let it sit for several minutes before scraping it off with a plastic scraper or other tool. Be sure to wear gloves when using mineral spirits, as they can be hazardous if not used properly.
4. Using Acetone
Acetone is another effective solvent that can help to loosen and dissolve plumbers’ putty. To use this method, apply some acetone directly onto the area where the plumber’s putty is located and let it sit for several minutes before scraping it off with a plastic scraper or other tool. Be sure to wear gloves when using acetone, as they can be hazardous if not used properly.
5. Using Paint Thinner
Paint thinner is an effective solvent that can help to loosen and dissolve plumbers’ putty as well as paint residue left behind from painting projects or other activities in your home or business space.
To use this method, apply some paint thinner directly onto the area where the plumber’s putty is located and let it sit for several minutes before scraping it off with a plastic scraper or other tool. Be sure to wear gloves when using paint thinner, as they can be hazardous if not used properly.
6. Using A Heat Gun
A heat gun can also be used to remove plumber’s putty from various surfaces around your home or business space. The heat generated by the heat gun helps to soften up hard-to-remove areas of plumber’s putty, making them easier to scrape away. To use this method, hold your heat gun over each section of hardened plumber’s putty until softened, then carefully scrape away with a plastic scraper or other tool.

7. Using A Putty Knife
A putty knife may also be used in place of a plastic scraper when removing stubborn areas of hardened plumber’s putty. The sharp blade on a quality metal blade allows you greater control over how much material you are removing at once, allowing you more precision than what could be achieved with just a standard plastic scraper alone.
8. Use an Electric Drill With Sandpaper Attachment
If you have an electric drill handy, you may also try attaching sandpaper attachment onto its bit end in order to sand away stubborn areas of hardened plumber’s putty. This process will require more time than simply scraping away but may prove useful in certain situations where more finesse is required than what could be achieved through just manual scraping alone.
9. Using A Chemical Stripper
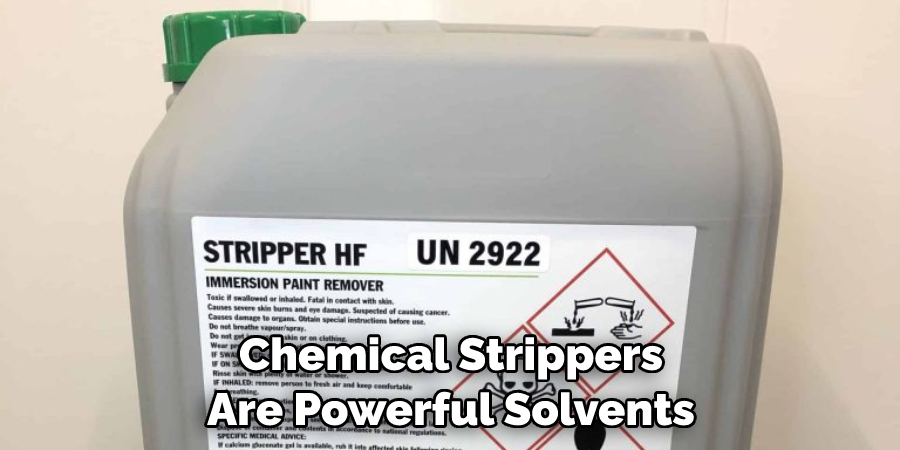
Chemical strippers are powerful solvents that work by dissolving stubborn areas of hardened materials such as paint, varnish, glue, sealants, etc. They may also prove useful in removing stubborn areas of hardened plumber’s putty. However, caution must always be taken when working with these powerful solvents as they may cause harm if not handled properly according to instructions provided by their manufacturer’s label instructions.
10. Using An Automotive Grade Solvent
Automotive grade solvents are strong chemicals designed specifically for removing grease, oil, dirt, grime, etc .. from automotive parts such as engines, transmissions, brake systems etc..However, they may also prove useful in removing stubborn areas of hardened plumber’s putty.
Nonetheless, as with any solvent-based product, caution must always be taken when working with these powerful solvents as they may cause harm if not handled properly according to instructions provided by their manufacturer’s label instructions.
Things to Consider When Remove Plumbers Putty
Plumbers putty is a type of adhesive used to create a watertight seal around pipes and other fixtures in plumbing applications. While it is a useful product, there may come a time when you need to remove it. This could be because you made a mistake during installation or repairs, or simply because the putty has become old and needs to be replaced.
Whatever the reason, there are a few things to consider before attempting to remove plumbers putty.
#1: Read the instructions
Before you begin removing plumbers putty, it is important to read and follow any instructions that may have come with the product. Different types of putty may have different removal methods, so it is always best to start by consulting the manufacturer’s recommendations.
#2: Gather necessary tools
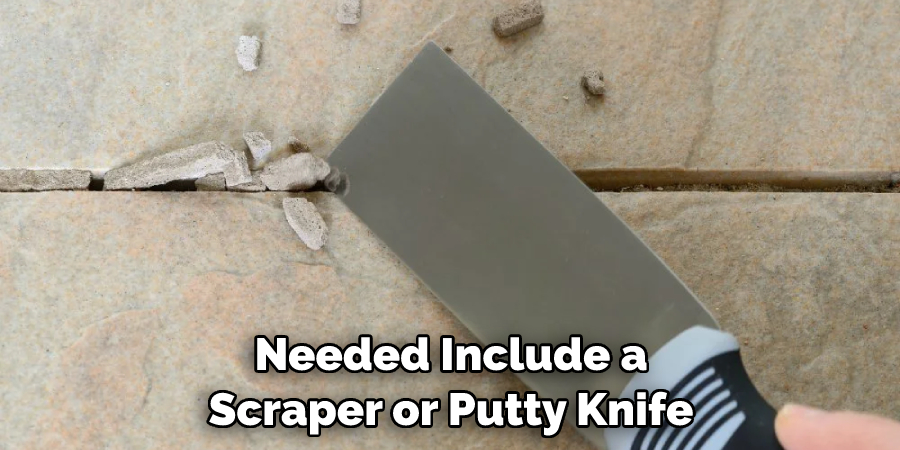
Removing plumbers putty may require some tools, depending on the type of putty and where it is applied. Some common tools that may be needed include a scraper or putty knife, pliers, and a cleaning solution.
#3: Protect surfaces
Plumbers putty can be messy to remove, so it is important to protect any surrounding surfaces. This can be done by covering them with a drop cloth or plastic sheeting.
#4: Consider the material
Before attempting to remove plumbers putty, it is important to consider the material that it is applied on. Different materials may require different removal methods in order to avoid damage. For example, metal pipes may be more resilient to scraping, while plastic fixtures may require a gentler approach.
Common Mistakes to Avoid When Removing Plumbers Putty
Plumbers putty is a useful tool for sealing and waterproofing joints in plumbing fixtures. However, over time, it can become dried out, cracked, or discolored, making it necessary to remove and replace it.
While removing plumbers’ putty may seem like a simple task, there are some common mistakes that people make that can lead to a messy and frustrating experience. In this guide, we will discuss some of these mistakes and how you can avoid them when removing plumbers’ putty.
Not letting the putty soften:
One of the biggest mistakes people make when removing plumbers’ putty is not allowing it enough time to soften. If the putty has been in place for a long time, it can become hard and difficult to remove.
Trying to force it off without softening it first can cause damage to the surface or fixture. To avoid this, make sure to let the putty soften by applying heat with a hairdryer or using a putty softener before attempting to remove it.
Using sharp tools:
Another common mistake is using sharp tools to remove plumbers’ putty. While it may seem like a good idea to scrape or pry off the putty with a knife or screwdriver, this can actually cause more harm than good.
Sharp tools can scratch and damage the surface of the fixture, making it difficult to get a clean seal when applying new putty. Instead, opt for non-abrasive tools like a plastic scraper or putty knife to gently remove the putty without causing any damage.
Not cleaning up properly:
After removing plumber putty, it’s important to thoroughly clean up any residue left behind. Leaving even small amounts of old putty can make it difficult for new putty to adhere properly and may lead to leaks in the future. Use a degreaser or rubbing alcohol to clean the surface before applying new putty.
Conclusion
Removing putty is an easy process, but it can give some people pause. Paying attention to the right instructions and tools is essential for successful putty removal. For those who attempt this process, it is important to remember that different projects such as sinks and seals will require different techniques.
Be sure to use the correct tools to prevent any potential damage or peril associated with its removal. Doing research on the specifics of your project will ensure a successful outcome when removing plumbers putty. Now that you have all the tips on how to remove plumbers putty, why not get started? With just a few tools and a dash of courage, you’ll soon have that pesky putty off in no time at all!
You Can Check It Out to Choose the Right Plumbing Pipe

