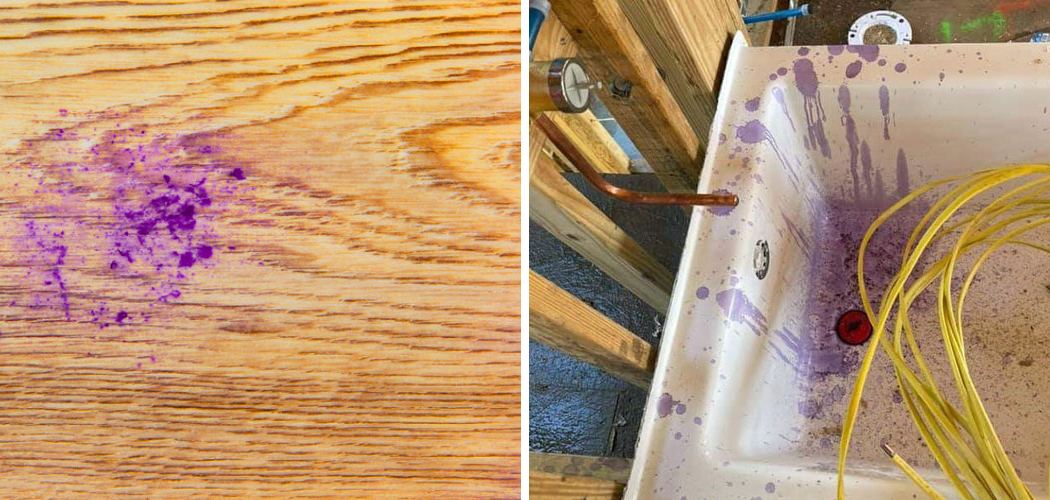
Are you tired of looking at the unsightly PVC primer stains on your walls or floors? Don’t worry, you’re not alone.
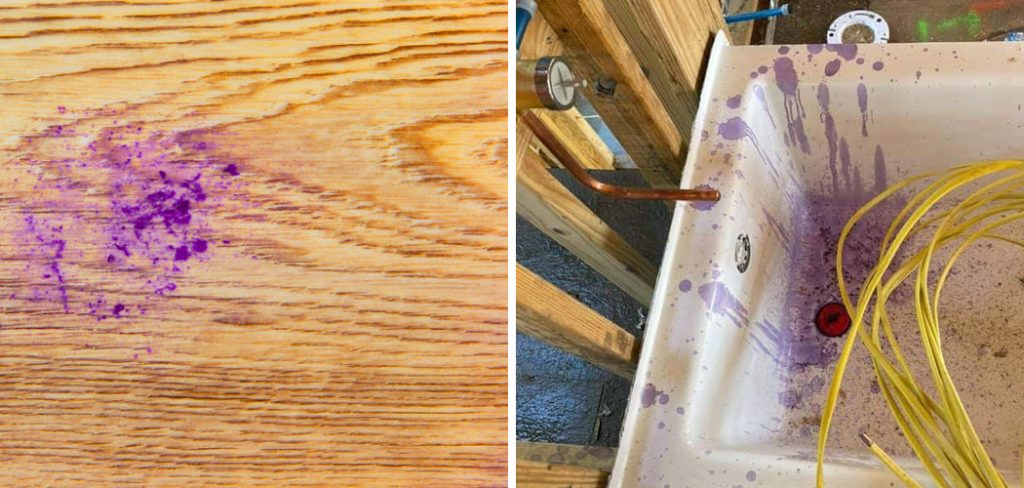
Removing PVC primer stains can be a challenging task, but with the right approach and tools, it’s entirely manageable. PVC primer is a strong chemical designed to prepare surfaces for bonding, which means it can leave stubborn stains on various materials, including skin, clothing, or floors. Knowing the proper techniques can save time and prevent surface damage, whether dealing with a fresh spill or an older stain.
This guide on how to remove PVC primer stain will provide you with step-by-step instructions and tips to remove PVC primer stains and restore the affected area effectively. Let’s get started!
What Are the Causes of PVC Primer Stains?
Before we dive into the removal process, let’s understand what causes PVC primer stains in the first place. As mentioned earlier, PVC primer is a strong chemical that prepares surfaces for bonding. When applied, it penetrates and creates a rough surface that improves the adhesion of adhesives or paints. However, this also means it can leave behind tough stains if not appropriately handled.
Some common causes of PVC primer stains include:
- Accidental spills during plumbing or DIY projects involving pipes
- Improper use or handling of primer
- Drips or splatters while painting around pipes or fittings
- Unintentional contact with a wet primer on skin or clothing
Knowing the causes of PVC primer stains can help you take preventive measures and avoid future accidents.
What Will You Need?
To successfully remove PVC primer stains, you’ll need the following items:
- Clean cloth or paper towels
- Warm water
- Mild detergent or soap
- White vinegar or rubbing alcohol
- Baking soda (optional)
Once you have these items, you’re ready to begin the removal process.
10 Easy Steps on How to Remove PVC Primer Stain
Step 1. Blot the Stain Immediately
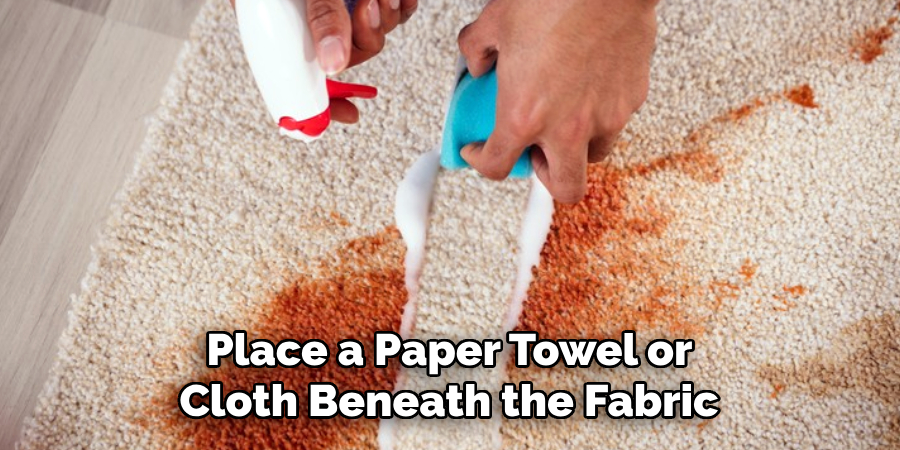
Use a clean cloth or paper towel to blot the stain as soon as you notice it. Avoid rubbing the stain, as this can cause it to spread or push the primer deeper into the surface. Press the cloth gently onto the stained area to absorb as much primer as possible. If the stain is on fabric or clothing, place a paper towel or cloth beneath the fabric to prevent the stain from seeping through to other layers. Acting quickly is key to minimizing the stain’s penetration and making it easier to remove in later steps.
Step 2. Rinse the Area with Warm Water
Once you’ve blotted the stain, rinse the affected area with warm water. This helps to dilute the primer and remove any residue that may still be sitting on the surface. If the stain is on fabric, hold it under a running tap, letting the water flow through the fabric from the back of the stain to push the primer outward rather than more deeply into the material. Use a damp, clean cloth for other surfaces to dab the area gently. Avoid soaking the surface excessively, especially if it is porous. Ensure you rinse all the areas where the primer has touched, including nearby pipes or fittings.
Step 3. Apply a Cleaning Solution
After rinsing, apply an appropriate cleaning solution to break down the primer residue. A stain remover or mild detergent mixed with water can work effectively for fabric. Gently work the solution into the stain using a soft brush or your fingers, ensuring it penetrates the stained fibers.
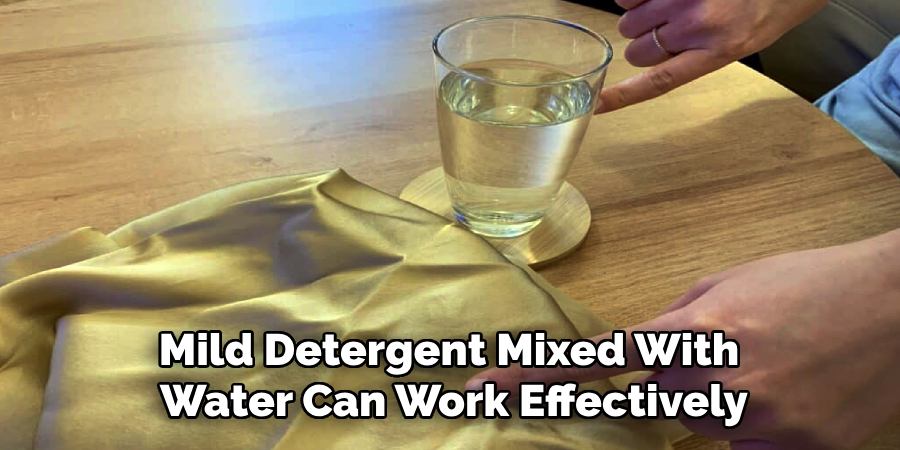
For non-fabric surfaces, use a cleaning agent suitable for the material, such as a multi-surface cleaner or dish soap. Allow the solution to loosen the primer for a few minutes before proceeding to the next step. To prevent damage or discoloration, always test the cleaning solution on a small, inconspicuous area first. Don’t use harsh chemicals or solvents, as these can damage the surface and be hazardous to your health.
Step 4. Scrub and Rinse the Area
Once the cleaning solution has had time to break down the primer, gently scrub the area to lift the residue. For fabrics, use a soft-bristle brush or your fingertips to work the solution deeper into the fibers, focusing on the stained area. Use a non-abrasive scrub pad or sponge for hard surfaces to avoid scratching. Rinse the area thoroughly with clean water to remove all traces of the cleaning solution and loosened primer. Ensure no residue remains; it could attract dirt or leave a sticky surface after drying. Repeat the process if necessary for stubborn stains, but do not damage the material with excessive scrubbing.
Step 5. Dry and Inspect the Area
After thoroughly rinsing the area, use a clean, absorbent towel to pat the surface dry gently. For fabrics, blot rather than rub to prevent distortion of the material. Ensure hard surfaces are completely dry to avoid water spots or streaks. Once dry, inspect the area closely to ensure all primer residue has been removed. If any traces remain, repeat the previous steps as needed. Proper drying and inspection will help restore the material to its original condition without any lingering residue. If you’re satisfied with the results, move on to the next step.
Step 6. Apply a Finishing Treatment
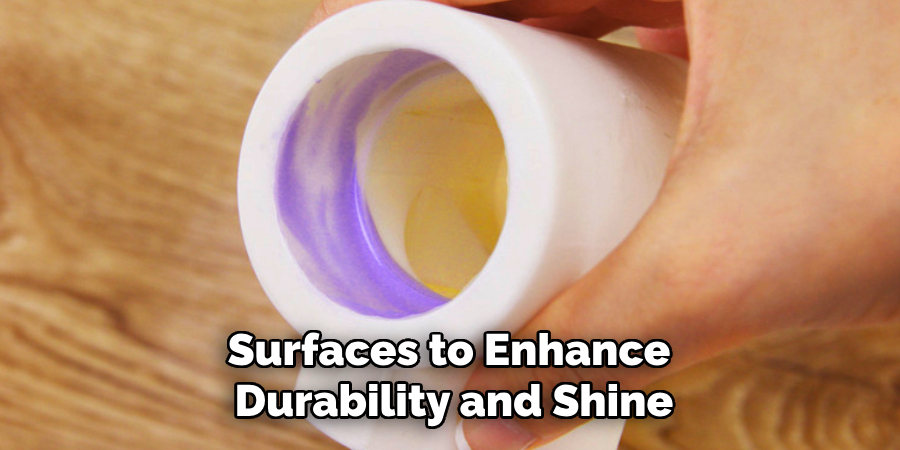
Once the area is clean and dry, consider applying a finishing treatment appropriate for the material to restore its original appearance or add extra protection. Use a conditioner or protective polish for wooden or hard surfaces to enhance durability and shine. For fabrics, consider applying a fabric protector spray to prevent future staining. Always follow the instructions on the product label and test in an inconspicuous area first to ensure compatibility. This final step helps prolong the material’s lifespan and maintain its aesthetic appeal.
Step 7. Dispose of Waste Properly
After completing the cleaning and finishing process, it’s crucial to dispose of any waste materials responsibly. Collect used cloths, leftover cleaning solutions, or residue and discard them in accordance with local waste disposal guidelines. If you use hazardous chemicals, ensure they are taken to a proper disposal facility to minimize environmental harm. Adequate waste management keeps your workspace clean and contributes to environmental sustainability.
Step 8. Regular Maintenance
Establish a routine for regular maintenance to ensure the material stays in top condition. This could include periodic dusting, wiping with a damp cloth, or reapplying protective finishes as needed. Regular care prevents dirt buildup, reduces the risk of damage, and extends the item’s longevity. By incorporating maintenance into your routine, you can avoid needing more extensive cleaning or repairs in the future.
Step 9. Inspect for Damage
After cleaning and maintenance, take the time to thoroughly inspect the material or item for any signs of damage or wear. Look for cracks, discoloration, loose parts, or any areas needing attention. Addressing minor issues early can prevent them from becoming larger problems later. If necessary, perform repairs or consult a professional for assistance. Regular inspections ensure the item remains functional and aesthetically pleasing over time.
Step 10. Proper Storage
When the material or item is not in use, store it in a clean, dry, and temperature-controlled environment to prevent damage. Avoid exposing it to direct sunlight, excessive humidity, or extreme temperatures, as these can cause fading, warping, or other forms of degradation. Storage solutions such as protective covers, cases, or containers can also help shield the item from dust and external elements. Proper storage ensures the longevity and preservation of your item for years to come.
By following these steps and incorporating regular maintenance and proper storage practices, you can effectively remove primer stains and keep your materials looking their best.
5 Things You Should Avoid
- Using Harsh Chemicals Without Testing: Avoid using strong chemicals or solvents without testing them on a small, inconspicuous area first. Some substances can damage the surface or worsen the stain.
- Scrubbing Aggressively: Refrain from scrubbing too hard, as this can scratch or damage the surface where the PVC primer stain is located.
- Ignoring Safety Precautions: Never skip wearing protective gloves and working in a well-ventilated area. PVC primer contains chemicals that can be harmful if not handled properly.
- Using the Wrong Cleaning Tools: Avoid using abrasive tools like steel wool or hard-bristle brushes as they can damage delicate surfaces and make it harder to remove the stain.
- Waiting Too Long to Act: Do not delay in addressing the stain. The longer the primer sits on the surface, the harder it will be to remove without causing damage.
By avoiding these five things, you can prevent further damage and effectively remove the PVC primer stain. It’s important to be patient and take proper precautions when dealing with any stain to ensure a successful removal process.
Conclusion
Removing PVC primer stains requires the right tools, techniques, and timely action.
Using cleaning solutions suitable for the surface, gently scrubbing without causing damage, and observing necessary safety precautions, you can effectively remove the stain while minimizing potential harm. Always address the stain promptly and avoid common mistakes to ensure the best results. Restoring the affected surface to its original condition can be successfully restored with patience and care.
Hopefully, the article on how to remove PVC primer stain has provided you with valuable insights and practical steps to tackle this common issue. Happy cleaning!

