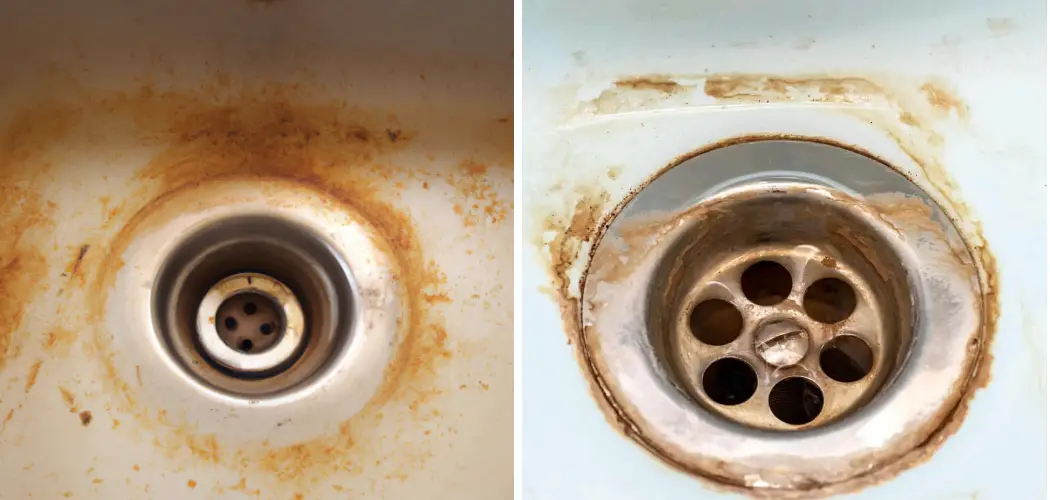
If your sink has developed rusty stains over time, you’re certainly not alone. Rust is a common problem that many homeowners face at some point or another, but the good news is that these unsightly stains aren’t too difficult to tackle with the right supplies and techniques!
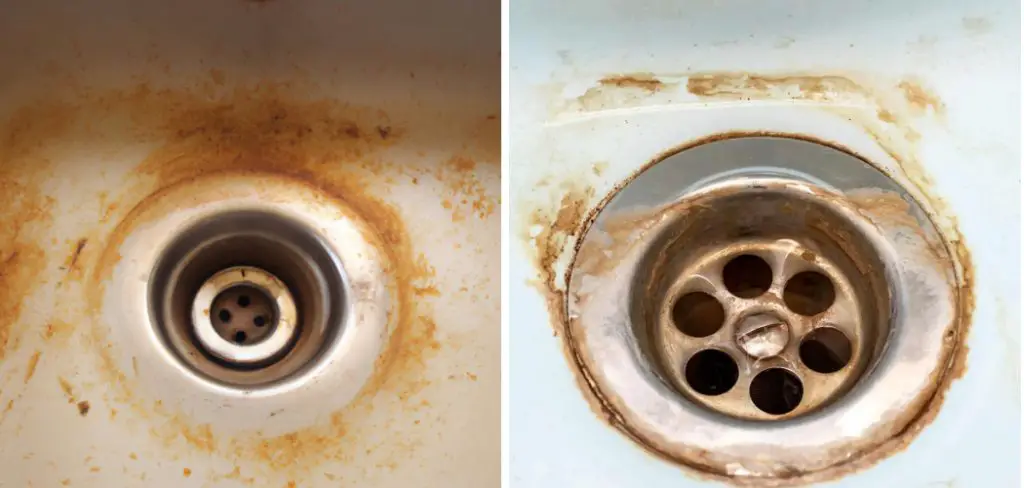
In this blog post, we’ll share our top tips on how to remove rust stains from a sink quickly and efficiently – leaving it looking sparkling clean in no time. Read on for more info!
Step-by-step Guidelines on How to Remove Rust Stains From a Sink
Step 1: Gather Your Supplies
Before you start, it’s important to have the right tools and products on hand. You’ll need baking soda, dish soap, white vinegar, lemon juice and a scrub brush. This can be found at your local grocery store or hardware store. But if you don’t have these items, no worries, as a paste made from cream of tartar and water can work just as effectively. Remember to wear gloves during this process too!
Step 2: Make a Paste
Mix together one part baking soda and one part lemon juice or white vinegar to make a paste. You can adjust the quantities depending on how much of the paste is needed to cover the affected area. If you’re using the cream of tartar and water, simply mix together two parts cream of tartar with one part water to form a paste.
Step 3: Apply the Paste
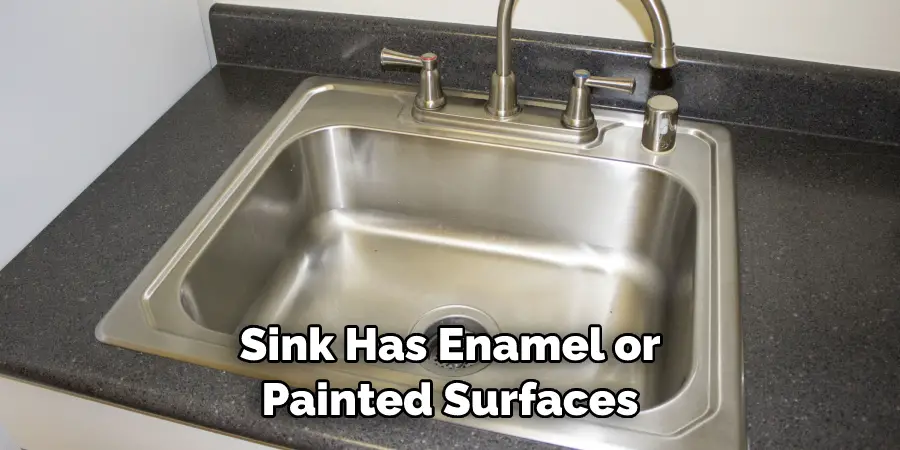
Spread the paste onto the rust-stained area and allow it to sit for 10 minutes. This will help to soften the rust and make it easier to remove. It’s important to note that if your sink has enamel or painted surfaces, you should avoid getting the paste on these areas as it could cause damage. You can use a plastic putty knife or an old toothbrush to gently rub the paste into the rust stains.
Step 4: Scrub the Area
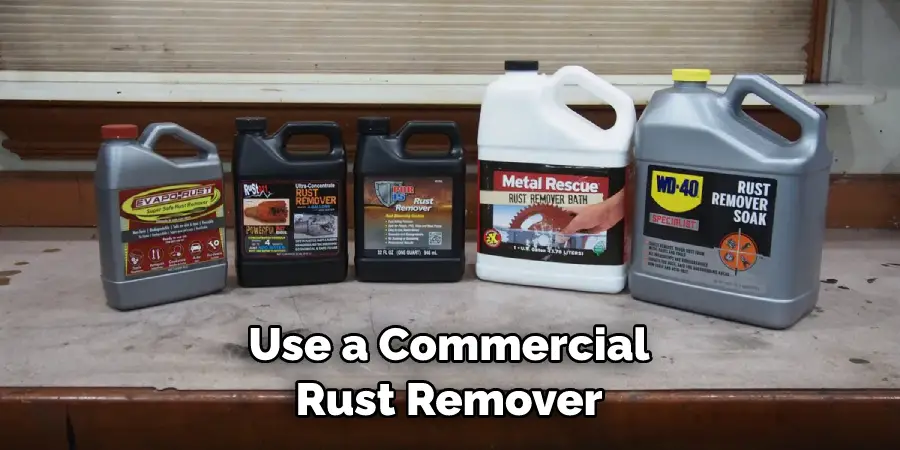
Using your scrub brush, gently scrub the paste into the rust stain in a circular motion. That’s it – your sink should now be free of rust stains and look pristine. You can repeat the process if necessary. Soak up any remaining paste with a damp cloth and wash the area down with some dish soap for added sparkle. But if the rust stains are still visible, you may need to try a different method such as using a commercial rust remover.
Step 5: Wipe Away Excess Paste
Once you’ve finished scrubbing, use a damp cloth or paper towel to wipe away any excess paste. Be sure to also rinse away any remaining residue and debris with warm water. It’s important to thoroughly clean and dry the sink after you’ve finished, as this will help to prevent any further rusting in the future.
Step 6: Rinse & Dry
Run warm water over the sink and then dry with a soft cloth or paper towel. It’s important to dry the sink completely as this will help prevent any further rusting. That’s it – your sink should now be looking good as new! You can now use it as usual, safe in the knowledge that rust stains won’t be making a return anytime soon. It’s easy to take the necessary steps to protect your sink from rust, so be sure to do regular maintenance such as cleaning and checking for stains on a regular basis.
Step 7: Check for Remaining Stains
If still some stubborn stains remain, don’t worry – just repeat steps 3-6 until they are gone! It may take a few attempts but the rust stains should eventually be removed. So don’t give up; keep at it until your sink is sparkling clean. Make sure to use a commercial rust remover if necessary, using the instructions provided by the manufacturer.
Step 8: Clean With Soap & Water
Once you’ve removed all of the rust stains, it’s time to do a final deep clean with dish soap and warm water. Make sure to scrub the area thoroughly and then rinse it off. It’s important to also dry the sink with a soft cloth or paper towel, as this will help to prevent any further rusting in the future.
Step 9: Wipe Down the Sink
Lastly, wipe down the sink with a soft cloth or paper towel. This will help ensure that any leftover residue from your cleaning products is completely removed. You can then admire your clean sink and revel in the fact that you’ve successfully removed rust stains from it. So no more worrying about rust stains ruining the look of your beautiful sink!
Step 10: Enjoy Your Sparkling Clean Sink!
Once you’ve followed the steps above, your sink should look as good as new. Congratulations – you can now enjoy a clean and sparkly sink without any rust stains in sight! This is a great way to extend the life of your sink and keep it looking its best. So remember these steps next time you need to remove rust stains from your sink.
Remember, prevention is always better than cure! Clean your sink regularly and use rust-resistant products to help keep it looking pristine. But if you do find yourself faced with a rust stain, don’t panic – follow these steps and it should be gone in no time.
Hopefully, these tips have been helpful when it comes to removing rust stains from your sink. With the right supplies, techniques and a bit of elbow grease, even the worst rust deposits can be cleared up in no time. Have fun getting your sinks back to their shiny best!
Why Do You Need to Remove Stains From a Sink?
Removing stains from a sink is important for both aesthetic and hygiene purposes. Stains, such as rust, can make the sink look dirty or outdated and if they are not treated they can lead to bacteria growth, which can cause health issues.
Cleaning regularly is an essential part of keeping your sink looking its best and ensuring it is hygienic. So make sure to follow the steps outlined above and keep your sink looking sparkling clean!
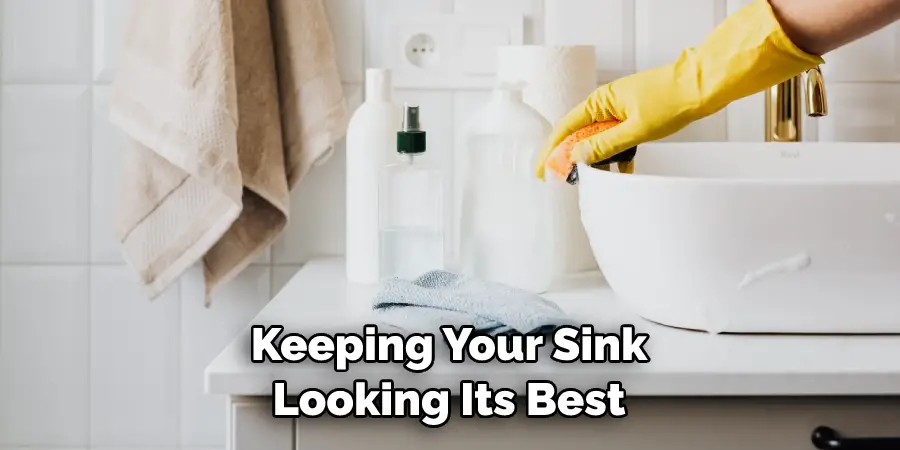
Good luck with tackling those pesky rust stains! With the right techniques and supplies, you’ll have it sparkling in no time.
Do You Need Professionals Support?
If you’ve tried the steps above but still can’t seem to get rid of those persistent rust stains, it might be time to contact a professional. Professional plumbers are experienced in dealing with this type of issue and can help you restore your sink back to its former glory. It’s always best to enlist the help of an expert when tackling tricky stains so that you can be sure that the job is done right!
We hope this blog post has been useful when it comes to learning how to remove rust stains from a sink. Don’t forget to contact a professional if you need help and always ensure that your sinks are always kept clean and hygienic. Happy cleaning!
Frequently Asked Questions
Q: How Do I Prevent Rust Stains on My Sink?
A: To avoid rust stains, it’s important to keep your sink clean and dry. Make sure that you wipe up any spills or moisture immediately as this will help to prevent the buildup of rust. Try to use gentle cleaning products on your sinks so that they don’t cause any damage. Lastly, make sure to regularly inspect your sink for any signs of rust and tackle the issue as soon as you spot it.
Q: What Else Can I Use To Remove Rust Stains?
A: As well as baking soda and lemon juice or white vinegar, there are a variety of other solutions you can use to remove rust stains. Try using a paste made from salt, baking soda and water or mix some hydrogen peroxide with cream of tartar. You can also try using commercial rust removers but make sure to follow the instructions carefully as these products may be corrosive or toxic.
Q: Is It Safe To Use Bleach On Rust Stains?
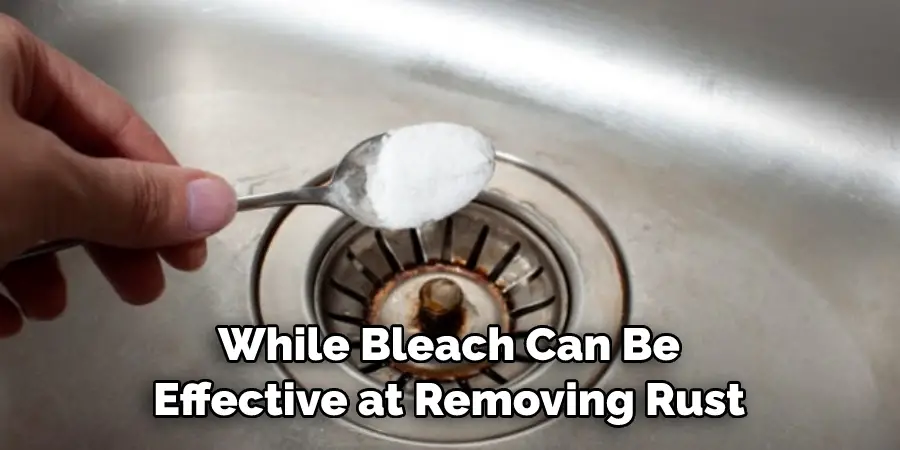
A: While bleach can be effective at removing rust stains, it’s not recommended as it may cause damage to the sink and can be toxic if inhaled or ingested. It’s always best to use natural non-toxic solutions when dealing with rust stains.
Q: How Often Should I Clean My Sink?
A: It’s recommended that you clean your sink at least once a week to ensure it stays looking its best and is kept hygienic. Try to use gentle cleaning products like baking soda, vinegar or lemon juice to make sure that the surface isn’t damaged. It’s also a good idea to inspect your sink regularly for signs of rust so that you can tackle any issues quickly.
Conclusion
Rust stains are an unsightly and stubborn problem that requires the best cleaning method possible to get rid of. Thankfully, there are multiple solutions available to take care of this task. First, you can use a combination of baking soda, white vinegar or lemon juice, and a few drops of dish soap to create a simple and natural solution that can be applied directly onto rust stains. Additionally, commercial rust removers may also be used as they are formulated to easily break down oxide deposits from metal surfaces.
Lastly, try using stainless steel scouring pads and a cleaner specifically designed for sinks in order to restore the sink’s original color and shine. By following any or all of these methods on how to remove rust stains from a sink, you should have no problem removing those troublesome rust stains from your sink quickly and effectively.

