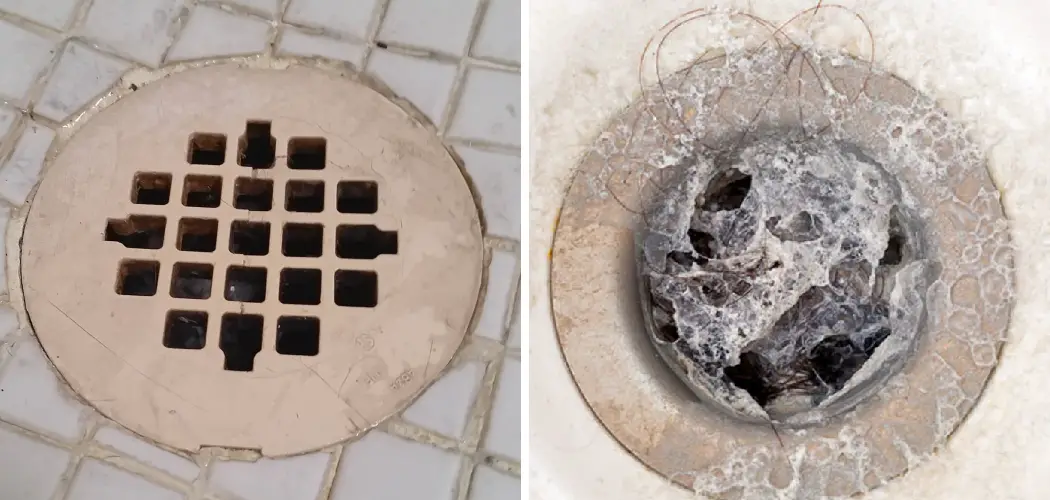
Removing a shower drain cover that is grouted in can be a challenging task. Over time, grout can accumulate around the edges of the drain cover, making it difficult to remove for cleaning or maintenance purposes. However, with the right techniques and tools, you can successfully remove a grouted-in shower drain cover without causing damage to the surrounding tiles or the drain itself.
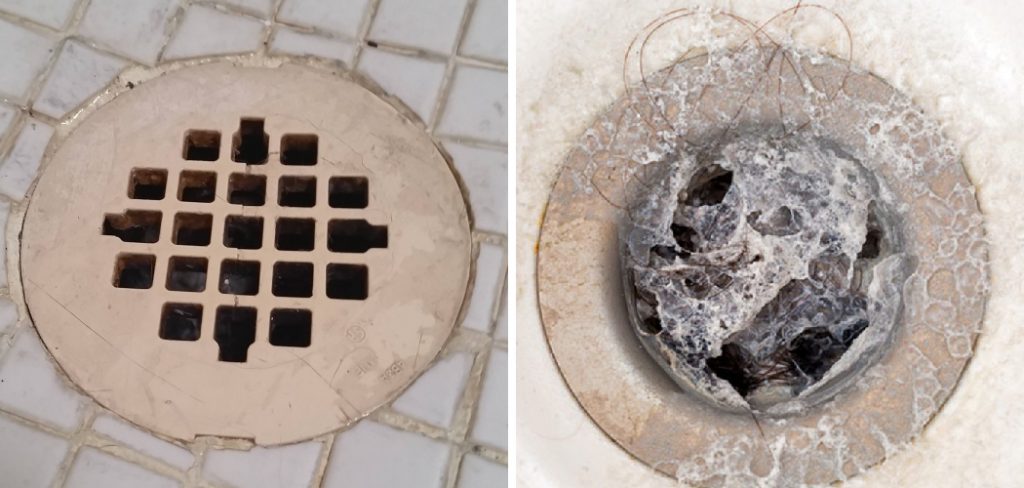
In this article, we will provide you with step-by-step instructions and valuable tips on how to remove shower drain cover that is grouted in. Whether you need to replace the cover or clean out any debris, these methods will help you accomplish the task effectively and restore the functionality and appearance of your shower drain.
Importance of Removing a Grouted-in Shower Drain Cover for Maintenance or Replacement
Removing a shower drain cover that is grouted in is an important part of regular maintenance and upkeep for any bathroom. Not only does it help to keep the drain free from clogs, but it also keeps the entire shower area cleaner by preventing dirt and debris from accumulating around the edges of the drain cover.
Additionally, removing a grouted-in drain cover makes it easier to replace or upgrade the existing shower drain if desired. Additionally, it is important to remove the drain cover in order to properly inspect the condition of the drain for any signs of wear or damage. Regular maintenance and inspection can help ensure that your shower remains safe and reliable for years to come.
When attempting to remove a grouted-in shower drain cover, it is important to use the right tools and techniques in order to ensure that no damage is done to either the tile or drain itself.
The first step when removing a grouted-in shower drain cover is to use a utility knife or razor blade in order to lightly score around the edges of the drain cover. This will loosen up any remaining grout and make it easier to pry off with a putty knife or flathead screwdriver.
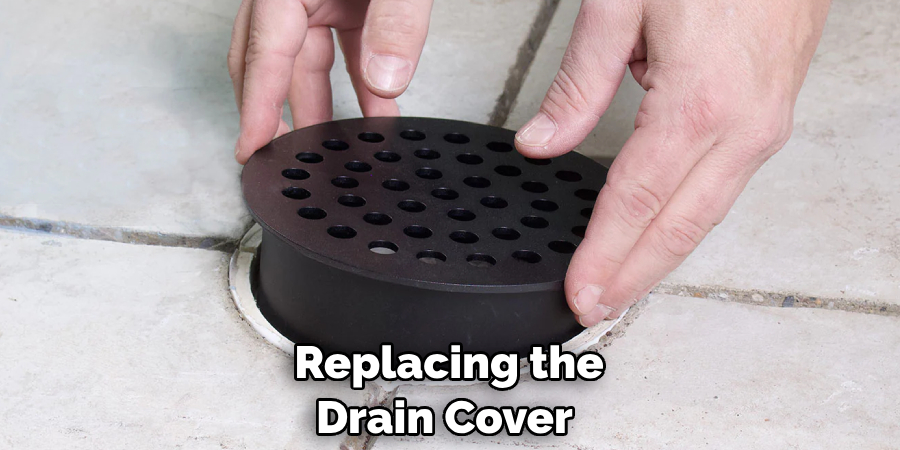
Once the cover has been removed, it is important to inspect the drain for any signs of corrosion or damage from water or soap scum buildup. If necessary, use a wire brush and specific cleaner to remove any built-up residue in order to prevent future clogs or issues. Finally, once all debris has been cleaned out, the new shower drain cover can be put back into place and grouted accordingly.

Overall, removing a grouted-in shower drain cover is an essential part of regular maintenance that should not be overlooked. By following the above steps and using the proper tools and techniques, you can ensure that your shower remains safe and reliable for years to come while also making it easier to replace or upgrade components when desired.
Inspecting the Grouted Shower Drain Cover for Any Visible Damage or Signs of Wear
If the drain cover is grouted in, it will be necessary to inspect the cover for any visible damage or signs of wear before attempting to remove it. Look around the edges of the cover and check for any cracks, chips, or other indications that the grout may have deteriorated over time.
If so, this could mean that there is a weak spot where water may leak out if the correct tools are not used when attempting to remove it. Additionally, check underneath the cover for any buildup of debris – if present, this should also be removed prior to attempting removal.
To ensure that no damage is done during the removal process, use a chisel and hammer to gently tap away at any surface-level grout between the drain cover and its surrounding tiles.
Doing this will ensure that the grout does not crack or chip off in pieces, which could make it difficult to remove the cover cleanly and safely. Be sure to use caution when working around fragile tiles – too much force could cause them to break.
Once the surface-level grout has been chiseled away, carefully pry up one corner of the drain cover with a flathead screwdriver. If done correctly, this should loosen any remaining grout between it and the tile so that it can be removed from its position without causing damage.
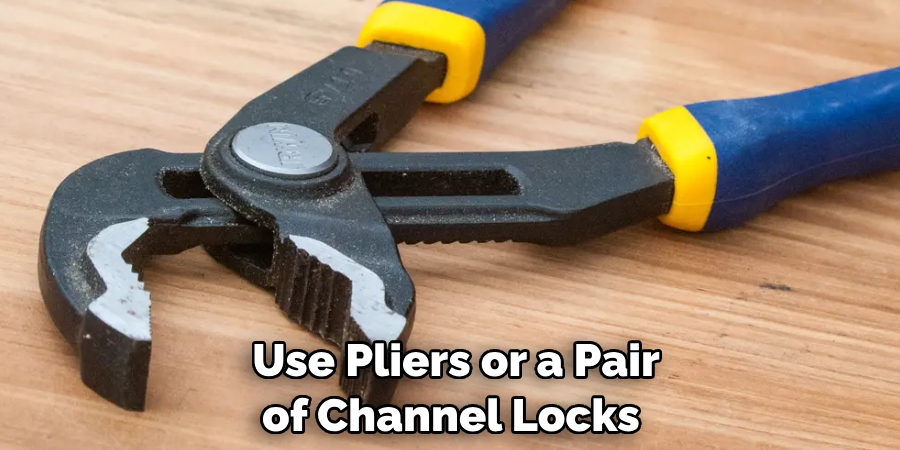
It may also be necessary to use pliers or a pair of channel locks in order to remove some of the bolts or screws securing the drain cover in place.
10 Methods How to Remove Shower Drain Cover that Is Grouted in
1. Apply Heat:
Using heat is a common method to loosen grout and facilitate the removal of a grouted-in shower drain cover. Start by using a hairdryer or heat gun to apply heat to the grout surrounding the drain cover.
The heat softens the grout, making it easier to break and remove. Move the heat source around the grout in a circular motion for about 10 minutes. Be careful not to overheat the grout, or it could crack and cause damage to the tile.
2. Utilize Vinegar or Acetone:
Vinegar or acetone can help dissolve grout and make it easier to remove the grouted-in shower drain cover. Soak a cloth or sponge in vinegar or acetone and apply it to the grout around the drain cover. Allow it to sit for a few minutes to penetrate the grout, then gently scrape away the grout using a plastic scraper or putty knife.
You may also need to use a small amount of force when removing the drain cover. Repeat this process until all the grout is removed and you can lift the cover out of the drain.
3. Apply Grout Remover:
Grout remover solutions are specifically designed to dissolve grout and make it easier to remove. Apply the grout remover according to the manufacturer’s instructions, ensuring that it reaches the grout around the shower drain cover. Allow the remover to work for the recommended time, then gently scrape away the softened grout.
4. Use a Grout Saw:
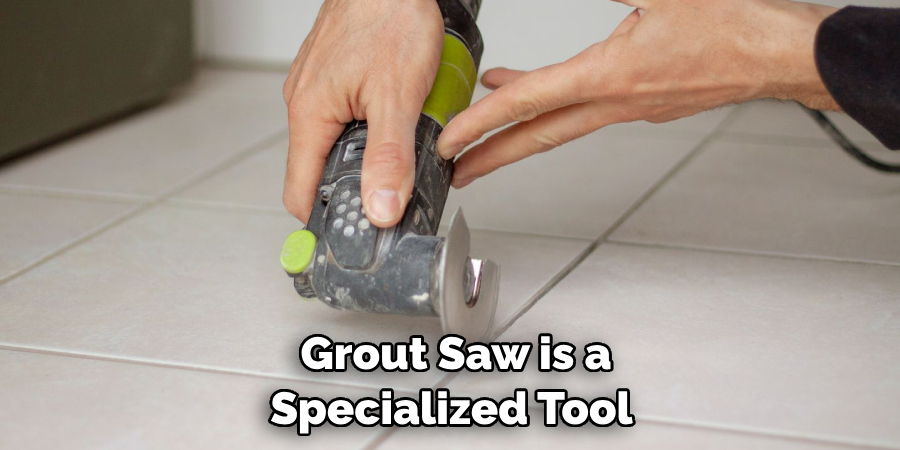
A grout saw is a specialized tool that allows you to cut through grout lines. Carefully and slowly use the grout saw to cut along the edges of the shower drain cover, being cautious not to damage the surrounding tiles. Once the grout lines are cut, you can remove the grouted-in drain cover with ease. Be sure to wear protective eyewear and safety gloves during this process.
5. Try an Oscillating Tool:
An oscillating tool with a grout removal blade can be effective in removing a grouted-in shower drain cover. Fit the oscillating tool with a grout removal blade and carefully cut along the grout lines around the drain cover.
This method allows for precise and controlled removal of grout without damaging the tiles or the drain cover. Once enough of the grout has been removed, you should be able to easily remove and replace the drain cover.
6. Apply Epoxy Grout Release Agent:
Epoxy grout release agents are designed to prevent grout from sticking to surfaces. Apply an epoxy grout release agent to the grout around the shower drain cover. Allow it to sit for the recommended time, then gently scrape away the softened grout using a plastic scraper or putty knife.
7. Use a Hammer and Chisel:
If the grout is thick and difficult to remove, a hammer and chisel can be used to break it up. Carefully tap the chisel along the grout lines, breaking up the grout as you go. Be cautious not to apply too much force to avoid damaging the tiles or the drain cover. Once you have successfully broken up the grout, you should be able to easily remove it with a putty knife.
8. Employ a Multi-Tool:
A multi-tool with a grout removal attachment can be a versatile option for removing a grouted-in shower drain cover. Fit the multi-tool with the grout removal attachment and carefully cut along the grout lines around the drain cover. The multi-tool allows for precise control and can be adjusted to different speeds and angles.
While cutting, be sure to keep the blade parallel with the shower floor to avoid damaging the tiling. When all of the grout has been cut, the drain cover should come loose and can be set aside. Before replacing the drain cover, make sure to scrape away any excess grout from around the edges. This will ensure a secure fit for the new drain cover and keep it from becoming dislodged over time.
9. Try a Screwdriver and Hammer:
In some cases, a screwdriver and hammer can be used to loosen and remove grouted-in shower drain covers. Insert the screwdriver into the grout lines around the drain cover and gently tap it with a hammer to loosen the grout. Gradually work your way around the drain cover until it becomes loose enough to remove. Be sure to clean up any excess grout that has been loosened with the screwdriver.
10. Seek Professional Assistance:
If the grout is particularly stubborn, or if you’re unsure about removing the grouted-in drain cover yourself, it is advisable to seek professional assistance. Professional plumbers or tile experts have the experience and tools necessary to safely and effectively remove the drain cover without causing damage to the surrounding tiles or the drain itself.
They will be able to advise on the best approach for removing the drain cover, and can assist with any necessary repairs afterwards.
Things to Consider When Removing Shower Drain Cover that is Grouted in
If you are dealing with a shower drain cover that is grouted in, there are several things to consider before attempting to remove it.
1. If the grout is in good condition, you may be able to remove the drain cover without damaging it. However, if the grout has become cracked, brittle or broken, it may be best to replace the entire drain cover, as attempting to remove the old grout could cause further damage.
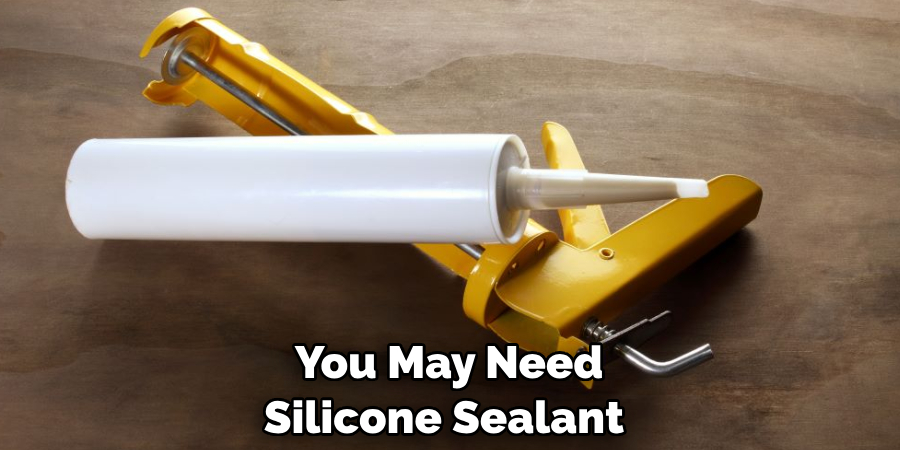
2. You will need a number of tools and materials in order to properly remove the drain cover. These include a screwdriver or drill bit, a chisel or hammer, pliers, protective eyewear and gloves. Additionally, you may need silicone sealant if you plan on replacing the existing drain cover with a new one.
3. Carefully follow all safety instructions when working with any sharp tools or dangerous chemicals. Wear protective gear such as goggles and gloves and make sure that your workspace is well ventilated.
Conclusion
In conclusion, removing a grouted in shower drain cover can be tricky. Taking these steps can make the job easier and provide you with the satisfaction of knowing that you did it yourself. Before attempting any of these methods, though, be sure to take all necessary safety precautions.
Thoroughly assess the situation and decide if DIY is right for you or if it would be wise to let a professional handle the project.
Once you decide what’s best for your situation, follow the appropriate steps listed above – one should work! Follow these simple instructions outlined in this blog post about how to remove shower drain cover that is grouted in, and you’ll be able to get the job done with ease.

