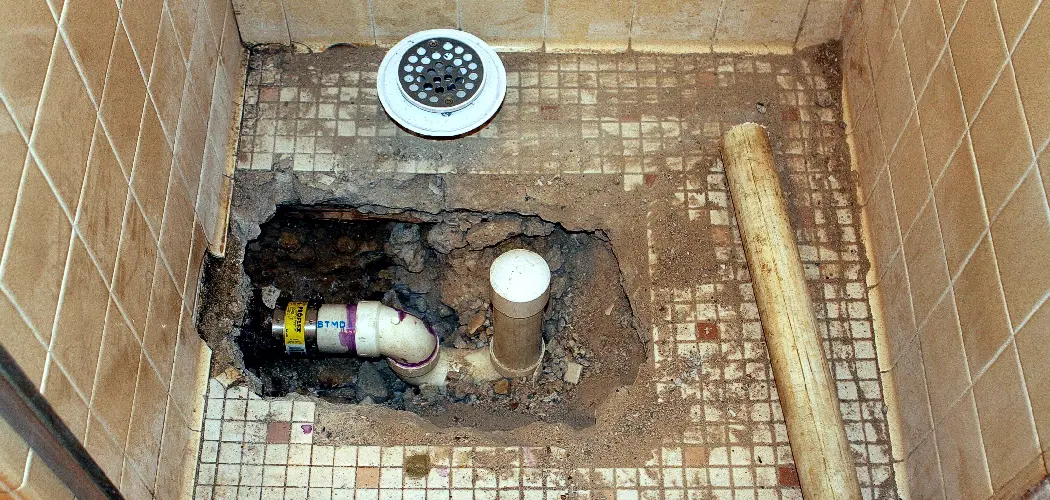
Removing a shower tile floor can be a daunting task, but with the right tools and approach, it can also be a rewarding DIY project. Whether you’re updating your bathroom’s aesthetics or addressing water damage, understanding the process is crucial for a successful renovation.
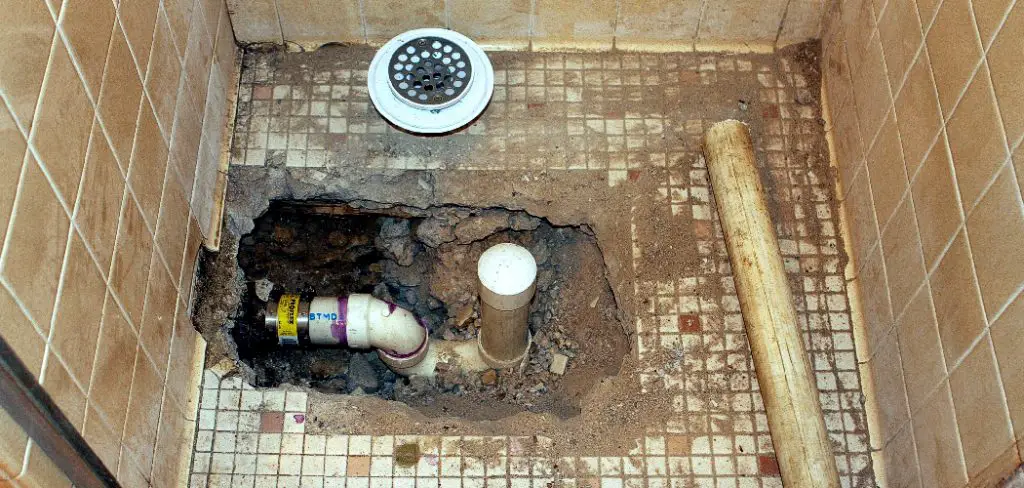
This guide will walk you through how to remove shower tile floor, ensuring you’re well-prepared for the challenge ahead. By following the outlined procedures, you can achieve a clean slate for your next design and enhance the overall functionality of your space.
Importance of Proper Tile Removal
Proper tile removal is essential for several reasons, most notably to prevent damage to the underlying structures and ensure a smooth transition to new flooring. Inadequate removal techniques can lead to cracks or chips in the subfloor, necessitating costly repairs and delaying your project.
Moreover, thorough removal of old tiles and adhesive prevents potential issues such as mold growth and uneven surfaces, which can compromise the integrity of your new installation. By taking the time to execute this process carefully, you set the stage for a successful renovation, enhancing both the aesthetic appeal and longevity of your bathroom.
Tools and Materials Needed
Before you embark on the journey of removing your shower tile floor, it’s crucial to gather the necessary tools and materials. Proper preparation will make the process smoother and more efficient. Here’s a list of what you’ll need:
- Safety Gear: Protective goggles, gloves, and a dust mask to safeguard against debris and dust.
- Tile Chisel and Hammer: These will help you break up the tiles and ease their removal from the subfloor.
- Putty Knife or Scraper: Useful for removing any remaining adhesive or grout residue after the tiles are lifted.
- Pry Bar: This tool can aid in lifting stubborn tiles that are not coming up easily.
- Utility Knife: For cutting through caulk or grout around the edges of the tiles.
- Bucket or Trash Bag: To collect broken tiles and debris for easy cleanup.
- Floor Scraper (optional): For large areas, a floor scraper can expedite the removal of adhesive on the subfloor.
- Chisel Bit (if using a power tool): If you prefer power tools, a chiseling bit for a rotary hammer can make tile removal quicker.
Make sure you have all these tools handy before starting, as it will save you time and effort during the project.
10 Methods How to Remove Shower Tile Floor
1. Preparation and Safety Measures
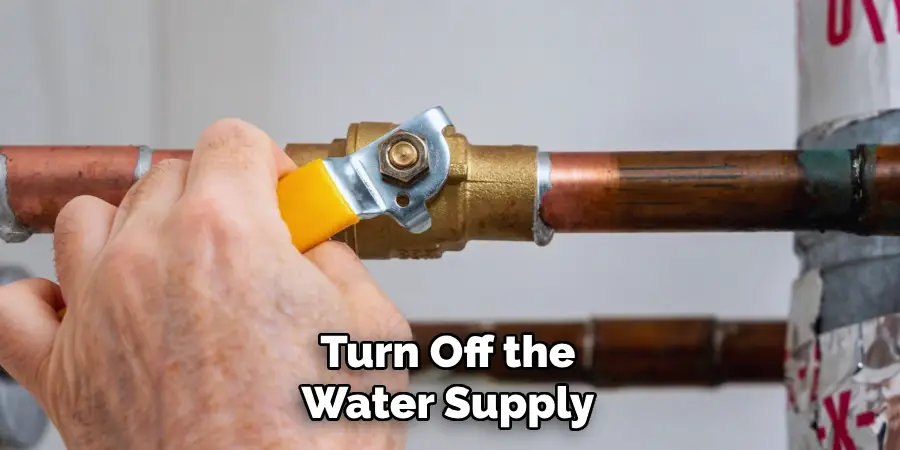
Before starting the tile removal process, it is crucial to take proper safety precautions and prepare the workspace. Begin by removing all bathroom accessories, mats, and any detachable shower components. Turn off the water supply to the shower and cover any nearby drains to prevent debris from clogging them.
Safety gear is essential when working with tools and debris; wear safety goggles, gloves, knee pads, and a dust mask to protect yourself from flying tile pieces, dust, and sharp edges. Lay down drop cloths or plastic sheeting to protect adjacent surfaces from damage.
2. Determine the Type of Tile Installation
Understanding how the tile was installed can significantly impact the removal process. Older tile installations often used mortar beds, while newer installations may utilize thin-set mortar or adhesive. The type of installation will dictate how much effort is needed to remove the tiles and whether you’ll need to address a mortar bed.
Tap the surface of the tiles with a hammer or use a chisel to lift a corner to gauge the thickness of the setting material. Thicker mortar beds will require more labor to remove, while thin-set tile installations may peel away more easily.
3. Score the Tile Surface
If you’re dealing with very hard or thick tiles, scoring the surface before breaking them up can make the removal process easier. Use a handheld tile cutter, a glass cutter, or an oscillating tool with a tile-cutting blade to score lines across the surface of the tiles. Create a grid pattern by running the cutter horizontally and vertically across the shower floor. This method weakens the integrity of the tiles, making it easier to break them into manageable pieces with less force.
4. Use a Hammer and Chisel
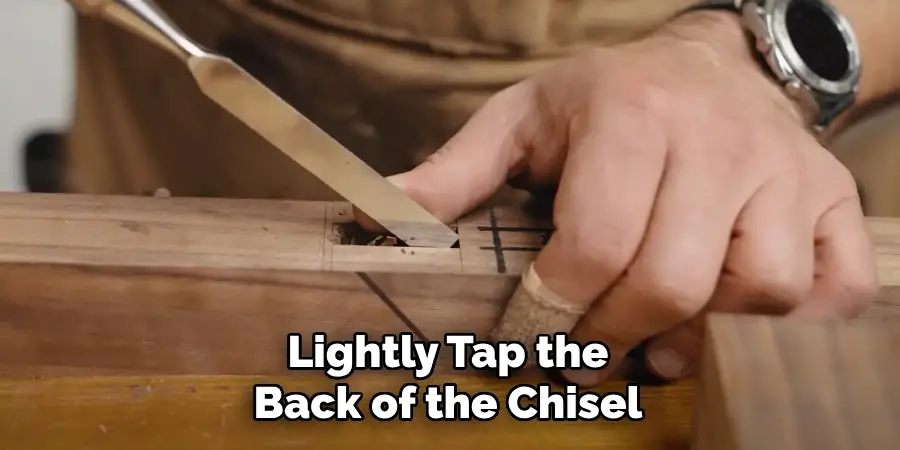
One of the most common and straightforward methods for removing shower floor tiles is using a hammer and chisel. Start by finding an edge or a loose tile, then position the chisel at a 45-degree angle under the tile’s edge. Lightly tap the back of the chisel with a hammer to loosen and lift the tile. Once the tile begins to crack or lift, you can gradually work the chisel underneath it to remove the entire piece. This method requires patience, as tiles will often come off in small pieces, especially if they are well adhered.
5. Heat Gun for Adhesive Tiles
For tiles that were installed using adhesive rather than thin-set mortar, a heat gun can help soften the adhesive, making tile removal much easier. Turn the heat gun to a medium setting and direct the heat onto the tiles in small sections, holding it for about 30 seconds at a time. The heat softens the adhesive beneath the tiles, allowing you to lift them more easily with a putty knife or chisel. Be cautious not to overheat the tiles, as this can cause them to crack or shatter unexpectedly.
6. Pry Bar for Larger Sections
If you can remove a section of tiles or grout, using a pry bar can help lift larger sections of tile at once. Insert the flat edge of the pry bar under the loosened tiles or at a seam where the tile meets the subfloor. Apply leverage by pushing down on the opposite end of the bar, which will lift the tiles from the floor. This method works best when you can remove sections of tile intact, particularly when thin-set mortar is not heavily bonded to the subfloor.
7. Angle Grinder with a Diamond Blade
For more stubborn tiles or mortar beds, an angle grinder with a diamond blade is an effective option. This method allows you to cut through tiles and the mortar beneath them with precision. Start by marking sections of the tile floor you want to remove and use the angle grinder to cut through the grout lines. Be sure to wear proper protective gear, as this method produces significant dust and debris. After cutting through the tile sections, you can use a hammer and chisel to remove them piece by piece.

8. Rotary Hammer with a Tile Chisel Attachment
If the shower tiles are particularly difficult to remove or you’re dealing with a thick mortar bed, a rotary hammer equipped with a tile chisel attachment can be a time-saving tool. The rotary hammer provides the power needed to break up tough tiles and mortar quickly. Set the rotary hammer to the chiseling mode and start at one corner of the shower floor.
The hammer’s vibrating action will loosen and lift the tiles and mortar as you work your way across the floor. This method is highly effective for large projects but requires caution to avoid damaging the subfloor.
9. Break the Mortar Bed
In cases where tiles are set in a thick mortar bed, you’ll need to remove both the tiles and the mortar. After removing the top layer of tiles, use a sledgehammer or a heavy-duty mallet to break up the mortar bed. Strike the mortar in a controlled manner, starting at the corners of the shower floor. Once the mortar bed is broken into smaller sections, use a pry bar or hammer and chisel to lift and remove the chunks.
This method is labor-intensive, but necessary for older installations where mortar beds are often thicker and harder than modern thin-set applications.
10. Clean the Subfloor
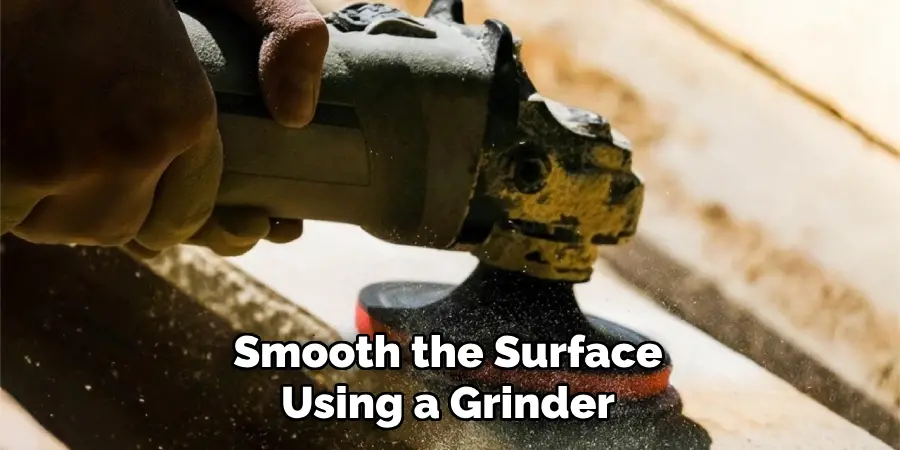
Once the tiles and mortar are removed, cleaning the subfloor is essential for preparing it for new tile installation or further repairs. Begin by using a broom or shop vacuum to clear away dust, debris, and leftover tile fragments. For any remaining adhesive or thin-set mortar stuck to the subfloor, use a floor scraper or a chisel to remove it. If the subfloor is made of concrete, you may also need to smooth the surface using a grinder or sanding tool.
Inspect the subfloor for any damage caused during the removal process and make repairs as necessary before proceeding with any new installation.
Conclusion
In conclusion, removing a shower tile floor requires the right combination of tools, techniques, and patience. Whether you are dealing with adhesive tiles, thin-set mortar, or a thick mortar bed, the methods outlined above provide a comprehensive approach to efficiently removing tiles while minimizing damage to the surrounding area. Hopefully, this article gave you some helpful tips about how to remove shower tile floor successfully, so now that you have the proper knowledge on how to get the job done, why not give it a try today?

