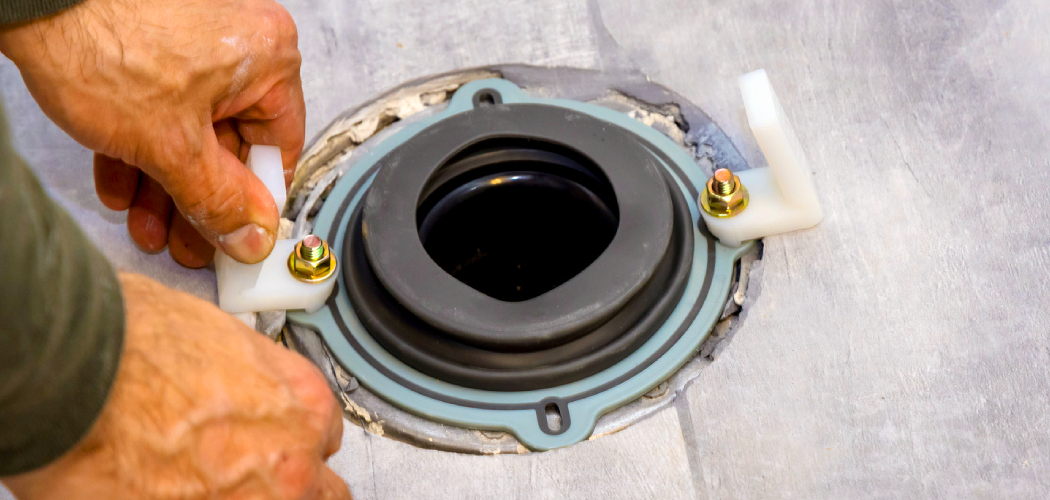
Removing toilet bolt caps is a straightforward task that often becomes necessary during maintenance or repairs. These caps cover the bolts that secure the toilet to the floor, protecting them from damage and providing a clean, finished look to the fixture. This guide explores the key aspects of how to remove toilet bolt caps. Whether you’re preparing to tighten the bolts, inspect for issues, or simply cleaning, learning how to safely and effectively remove these caps is an essential skill for any homeowner.
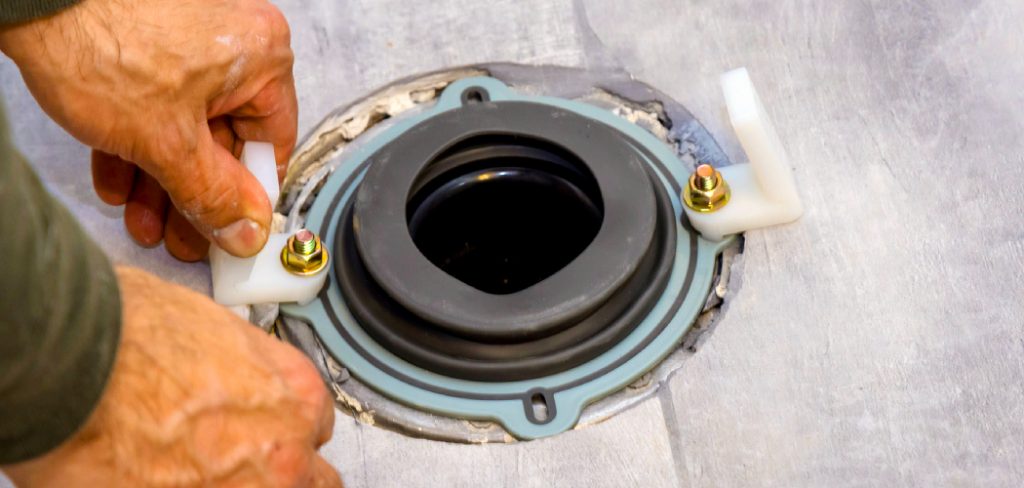
Reasons for Removing Bolt Caps
There are several common reasons why it may be necessary to remove toilet bolt caps. One of the primary reasons is to tighten or adjust the bolts that secure the toilet to the floor. Over time, these bolts may loosen, leading to a wobbly or unstable toilet. Removing the caps allows access to the bolts for proper tightening. Additionally, bolt caps might need to be removed during repairs or when replacing parts of the toilet, such as the wax ring or flange.
Cleaning is another common reason, as dirt and grime can accumulate under and around the caps, requiring removal to maintain hygiene. Lastly, damaged or worn caps may need to be replaced to ensure the toilet maintains its clean, finished appearance.
Tools and Materials Needed
Before starting the process of removing toilet bolt caps, it’s important to gather the necessary tools and materials. Having these items on hand will make the task easier and more efficient. Here’s what you’ll need:
- Flathead Screwdriver: A flathead screwdriver is often useful for gently prying up the bolt caps without causing damage.
- Utility Knife or Razor Blade (optional): This can be helpful if the caps are stuck due to caulking or buildup around the edges.
- Gloves (optional): Wearing gloves can protect your hands from dirt or debris during the process.
- Cleaning Supplies (optional): If you plan to clean the area after removal, have a cleaning solution, sponge, or cloth ready.
- Replacement Bolt Caps (if needed): If the old caps are damaged or worn, you may want to replace them with new ones to maintain the toilet’s appearance.
With these tools and materials prepared, you’ll be ready to remove the toilet bolt caps efficiently and effectively.
10 Methods How to Remove Toilet Bolt Caps
1. Use of Flathead Screwdriver or Plastic Pry Tool
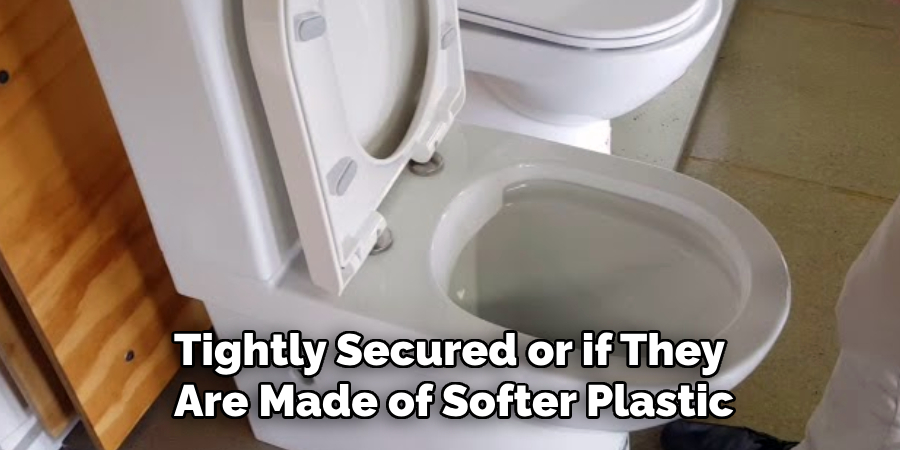
One of the most straightforward methods for removing toilet bolt caps involves using a flathead screwdriver or a plastic pry tool. Start by gently inserting the tip of the screwdriver or pry tool under the edge of the cap. Apply even pressure to lift the cap off without damaging the surrounding area. This method is often effective for caps that are not tightly secured or if they are made of softer plastic. Be cautious, though, as excessive force may crack the cap or cause scratches on the toilet.
2. Employing a Utility Knife
For older or more stubborn toilet bolt caps, a utility knife can be a useful tool. Carefully score around the edge of the cap using the utility knife, cutting through any adhesive or grime that might be holding it in place. Once you’ve scored the edges, try prying the cap off using a flathead screwdriver. This technique works particularly well for caps that have become stuck due to age, dirt, or mineral buildup.
3. Heat Application with a Hairdryer or Heat Gun
Sometimes, the adhesive or sealant holding the toilet bolt caps can be softened with heat. Using a hairdryer or heat gun, apply gentle heat to the cap for several minutes. The heat will soften the material and make it easier to pry the cap off. Be sure not to overheat the area, as prolonged exposure to high temperatures can damage the toilet’s finish. Once the cap is sufficiently warm, use a flathead screwdriver or plastic pry tool to remove it.
4. Using Pliers for Tight Caps
In cases where the caps are tightly secured and cannot be easily pried off by hand, pliers may be the best option. Grip the edge of the cap with the pliers and gently twist it back and forth. The twisting motion can help break the seal and loosen the cap. Once it starts to move, you can then pull it off. Be careful not to apply too much pressure, as it might cause the cap to crack or the surrounding area to be damaged.
5. Cutting the Cap with a Dremel Tool
For stubborn or deeply embedded toilet bolt caps, a Dremel tool can be a handy solution. Attach a cutting disc to the Dremel, and carefully cut a slit along the cap’s surface. After making the cut, you should be able to peel the cap off with your fingers or a pry tool. This method works well if the cap is made of hard plastic or if it has become fused with adhesive over time.
6. Drilling Out the Bolt Caps
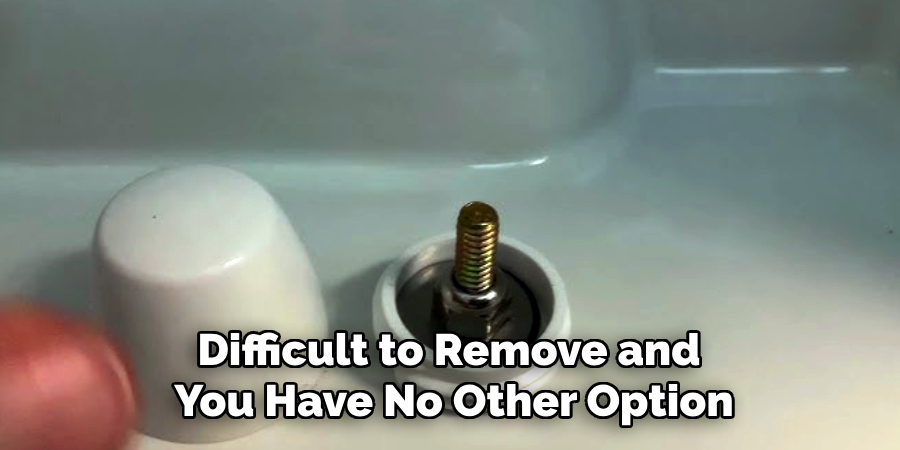
If the bolt caps are especially difficult to remove and you have no other option, drilling out the cap can be a solution. Use a drill bit that is slightly smaller than the diameter of the bolt and carefully drill into the center of the cap. This will weaken the cap, allowing you to remove it by hand or with pliers. However, this method should be used with caution, as drilling may damage the toilet or surrounding area if not done carefully.
7. Soaking in Vinegar
To tackle stubborn caps that have become stuck due to mineral buildup or old adhesive, soaking them in vinegar can help dissolve the gunk. Pour some vinegar around the base of the toilet bolt caps and allow it to sit for at least 30 minutes. The acidity of the vinegar will help break down any hard water deposits or adhesive. After soaking, try to remove the cap using a flathead screwdriver or pry tool. This method is especially useful for toilets in areas with hard water.
8. Use of Goo Gone or Adhesive Remover
If the toilet bolt caps are stuck due to an adhesive, you can use an adhesive remover like Goo Gone. Apply the adhesive remover around the cap and allow it to sit for several minutes. This will loosen the adhesive and make it easier to pull the cap off. Once the cap begins to move, use a flathead screwdriver or your fingers to finish the removal. This method is ideal for caps that are glued down but not too difficult to remove.
9. Leveraging a Pry Bar
For more stubborn or larger toilet bolt caps, a pry bar can provide extra leverage. Place the pry bar under the edge of the cap and gently lever it up. The added leverage will allow you to lift the cap without having to apply excessive force. A pry bar can be especially useful if the cap is not made of a flexible material and needs extra pressure to break free.
10. Removing the Toilet Entirely
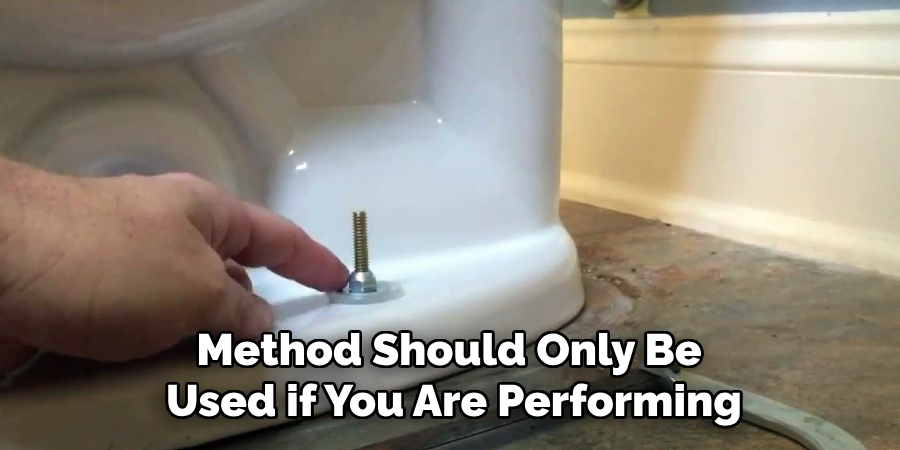
As a last resort, if none of the above methods work or if the bolt caps are severely damaged, you may need to remove the entire toilet. This method should only be used if you are performing significant repairs or replacements. Begin by shutting off the water supply and draining the toilet tank. Remove the toilet’s bolts and carefully lift the toilet away from the floor. Once the toilet is removed, you can access the bolt caps more easily and replace or remove them as needed.
Troubleshooting Common Issues
When dealing with toilet bolt caps, you may encounter several common issues that can make removal challenging. Below are some troubleshooting tips to address these problems effectively:
1. Stuck Due to Mineral Deposits
If the toilet bolt caps are stuck due to hard water deposits, try soaking the area in a mixture of vinegar and water. Allow it to sit for about 30 minutes to dissolve the buildup. For heavier deposits, you may need to repeat the process or use a gentle scrubbing tool to loosen the material.
2. Damaging the Toilet Surface
Using the wrong tools or excessive force can lead to chips or scratches on the toilet’s surface. To prevent this, always use tools with smooth edges, such as plastic pry tools, and avoid metal tools unless absolutely necessary. Applying protective tape around the cap can also safeguard the surrounding area.
3. Adhesive Residue Left Behind
After removing the caps, adhesive residue might remain on the surface. To address this, use a commercial adhesive remover or household items such as rubbing alcohol or vinegar. Gently scrub the area with a non-abrasive sponge or cloth to remove the leftover residue.
4. Cracked or Broken Toilet Bolt Caps
If you accidentally crack a cap during removal, it can sometimes leave small pieces stuck in the bolt. Use needle-nose pliers or tweezers to carefully extract the fragments. Take care not to damage the bolt threads while doing so.
Conclusion
Removing toilet bolt caps may seem like a small job, but it can be challenging if the caps are old, damaged, or stuck with adhesive. Using the right tools and methods can make the job much easier and help prevent damage to the toilet and surrounding areas. Thanks for reading, and we hope this has given you some inspiration on how to remove toilet bolt caps!

