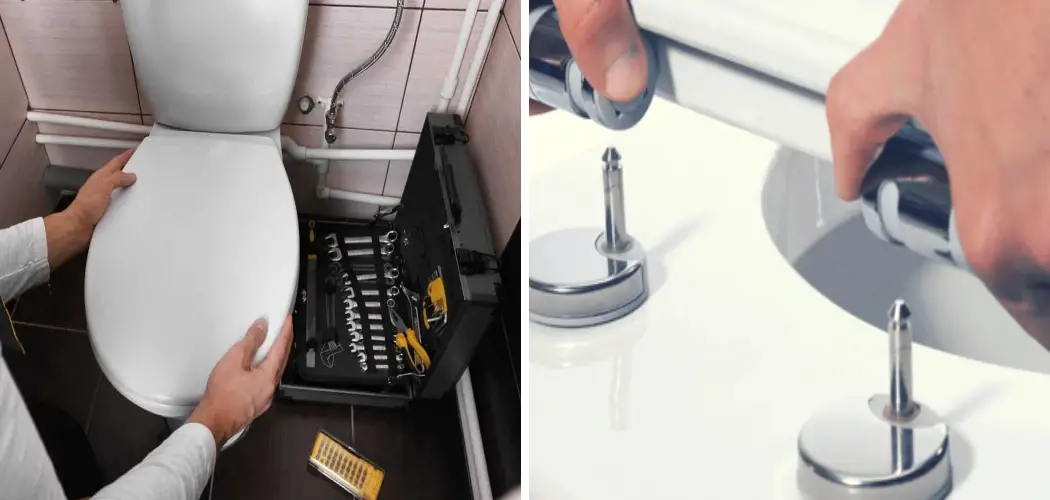
Attention all DIYers and home maintenance enthusiasts! Are you tired of staring at a loose or wobbly toilet seat whenever you use the bathroom? Have you attempted to tighten it, only to find that it won’t budge because of the mysterious hidden bolts? Don’t worry, you’re not alone. Many homeowners struggle with removing their toilet seats due to those pesky hidden bolts. But fear not, as we have the solution for you.
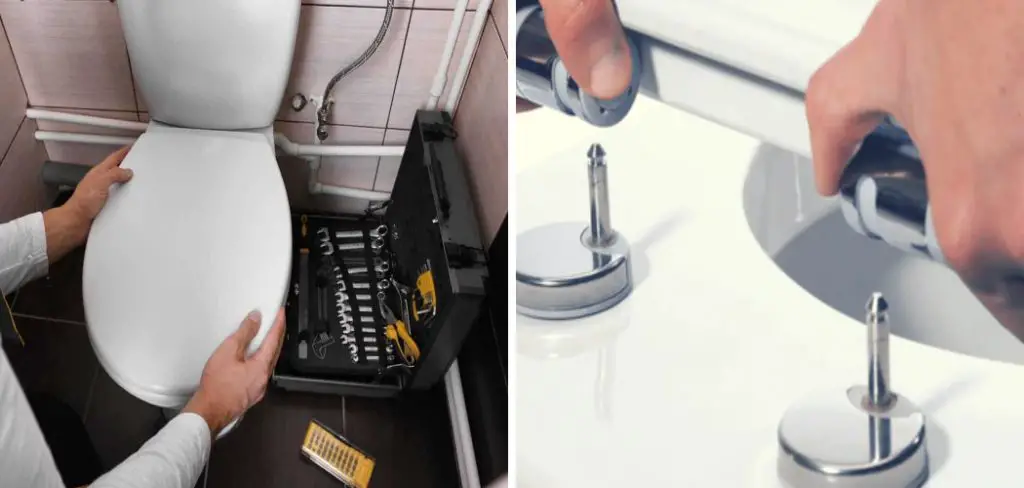
Toilet seats with hidden bolts are becoming increasingly popular as they provide a sleek and seamless look to your bathroom. However, when it comes time to replace or clean the seat, these hidden bolts can pose a challenge.
In this blog post, we will walk through step-by-step instructions on how to remove toilet seat with hidden bolts. So put on your handyman (or handywoman) hat, and let’s get started!
What are the Importance of Removing Toilet Seat With Hidden Bolts?
Before we dive into the steps, let’s discuss why it is important to know how to remove a toilet seat with hidden bolts.
- Proper Cleaning: Over time, toilet seats can accumulate dirt and grime that may be difficult to clean around the hidden bolts. By removing the seat completely, you can ensure a thorough and efficient cleaning.
- Replace Damaged Seats: If your toilet seat is cracked or broken, you will need to remove it in order to replace it with a new one. Knowing how to remove the seat will save you time and hassle in the long run.
- Tighten Loose Seats: As mentioned earlier, hidden bolts can make tightening a loose toilet seat challenging. By removing the seat, you can access the bolts and securely tighten them for a stable seat.
Now that we understand the importance of knowing how to remove a toilet seat with hidden bolts let’s get into the steps on how to do so.
What Will You Need?
Before diving into the removal process, gathering all the necessary tools and materials is important. Here’s what you’ll need:
- Adjustable wrench or pliers
- Flathead screwdriver
- Rubber gloves (optional)
Once you have these items ready, we can move on to the next step.
10 Easy Steps on How to Remove Toilet Seat With Hidden Bolts
Step 1: Locate the Hidden Bolts
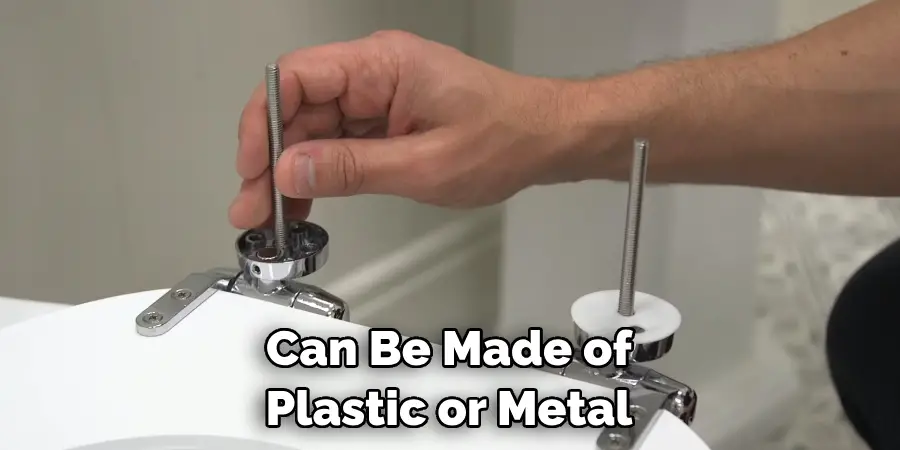
The first step is to find the location of the hidden bolts. These bolts are typically located underneath a cover or cap at the back of the toilet seat. The body may be circular or rectangular in shape and can be made of plastic or metal.
Step 2: Remove the Cover/Cap
Once you’ve located the cover or cap hiding the screws, the next step is to remove it. Gently pry it open using the flathead screwdriver. Be careful not to apply excessive force, which could potentially damage the cover. Simply insert the screwdriver into the small opening at the edge of the cover or cap and gently lift it. This should expose the hidden bolts that are securing your toilet seat.
Step 3: Unscrew the Bolts
Now that you have exposed the hidden bolts, it’s time to unscrew them. This is where your adjustable wrench or pliers come into play. Firmly grasp the nut attached to the bolt’s bottom with your wrench or pliers. Hold the bolt from the top using your flathead screwdriver, and then turn the wrench counterclockwise to loosen and remove the bolt.
Repeat the process for the second bolt. Remember, patience is key here as the bolts may be tightly screwed in place due to long-term use or rust.
Step 4: Lift off the Toilet Seat
With the bolts now removed, you should easily lift off the toilet seat from the toilet bowl. Simply grasp both sides of the center and gently lift it upwards. If the heart is still stuck, it might be due to accumulated grime or rust around the hinges. In this case, gently wiggle the seat while pulling it up to dislodge it. Remember to wear your rubber gloves for this step to protect your hands from germs and bacteria.
Step 5: Clean the Area
Once you’ve removed the toilet seat, thoroughly clean the area around the bolts and hinges. Over time, this area can collect dirt, grime, and rust, which may make future removals more difficult. Use a bathroom cleaner and a scrubbing brush to clean the area. Be sure to rinse and dry the area thoroughly before installing a new toilet seat. This step ensures hygiene and prepares the toilet to install a new seat.
Step 6: Prepare The New Toilet Seat
Before installing the new toilet seat, ensure it is the correct size for your toilet bowl. Place the new headquarters on the toilet to ensure it fits properly. The holes in the new seat should align with the holes in the bathroom. Once confirmed, you can move on to installing the new seat. If you notice that the seat is not the right size, you may need to purchase a different one that fits.
Step 7: Attach the New Toilet Seat
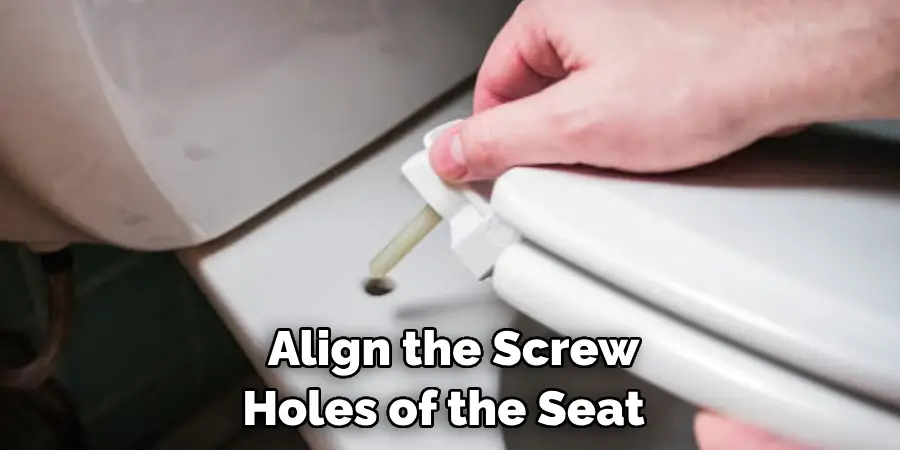
Place the new toilet seat on the top of your toilet bowl and align the screw holes of the seat with those on the toilet bowl. Insert the new bolts into the holes and lightly screw them in with your hands to ensure they are in the correct position. Once you are satisfied with the work of the seat, use your flathead screwdriver and an adjustable wrench or pliers to secure the bolts firmly.
Remember, do not over-tighten, as this might damage the new seat. Once the bolts are secure, close the bolt caps to conceal them, giving your bathroom that sleek, seamless appearance.
Step 8: Test the New Toilet Seat
Now that your new toilet seat is installed, it’s time to give it a test. Gently sit on the seat to check its sturdiness. The seat should not wobble or slide. If it does, you should tighten the bolts a little more. Also, open and close the lid several times to ensure the hinges work smoothly. Your new toilet seat will be ready once you’re satisfied with the installation.
Step 9: Clean-Up
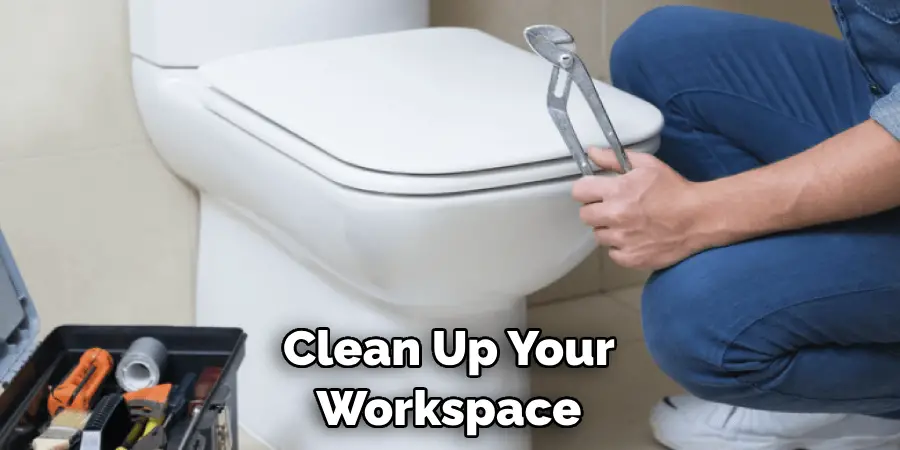
After successfully installing your new toilet seat, it’s essential to clean up your workspace. Dispose of the old toilet seat according to your local waste management regulations. Remember also to put away all your tools and clean any debris or dust that may have accumulated during the process. This step ensures your bathroom is tidy, allowing you to enjoy your new toilet seat in a clean and pleasant environment.
Step 10: Regular Maintenance
Regular maintenance of your new toilet seat can prolong its lifespan. Clean the seat and the area around the bolts regularly to prevent the accumulation of dirt and grime. If you notice any looseness in the seat, tighten the bolts to ensure the seat is secure. Remember always to wear rubber gloves when handling the seat to maintain hygiene.
Following these steps will keep your toilet seat in good condition, ensuring it remains comfortable and functional for many years.
5 Additional Tips and Tricks
- Use a Mirror: Sometimes, the bolts are not easily visible. A small handheld mirror can help you locate the hidden bolts under the toilet seat.
- Flashlight: A flashlight can be a helpful tool for illuminating dark areas where the bolts might be hiding.
- Proper Tools: Ensure you have the right tools. A screwdriver or a pair of pliers would likely loosen the bolts.
- Patience is Key: Don’t force the bolts, which could cause damage. If a bolt is particularly stubborn, try applying a bit of penetrating oil and let it sit for a while to loosen it up.
- Safety First: When working with tools in confined spaces, be mindful of your fingers and hands. It’s easy to slip and hurt yourself, so always prioritize your safety.

With these additional tips, you can confidently remove your toilet seat with hidden bolts.
5 Things You Should Avoid
- Avoid Using Excessive Force: Never apply excessive force When loosening the hidden bolts. This could damage the toilet seat or, worse, the toilet itself.
- Don’t Use Unsuitable Tools: Refrain from using tools not designed for the job, such as knives or hammers. Using inappropriate tools can cause injuries or lead to damage.
- Avoid Hurrying the Process: It’s important not to rush the process. Hasty actions can result in stripped screws or broken parts.
- Remember Safety Gear: Failing to use safety equipment like gloves and safety glasses can result in injury from flying debris or sharp tools.
- Avoid Working in Poor Lighting: Poor visibility can cause you to miss the hidden bolts or hurt yourself accidentally. Make sure you have adequate lighting. Use a flashlight if necessary. If you avoid these missteps, the process of removing a toilet seat with hidden bolts should be a smooth one.
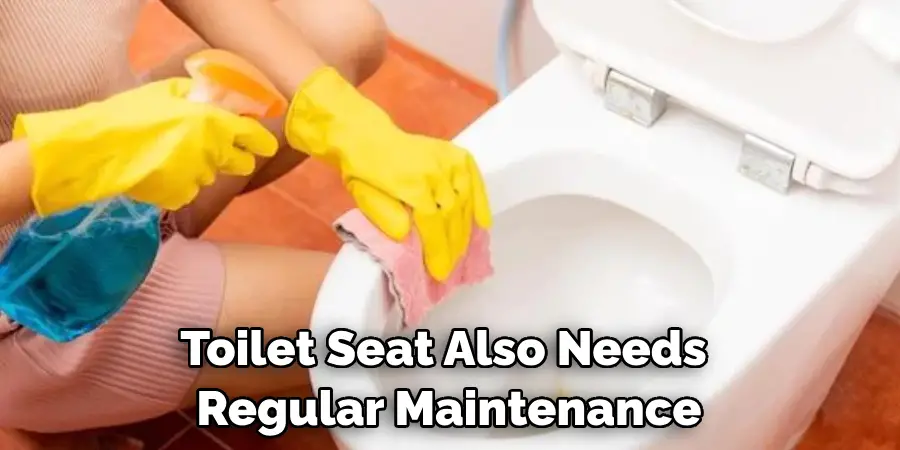
- Don’t Skip Regular Maintenance: Like any other home item, the toilet seat also needs regular maintenance. Don’t wait for it to become completely loose or damaged before taking action. Regularly clean and tighten the bolts to ensure a longer lifespan for your toilet seat.
By avoiding these common mistakes, you can ensure a safe and successful removal of your toilet seat. With the right tools and techniques, removing hidden bolts will be a breeze.
What is a Smart Toilet Seat?
A smart toilet seat is a modern and high-tech upgrade to traditional toilet seats. It often has features like automatic flushing, heated seating, bidet functions, and Bluetooth connectivity for audio streaming. Smart toilet seats can also have sensors that track health-related data like body weight and temperature.

Some models also have night lights for added convenience. These advanced features offer a more comfortable bathroom experience and promote hygiene and comfort.
If you want to upgrade your bathroom, consider investing in an intelligent toilet seat for added comfort and functionality.
How Do You Tighten a Toilet Seat With No Access Underside Screw?
If your toilet seat has no access to the underside screw, you can still tighten it using a few different methods:
- Use Plastic Wing Nuts: These wing-shaped nuts can be tightened by hand without any tools. They are designed specifically for this purpose and can be easily found at hardware stores.
- Utilize Adhesive Strips: Some toilet seats come with adhesive strips that can be attached to the underside of the toilet bowl for added stability. These are easy to install and provide a secure fit without needing access to screws.
- Use Rubber Washers: Place rubber washers between the seat and the hinges, then screw them in tightly. This will prevent the bolts from loosening over time.
- Replace the Seat: If none of the above methods work, you may need to replace the seat entirely. Look for a new toilet seat with a more straightforward installation process or one that allows access to the underside screw.
These alternatives can help you tighten your toilet seat without needing to access the underside screw, saving you time and effort. Overall, maintaining a stable and secure toilet seat is important for both comfort and safety. By using these tips and tricks, you can easily remove, maintain, or tighten a toilet seat with hidden bolts.
Conclusion
In conclusion, how to remove toilet seat with hidden bolts may seem like a daunting task at first, but with the right tools and techniques, it can be done quickly and efficiently. We have discussed various methods, such as using a screwdriver, an adjustable wrench, or even a hammer and chisel. These methods may differ in their approach, but they all achieve the same goal – removing that stubborn toilet seat.
Now that you know how to do it yourself, why not give it a try? Show off your handyman skills and impress your friends and family by efficiently accomplishing this seemingly difficult task. So go ahead, grab your toolkit, and put these tips into action.
Remember, no challenge is too great when you have the proper knowledge and determination. Thank you for reading our blog post on removing a toilet seat with hidden bolts. Happy fixing!

