Removing the top of an air conditioning unit is an essential task for maintenance and repairs, allowing access to internal components for cleaning or replacement. This guide on how to remove top of ac unit aims to walk you through the process step-by-step, ensuring you perform the task safely and effectively.
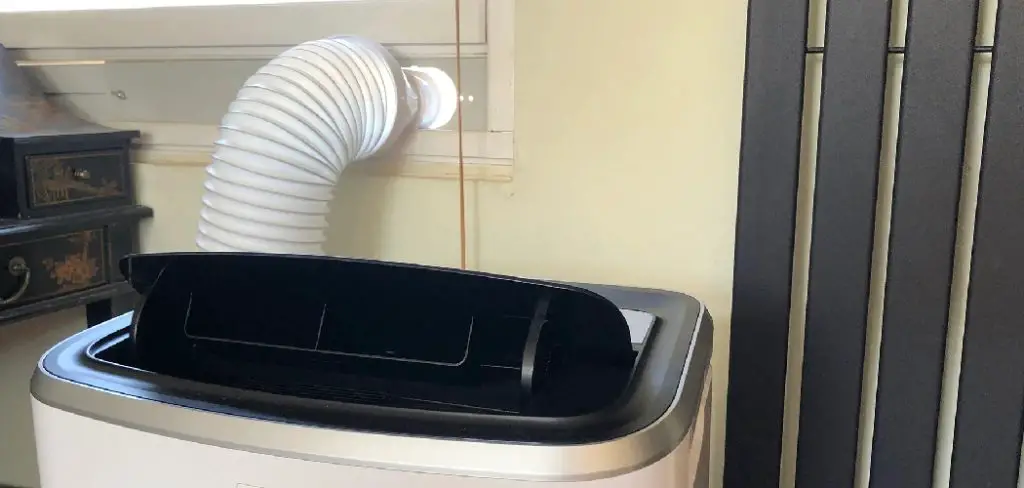
Whether you’re preparing for a routine service or addressing a specific issue, understanding the proper method to remove the top of your AC unit will help prolong its lifespan and optimize its performance. Let’s delve into the tools you’ll need and the procedures to follow.
Needed Tools and Materials
Tools:
Screwdriver:
To remove the top of your AC unit, you’ll need a screwdriver to loosen and remove the screws that secure the top in place.
Pliers:
Pliers are useful for holding small components or wires steady while you work on them. They can also help with removing any electrical connectors.
Gloves:
Wearing gloves during this process is highly recommended to protect your hands from any sharp edges or debris that may be present in the unit.
Materials:
Towels/Cloth:
Having towels or cloth on hand will come in handy if there is any water within the unit that needs to be wiped away before proceeding with removal.
Replacement Parts:
If you’re removing the top of your unit for repairs, it’s a good idea to have replacement parts on hand in case any need to be replaced.
8 Step-by-step Guidelines on How to Remove Top of Ac Unit
Step 1: Turn Off the Power
Before beginning any work on your air conditioning unit, safety is the top priority. Locate the power switch or circuit breaker that controls the AC unit and turn it off to ensure that there is no electricity running to the system. This step will prevent any risk of electric shock while you are removing the top.
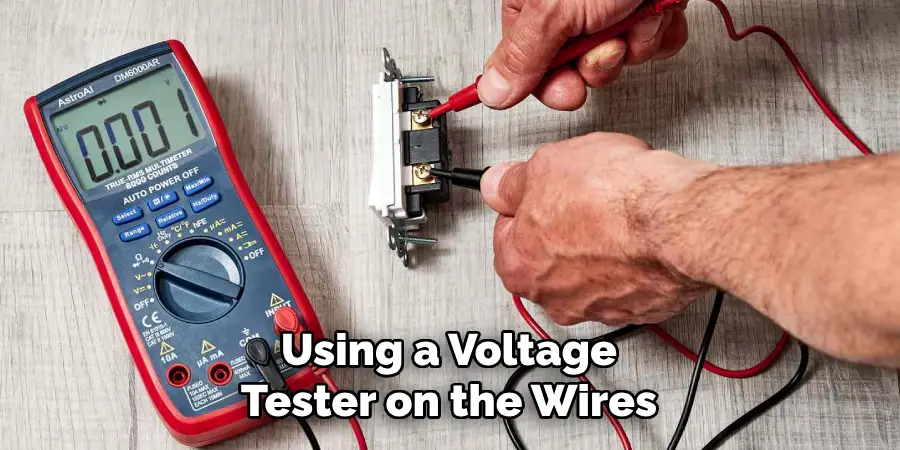
Additionally, it’s wise to double-check that the power is indeed off by using a voltage tester on the wires connected to the unit. Once you’re confident that the power is off, you can proceed with the removal process.
Step 2: Remove the Protective Grille
Once you have ensured that the power is off, the next step is to remove the protective grille from the AC unit. This grille often covers the top and may be attached with screws or clips. Use your screwdriver to loosen and remove any screws securing the grille in place. If the grille is clipped on, gently pry it away from the unit, taking care not to damage it.
Once the grille is removed, set it aside in a safe location. This will provide you with unobstructed access to the top of the AC unit and allow you to proceed with the next steps of your maintenance or repair task.
Step 3: Disconnect the Electrical Connections
With the protective grille out of the way, you will now be able to see and access the electrical connections on top of the unit. These connections may include wires or cables that are connected to other components within the unit. It’s imperative to disconnect these before removing the top.
Using your pliers, gently remove any connectors or screws that hold these cables in place. Take note of how they were connected so you can easily reattach them later.
Step 4: Label and Remove Any Wires Connected to the Top
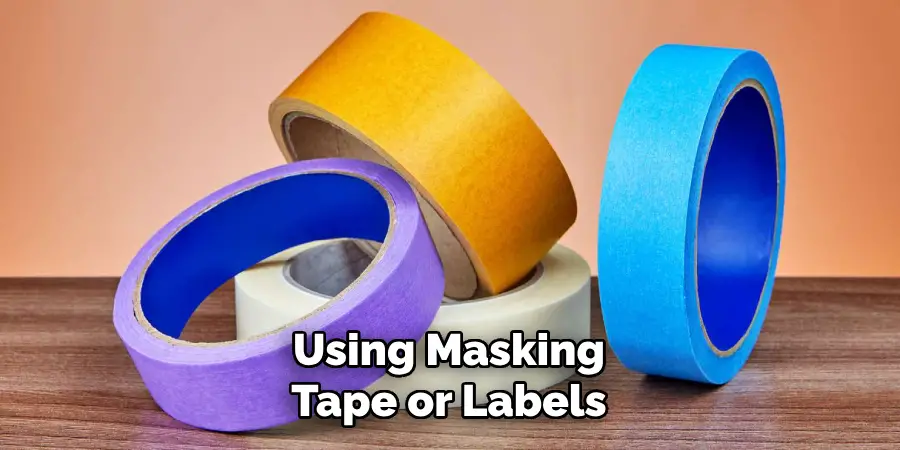
Before you completely detach the top of the AC unit, it’s crucial to label any wires connected to it. This step will ensure you can easily reconnect them when you’re done with your maintenance or repairs. Using masking tape or labels, write down the corresponding location or function of each wire as you disconnect them.
Once labeled, carefully remove the wires from their connectors, taking care not to damage them. If necessary, use your pliers to gently wiggle the connectors free. Store the wires in a secure location to avoid confusion or loss during the reassembly process. With all wires properly labeled and removed, you can now move on to the next step, which is removing the top of your AC unit.
Step 5: Remove the Top Panel
Now that all electrical connections are removed, you can safely remove the top panel of your AC unit. Depending on the make and model of your unit, there may be screws or clips holding it in place. Use your screwdriver to loosen any screws and gently pry away any clips, being mindful not to damage them.
Once the top panel is free, carefully lift it off and set it aside in a safe location.
Step 6: Inspect the Internal Components
With the top panel removed, you now have a clear view of the internal components of your air conditioning unit. Take this opportunity to inspect each part for any signs of wear, damage, or debris. Look for issues such as corrosion on electrical connections, frayed wires, or dirt buildup on coils and fans. If you notice any abnormalities, make a note of them for repair or replacement. Additionally, check the drainage system to ensure it’s clear of blockages.
Cleaning any dirt or debris at this stage is essential to maintaining your unit’s efficiency. Use a soft brush or cloth to gently wipe away any buildup, but take care not to disturb any delicate components. Once you have completed your inspection and cleaning, you can proceed with any necessary repairs or reassembly of your air conditioning unit.
Step 7: Reattach the Top Panel
Once you have completed any necessary repairs or inspections, it’s time to reattach the top panel of the AC unit. Begin by positioning the panel carefully back onto the unit, ensuring that any alignment tabs or clips are seated correctly. Secure the panel in place by fastening any screws you previously removed, using your screwdriver to tighten them gently but firmly.
If your unit has clips, press them back into place to ensure a snug fit. Before you move on, double-check that all components are correctly aligned and that nothing is obstructing the panel’s placement. Once satisfied, you can proceed to reconnect the electrical wires.
Step 8: Reconnect the Electrical Connections
Using your labeled wires, carefully reconnect each one to its corresponding location on the top panel. Take extra care not to force any connections or bend any wires during this process, as this could result in damage and require further repairs. Once all connections are secure, you can restore power to the AC unit by turning on the breaker or switch you turned off at the beginning of this process.
Following these steps on how to remove top of ac unit will ensure the safe and proper removal of the top of your AC unit. Remember, if you are not comfortable performing any maintenance or repairs on your own, it’s always best to seek professional assistance.
By regularly maintaining your air conditioning unit, you can prolong its lifespan and ensure it operates efficiently, saving you money on utility bills. Remember to always prioritize safety when working with electrical systems and never hesitate to seek professional help if needed.
Frequently Asked Questions
Q1: Do I Need Any Special Tools to Remove the Top of My AC unit?
A: It’s always best to have a basic set of hand tools on hand, such as a screwdriver and pliers. You may also need a soft brush or cloth for cleaning. However, the specific tools needed may vary depending on the make and model of your AC unit. It’s essential to refer to your unit’s manual or consult a professional if you are unsure.
Q2: How Often Should I Remove the Top of My AC unit for Maintenance?
A: It’s recommended to remove and inspect the top of your AC unit at least once a year. This allows for regular cleaning and inspection, which can help prevent potential issues and keep your unit running efficiently.
Q3: Can I Clean the Internal Components Without Removing the Top Panel?
A: While it is possible to clean some components without removing the top panel, it is not recommended. Removing the top panel provides better access to all internal components, making it easier to thoroughly clean and inspect them. Additionally, working on an open unit can help prevent any accidental damage to delicate parts.
Q4: Can I Perform Repairs on My Own?
A: It’s best to leave any repairs that involve electrical or intricate component replacements to a professional. Working with electricity can be dangerous, and incorrect repairs may result in further damage or safety hazards. If you are not comfortable performing repairs on your own, it’s always best to seek professional assistance.
Conclusion
In conclusion, maintaining your air conditioning unit is essential for its efficiency and longevity. By following the steps detailed in this guide on how to remove top of ac unit, you can safely remove the top panel, inspect internal components, and perform necessary cleaning and repairs. Remember that regular maintenance not only helps prevent costly repairs but also improves the overall performance of your AC unit.
Always prioritize safety during your maintenance tasks; if you’re uncertain or uncomfortable at any point, don’t hesitate to consult a professional. With regular care, your air conditioning system can provide reliable cooling for many seasons to come.
Check it out to Check Element on Water Heater
