Over time, tub spouts can deteriorate, develop leaks, or require replacement due to wear and tear. One common challenge homeowners face is removing a tub spout without a visible set screw, which can feel like a daunting task without the proper guidance.
Tub spouts come in two main types: slip-on spouts, which are secured with set screws, and screw-on spouts, which are threaded and do not use set screws. Identifying the type of spout installed in your bathtub is crucial for ensuring a smooth removal process and preventing damage to the underlying plumbing. This article is designed to help homeowners and DIY enthusiasts learn how to remove tub spout without set screw safely and effectively, providing step-by-step instructions and tips. By following this guide, you can confidently address this common maintenance task and ensure your plumbing setup remains functional and secure.
Identifying the Type of Tub Spout
Check for a Set Screw First
The first step in identifying your tub spout type is to inspect it closely for a set screw. Look at the underside of the spout, specifically near the base where it connects to the pipe. If you find a small hex or Phillips screw, you are dealing with a slip-on spout. However, if no screw is visible, it is more likely that you have a threaded (screw-on) tub spout that does not require a set screw for installation.
Confirming a Threaded Tub Spout
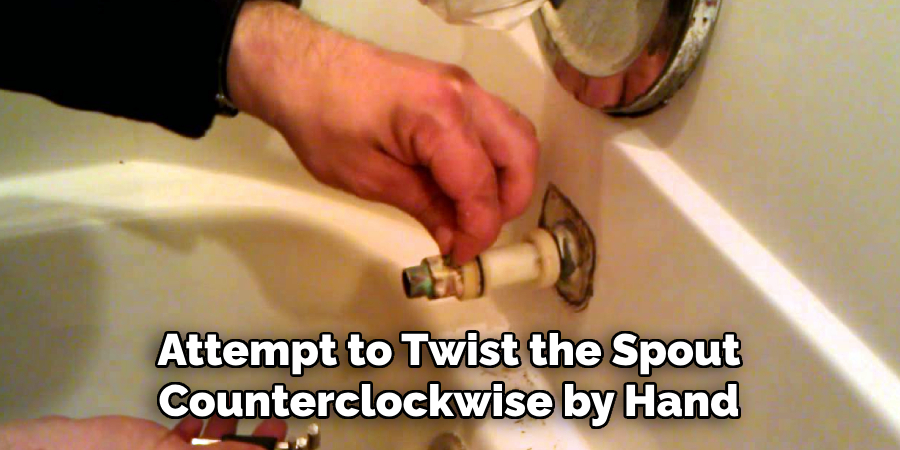
To confirm if your spout is threaded, gently attempt to twist the spout counterclockwise by hand. If the spout begins to loosen and turn, it is threaded and can be unscrewed entirely for removal. If you encounter resistance, inspect the connection area for signs of caulk, rust, or mineral buildup, which may need to be addressed to free the spout without forcing or damaging it.
Why It’s Important to Identify the Spout Type
Accurately identifying the type of tub spout before starting the removal process is crucial. Using the wrong removal method for your specific spout type could damage the plumbing or the tub wall. By taking the time to confirm the spout’s design, you can proceed with confidence and avoid costly repairs or complications.
Gathering Necessary Tools and Materials
Before beginning the tub spout removal process, gathering the right tools and materials is essential to ensure a smooth and damage-free experience. Preparing everything will save time and minimize risks to your spout, plumbing, and surrounding surfaces.
Essential Tools
- Adjustable wrench or pipe wrench: Provides a secure grip for loosening stubborn spouts.
- Strap wrench: Protects the finish of the spout by preventing scratches or dents during removal.
- Flathead screwdriver: Useful for breaking through or loosening any caulk sealing the spout to the wall.
- Plumber’s tape: Essential for proper reinstallation, ensuring a watertight seal.
Protective Materials
- Soft cloth or rubber pad: Wrap around the tub spout to shield it from damage while using tools.
- Bucket or towel: Place underneath to catch any residual water remaining in the pipes or falling debris.
Optional Cleaning Supplies
- Vinegar or lime remover: Helps dissolve and remove mineral deposits if the spout is stuck.
- Caulk remover: Makes it easier to cleanly remove old caulk without causing damage to the surrounding surfaces.
With these tools and materials on hand, you’ll be fully equipped and ready to begin the removal process effectively and safely.
Loosening and Preparing the Spout for Removal
Step 1: Turn Off Water Supply
While it may not always be required, turning off the water supply is a useful precaution. This step helps prevent accidental leaks or water spills during the removal process. Locate the shut-off valve for your tub and turn it clockwise until the water flow is completely stopped. If your plumbing system doesn’t have individual shut-off valves, you may need to turn off the main water supply to your home temporarily.
Step 2: Remove Any Caulking Around the Spout
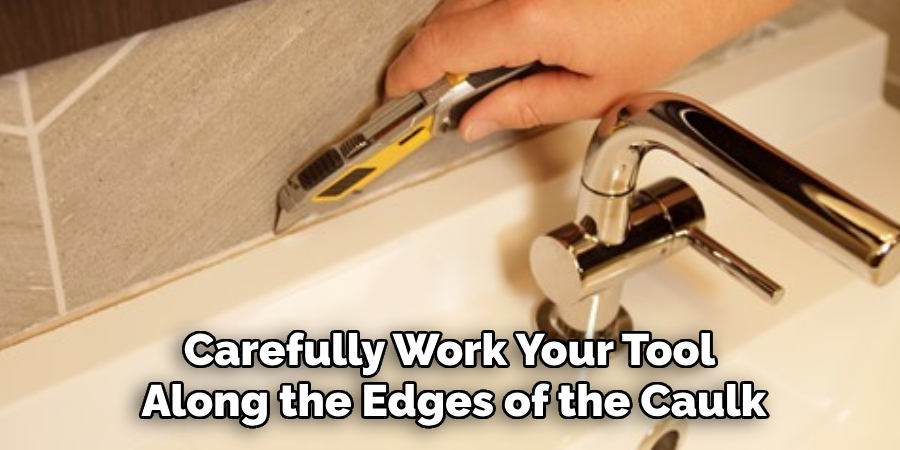
Over time, caulk is often applied around the base of the spout to create a seal. To remove it, use a flathead screwdriver, a utility knife, or a dedicated caulk remover. Carefully work your tool along the edges of the caulk to break it apart without scratching the surrounding wall or tiles. Once the majority of the caulk is removed, wipe down the area with a damp cloth to eliminate any remaining debris or residue. This step ensures a smoother process for disassembling the spout.
Step 3: Break Up Mineral Deposits (If Needed)
If your tub spout feels stuck, mineral deposits or limescale buildup may be holding it in place. To address this, soak a cloth or paper towel in white vinegar or a lime remover solution and wrap it around the base of the spout. Allow it to sit for 10–15 minutes to soften and dissolve the buildup. Afterward, use your hands or a tool like a strap wrench to wiggle and loosen the spout gently.
How to Remove Tub Spout Without Set Screw: Unscrewing the Tub Spout
Step 1: Try to Remove by Hand
Begin by gripping the tub spout firmly and turning it counterclockwise. This method works well for not heavily stuck or secured spouts with strong adhesives. If the spout starts to move, continue twisting it in the same direction until it comes off completely. Be patient and use consistent pressure to avoid damaging any internal components.
Step 2: Use a Strap Wrench for a Better Grip
If the spout does not loosen by hand, a strap wrench can provide additional grip and leverage without causing scratches or damage. Wrap the strap wrench securely around the spout and apply steady counterclockwise pressure. The added grip from the strap wrench will help loosen the spout while protecting its surface. Ensure you maintain control to prevent slipping or abrupt movements.
Step 3: Use a Pipe Wrench (If Necessary)
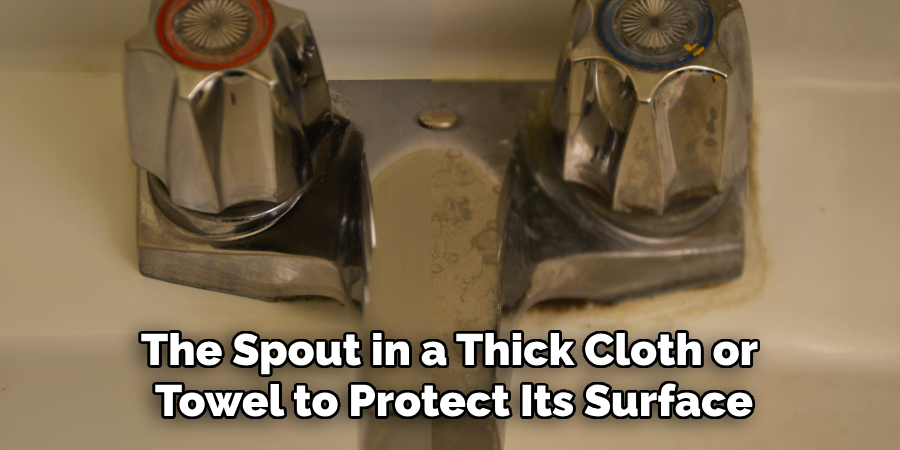
A pipe wrench can be employed for extra torque for more stubborn spouts, but caution is key to avoid damaging the underlying pipe. First, wrap the spout in a thick cloth or towel to protect its surface. Then, place the pipe wrench over the wrapped spout and apply gentle, steady counterclockwise force. Avoid excessive pressure, which could snap the pipe or damage other plumbing components. With careful application, the spout should eventually begin to loosen and can then be removed. If it still won’t budge, recheck for any remaining caulk or mineral deposits that might be preventing movement.
Dealing with a Stubborn Tub Spout
If your tub spout remains firmly stuck despite previous efforts, you can try a few additional techniques to resolve the issue safely and effectively.
Applying Penetrating Oil
Using a penetrating oil like WD-40 can help loosen rust, grime, or mineral deposits that may be binding the threads. Apply the oil generously around the base of the spout where it connects to the pipe. Allow it to sit for 15 minutes to penetrate effectively. Once the oil has had time to work, try turning the spout counterclockwise again with your hands or your tools of choice.
Using Heat to Loosen the Threads
Thermal expansion can help when threads are stuck. Use a hairdryer or heat gun to apply heat to the base of the spout for 1–2 minutes. The heat causes the metal to expand slightly, making it easier to unscrew. Be cautious not to overheat the surface, particularly if the spout is made of plastic or has a finish that could be damaged.
Checking for Hidden Fasteners
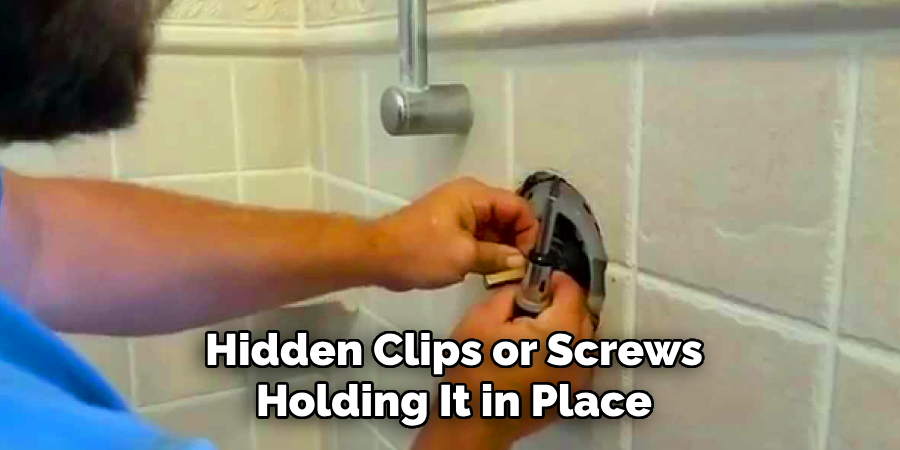
If the spout still won’t come off, double-check for any hidden clips or screws holding it in place. Some spouts are secured with a small screw underneath or along the side, which may not be immediately visible. Carefully inspect the spout and remove any fasteners before attempting to unscrew it again.
These methods should help you tackle even the most stubborn tub spout and proceed with your project.
Inspecting the Pipe and Preparing for a New Spout
Checking for Damage
Before installing a new tub spout, it’s crucial to inspect the pipe nipple to ensure it’s in proper condition. Look closely for any signs of corrosion, cracks, or other damage that could compromise the seal or cause leaks later on. If you notice significant damage, consider replacing the pipe nipple to avoid future issues.
Cleaning the Pipe Threads
Over time, debris, rust, and remnants of old plumber’s tape can accumulate on the pipe threads, making it difficult to attach a new spout properly. Use a wire brush or a clean cloth to clean the threads thoroughly. This step ensures a smooth connection and improves the effectiveness of the seal.
Applying Plumber’s Tape

Wrap the pipe threads with fresh plumber’s tape to create a watertight seal. Start at the base and wrap it around the threads clockwise 2–3 times, ensuring the tape lays flat and snug without overlapping excessively. This step helps prevent leaks and ensures the new spout attaches securely. Once the pipe is clean and prepared, you’ll be ready to install your new spout.
Installing a New Tub Spout
Choosing the Right Replacement
When selecting a new tub spout, choosing a replacement that matches your old spout’s connection type is essential. Tub spouts are generally available in slip-on or threaded designs, so verify your pipe configuration before purchasing. Ensuring compatibility will make installation smoother and help avoid potential leaks or functional issues.
Threading the New Spout On
To install the new spout, align it with the pipe threads and begin twisting it on clockwise by hand. Tighten the spout until it feels secure and snug against the wall. Use a wrench to secure it firmly, but be cautious not to over-tighten, as this could damage the threads or the spout itself.
Testing for Leaks
After installation, turn on the water and inspect the connection for any signs of leaking. If you notice any drips, ensure the spout is tightly secured or adjust the plumber’s tape as needed. A leak-free connection indicates the job is done successfully.
Conclusion
Understanding how to remove tub spout without set screw is an essential skill for maintaining a functional and leak-free bathroom. By identifying the spout type, carefully loosening it, and checking the pipe for readiness, you can make the replacement process efficient and hassle-free. Using the appropriate tools is crucial to prevent damage to your plumbing system. Before starting, inspect your setup thoroughly to ensure compatibility with the replacement spout. Proper installation not only ensures a secure fit but also minimizes the risk of future issues. With these steps, homeowners can confidently handle this straightforward home improvement task.

