A leaking toilet tank can waste a significant amount of water and increase your utility bills if not addressed promptly. Fortunately, repairing a toilet tank leak is a straightforward process that most homeowners can handle with a few basic tools and materials.

This guide on how to repair a toilet tank leak will walk you through the steps to identify the source of the leak and fix it effectively, saving you time and money while preventing further water damage.
Why Is My Toilet Tank Leaking?
A leaking toilet tank can occur for several reasons, and identifying the root cause is the first step to fixing the issue. One common reason is a worn-out or misaligned flapper, which may allow water to seep from the tank into the bowl continuously. Another possible cause is loose or cracked tank bolts, which can allow water to escape where the tank and bowl connect.
Additionally, the rubber gasket between the tank and the bowl could be damaged or deteriorated, leading to leaks. Finally, hairline cracks in the porcelain of the tank itself may sometimes develop, causing a persistent leak. Understanding these potential causes will help you accurately diagnose and resolve the problem efficiently.
Needed Materials
- Bucket or Large Container
- Adjustable Wrench
- Screwdriver
- Replacement Tank Bolts and Gasket (if Necessary)
- Porcelain Repair Kit (if Necessary)
10 Steps on How to Repair a Toilet Tank Leak: Step-by-step Guide
Step 1: Shut off the Water Supply
Locate the water supply valve, typically found on the wall or floor near the base of the toilet. Turn the valve clockwise to close it completely and stop the flow of water to the tank.
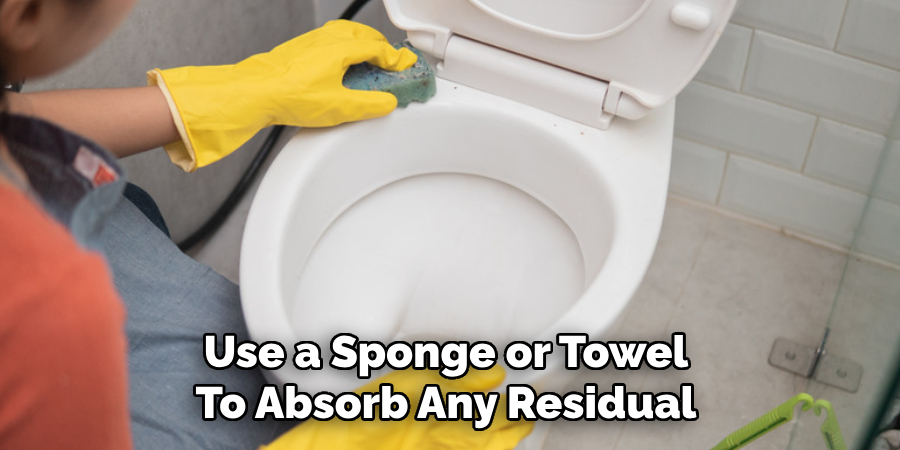
Once the water is turned off, flush the toilet to empty the tank, and use a sponge or towel to remove any remaining water. This step ensures a clean and dry area to work on, preventing further mess or water damage during the repair process.
Step 2: Drain the Tank
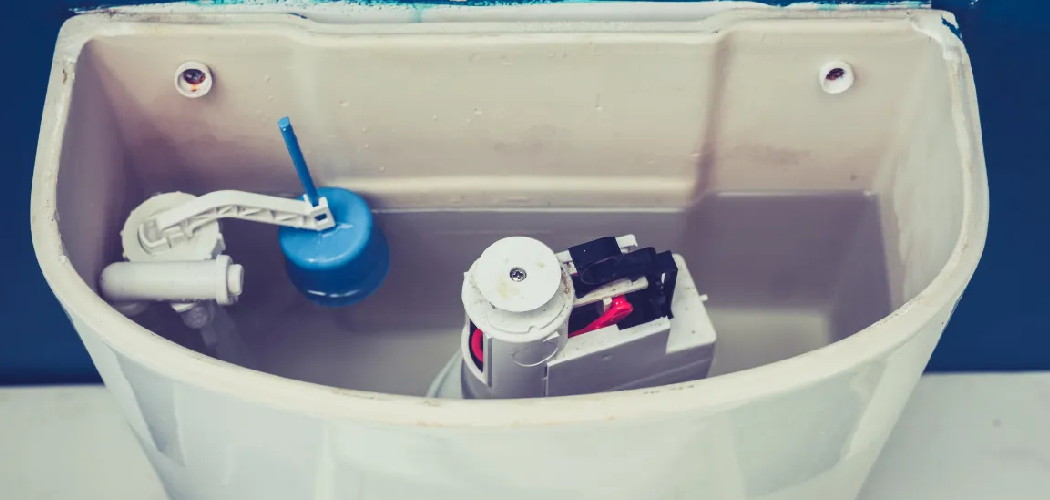
After closing the water supply, ensure the tank is completely drained to provide a safe and dry workspace. Start by keeping the tank lid aside in a secure place to avoid breakage. Next, use a sponge or towel to absorb any residual water at the bottom of the tank.

If necessary, use a small container or cup to scoop out excess water that cannot be flushed out. Make sure the entire interior of the tank is dry before proceeding to the next step, as this will help you work more efficiently and safely.
Step 3: Remove Old Bolts, Washers, and Gasket (If Necessary)
Begin by identifying the bolts that secure the tank to the toilet bowl. Using an appropriate wrench or screwdriver, carefully loosen and remove these bolts. Place the bolts and washers aside for inspection or disposal, depending on their condition. If the existing gasket appears worn, cracked, or deteriorated, remove it as well.
Clean the area around the gasket thoroughly to ensure a proper seal when installing the replacement. Take care to handle all components gently to avoid damaging the tank or bowl during this step.
Step 4: Install New Bolts, Washers, and Gasket (If Necessary)
Begin by positioning the new gasket securely onto the bottom of the tank, ensuring it aligns properly with the outlet hole. This creates a watertight seal between the tank and the bowl. Next, insert the new bolts into the designated holes on the tank, making sure to use washers on both sides of the tank to distribute pressure evenly and prevent leaks.
Carefully lower the tank onto the bowl, aligning it with the mounting holes. Once aligned, hand-tighten the nuts onto the bolts from underneath the bowl. Use a wrench to gently tighten the nuts further, alternating between bolts to maintain even pressure. Be cautious not to overtighten, as this could crack the porcelain.
Step 5: Place the Tank Back on the Bowl
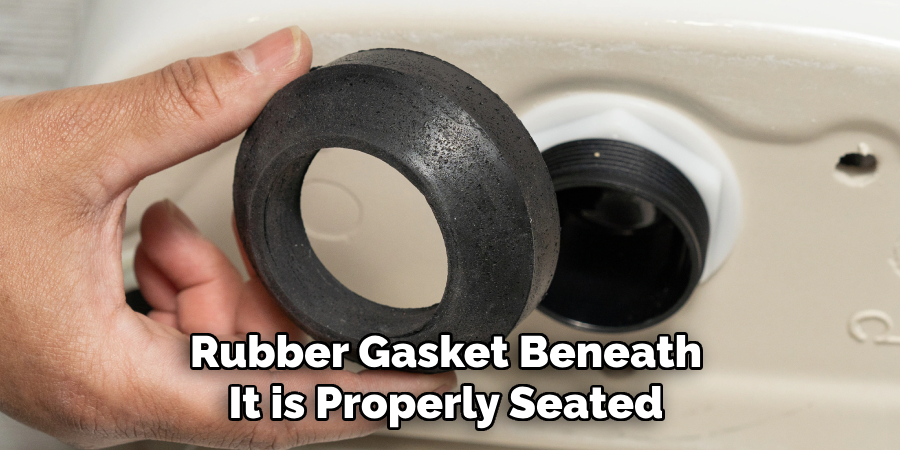
Before securing the tank, ensure the rubber gasket beneath it is properly seated to create a watertight seal. Carefully position the tank over the bowl, aligning it with the mounting bolts and ensuring the gasket fits snugly into the bowl’s inlet opening.

Slowly lower the tank onto the bowl, checking that the bolts pass cleanly through the holes without forcing. Once in place, confirm the tank sits level and stable before proceeding to securely tighten the mounting nuts as described in the previous step.
Step 6: Reattach Water Supply Line
Reconnect the water supply line to the fill valve located at the bottom of the tank. Hand-tighten the coupling nut onto the fill valve to secure the connection, ensuring it is snug but not overly tight to avoid damaging the threading.
Once the supply line is attached, use a wrench to give the nut an additional quarter turn if necessary. Finally, turn the water supply valve back on slowly, checking for any leaks around the connection point. If leaks are detected, tighten the coupling nut slightly until the leak stops.
Step 7: Turn On the Water Supply
With the connection secured and checked for leaks, fully open the water supply valve to allow water to flow into the tank. Observe the tank as it begins to fill, ensuring the fill valve operates correctly and the water level stops at the designated mark inside the tank.
If the water level is too high or too low, adjust the fill valve as needed according to the manufacturer’s instructions. Monitor the system for a few minutes to confirm there are no leaks or malfunctions in operation.
Step 8: Test Your Toilet
Flush the toilet a few times to ensure everything is functioning properly. Check that the tank refills correctly and that there are no unusual sounds or leaks around the supply line, valve, or other connection points.
Pay attention to the water level in the tank and adjust the float if necessary to maintain the recommended fill line, typically marked inside the tank. If any issues persist, revisit the previous steps to make adjustments. Once you confirm the toilet is working efficiently without leaks or other problems, the repair process is complete.
Step 9: Caulk Around Base (Optional)
For a clean and finished look, consider applying a bead of caulk around the base of the toilet where it meets the floor. This step helps to create a seal that prevents dirt and moisture from collecting underneath the toilet. Use a bathroom-safe waterproof caulk and a caulking gun to apply a smooth, even line around the base.
Once applied, use a damp finger or a caulk smoothing tool to press and shape the bead, ensuring a neat appearance. Allow the caulk to cure as directed by the manufacturer before exposing it to water or cleaning. While this step is optional, it adds an extra layer of cleanliness and stability to the installation.
Step 10: Clean Up
With the installation complete, take time to clean up the workspace. Remove any leftover materials, tools, or packaging from the area. Wipe down the toilet and the surrounding floor to ensure everything is spotless. If any excess caulk or adhesive was applied, carefully scrape it away with a utility knife or cleaning tool, taking care not to damage the surfaces. This final step helps leave the bathroom looking tidy and ensures your newly installed toilet is ready for use.

Following these steps on how to repair a toilet tank leak will not only save you money but also help to prevent further damage to your bathroom. It is important to maintain and repair any leaks as soon as possible to avoid wasting water and potentially causing expensive water damage.
Do You Need to Use Professionals?
While repairing a toilet tank leak can often be managed as a straightforward DIY task, there are situations where involving professionals may be necessary. If the leak is severe, if the issue persists after attempting repairs, or if the problem involves complex plumbing components, it is best to consult a licensed plumber.
Professional plumbers have the expertise and tools to identify and resolve even the most complicated issues, ensuring the repairs are completed effectively and safely. Additionally, seeking professional help can save time and provide peace of mind, especially for those unfamiliar with plumbing systems.
Frequently Asked Questions
Q1: How Do I Know if My Toilet Tank is Leaking?
A: Some signs that your toilet tank may be leaking include constantly running water, a noticeable increase in your water bill, or the sound of water continuously filling the tank. To confirm if your toilet tank is leaking, you can perform a dye test by adding food coloring to the tank and waiting for 10-15 minutes. If the color appears in the bowl without flushing, it’s likely that there is a leak.
Q2: What Should I Do if My Sink is Clogged?
A: The first step would be to try using a plunger to dislodge any debris or clogs in the drain. If that doesn’t work, you can try using a plumbing snake or pouring boiling water down the drain. If the clog persists, it may be necessary to call a professional plumber for assistance.
Q3: How Can I Prevent Pipes from Freezing in the Winter?
A: To prevent pipes from freezing during the winter, you should insulate any exposed pipes with foam insulation or pipe sleeves. You can also leave cabinet doors open to allow warm air to circulate around pipes under sinks. It’s also important to keep your thermostat set at a consistent temperature and let faucets drip during extreme cold temperatures.
Q4: What is the Best Way to Unclog a Toilet?
A: One method for unclogging a toilet is using a plunger. Make sure there is enough water in the bowl to cover the suction cup on the plunger, then plunge up and down vigorously until the clog clears.

Conclusion
Proper home maintenance and preparation are essential for avoiding common plumbing issues and maintaining a safe and functional household.
By taking proactive measures such as protecting pipes from freezing, addressing clogs appropriately, and keeping your plumbing in good condition, you can prevent costly repairs and ensure peace of mind.
Remember, regular care and attention to your home’s plumbing system will go a long way in maintaining its efficiency and reliability over time. Thanks for reading this article on how to repair a toilet tank leak.

