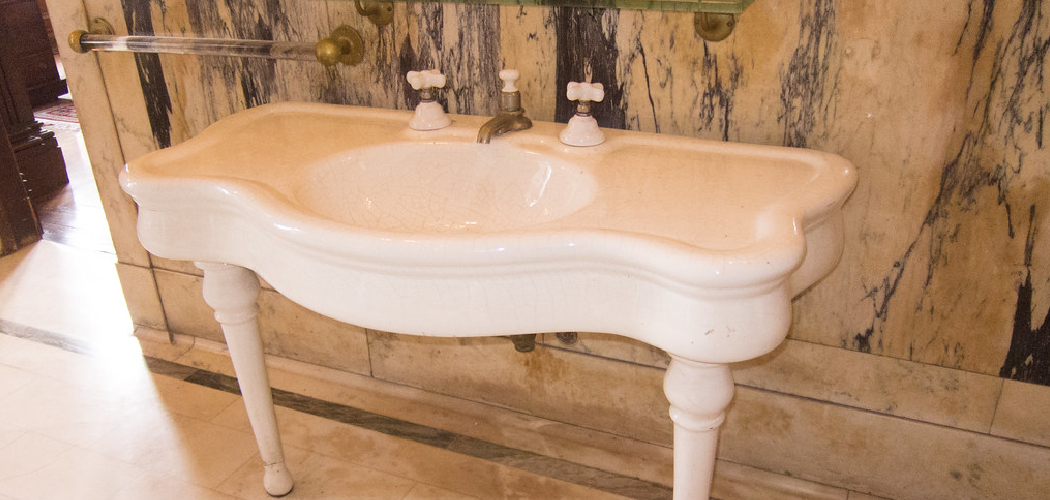
How to repair chip in porcelain sink can seem daunting, but with the right approach and materials, it’s a task that can be accomplished by most homeowners.
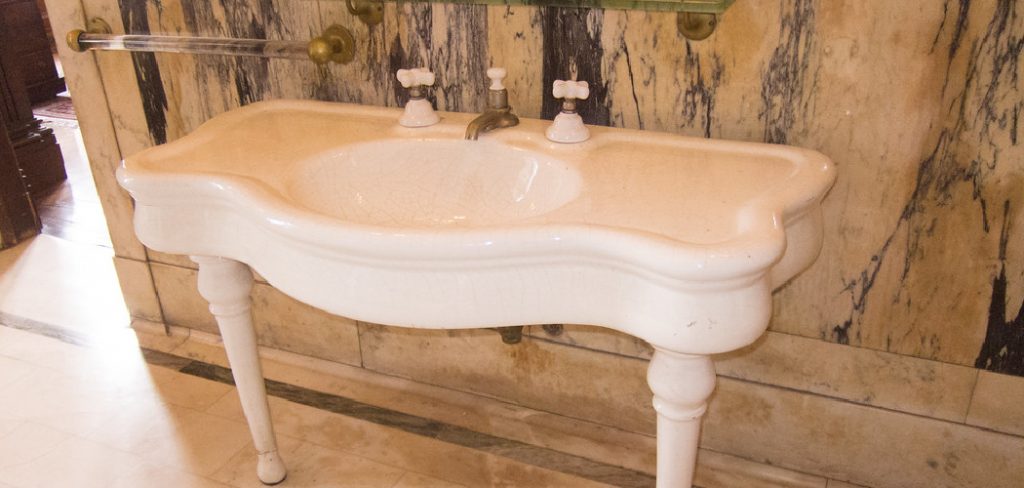
Porcelain sinks are known for their durability and aesthetics, but even the most robust surfaces are prone to chips and scratches over time. A chip can detract from the sink’s overall appearance, whether caused by abrasive cleaning tools, falling objects, or normal wear and tear.
In this guide, we will walk you through the necessary steps to effectively repair a chip, restoring the sink’s beauty and functionality while ensuring a seamless finish that blends with the surrounding porcelain. With a bit of patience and attention to detail, you can achieve professional-looking results without the need for costly replacements.
What Will You Need?
Before you begin the repair process, gathering all the necessary materials and tools is essential. Here are some items that you’ll need:
- Porcelain filler or touch-up glaze
- Fine-grit sandpaper
- Clean cloth
- Gloves (optional)
- Masking tape
- Paintbrushes (small and medium sizes)
- Water-based acrylic paint (if using touch-up glaze)
Make sure to read the instructions on your chosen porcelain filler or touch-up glaze for any additional materials that may be needed.
10 Easy Steps on How to Repair Chip in Porcelain Sink
Step 1: Prep the Sink
Preparing the sink is a crucial first step in ensuring a successful repair. Clean the chipped area thoroughly with a mild detergent and water to remove any dirt, grease, or residue. This will help the filler adhere better to the surface. Rinse the area well and dry it using a clean cloth to prevent moisture from interfering with the adhesion process. It’s advisable to inspect the entire sink for any additional chips or damage that may need attention.

Once the area is clean and dry, use masking tape to outline the repair zone. This will protect the surrounding porcelain from filler or glaze and create a clean boundary for your repair. Make sure the edges of the tape are pressed down firmly to avoid any leaks from the repair materials during application. With the sink prepped and ready, you can confidently move on to the next steps in the repair process.
Step 2: Apply the Porcelain Filler
Once the sink is prepped, it’s time to apply the porcelain filler or touch-up glaze. Using a small paintbrush, gently mix the filler according to the manufacturer’s instructions, ensuring an even consistency.
Carefully apply the filler to the chipped area, using the brush to spread it evenly and press it into the chip to fill any gaps. Ensure that the filler slightly overlaps the chip’s edges to create a seamless transition with the surrounding porcelain.
If necessary, apply multiple layers, allowing each layer to dry thoroughly according to the instructions before adding the next. Once the chip is fully filled, move on to the next step to achieve a smooth finish.

Step 3: Sand the Area
After completely dries the filler, it’s time to sand the repaired area for a smooth finish. Begin by using fine-grit sandpaper to gently sand the filled chip, blending the edges of the filler into the surrounding porcelain. Use light pressure to avoid damaging the sink further; the goal is to create a seamless transition between the repair and the original surface. Periodically wipe the area with a clean cloth to remove dust and assess your progress. Once you achieve a smooth surface that is level with the surrounding area, you can proceed to the next step in the repair process.
Step 4: Clean the Area Again
After sanding the repaired area, it’s essential to clean it once more to remove any dust or debris from the sanding process. Use a clean, damp cloth to wipe the area carefully, eliminating all particles that could interfere with the next steps. Allow the area to dry completely before proceeding. This final cleaning will prepare the surface for any additional finishing touches, ensuring optimal adhesion and helping to achieve a flawless appearance in the final stages of your repair.
Step 5: Apply Paint or Glaze
Now that the area is clean and dry, you can enhance the appearance of the repair by applying paint or a touch-up glaze. If your filler requires painting, select a water-based acrylic paint that closely matches the color of your porcelain sink.
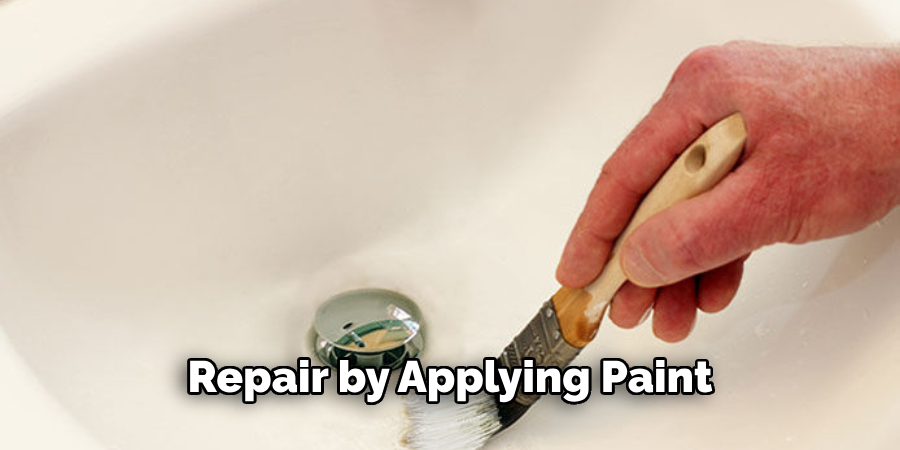
Carefully paint over the repaired area using a small paintbrush, ensuring an even coat that blends seamlessly with the surrounding surface. If you’re using a touch-up glaze, follow the manufacturer’s instructions for application. Allow the paint or glaze to dry thoroughly, which may take several hours, before moving on to the next step. This step will help restore the chip to its original appearance and provide an added layer of protection.
Step 6: Final Touches
Once the paint or glaze has dried completely, it’s time for the final touches to ensure your repair is both aesthetically pleasing and durable. Carefully inspect the repaired area for any inconsistencies or imperfections that may need addressing. If you spot any rough edges or uneven surfaces, lightly sand them again with fine-grit sandpaper, being cautious not to damage the surrounding porcelain. After sanding, clean the area with a damp cloth to remove any residual dust. For added protection, consider applying a clear sealant over the repair to safeguard it from future damage and stains. Allow everything to dry thoroughly before using the sink again, ensuring a beautiful and long-lasting repair that blends with the rest of your porcelain sink.
Step 7: Cure the Repair
After completing the final touches and allowing the sealant (if used) to dry, it’s essential to let the repair cure for the specified time provided by the product instructions. This curing process ensures that the filler, paint, or glaze fully adheres and sets, providing maximum durability and resilience. Avoid using the sink during this curing period to prevent any potential damage or dislodgement of the repair materials. Typically, this may take 24 hours to a few days, depending on the products used. Once the curing time has elapsed, you can confidently resume regular use of your porcelain sink, enjoying its restored beauty and functionality.
Step 8: Regular Maintenance
Regular maintenance is essential to ensure the longevity of your repaired sink and maintain its pristine appearance. Start by cleaning the sink with mild, non-abrasive cleaners to prevent scratches and damage to the repaired area. Avoid using harsh chemicals that can deteriorate the filler or glaze.
Additionally, inspect the sink periodically for any signs of wear or new chips that may require attention. Promptly addressing any issues will prevent them from escalating into more significant problems. Carrying out these maintenance practices can keep your porcelain sink looking beautiful and functioning effectively for years.

Step 9: Evaluate the Repair
After the curing process is complete and you have resumed everyday use of your porcelain sink, it’s important to evaluate the repair periodically. Check for any signs of wear, such as cracks or peeling in the filler, paint, or glaze. Assess the smoothness of the surface and ensure that the repaired area continues to blend well with the original porcelain. If you notice any issues, you may need to repeat some of the previous steps to maintain the integrity and appearance of the repair. Keeping an eye on the repaired area ensures ongoing aesthetics and helps you catch potential problems early, allowing for timely interventions. Regular evaluations will contribute to the longevity and sustained beauty of your sink.
Step 10: Document the Repair Process
Once you have completed the repair and evaluated its effectiveness, consider documenting the entire process for future reference. Take notes on the materials used, the steps followed, and any challenges encountered. This can serve as a helpful guide for similar repairs in the future or assist anyone else who might face the same issue. Additionally, consider taking before-and-after photos to illustrate the transformation. Keeping a record will not only help you track maintenance but also provide valuable insights for improving your technique and ensuring the ongoing beauty and functionality of your porcelain sink.
By following these steps, you can effectively repair a chip in your porcelain sink and restore it to its original beauty.
Conclusion
In conclusion, how to repair chip in porcelain sink is a manageable task that can significantly enhance both its appearance and longevity.
By meticulously following the outlined steps—cleaning the area, applying the appropriate filler, painting or glazing, and ensuring proper curing and maintenance—you can achieve a seamless repair that restores your sink to its former glory. Regular inspections and prompt addressing of any issues will further ensure that your repair remains sturdy and visually pleasing over time.
Hopefully, the article on repairing a chip in a porcelain sink has provided valuable insights and guidance for tackling this common household issue. With the right tools, materials, and techniques, you can successfully restore your porcelain sink and enjoy its beauty for years to come. So go ahead and tackle that chip with confidence! Happy repairing!

