When it comes to irrigation systems, a common issue that many homeowners face is a leak or break in their drip line. This can lead to water waste, increased utility bills, and potential damage to your plants and landscape.
But fear not; repairing a drip line is a relatively simple task that most individuals can do with minimal tools and materials. In this guide on how to repair drip line, we will walk you through the steps to effectively repair your drip line and get your irrigation system back up and running efficiently.
Materials You Will Need
- Drip Line Repair Kit (can be purchased at most hardware or home improvement stores)
- Utility Knife
- Scissors
- Pipe Cutter (optional, but recommended for a cleaner cut)
- Rags or Paper Towels
- A bucket or container for collecting excess water
- Teflon Tape (optional, but recommended)
12 Steps on How to Repair Drip Line
Step 1: Locate the Leak or Break
The first step in repairing a drip line is to locate the source of the issue. This may seem obvious, but sometimes leaks can be difficult to spot, and it’s important to make sure you are addressing the correct area.
Step 2: Turn off the Water Supply
Before you begin any repairs, it is crucial to turn off the water supply to your irrigation system. This will prevent any further damage or water waste. If you are unsure of how to do this, consult your irrigation system’s manual or contact a professional.
Step 3: Release Pressure in the Line
To ensure safety and prevent any water from spraying out when you cut into the line, release the pressure by opening the end cap or using a valve key to open the flush valve. As an added precaution, wear safety glasses during this step.
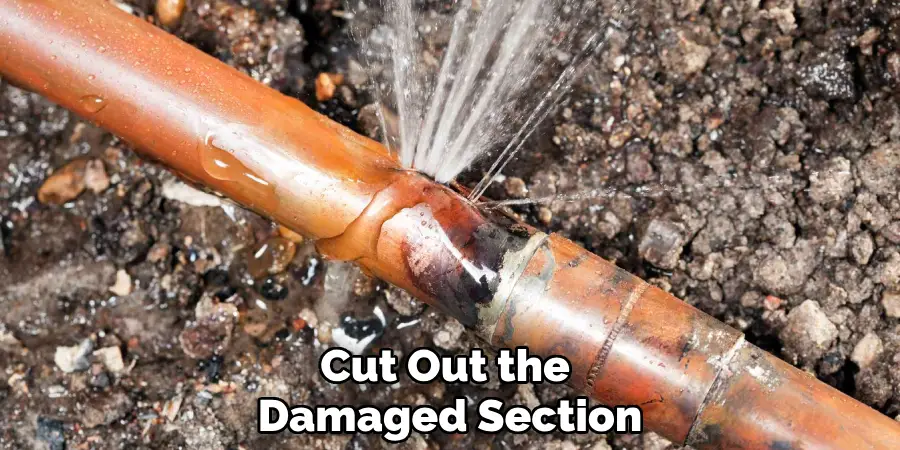
Step 4: Cut Out the Damaged Section
Using a utility knife or pipe cutter, carefully cut out the damaged section of the drip line. Make sure to cut straight across for a clean and even cut. Moreover, if the break or leak is near a fitting, cut at least 1 inch away from it to ensure proper connection.
Step 5: Clean Up
After cutting out the damaged section, use rags or paper towels to clean up any excess water that may have accumulated. This will help prevent debris from getting into your irrigation system and causing future issues.
Step 6: Prepare the New Drip Line
Take your new drip line repair kit and carefully remove the end cap. Then, using a pipe cutter or scissors, cut a piece of the new drip line to match the length of the damaged section you removed. And if your repair kit comes with connectors, attach them to each end of the new drip line piece.
Step 7: Attach the New Drip Line
Insert one end of the new drip line into the existing line and push it in until it reaches the connector. Then, insert the other end into the opposite side and make sure it is securely connected. While not necessary, you can also wrap the connections with Teflon tape for added security.
Step 8: Turn the Water Supply Back On
Once your new drip line is securely attached, turn the water supply back on and check for any leaks or issues. If everything looks good, proceed to the next step. This is also a good opportunity to flush out any debris in the line by opening the end cap and letting water run through for a few minutes.
Step 9: Replace End Cap
If there are no leaks or issues, replace the end cap or close the flush valve. This will help build up pressure in your system again. While not necessary, you can also use a valve key to close the flush valve and add an extra layer of security.
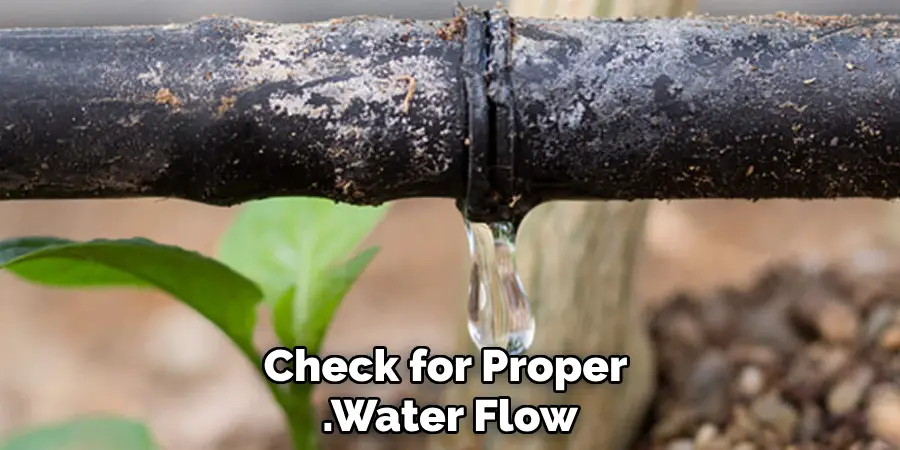
Step 10: Check for Proper Water Flow
Turn on your irrigation system and check if water is flowing through the repaired section. If there are no issues, then you have successfully repaired your drip line! And if there are still issues, try repeating the steps or consult a professional.
Step 11: Clean Up
After completing the repair, clean up any tools or materials you used, and make sure to tidy up your work area. This will help prevent any accidents or damage from occurring. But most importantly, don’t forget to turn off your irrigation system before leaving the area.
Step 12: Regular Maintenance
To help prevent future leaks or breaks in your drip line, make sure to regularly check and maintain your irrigation system. This includes checking for any clogs or damaged sections, adjusting water pressure, and making necessary repairs as soon as possible.
Having a properly functioning irrigation system is essential for maintaining a healthy and beautiful landscape. By following these simple steps, you can easily repair your drip line and avoid any potential issues in the future. Remember to always put safety first and consult a professional if needed. With regular maintenance, your drip line will continue providing efficient irrigation for years to come.
8 Safety Measures to Consider
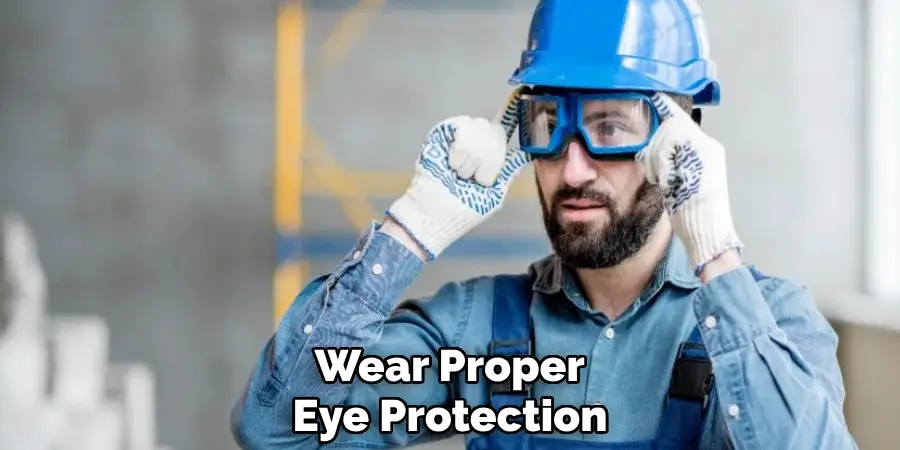
1. Wear Safety Glasses or Goggles
As mentioned above, it is important to wear safety glasses or goggles when releasing pressure from the line. This will help protect your eyes from any potential debris or water spray. When working with any tools or equipment, it is always better to err on the side of caution and wear proper eye protection.
2. Cut Away from Yourself
When cutting the damaged section of the drip line, make sure to cut away from yourself. This will help prevent any accidents or injuries from occurring. Also, be mindful of your fingers and keep them clear from where you are cutting.
3. Turn off the Water Supply
Before repairing any irrigation system, always turn off the water supply to prevent further damage or water waste. Make sure to also release pressure from the line before making any cuts. As an added precaution, turn off the power to your irrigation system if it is connected to a pump or electricity.
4. Utilize Proper Tools
Using proper tools, such as a utility knife or pipe cutter, will help ensure a clean and even cut. This will also prevent any damage to the surrounding area or other components of the irrigation system. Make sure to use tools that are appropriate for the job and always follow the manufacturer’s instructions.
5. Consult a Professional
If you are unsure of how to repair your drip line or encounter any issues during the process, it is best to consult a professional. They have the knowledge and experience to handle any repairs or maintenance on your irrigation system. It is better to be safe than sorry when it comes to the proper functioning of your landscape.
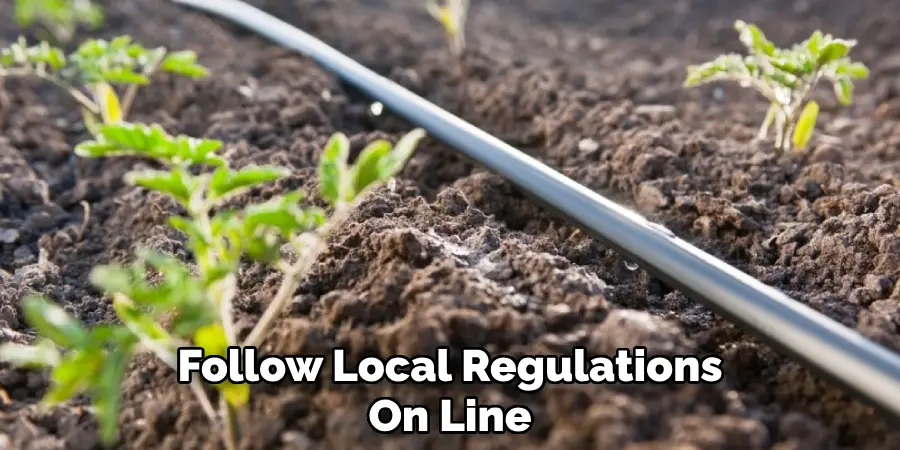
6. Follow Local Regulations
Before starting any repair work on your irrigation system, make sure to check local regulations and codes. This is especially important if you are making changes or repairs to a commercial or public irrigation system. Following regulations will not only prevent potential fines but also ensure the safety and efficiency of your system.
7. Have a First Aid Kit on Hand
Accidents can happen, so it’s always a good idea to have a first aid kit nearby in case of any injuries. Make sure it is fully stocked and easily accessible in case of an emergency. Never underestimate the importance of being prepared for any situation.
8. Take Regular Breaks
Working on any project can be tiring, so make sure to take breaks and stay hydrated. This will not only prevent fatigue but also help you maintain focus and attention to detail while working on your irrigation system. Don’t push yourself too hard, and listen to your body’s needs. By following these safety measures on how to repair drip line, you can ensure a successful and safe repair of your drip line.
8 Things to Avoid
1. Using Dull or Improper Tools
Using dull or improper tools can lead to unnecessary damage and make the repair process more difficult. Make sure to use sharp and appropriate tools for the job at hand. So, be sure to check your tools before starting any repair work.
2. Ignoring Safety Precautions
Always follow safety precautions when working on your irrigation system. This includes wearing proper eye protection, turning off the water supply, and consulting a professional when needed. Ignoring these precautions can lead to accidents and injuries.
3. Rushing the Process
Repairs should be done carefully and thoroughly to ensure the longevity of your irrigation system. Rushing through the process can lead to mistakes or incomplete repairs, which may result in further issues down the line. Take your time and do each step properly.
4. Neglecting Regular Maintenance
Regularly checking and maintaining your irrigation system is crucial for preventing future leaks or breaks in your drip line. Neglecting this can lead to costly repairs and potential damage to your landscape. Make sure to set a schedule for maintenance and follow it consistently.
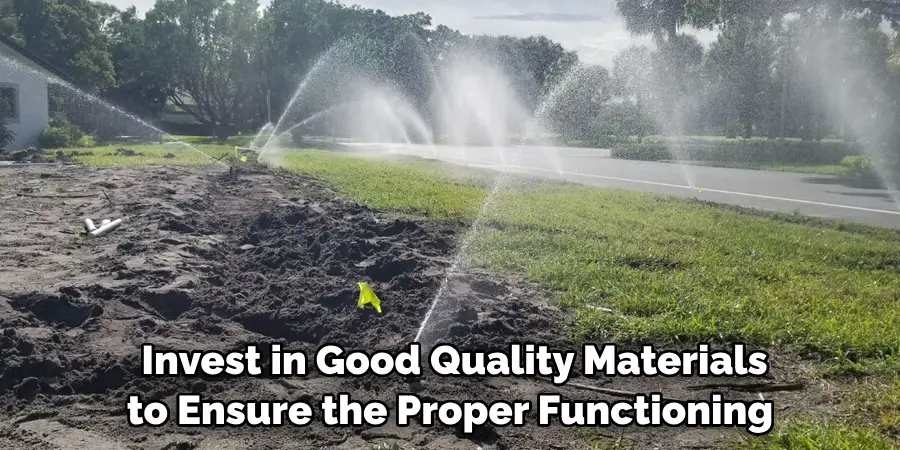
5. Skimping on Materials
Using cheap or low-quality materials may save you money initially, but they may not last as long or provide the necessary level of efficiency for your irrigation system. Invest in good quality materials to ensure the proper functioning of your system and avoid future issues.
6. Overlooking Water Pressure
Water pressure plays a crucial role in the function of your irrigation system. Make sure to regularly check and adjust water pressure as needed to prevent any potential problems. High water pressure can cause damage to the drip line, while low pressure may result in inadequate irrigation for your landscape.
7. Neglecting Local Regulations
Ignoring local regulations and codes when repairing your irrigation system can lead to costly fines and potential legal issues. Make sure to do your research and follow all necessary guidelines to avoid any problems.
8. Failing to Consult a Professional
If you are unsure of how to properly repair your drip line or encounter any issues during the process, it is always best to consult a professional. They have the expertise and experience to handle any repairs or maintenance on your irrigation system. Don’t hesitate to seek their help if needed. By avoiding these common mistakes, you can ensure a successful repair and proper functioning of your drip line for years to come.
More importantly, make sure to prioritize safety and be cautious when working on your irrigation system. Happy repairing! So, always take the necessary precautions and use the proper tools for a successful repair of your drip line. Remember, prevention is key, so make sure to regularly maintain your irrigation system to avoid future issues.
8 Additional Tips
1. Plan Ahead
Before starting any repair work, make sure to have a clear plan in place. This will help you stay organized and ensure that all necessary steps are taken. Consider creating a checklist or timeline to keep track of your progress.
2. Keep Spare Parts on Hand
It’s always a good idea to keep spare parts on hand for your irrigation system, particularly for common components such as connectors or emitters. This will save you time and effort in case of any unexpected repairs.
3. Use Teflon Tape
When connecting pipes or fittings, use Teflon tape to create a tight seal and prevent leaks. Simply wrap the tape around the threads before screwing them together. While this may seem like a small step, it can make a big difference in the efficiency of your drip line.
4. Test Before Burying
Before burying any repaired or newly installed pipes, make sure to test them first. Turn on the water supply and check for any leaks or issues. It’s much easier to fix problems at ground level than after everything is buried.
5. Protect Against Freezing
If you live in a colder climate, it’s important to take precautions against freezing temperatures, which can damage your irrigation system. Make sure to wrap exposed pipes or emitters with insulation and turn off the water supply during freezing weather.
6. Consider Automation
Investing in an automated irrigation system can save time and effort in the long run. These systems can be programmed to water your landscape at specific times and intervals, ensuring efficient use of water.
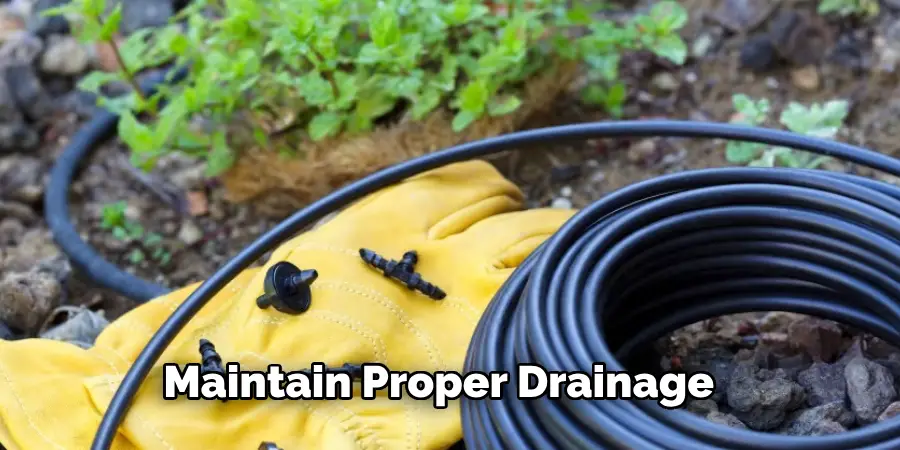
7. Maintain Proper Drainage
Proper drainage is essential for your irrigation system to function properly. Make sure that any excess water has a clear path to exit, whether through a drain or a slope in your landscape.
8. Keep an Eye on Your Landscape
Regularly check your landscape for any signs of over or under-watering, such as wilting plants or excessive puddling. Adjust your irrigation system accordingly to ensure the health and proper growth of your plants.
By following these additional tips on how to repair drip lines, you can not only avoid common mistakes but also improve the overall efficiency and longevity of your irrigation system. Remember to always prioritize safety, plan ahead, and consult a professional when needed. So, keep these tips in mind for a successful repair and maintenance of your irrigation system. With proper care and attention, your drip line will continue to keep your landscape beautiful and healthy for years to come.
Frequently Asked Questions
Can I Repair My Irrigation System Myself?
It is possible to repair your irrigation system yourself, but it is essential to have the necessary knowledge and skills. If you are unsure or encounter any issues, it’s best to consult a professional.
How Often Should I Maintain My Irrigation System?
It is recommended to check and maintain your irrigation system at least once a year, preferably before the start of the watering season. However, if you notice any issues or changes in water pressure or flow, it’s important to address them immediately.
Can I Use Any Type of Tape for Pipe Connections?
Teflon tape is the recommended type of tape for pipe connections as it provides a tight seal and is durable against water and pressure. Other types of tape may not be suitable and can potentially cause leaks or damage. So, make sure to use Teflon tape for all pipe connections in your irrigation system.
Is Automation Worth the Investment?
Automation can be a valuable investment, as it saves time and effort in the long run. It also ensures more efficient use of water, which can save money on utility bills. Consider your specific needs and budget before deciding if automation is right for you. So, based on your needs and budget, decide whether investing in an automated irrigation system is worth it or not. Overall, proper maintenance and care can greatly improve the functionality and longevity of your irrigation system. By avoiding common mistakes and following these additional tips, you can ensure a successful repair and efficient operation of your drip line.
Conclusion
In conclusion, repairing your drip line may seem daunting, but by following these guidelines and tips on how to repair drip line, you can easily tackle any issues that may arise. Remember to always prioritize safety, plan ahead, and seek professional help when needed.
Regular maintenance and proper care will ensure a healthy and beautiful landscape for years to come. So, don’t hesitate to take the necessary steps to keep your irrigation system in top shape. Happy repairing! So, we hope these tips help you successfully repair and maintain your drip line. Keep your landscape hydrated and thriving with a well-functioning irrigation system.

