Repairing an enamel bath is a practical solution for restoring its appearance and prolonging its life. Over time, baths can develop chips, scratches, and stains that not only detract from their aesthetic appeal but can also lead to further damage if left untreated. This guide will explore the essential steps and techniques for how to repair enamel bath, ensuring it remains a beautiful and functional fixture in your bathroom. Whether you’re dealing with minor imperfections or more significant damage, our detailed instructions will help you achieve a professional finish at home.

Importance of Repairing Enamel Baths
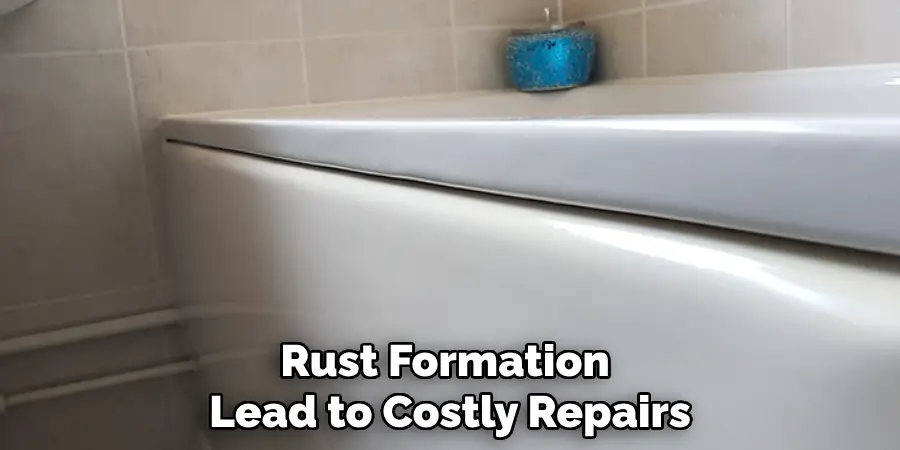
Repairing enamel baths is crucial for several reasons. Firstly, it helps maintain the overall aesthetic of your bathroom, ensuring that the bath looks inviting and fresh. A well-cared-for bath enhances the value of your home, making it more appealing to potential buyers or guests. Secondly, addressing chips and scratches promptly can prevent further deterioration, such as rust formation or the development of mold, which can lead to costly repairs.
Additionally, repairing these imperfections can save you money in the long run, as replacing an entire bath is significantly more expensive than a simple repair. Ultimately, taking the time to fix enamel baths not only improves their appearance but also extends their lifespan and functionality.
Common Problems with Enamel Baths
Enamel baths, while durable, can encounter a variety of issues over time. One of the most prevalent problems is the emergence of chips and scratches, often caused by the impact of hard objects or abrasive cleaning tools. These imperfections not only mar the surface but can also lead to rust if the underlying metal is exposed.

Stains caused by mineral buildup, soap scum, or certain bath products can also affect the bath’s appearance, causing it to look dull and uninviting. Another common issue is the loosening of the enamel coating, which may result from exposure to extreme temperatures or improper cleaning techniques. Recognising these problems early on is essential for effective repair and maintaining the functionality and visual appeal of your enamel bath.
10 Methods How to Repair Enamel Bath
1. Use an Enamel Repair Kit for Small Chips
The most common issue with enamel baths is chipping, where a piece of the enamel coating breaks off, exposing the metal underneath. Enamel repair kits are specifically designed to address small chips and can be easily found in hardware stores. These kits typically include a filler and a finishing enamel paint. To repair a chip, first clean the area thoroughly to remove any dirt or rust. Apply the filler to the chipped area, smoothing it out with a spatula. Once the filler has dried, paint over it with the provided enamel paint, matching the color of your bath. Allow the paint to dry for the time recommended on the product before using the bath again.
2. Use Epoxy Resin for Larger Chips
For larger chips or areas of damage, an epoxy resin may be required. Epoxy resin is a durable adhesive that can bond with metal and enamel, providing a long-lasting repair. Clean the area thoroughly and sand it lightly to create a rough surface for the epoxy to adhere to. Mix the epoxy resin according to the manufacturer’s instructions and apply it to the damaged area using a spatula or small brush. Once the resin has hardened, sand it down to make it level with the surrounding surface. After sanding, paint over the epoxy with enamel paint to restore the original finish.

3. Polish Out Minor Scratches
Minor scratches on the surface of an enamel bath can often be polished out without the need for any heavy-duty repair products. To polish out scratches, use a fine polishing compound or a mixture of baking soda and water. Apply the compound or paste to the scratched area and gently rub it in using a soft cloth or sponge in a circular motion. Continue polishing until the scratch fades or disappears. This method works best for superficial scratches that haven’t penetrated through the enamel layer.
4. Remove Stains with Baking Soda and Vinegar
Enamel baths can develop stains over time, especially from hard water, soap scum, or rust. A mixture of baking soda and vinegar is a natural and effective solution for cleaning stains. First, sprinkle baking soda over the stained areas. Then, spray or pour vinegar over the baking soda. The chemical reaction between the two will create a fizzing action that helps lift stains from the surface. Let the mixture sit for a few minutes before scrubbing gently with a sponge or soft brush. Rinse the area thoroughly with water afterward. This method is gentle on enamel and works well for most common stains.
5. Use Lemon Juice and Salt for Rust Removal
Rust stains are common in older enamel baths, particularly around the drain or where chips in the enamel have exposed the underlying metal. Lemon juice and salt can be used as a natural rust remover. Mix lemon juice with salt to create a paste, then apply the paste to the rusted areas. Allow it to sit for at least 30 minutes, giving the acidity of the lemon juice time to break down the rust. Afterward, scrub the area with a soft brush or sponge, then rinse with water. For stubborn rust stains, repeat the process as needed.
6. Sand and Repaint the Entire Surface
If the enamel on your bath is heavily worn or damaged in multiple areas, you may need to sand and repaint the entire surface. This process can restore the bath to a near-new condition, though it requires more effort. Begin by sanding the entire surface of the bath using fine-grit sandpaper to remove any rough or damaged enamel.
After sanding, clean the surface thoroughly to remove dust and debris. Next, apply a specialized enamel paint using a spray or brush. Be sure to choose a paint that is specifically designed for baths and is water-resistant. Apply multiple thin coats, allowing each layer to dry fully before applying the next.
7. Fix Hairline Cracks with Nail Polish
Hairline cracks in enamel can sometimes be repaired with clear nail polish. This method is quick and effective for very small cracks that are purely cosmetic and don’t affect the structural integrity of the bath. Simply clean the crack with soap and water, dry the area, and apply a thin layer of clear nail polish over the crack. The nail polish will fill in the crack and prevent it from worsening over time. This method is only suitable for minor cosmetic repairs and should not be used for larger, deeper cracks.
8. Use a Porcelain Touch-Up Pen
For minor chips or discoloration in your enamel bath, a porcelain touch-up pen can be a convenient and effective solution. These pens are filled with enamel paint and come in a variety of colors to match different bath finishes. To use, simply clean the area to be repaired and apply the paint using the pen tip. The paint will dry quickly, leaving a smooth and glossy finish that blends in with the surrounding enamel. Touch-up pens are ideal for quick fixes and small chips but may not be suitable for larger damage.

9. Apply Fiberglass Filler for Deep Cracks or Holes
For more serious damage, such as deep cracks or holes that expose the underlying metal, fiberglass filler may be needed. Fiberglass filler is a strong material that can bond with both metal and enamel, providing a durable repair. Start by cleaning the damaged area and sanding it lightly to create a rough surface for the filler to adhere to.
Mix the fiberglass filler according to the manufacturer’s instructions and apply it to the crack or hole using a spatula. Once the filler has hardened, sand it down to make it level with the surrounding surface. Finish the repair by painting over the filler with enamel paint.
10. Hire a Professional for Reglazing
If your enamel bath has extensive damage or if you prefer a flawless finish, hiring a professional to reglaze the bath may be the best option. Reglazing involves stripping the old enamel surface, repairing any chips or cracks, and applying a new layer of enamel. This process is highly effective and can make an old, worn-out bath look brand new. However, it is more expensive and time-consuming than DIY methods. Professionals have the tools and expertise to ensure that the new enamel coating is applied evenly and lasts for years.

Conclusion
Repairing an enamel bath can range from simple fixes like polishing out scratches or using a touch-up pen to more complex tasks like sanding, repainting, or even reglazing. By selecting the appropriate method for the type of damage, you can restore your bath’s appearance and functionality, prolonging its lifespan.
DIY repairs are often effective for minor chips, cracks, and stains, while professional services may be necessary for more severe damage. Thanks for reading, and we hope this has given you some inspiration on how to repair enamel bath!

