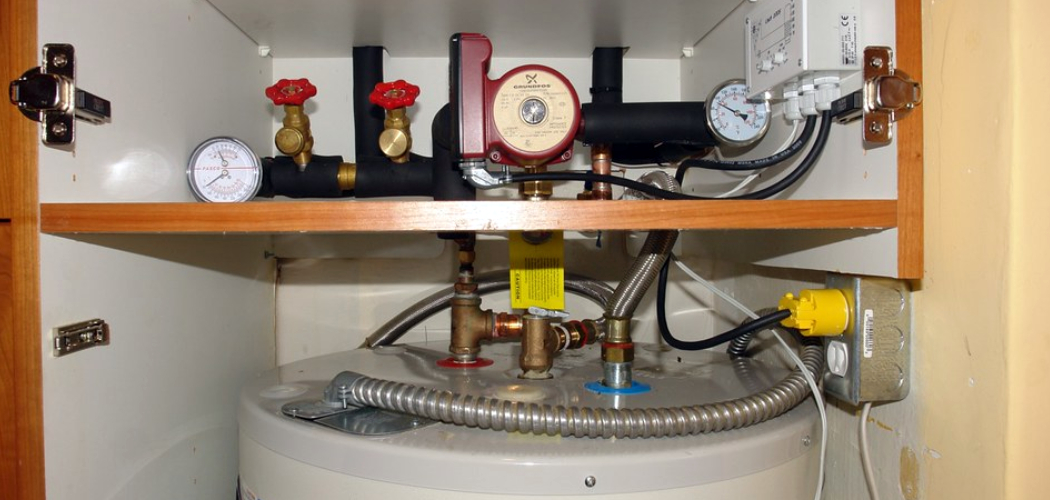
Are you tired of taking cold showers? Or do you constantly find yourself running out of hot water in the middle of washing dishes or doing laundry?
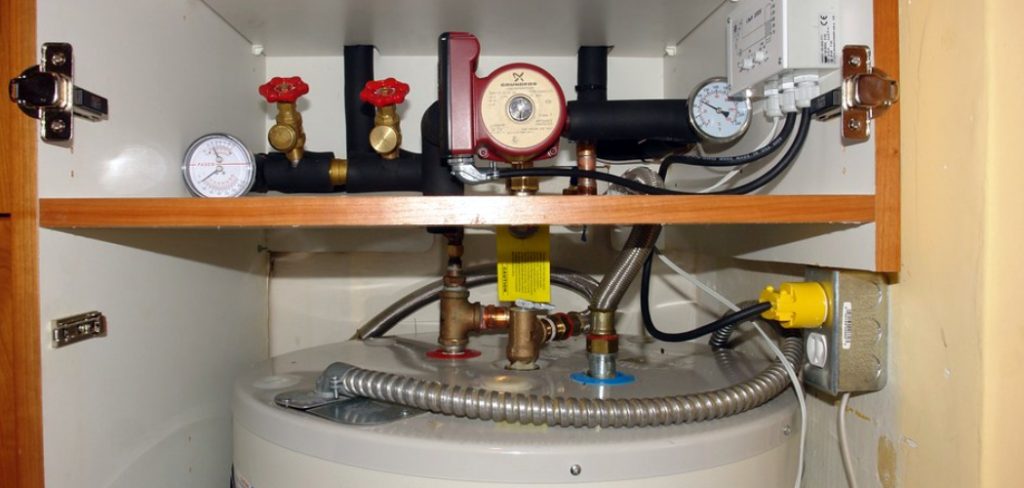
Gas water heaters are essential for providing hot water in homes, but like any appliance, they may occasionally require repairs. Understanding the basics of troubleshooting and addressing common issues can save time and money and ensure the continued efficiency of your water heater.
This guide on how to repair gas water heater will walk you through the fundamental steps to identify problems, perform minor repairs, and safely maintain your gas water heater. Additionally, we will discuss the benefits of regular maintenance and how to properly maintain your gas water heater for optimal performance properly. Always prioritize safety and consult a professional for complex issues or when handling gas-related appliances.
What Are the Causes of Gas Water Heater Problems?
There are several common causes of gas water heater problems, including:
- Sediment Buildup: Minerals and debris can accumulate at the bottom of your water heater tank over time, affecting its efficiency and performance.
- Faulty Thermocouples: The thermocouple is a heat-sensitive probe that controls the gas valve. If it malfunctions, your water heater may not ignite or stay lit.
- Leaks: Leaks in the tank or supply lines can cause a loss of pressure and affect the functioning of your water heater.
- Gas Supply Issues: If there is an interruption in the gas supply to your home, your water heater will not be able to operate.
- Pilot Light Problems: The pilot light ignites the gas burner. If it goes out or doesn’t stay lit, your water heater won’t function properly.
- Temperature Control Malfunction: A faulty temperature control valve can result in inconsistent water temperatures and even scaldingly hot water.
- Excessive Pressure: High pressure in the tank can cause damage and decrease the lifespan of your water heater.
What Will You Need?
Now that you know the common problems that can arise with your water heater, you must know what tools and materials you will need to troubleshoot these issues. Some basic items include:
- A flashlight
- Screwdrivers (Phillips and flathead)
- Adjustable wrench
- Multimeter
- Replacement parts (such as a thermocouple or heating element)
8 Easy Steps on How to Repair Gas Water Heater
Step 1: Turn Off the Gas Supply
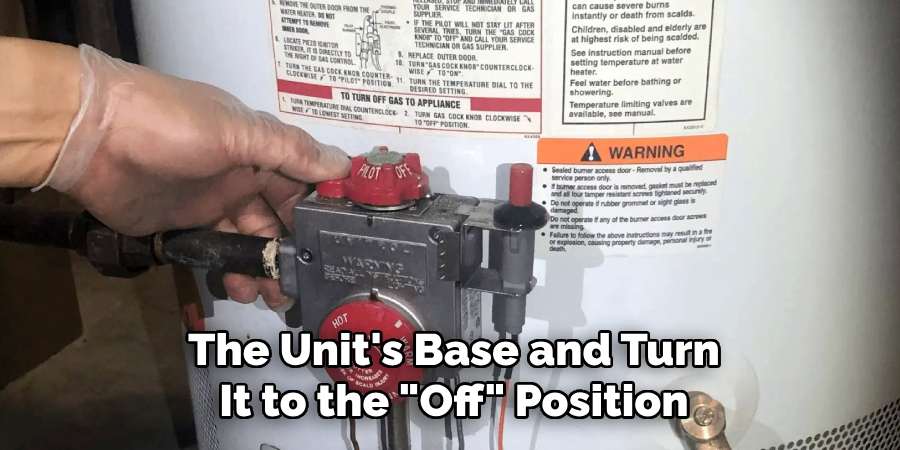
Before beginning any repairs, you must ensure your safety by shutting off the gas supply to the water heater. Locate the gas shut-off valve near the unit’s base and turn it to the “off” position. This will stop the gas flow and reduce the risk of accidents during the repair process. Double-check that the valve is fully closed before proceeding to the next step.
Step 2: Turn Off the Water Supply
After ensuring the gas supply is turned off, the next important step is to shut off the water supply to the heater. Locate the cold water shut-off valve at the top of the unit where the water line connects. Turn the valve clockwise to close it completely. This will prevent water from entering the tank during the repair process. It is essential to verify that the valve is tightly closed by testing the nearby hot water faucet; no water should flow out. This precaution helps avoid leaks or water damage while working on the heater.
Step 3: Drain the Tank

Next, you’ll need to drain the water from the tank to access and repair its internal components safely. Attach a garden hose to the drain valve near the bottom of the tank, and lead the other end to a suitable drainage area, such as a floor drain or an outdoor space. Open the drain valve and allow the water to flow out. Be cautious, as the water may still be hot—use gloves or protective gear where necessary.
Step 4: Inspect the Thermocouple
The thermocouple is a critical component of your water heater, ensuring the burner operates safely. It’s a safety device designed to detect whether the pilot light is lit; if not, the thermocouple signals to shut off the gas flow to prevent potential hazards. To inspect the thermocouple, first locate it near the burner assembly—typically, it’s a slender, metallic tube connected between the pilot light and the gas control valve.
Once located, check for visible signs of damage, such as cracks, kinks, soot buildup, or corrosion, as these can affect its ability to function correctly. Clean the thermocouple gently using fine-grit sandpaper or steel wool to remove grime and residue if it appears dirty. Be careful not to apply excessive force, as the thermocouple is a delicate component. If the thermocouple shows significant wear or damage, it may need to be replaced. Always consult your water heater’s user manual to ensure you follow proper procedures, and if in doubt, consider contacting a professional for assistance.
Step 5: Reassemble and Test the Water Heater
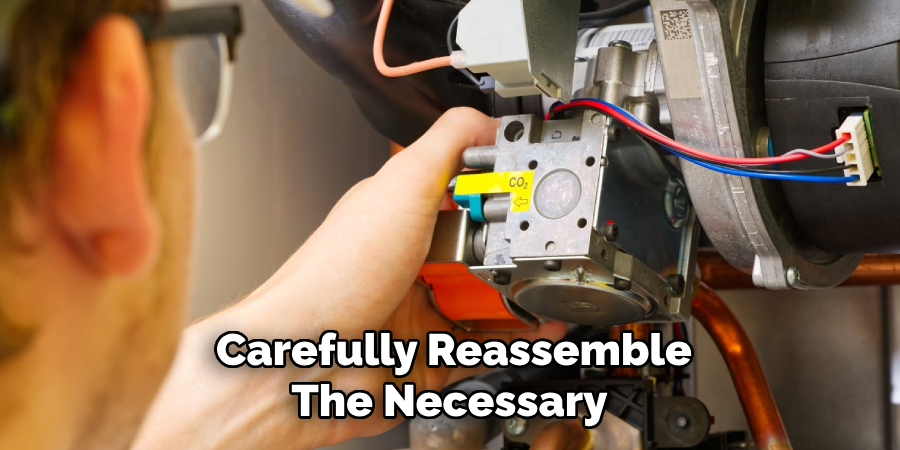
Once the thermocouple has been cleaned or replaced, carefully reassemble the necessary components of the water heater. Ensure all connections are secure and no parts are left loose. Open the gas supply valve and reignite the pilot light following the manufacturer’s instructions. Allow the water heater to operate for a few minutes and monitor its performance. Check if the pilot light stays lit and if the water heater functions correctly. If issues persist, consult a professional technician to diagnose and resolve the problem safely.
Step 6: Final Inspection
After confirming that the water heater is functioning correctly, thoroughly inspect the surrounding area. Check for any signs of leaks around the connections or unusual noises coming from the unit. Ensure the temperature settings are appropriate and the safety features, such as the pressure relief valve, are in good working condition. This final step ensures the water heater is safe and efficient for ongoing use.
Step 7: Regular Maintenance
Schedule regular maintenance checks to keep your water heater running efficiently and extend its lifespan. This includes flushing the tank periodically to remove sediment buildup, testing the pressure relief valve, and inspecting the anode rod for corrosion. Regular maintenance not only helps prevent unexpected breakdowns but also ensures optimal performance and energy efficiency over time.
Step 8: Insulate the Water Heater
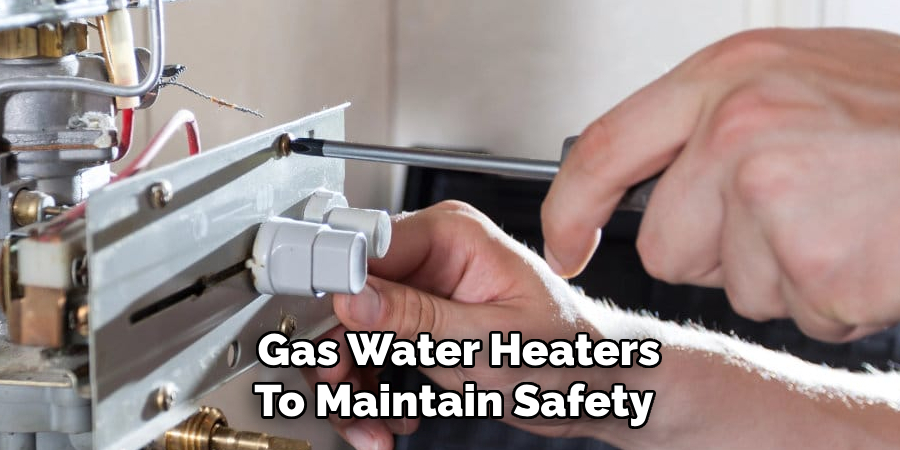
Consider insulating your water heater and the pipes around it for improved energy efficiency. This helps to reduce heat loss, keeps water hot for longer periods, and reduces energy costs. Use a water heater insulation blanket and follow the manufacturer’s guidelines to ensure proper installation. Be careful not to cover the thermostat or burner compartment on gas water heaters to maintain safety.
By following these steps, you can improve the energy efficiency of your water heater and save money on your energy bills.
5 Things You Should Avoid
- Ignoring the Manufacturer’s Instructions: Always refer to the manual provided by the manufacturer when attempting repairs. Each water heater model may have unique components and requirements, and neglecting these guidelines can lead to improper repairs or even safety hazards.
- Working Without Shutting Off the Gas Supply: Ensure the gas supply is completely turned off before attempting any repair. Failing to do so can result in gas leaks, which pose significant risks of fire, explosions, or carbon monoxide poisoning.
- Using Improper Tools or Equipment: Avoid using tools or materials not specifically designed for gas water heater repairs. Using the wrong tools can damage components or compromise the system’s functionality and safety.
- Skipping Leak Detection After Repairs: After completing any repair, it’s crucial to check for any gas leaks using soapy water or a gas leak detector. Ignoring this step is highly dangerous and could result in severe accidents.
- Attempting Repairs Without Proper Knowledge or Training: Gas water heaters involve complex systems that can be dangerous if mishandled. If you’re not confident in your ability to repair the unit safely and effectively, contacting a licensed professional to handle the repairs is always better.
What to Check When Heat is Not Working?
If your gas water heater is not producing enough heat, you can check a few things before calling a professional for help. These include:
- Thermostat Settings: Make sure the thermostat on your water heater is set to the desired temperature. The water may not be heating up enough if it’s too low.
- Gas Supply: Check that the gas supply valve to your water heater is open. The unit will not receive enough gas to function properly if it’s closed or partially closed.
- Pilot Light: The pilot light should always be lit for a gas water heater to work. If it has gone out, follow the manufacturer’s instructions on how to relight it.
- Circuit Breaker: If you have an electric water heater, check the circuit breaker to make sure it hasn’t tripped. Reset it if necessary.
- Heating Elements: Inspect the heating elements for any damage or corrosion for electric water heaters. If they are damaged, they will need to be replaced.
Conclusion
How to repair gas water heater requires a systematic and careful approach to ensure the issue is resolved safely and effectively.
Start by identifying the symptom causing the problem, such as insufficient hot water, unusual noises, or a complete lack of functionality. To pinpoint the issue, check critical components like the pilot light, thermostat, and gas supply. Always follow the manufacturer’s guidelines when performing maintenance tasks, such as relighting the pilot light or replacing faulty parts. If the problem persists or if you’re unsure how to proceed, it’s best to contact a qualified technician to avoid potential safety risks.
Regular maintenance and inspections can also help prevent future problems, ensuring your gas water heater operates efficiently for years to come.

