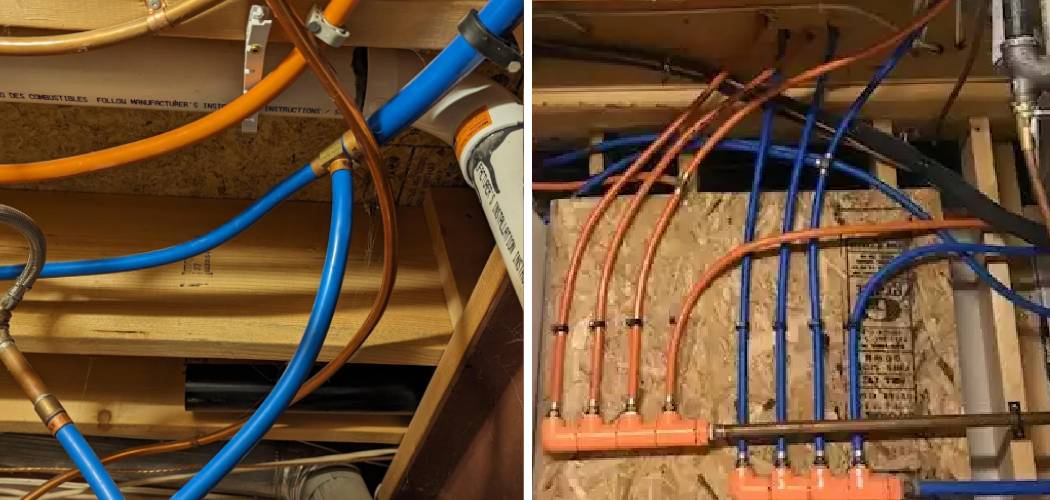
Kitec plumbing systems, once heralded for innovative design and flexibility, have unfortunately garnered a reputation for failing prematurely and causing significant water damage.
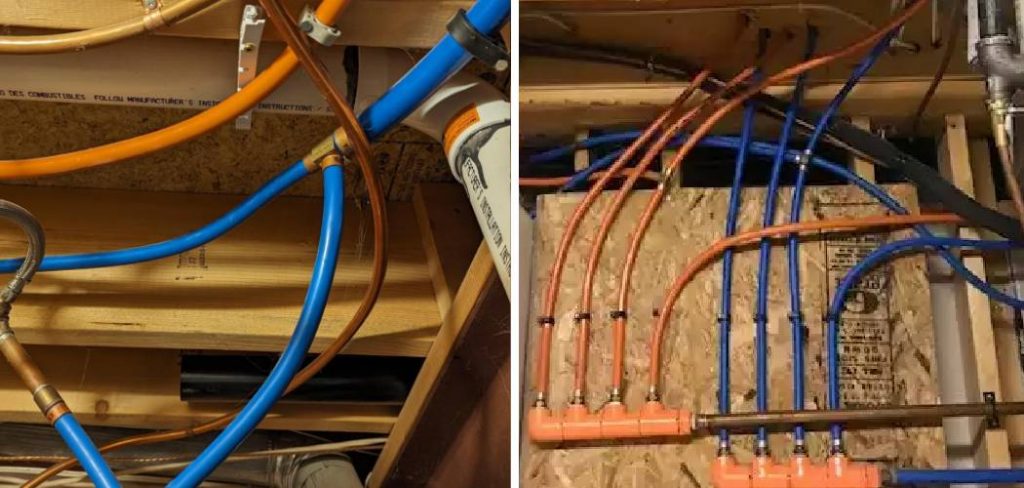
This type of piping, widely used between the 1990s and early 2000s, is made from plastic and aluminum, leading to issues such as corrosion and leaks over time. Repairing Kitec pipes can be a daunting task, yet it is essential for homeowners seeking to mitigate the risks associated with these failing systems.
In this guide, we will explore the methods and materials necessary on how to repair Kitec pipe, ensuring a reliable and long-lasting plumbing solution.
Whether you are a DIY enthusiast or looking to hire professional help, understanding the repair process will empower you to take the necessary steps toward safeguarding your home.
What Will You Need?
As with any home repair project, gathering all necessary materials and tools is crucial before beginning. For repairing the Kitec pipe, you will need the following:
- Replacement pipes (preferably PEX or copper)
- Brass fittings
- Soldering equipment (if using copper pipes)
- Pipe cutter or hacksaw
- Deburring tool
- Teflon tape or joint compound
- Plumber’s putty
- Adjustable wrenches
It is also recommended that safety gear such as gloves and eye protection be on hand.
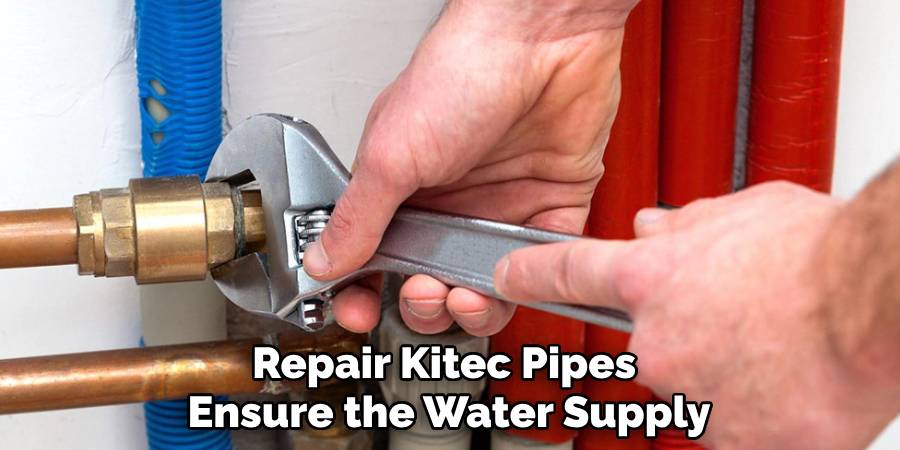
10 Easy Steps on How to Repair Kitec Pipe
Step 1. Turn Off the Water Supply:
Before you repair Kitec pipes, ensure the water supply to the affected area is completely shut off. This is a critical first step, preventing water from flooding your workspace and causing further damage. To do this, locate the main water shut-off valve for your home, usually found near the water meter or where the main supply line enters your property.
Turning the valve clockwise will shut off the water flow. Open a nearby faucet to confirm the supply is off; if no water flows out, you are ready to proceed. Additionally, drain any remaining water in the pipes by opening other faucets in the house and allowing the water to empty before starting the repair work.
Taking these precautions protects your home from potential water damage and creates a safer working environment for the repair process.
Step 2. Assess the Damage:
Once the water supply is turned off, carefully inspect the affected Kitec pipes for any signs of damage, such as cracks, leaks, or corrosion. Use a flashlight if necessary to gain a clearer view of hard-to-reach areas.
Take note of the extent of the damage, as this will determine whether you need to replace a small section of pipe or a more significant segment. If you spot a leak, mark the area for easy identification later.
Understanding the specific issues will help you plan the necessary repairs more effectively and ensure you have the right materials to complete the job. If the damage is severe or widespread, consider consulting a plumbing professional for a more thorough assessment before proceeding with repairs.
Step 3. Prepare the Area for Repair:
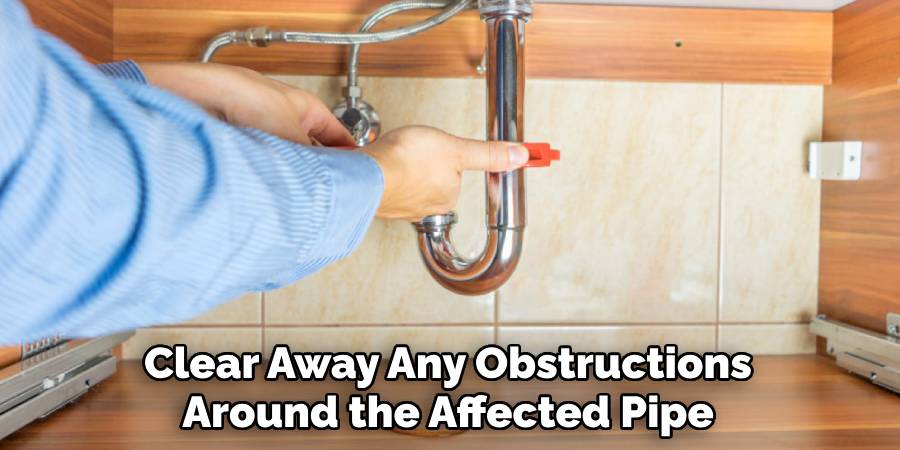
Once you’ve assessed the damage, preparing the area for the repair work is essential. Clear away any obstructions around the affected pipe, ensuring you have adequate space to work. It’s often beneficial to lay down a tarp or absorbent cloth to catch any residual water leaking during the repair process.
If your method involves cutting the pipe, ensure the workspace is well-lit and ventilated, especially if you’re using soldering equipment. Creating a clean and organized workspace will help streamline the repair process and enhance safety.
Step 4. Cut Out the Damaged Section:
With the area prepared, it’s time to remove the damaged portion of the Kitec pipe. Using a pipe cutter or hacksaw, carefully cut out the section that exhibits signs of failure. Ensure that your cuts are straight and clean to facilitate proper fitting of the new pipe.
If you are cutting through a long pipe, first mark your cut lines for accuracy. After cutting, use a deburring tool to smooth out any rough edges on the ends of the pipe. This step is crucial, ensuring a better seal when connecting the new pipe segment. Always dispose of the removed pipe responsibly, and keep your workspace clutter-free to maintain safety throughout the repair process.
Step 5. Measure and Cut the Replacement Pipe:
Once the damaged section has been removed, the next step is to measure and cut the new replacement pipe. Using the piece you just removed as a reference, measure the exact length you need for the replacement. Ensure you account for any fittings that may be required at both ends.
When you have the correct measurement, use a pipe cutter or hacksaw to cut the new pipe to size, just as you did with the damaged section. Again, be sure to deburr the edges of the new pipe to prevent any leaks and ensure a secure fit when connecting it to the existing plumbing. Taking precise measurements and cutting accurately is critical to a successful repair and seamless integration with the current plumbing system.
Step 6. Install the New Pipe:
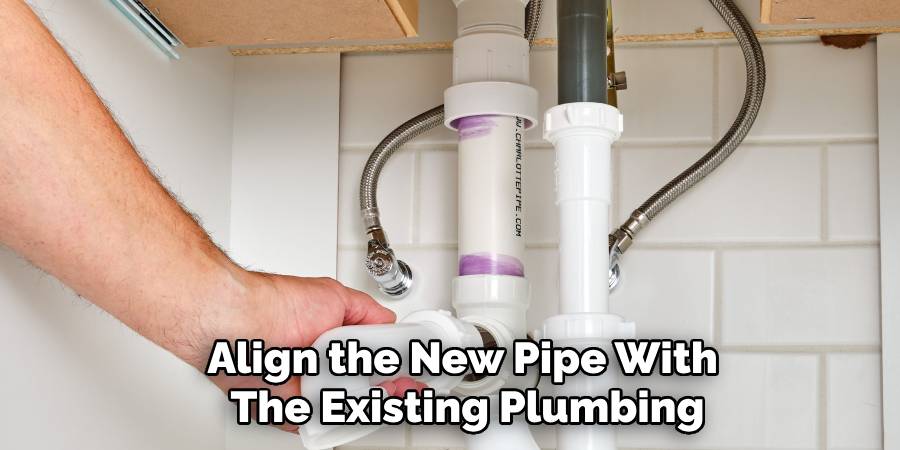
Now that your replacement pipe is cut to size, it’s time to install it. Begin by applying Teflon tape or joint compound to the threads of the brass fittings that will connect the new pipe to the existing plumbing. This helps create a watertight seal, preventing leaks once the water supply is restored.
Align the new pipe with the existing plumbing and carefully insert it into the fittings. Use adjustable wrenches to tighten the connections, but be cautious not to overtighten, as this can damage the fittings or the pipe. Once the new pipe is securely in place, visually inspect all joints to ensure they are correctly aligned and ready for re-pressurization.
Step 7. Test for Leaks:
After the new pipe has been installed and all connections tightened, it’s essential to test for leaks before restoring the water supply completely. Begin by slowly turning the main water shut-off valve counterclockwise to gently allow water into the system. Check the joints and newly installed section for any signs of moisture or dripping.
If you notice any leaks, immediately turn off the water supply again, tighten the fittings, or reapply Teflon tape or joint compound as needed. Ensuring no leaks before proceeding is crucial, as this can save you time, effort, and potential water damage in the long run. Once you have completed your checks and confirmed there are no leaks, you can confidently proceed to the next step.
Step 8. Restore Water Supply:
Once you’ve confirmed no leaks in your newly installed pipe, you can restore the water supply to your home. Start by gradually turning the main shut-off valve counterclockwise until it is entirely open. As the water enters the system, closely monitor the newly repaired section and all adjacent joints for any signs of leakage. Air pockets may take a moment to clear, and water usually flow.
After a few minutes, check each faucet in your home to ensure everything is functioning correctly and the water is running clear. If all checks are satisfactory and the repairs hold, you can now clean up your workspace and safely dispose of any waste materials from the repair process. This final step signifies the successful completion of your plumbing repair project, restoring the functionality of your home’s water system.
Step 9. Clean-Up and Final Inspection:
After restoring the water supply and ensuring the system functions correctly, cleaning up your workspace is time. Remove any tools, tarps, or absorbent materials used during the repair, and dispose of any waste pipe segments responsibly. Next, a final inspection of the entire repaired area will be conducted.
Check that all joints are dry and secure and that there are no signs of moisture around the newly installed pipe. It’s also an excellent opportunity to inspect adjacent pipes and fittings for potential issues. Taking these steps will enhance the longevity of your repairs and contribute to the overall maintenance of your plumbing system.
Step 10. Document the Repair:
After completing the repair and ensuring everything is in proper working order, it’s essential to document the work performed. This can include taking notes on the date of the repair, the materials used, and any observations regarding the condition of the plumbing.
Photograph the repaired section for future reference. Having a detailed record will be beneficial for any future maintenance or inspections, and it provides evidence of the work for warranties or insurance purposes.
Additionally, consider updating your home repair log or maintenance schedule to include this latest repair, ensuring that you keep track of your home’s plumbing system’s history. This proactive approach contributes to the longevity and reliability of your plumbing infrastructure.
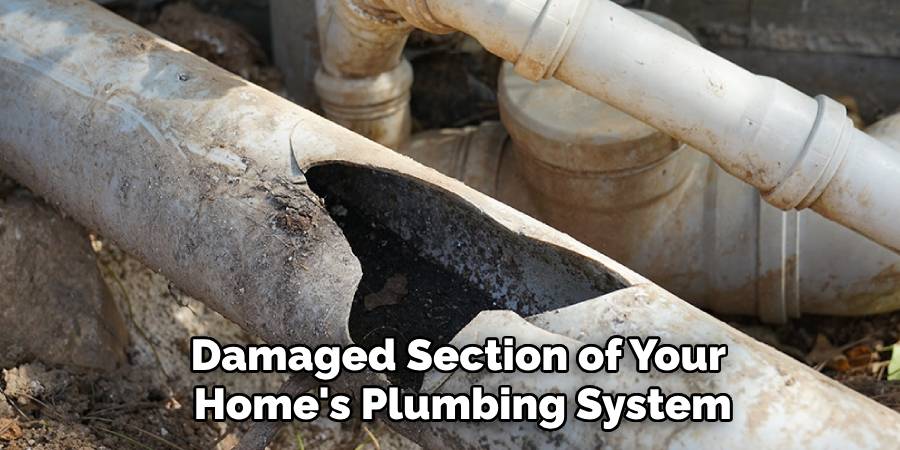
Following these ten steps, you can successfully repair a damaged section of your home’s plumbing system.
Conclusion
How to repair Kitec pipe can be a straightforward process if approached methodically and with attention to detail.
You can effectively restore your plumbing system by carefully assessing the damage, selecting the appropriate materials, and following the outlined steps for removal, replacement, and installation.
Always emphasize safety by wearing protective equipment and ensuring the water supply is turned off during the repair. Regular maintenance checks and documentation of repairs can prevent future issues, allowing you to manage your plumbing efficiently.
With patience and the right tools, most homeowners can tackle this repair and ensure the continued functionality of their water system.

