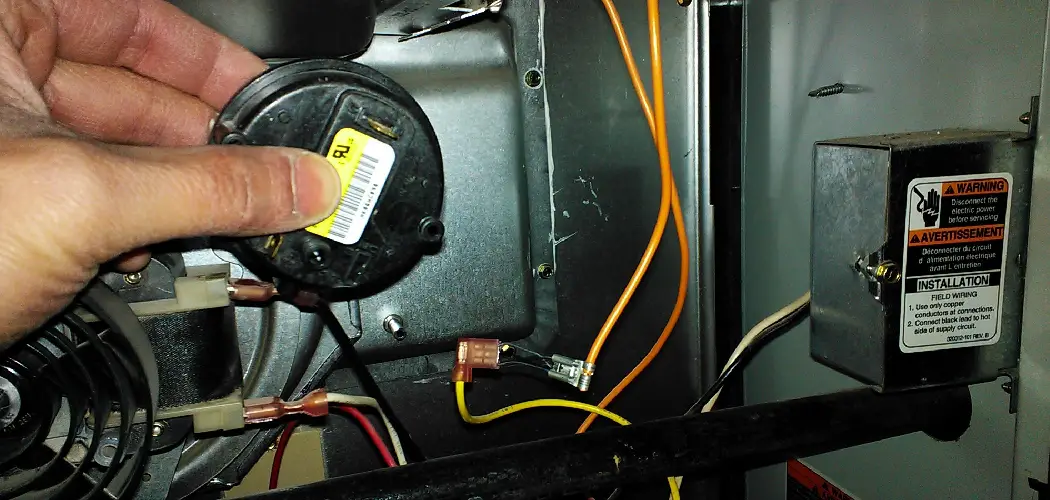
Maintaining and repairing your furnace is crucial for ensuring a warm, safe, and energy-efficient home, especially during the colder months. Regular maintenance prevents unexpected breakdowns, prolongs the lifespan of your furnace, and ensures it operates at peak efficiency. Learning how to repair my furnace for common issues can save you time and money, reducing the need for professional services for minor repairs.
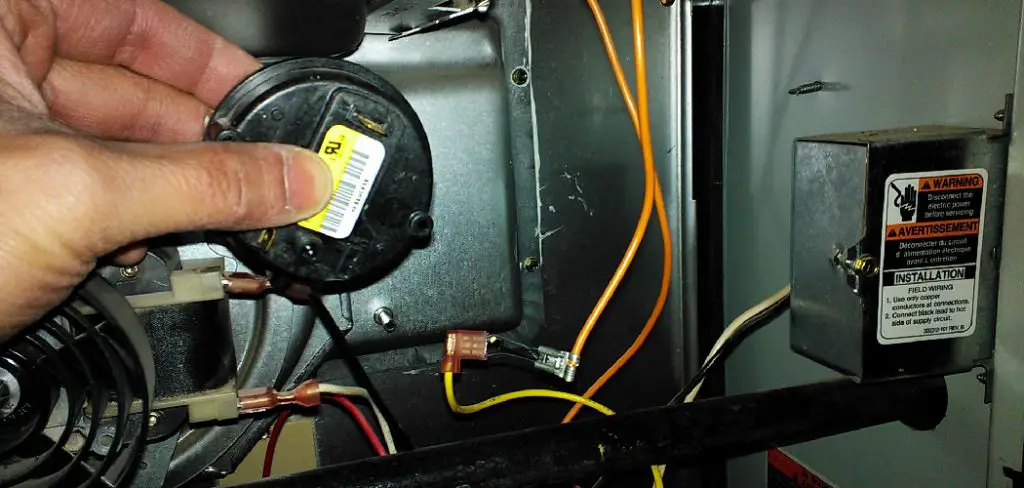
Homeowners may encounter a range of furnace problems, such as no heat, insufficient heating, unusual noises, and cycling issues. Addressing these problems promptly can prevent more significant issues down the line. Understanding these common issues is the first step in troubleshooting your furnace.
This article aims to equip homeowners with the knowledge and skills needed for basic furnace repair and maintenance. Covering everything from safety precautions to troubleshooting common issues and performing specific repairs, it provides a comprehensive guide on how to repair my furnace. Whether you’re aiming to solve immediate furnace problems or looking to perform regular maintenance, this guide will serve as a valuable resource.
Safety Precautions
Safety should always be your top priority when attempting to repair your furnace. Before you start tinkering, understanding and implementing the right safety measures can protect you from potential hazards. Here’s how to ensure a safe repair process:
A. Importance of Safety Gear (e.g., Gloves, Safety Glasses)
Wearing appropriate safety gear is non-negotiable. Gloves can protect your hands from sharp components and insulate against electrical hazards. Safety glasses shield your eyes from dust, debris, and any unexpected fragments that could cause injury. These protective items are a small investment that can prevent serious injuries.
B. Turning Off Power to the Furnace
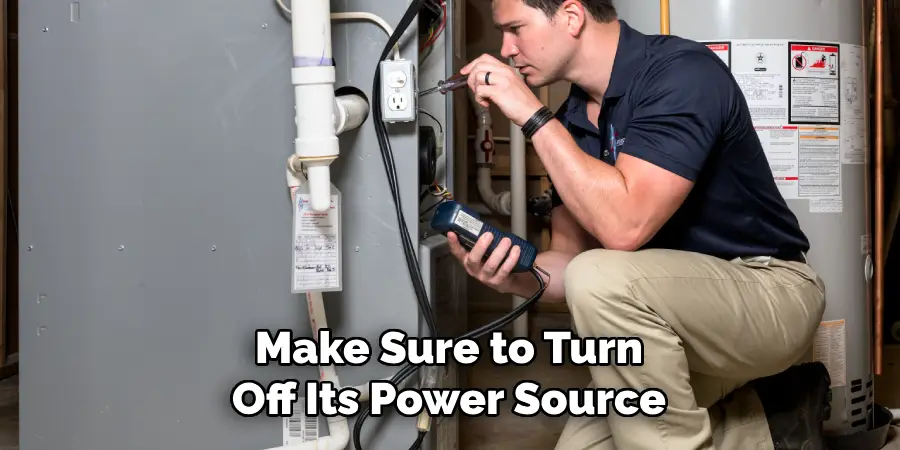
Before you touch your furnace, make sure to turn off its power source. This is crucial for avoiding electric shocks. You can do this by flipping the switch on the furnace itself or by turning off the circuit breaker that powers it. Taking this step ensures that the furnace is completely inert, making it safe for you to begin your work.
C. Allowing Sufficient Cooling Time Before Beginning Repairs
Furnaces get extremely hot during operation, so it’s important to give your furnace ample time to cool down before you start your repair work. Attempting to work in a hot furnace can lead to burns and other injuries. Depending on your furnace and how long it has been running, cooling times can vary, but giving it at least a couple of hours should be sufficient for safety.
Understanding Furnace Components
Gaining a thorough understanding of your furnace’s components is essential for troubleshooting and repairing it effectively. This knowledge not only aids in identifying the root cause of common issues but also ensures that you can maintain your furnace properly to prevent future problems. Here’s a breakdown of key furnace components and their roles:
A. Overview of Furnace Components (e.g., Blower, Ignition System)
The blower motor is crucial as it circulates air throughout your home. It pulls in cold air, heats it, and redistributes the warmed air via your home’s ductwork. On the other hand, the ignition system is responsible for lighting the fuel (natural gas, oil, or propane) that heats the air. There are two main types of ignition systems: the traditional pilot light and the more modern electronic ignition.
B. Identifying Parts Responsible for Common Issues
Common furnace problems often stem from issues with specific components. For instance, if your furnace isn’t producing any heat, the problem might be with the ignition system or the thermostat. Insufficient heat might indicate an issue with the blower motor or a clogged air filter, restricting airflow. Strange noises can come from loose or worn-out mechanical parts within the blower motor or issues with the burner.
C. Importance of Understanding Furnace Operation
A basic understanding of how your furnace operates and the function of each component can significantly enhance your ability to diagnose and fix issues. Knowing, for example, that the thermostat controls the temperature and signals the furnace to start or stop can help you troubleshoot heating problems more effectively. Understanding the sequence of operations—from the thermostat’s call for heat to the ignition of fuel and the distribution of heated air—can pinpoint where the process might fail. This knowledge is not just for repairs; it’s critical for regular maintenance, allowing homeowners to recognize signs of wear or potential problems before they escalate into major repairs.
How to Repair My Furnace: Troubleshooting Common Issues
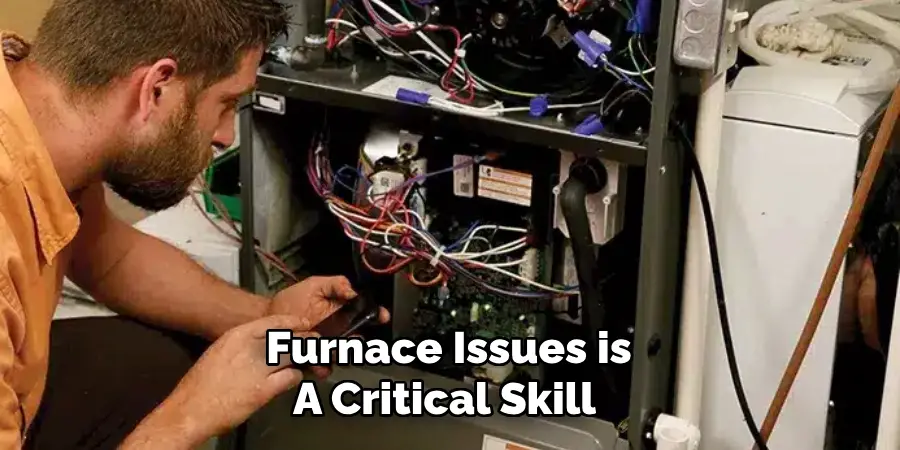
Troubleshooting common furnace issues is a critical skill for homeowners looking to maintain a comfortable and safe living environment. By understanding how to diagnose and address these problems, you can ensure your furnace runs efficiently and potentially avoid costly professional repairs.
A. No Heat Output
When your furnace is not producing heat, check the thermostat settings first to ensure it’s set to “heat” mode and the temperature setting is correct. Next, inspect the furnace’s power supply and circuit breaker to confirm they are functional. The issue can also stem from a faulty ignition system or a problem with the furnace’s filter if it’s clogged, thereby restricting airflow.
B. Insufficient Heat
If your furnace is producing some heat but not enough to warm your house adequately, begin by checking the air filter and replacing it if necessary. Ensure that the air vents throughout your house are open and unobstructed. Insufficient heat can also indicate issues with the furnace’s blower motor or a poorly calibrated thermostat that doesn’t accurately gauge the home’s temperature.
C. Furnace Short Cycling
Short cycling, where the furnace turns on and off too frequently, can be caused by an oversized furnace, a faulty thermostat, or a dirty air filter that overheats the system quickly. Keeping the air filter clean and ensuring the thermostat is working correctly are the first steps towards solving this issue.
D. Strange Noises or Odors
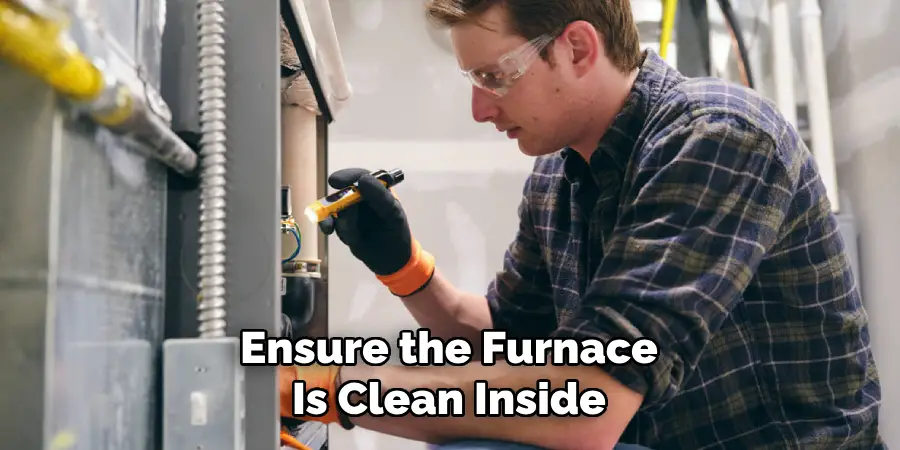
Unusual sounds such as banging, whistling, or rattling might indicate mechanical problems within the blower motor or loose ductwork. Musty or burning odors can arise from dust accumulation within the furnace or a more serious electrical issue in the case of burning odors. Inspect for obvious loose components or blockages, and ensure the furnace is clean inside.
E. Pilot Light Issues
A flame that won’t stay lit for furnaces with a traditional pilot light can be due to a faulty thermocouple, a clogged pilot orifice, or drafts blowing the flame out. Electronic ignition systems may experience failure due to electronic issues or failures within the ignition process, which might require professional assistance.
F. Thermostat Malfunctions
A malfunctioning thermostat can lead to various furnace issues, such as no heat, inconsistent temperatures, or continuous running. Check the thermostat’s batteries, ensure it’s set to “heat” mode, and confirm that the set temperature is higher than the current room temperature. If problems persist, thermostat calibration or replacement may be necessary.
By systematically addressing these common issues, homeowners can often resolve simple furnace problems without needing to call for professional help. However, it is also crucial to recognize when a problem is beyond your capabilities and requires professional expertise. Safety should always be the primary concern, and if in doubt, consult with a professional.
Checking Air Filters
A. Importance of Clean Air Filters
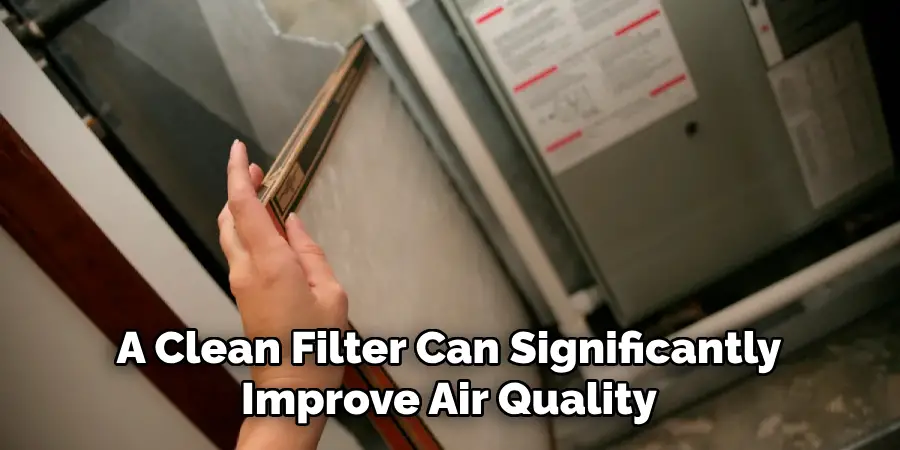
Clean air filters are crucial for the efficient operation of your furnace. They serve the dual purpose of protecting the furnace’s internal components from dust and debris and ensuring that the air circulating through your home is as clean as possible. A clean filter can significantly improve air quality, reducing potential allergens and contaminants. Furthermore, by maintaining an unobstructed flow of air, clean air filters help your furnace operate more efficiently, potentially extending its lifespan and reducing unnecessary energy consumption.
B. Inspection and Replacement of Air Filters
Regularly inspecting your furnace’s air filters is essential for maintaining its efficiency and air quality in your home. Most manufacturers recommend inspecting filters at least once a month during high-usage seasons like winter and summer. If the filter appears dirty, clogged, or damaged, it should be replaced immediately. The replacement frequency can vary based on the type of filter, your home’s air quality, and if pets are present. Generally, standard filters should be changed every 30 to 90 days, while more sophisticated filters can last up to six months.
C. Impact of Dirty Filters on Furnace Operation
Dirty air filters can have a significant adverse impact on furnace operation. As mentioned previously, a clogged filter restricts airflow, forcing the furnace to work harder, which can lead to overheating and potentially short cycling. Increased energy use is another consequence, as the furnace’s efficiency drops, leading to higher utility bills. Over time, the extra strain can contribute to premature wear and tear on the furnace’s components, increasing the likelihood of repairs or early replacement. Additionally, a dirty filter compromises indoor air quality, exacerbating issues for individuals with allergies, asthma, or respiratory concerns.
By adhering to a regular inspection and replacement schedule for air filters, homeowners can ensure their furnace operates efficiently, prolong its service life, and maintain a healthier indoor environment. Remember, the small effort to check and replace your furnace’s air filter regularly can lead to significant savings and comfort in the long run.
Checking Thermostat Settings
A. Verifying Thermostat Settings and Programming
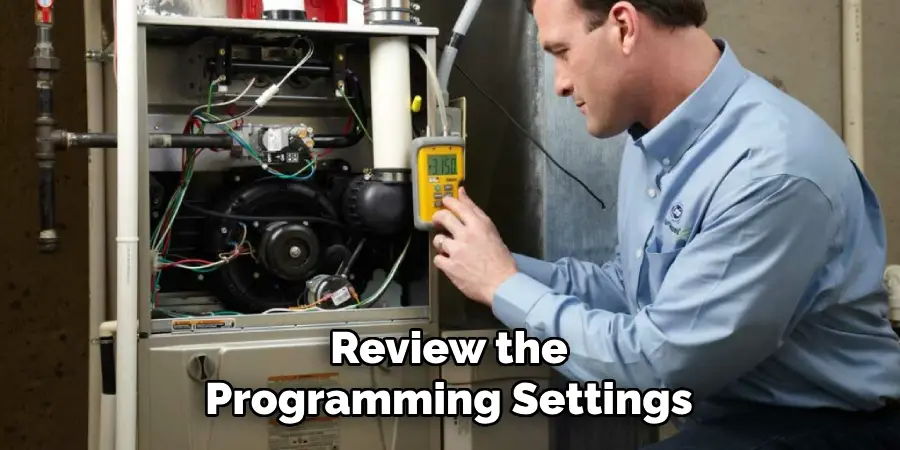
Verifying your thermostat settings and programming is essential to ensure your furnace operates effectively. Start by checking if your thermostat is set to “heat” during colder months. Review the programming settings if your thermostat is programmable. Ensure it aligns with your daily schedule, adjusting the temperature for when you’re away or asleep to save energy. Incorrect settings or a schedule that doesn’t match your routine can lead to unnecessary furnace operation, increased wear and tear, and higher energy bills.
B. Calibration and Adjustment of Thermostat
Thermostat calibration is crucial for accurate temperature control. An uncalibrated thermostat can cause your furnace to run longer than necessary or not enough, leading to discomfort and wasted energy. To calibrate your thermostat, first, ensure that it is level. Then, use a separate thermometer to verify the thermostat’s temperature reading. If there is a discrepancy, consult your thermostat’s manual on how to adjust or recalibrate it. If you’re unsure, it might be time to call a professional to adjust or possibly replace the thermostat.
C. Ensuring Proper Temperature Differential
The temperature differential, or the difference between the actual room temperature and the set temperature at which the furnace turns off, is vital for efficient furnace operation. A differential that is too small may cause your furnace to cycle too frequently, increasing wear and tear. Conversely, a differential that is too large might result in noticeable temperature swings in your home. Ideally, the differential should be around 1 to 3 degrees Fahrenheit to balance between efficiency and comfort. Refer to your thermostat’s manual to adjust the differential settings, or consult with a heating professional to ensure optimal furnace operation and home comfort.
Inspecting Flame Sensor
A. Identifying Flame Sensor Location
The flame sensor is a crucial safety component in a gas furnace that ensures the gas valves open only when a flame is detected, preventing unburned gas from accumulating. Typically located near the burner assembly, the flame sensor is a small, metallic rod positioned in the path of the flame. To identify it, look for a single rod that sits in front of the furnace’s flame stream. Since its location can vary depending on the furnace model, consulting your furnace’s manual can provide specific guidance.
B. Cleaning and Testing Flame Sensor
Over time, the flame sensor can become coated with soot, which prevents it from accurately detecting the flame, leading to furnace operation issues. To clean the flame sensor, first, ensure the furnace is turned off and cooled down. Carefully remove the sensor (usually held in place by one or two screws), and gently clean it with a soft cloth or fine sandpaper, being careful not to damage it. After cleaning, reinstall the sensor and turn the furnace back on to test its operation. If the furnace operates normally, the sensor cleaning was successful.
C. Replacing Flame Sensor if Necessary
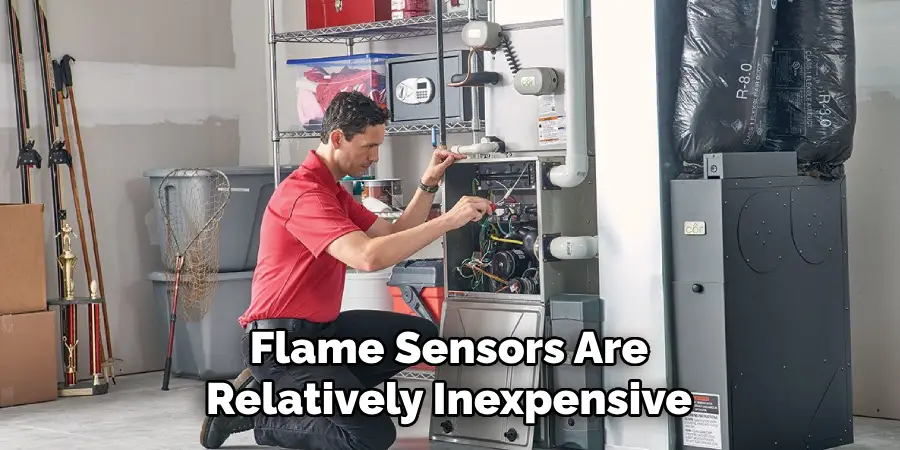
If cleaning the flame sensor does not resolve the issue, or if the sensor appears visibly damaged (cracked, heavily corroded), replacement may be necessary. Flame sensors are relatively inexpensive and readily available at most HVAC supply stores. To replace the sensor, first, identify the correct replacement part by consulting the furnace’s manual or taking the old sensor to an HVAC supplier for matching. Turn off the furnace, remove the old sensor, and install the new one, ensuring it is securely fastened and positioned correctly. After replacement, test the furnace to ensure proper operation.
Checking Ignition System
A. Checking Ignition Components for Wear or Damage
The ignition system is fundamental for starting the furnace. It is crucial to inspect components like the igniter, flame sensor (previously discussed), and control board for signs of wear or damage. Look for visible signs of deterioration, such as igniter cracks or electrical contact corrosion. Modern furnaces use either a hot surface igniter or intermittent pilot to ignite the gas, and damage to these components can prevent your furnace from starting. Regularly inspect these components during routine maintenance checks to avoid unexpected failures.
B. Cleaning and Testing Ignition System
Keeping the ignition system clean is vital for its efficiency and longevity. Dust and debris can accumulate on the components, potentially leading to malfunctions. First, turn off the furnace and carefully clean around the igniter and the control board with a dry, soft brush or compressed air, carefully not to damage any components. After cleaning, test the ignition system according to the manufacturer’s instructions. If the furnace does not ignite or if you hear continuous clicking sounds, it indicates a potential issue that should be further diagnosed.
C. Repairing or Replacing Faulty Ignition Components
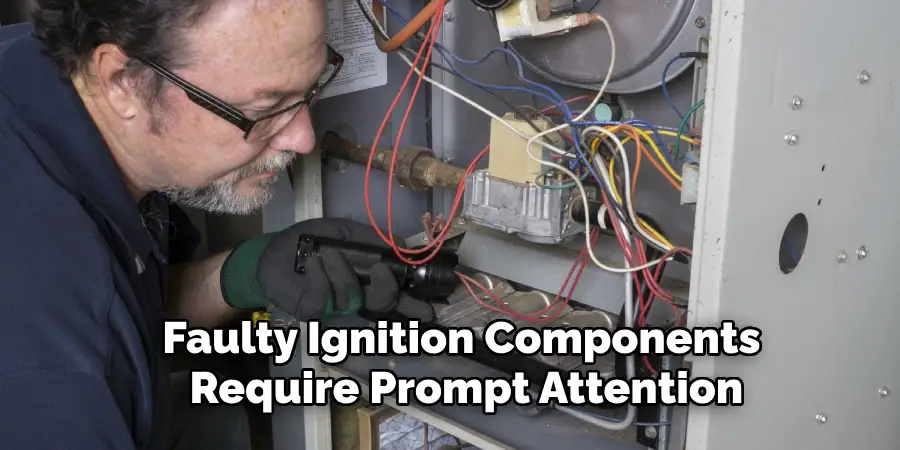
Faulty ignition components require prompt attention. It may need replacing if the igniter fails to glow or the furnace fails to start after confirming the system is clean and has power. Always refer to the furnace’s manual for specific guidance on replacing parts like the igniter or control board. Use only manufacturer-recommended parts to ensure compatibility and safety. If you’re not comfortable performing these repairs or diagnostics, it’s advisable to enlist the help of a professional HVAC technician to ensure the work is done safely and effectively.
Inspecting Heat Exchanger
A. Identifying Heat Exchanger Location
The heart of any furnace, the heat exchanger, is responsible for the crucial process of transferring heat from the combustion gases into the air that circulates within your home. This vital component is typically found within the furnace’s cabinet and consists of a series of tubes or coils through which the combustion gases flow. To identify the heat exchanger’s location, consult your furnace’s user manual, as the design and location may vary significantly between different models and manufacturers. Recognizing the heat exchanger is the first step in assessing its condition and ensuring the continued safety of your household.
B. Inspecting Heat Exchanger for Cracks or Damage
A compromised heat exchanger poses a significant risk by potentially allowing carbon monoxide to enter your home’s air supply. Inspecting it for cracks, holes, or any signs of damage is an essential safety measure. To inspect the heat exchanger, first, ensure the furnace is turned off. You can perform a preliminary visual inspection using a flashlight to look for obvious signs of damage. However, because many cracks are difficult to detect with the naked eye, consider employing a professional HVAC technician who can use advanced techniques, such as a carbon monoxide test or a camera inspection, to identify any hidden damage more effectively.
C. Repairing or Replacing Damaged Heat Exchanger
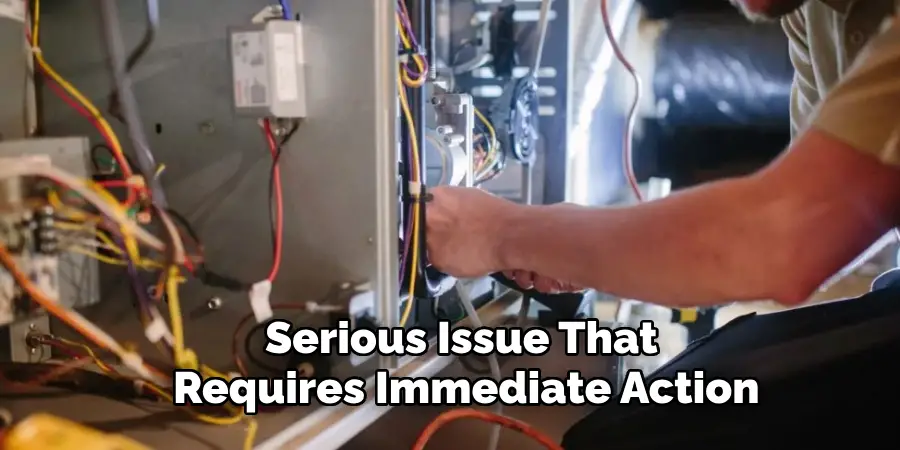
Any damage to the heat exchanger is a serious issue that requires immediate action. Due to the repair’s complexity and the heat exchanger’s critical role in furnace safety, repairing or replacing a damaged heat exchanger is not a DIY task. It requires the expertise of a qualified HVAC professional. If the heat exchanger is found to be damaged, the technician will determine whether a repair is feasible or if a full replacement is necessary. Given the potential for dangerous leaks, do not use the furnace until it has been professionally serviced. Replacing a heat exchanger can be costly, but it is essential for ensuring the safety and efficiency of your furnace.
Professional Assistance
A. Knowing When to Seek Professional Help
Understanding when to seek professional HVAC assistance is crucial for maintaining your furnace’s performance and ensuring the safety of your home. While some maintenance tasks and minor repairs can be handled by homeowners with a certain level of DIY skills, there are situations when calling in a professional is necessary. These include experiencing recurring issues with your furnace, detecting strange noises or smells, facing problems involving electrical or gas components, or any issues related to the heat exchanger. Furthermore, if your furnace is under warranty, performing DIY repairs might void the warranty terms, making it imperative to opt for professional services instead.
B. Hiring Qualified HVAC Technicians for Diagnosis and Repair
When it comes to diagnosing and repairing your furnace, hiring qualified HVAC technicians is indispensable. A certified technician has the expertise to accurately diagnose issues and repair safely and efficiently. To ensure you’re hiring a reputable professional, look for certified technicians from recognized industry organizations, read online reviews, and ask for recommendations from friends or family. Additionally, verify that the technician is licensed and insured to protect yourself from any liability in the event of an accident or damage during the repair process.
C. Consulting Experts for Preventative Maintenance Advice
Preventative maintenance is key to extending the life of your furnace and ensuring it runs efficiently and safely. Consulting HVAC experts for preventative maintenance advice can help you identify what aspects of furnace care you can manage yourself and what should be handled by professionals. An expert can provide a maintenance schedule tailored to your specific furnace model and usage patterns. This schedule might include routine cleaning, filter changes, and yearly inspections. Implementing expert advice for preventative maintenance can lead to lower energy bills, fewer repairs, and a lesser risk of unexpected furnace failures.
Conclusion
Throughout this guide, we’ve detailed the essential steps for how to repair my furnace, from diagnosing common issues to executing precise repairs and replacements. Safety, maintenance, and efficiency form the pillars of effective furnace care, ensuring your system operates at peak performance while safeguarding your household.
Adhering to these guidelines not only maximizes comfort and reliability but also extends the lifespan of your furnace, providing peace of mind throughout the colder months. However, when in doubt or facing complex issues, do not hesitate to seek professional assistance. By following these guidelines and investing in preventative maintenance, you can keep your furnace running smoothly for many years to come.

