Addressing plumbing issues beneath a concrete slab poses unique challenges that demand a meticulous approach to ensure both effectiveness and minimal disruption. Whether dealing with leaks, blockages, or other concerns, repairing plumbing under a slab requires a strategic combination of diagnostic skills and technical expertise.
In this comprehensive guide, we will navigate through how to repair plumbing under slab, from identifying the issue to executing the necessary repairs without compromising the structural integrity of the building.
Homeowners and property managers will gain valuable insights into the tools, materials, and methods essential for successful repairs, promoting long-term stability and preventing further damage. By understanding the complexities of plumbing beneath a slab, individuals can confidently undertake or oversee these repairs, ensuring a reliable and efficient plumbing system for their homes or structures.
Signs of Plumbing Problems in a Slab Foundation
Slab foundations have become increasingly popular in the past few decades but they do come with their own set of challenges. One of the most common issues that homeowners face with slab foundations is plumbing problems. The plumbing system runs underneath the concrete slab, making it difficult to access and repair when things go wrong.
In this section, we will discuss some common signs of plumbing problems in a slab foundation and what you can do to address them.
Signs of Plumbing Problems
There are a few key warning signs that may indicate plumbing problems in your slab foundation. These include:
- Unusual noises: If you hear gurgling or bubbling sounds coming from your pipes, it could be a sign of a blockage or leak in the plumbing system.
- Slow draining: If your sinks, showers, or toilets are draining slowly, it could be due to a clog in the pipes.
- Water stains: Dark spots on your floors or walls, especially near plumbing fixtures, can indicate a hidden leak.
- High water bills: A sudden increase in your water bill could be a sign of a leak somewhere in the plumbing system.

Causes of Plumbing Problems in a Slab Foundation
There are several factors that can lead to plumbing problems in a slab foundation. These include:
- Age: As homes age, the plumbing system can deteriorate and develop leaks or clogs.
- Poor installation: Improperly installed pipes or fixtures can cause issues down the line.
- Tree roots: Trees planted too close to the foundation can cause the pipes to crack or clog as their roots grow.
- Shifting soil: Changes in soil moisture levels and settling of the foundation can put pressure on the plumbing system, leading to leaks or breaks.
10 Methods How to Repair Plumbing Under Slab
1. Locate the Source of the Problem
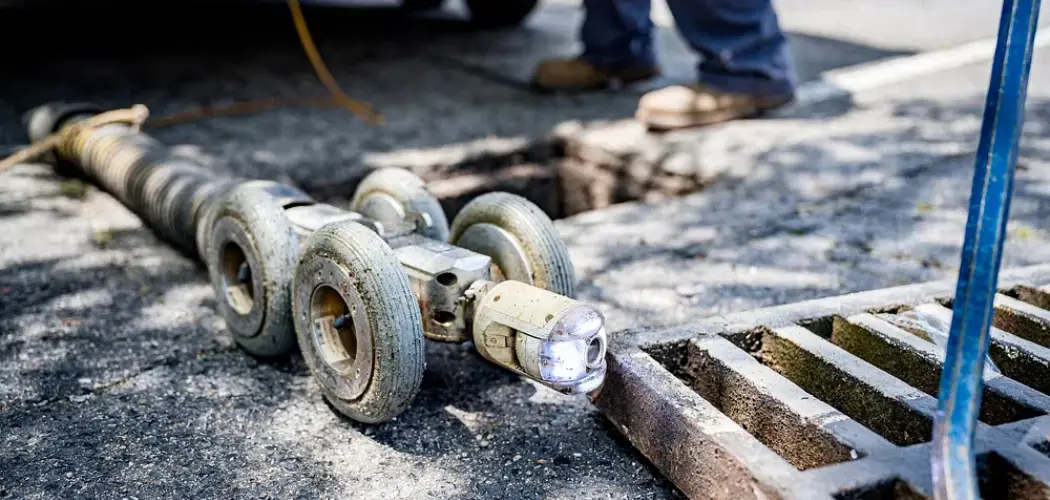
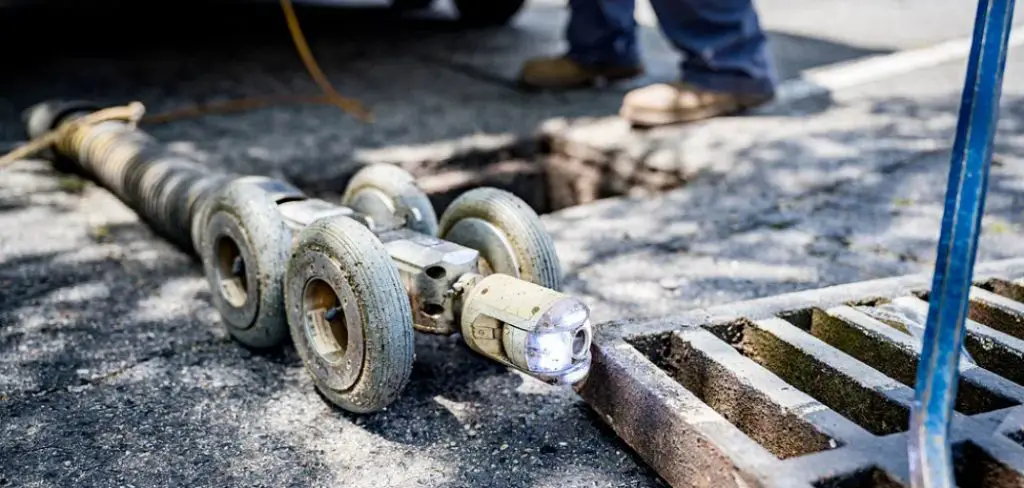
The first step in repairing plumbing under a slab is to locate the source of the problem. This can be done by using a variety of tools such as an acoustic listening device, a camera, or a smoke test. The process involves locating the exact location of the leak and then determining what type of repair needs to be done. Once the source is located, it can be addressed with one of several methods.
2. Cut Access Holes
Once the source of the leak has been identified, access holes will need to be cut into the slab in order to gain access to the plumbing system underneath. This process requires specialized tools and should only be done by an experienced professional. The access holes should be cut at least two feet away from any existing pipes or fixtures in order to avoid damaging them during repairs.
3. Pressure Testing
Pressure testing is another method used to identify leaks in plumbing beneath slabs. This process involves filling the system with pressurized water and then monitoring for any changes in pressure that may indicate a leak in one or more areas. If any changes are detected, further investigation may be necessary to determine where exactly the leak is located and how best to repair it.
4. Replace Damaged Pipes
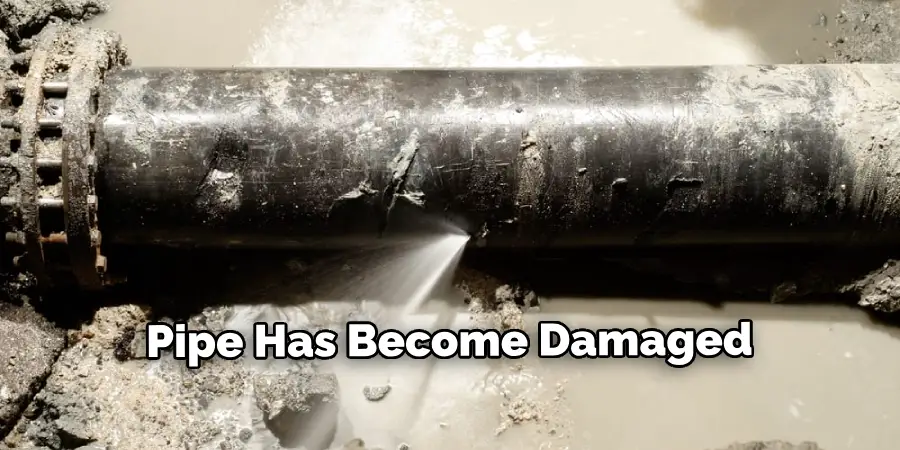
If a pipe has become damaged due to corrosion or other factors, it will need to be replaced before any other repairs can take place. This process typically involves using specialized tools such as an auger or snake to remove old pipes and replace them with new ones made from materials such as copper or PVC piping that are better suited for underground applications.
5. Repair Cracks
Cracks can occur in both concrete slabs and pipes over time due to various environmental factors, such as temperature fluctuations or soil movement beneath foundations. These cracks need to be repaired before any other repairs take place in order to prevent further damage from occurring and ensure that all connections are secure and functioning properly when repairs are complete.
6. Install Flexible Connectors
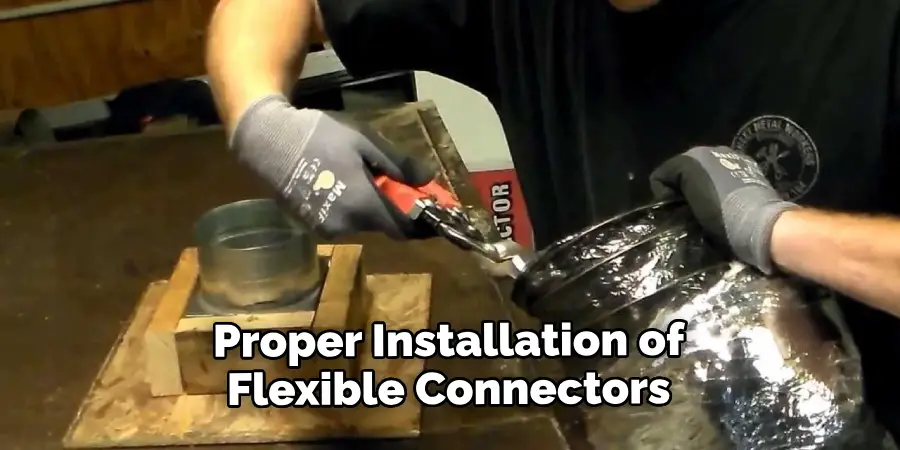
Flexible connectors are often used when repairing plumbing beneath slabs since they provide more flexibility than rigid pipes while still providing adequate support for pipes running through tight spaces or around corners without having too much give that could lead to leaks down the line. Flexible connectors should always be installed correctly according to the manufacturer’s instructions in order for them to work properly over time without needing frequent replacements due to wear and tear caused by frequent use or exposure to harsh elements like extreme temperatures or moisture levels underground.
7 . Install Waterproof Membranes
Waterproof membranes are also commonly used when repairing plumbing under slabs since they help protect against moisture seeping into cracks that could lead to further damage if left unchecked over time. These membranes should always be installed according to the manufacturer’s instructions so as not to compromise their effectiveness by leaving gaps between pieces which could allow water infiltration.
8 . Re-Grade Slab Surfaces
In some cases, re-grading slab surfaces may also need to be done before attempting repairs on plumbing systems underneath. This involves removing excess dirt, debris, and other material from around where pipes enter slabs so that there is no interference with the proper installation of flexible connectors, waterproof membranes, etc.
9. Seal Pipe Openings
Pipe openings must also sealed tightly after installation so that no moisture can seep into cracks and cause additional damage down line. To do this, plumbers typically use either silicone caulk or expanding foam sealant, depending on the size of the opening being sealed off. It’s important to make sure all openings get sealed properly so there is no risk of water infiltrating into the surrounding area and causing further issues later on.
10. Test System for Leaks
Finally, once all repairs have been completed, it’s important test the system for leaks to make sure everything functioning properly before putting it back into service. Plumbers typically use the pressure testing method, and fill system with pressurized water to monitor any changes in pressure might indicate the presence of leaks somewhere within the network, which would require further investigation to determine the exact location issue and how best to address it going forward.
Things to Consider When Repairing Plumbing Under Slab
When it comes to repairing plumbing under a slab, there are several factors that need to be taken into consideration in order to ensure a successful and long-lasting repair. In this section, we will discuss some important things that you should keep in mind when tackling this type of repair.
Identify the Cause of the Problem
The first step in repairing plumbing under a slab is to determine the cause of the issue. This will help you understand the extent of the damage and what type of repair is needed. Some common causes of plumbing issues under slabs include leaks, clogs, and damaged pipes.
Assess the Damage
Once you have identified the cause of the problem, it’s important to assess the extent of the damage. This will help you determine the best course of action for repairing the plumbing under the slab. In some cases, a simple repair may be enough, while in others, a more extensive solution such as replacing pipes or rerouting plumbing may be necessary.
Consider the Age and Condition of Your Plumbing System
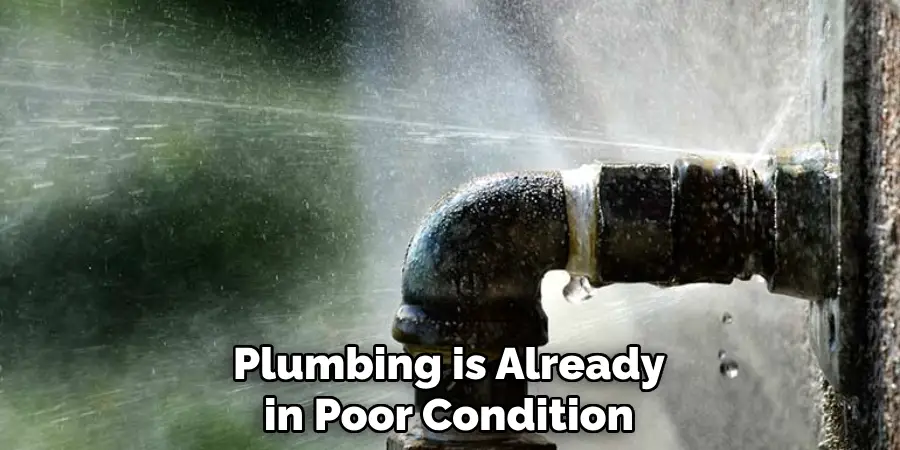
It’s important to consider the age and condition of your plumbing system before attempting to repair it under a slab. Older systems may have more wear and tear, making them more prone to issues. If your plumbing is already in poor condition, it may be best to replace the entire system rather than just repairing a small section.
Conclusion
Fortunately, we have provided some helpful steps on how to repair plumbing under slab. In summary, remember to first turn off the water supply and then assess the pipe for any damages or leaks. After identifying where the plumbing repair is needed, you can cut through the concrete with a circular saw to get a better view.
Replace the old pipes with new ones connected to the shut-off valves. Use waterproof cement on both ends to prevent water from leaking out and apply insulation tape and caulking to ensure there are no more gaps. As always, if this seems like too big of a task, don’t be afraid to call in a professional plumber who will have all of the right tools and expertise to get the job done correctly.

