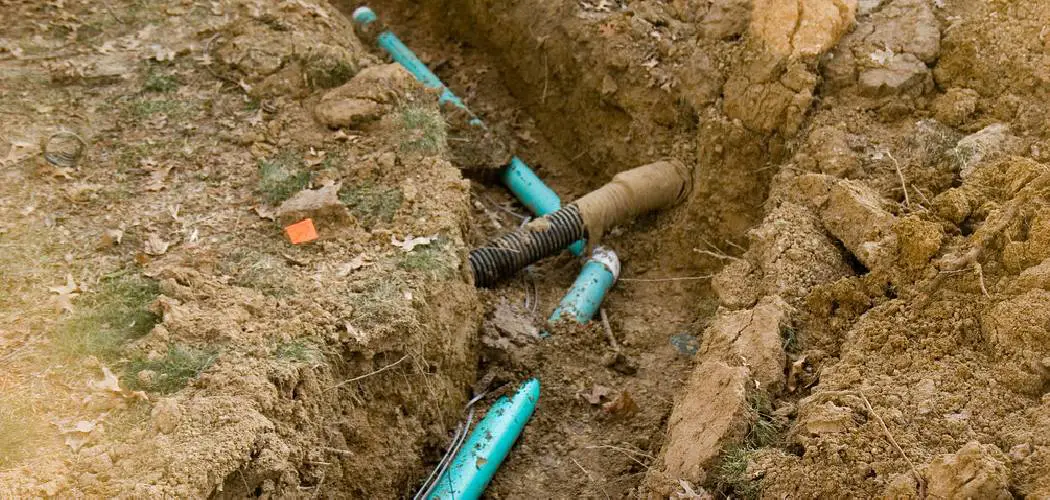
Are you a homeowner facing a serious problem of repairing your soil pipe? If so, you’re not alone — many households are in the same boat. Repairing a broken or damaged soil pipe can be an expensive and complex endeavor that requires some specialized knowledge. However, with the right guidance and tools, it doesn’t have to be overwhelming!
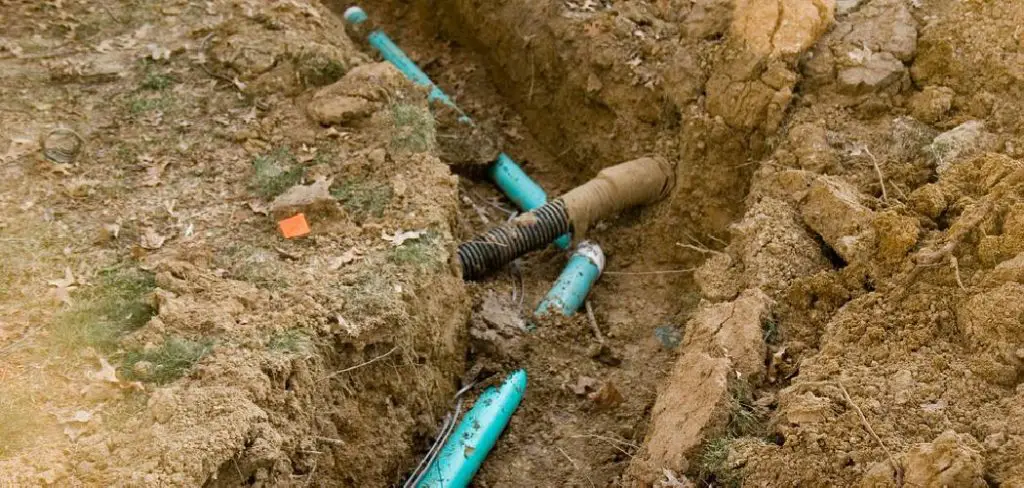
In this blog post, we’ll walk you through all of the steps of how to repair soil pipe From identifying common symptoms of damage to selecting necessary materials for repair, by the end of this post you’ll have all the skills needed to tackle your repair project confidently!
Tools and Materials You Will Need to Repair Soil Pipe
- Hacksaw
- PVC pipe cutter or reciprocating saw with fine-tooth blade
- Screwdriver (flat-head and Phillips)
- Rags or old towels
- Heavy-duty PVC glue
- Pipe fittings (elbows, couplings, T-joints)
- Replacement section of soil pipe
Step-by-step Guidelines on How to Repair Soil Pipe
Step 1: Identify the Problem
The first step in any repair project is to identify the issue. Common symptoms of a damaged soil pipe include leaks, cracks, or structural damage. Take note of where the problem is located and assess the severity. Identifying the type and extent of damage will help you determine the best course of action for repair.
Step 2: Prepare the Area
Before starting any repair work, it’s important to prepare the area. Make sure to turn off the water supply and remove any obstructions around the damaged section of the soil pipe. This will ensure that you have enough space to work comfortably. Preparing the area also includes wearing appropriate safety gear, such as gloves and eye protection.
Step 3: Cut Out the Damaged Section
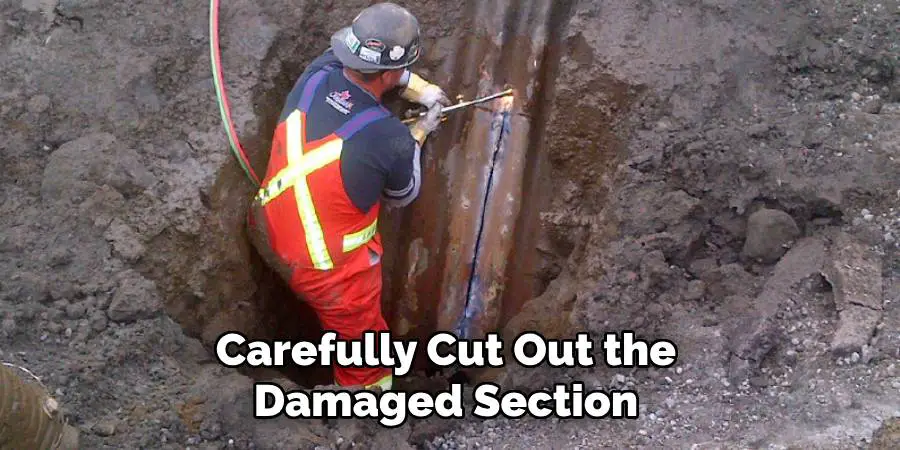
Using a hacksaw or PVC pipe cutter, carefully cut out the damaged section of soil pipe. Make sure to measure and mark the exact length of the replacement pipe needed before cutting. If necessary, use a reciprocating saw with a fine-tooth blade for larger or more complex cuts. While cutting, make sure to wear appropriate safety gear and work slowly to avoid any accidents.
Step 4: Clean the Edges
After cutting out the damaged section, clean up the edges of the remaining pipe with a rag or old towel. This will help create a smooth surface for connecting the new pipe. It’s important to remove any debris or dirt from the area, as it can affect the seal of the new pipe.
Step 5: Secure New Pipe
Apply a layer of heavy-duty PVC glue on both ends of the remaining pipe and one end of the replacement section. Connect the two pieces together, making sure to secure them tightly. Use pipe fittings, such as elbows or couplings, if necessary to create a secure connection. This step may require some trial and error, so take your time to ensure a proper fit.
Step 6: Let it Set
Once the new pipe is securely in place, let it sit for the recommended amount of time indicated on the PVC glue label. This will allow the adhesive to fully bond and create a strong seal. It’s important not to rush this step, as a weak bond can lead to future problems. Make sure to follow the instructions on the PVC glue carefully.
Step 7: Test and Inspect
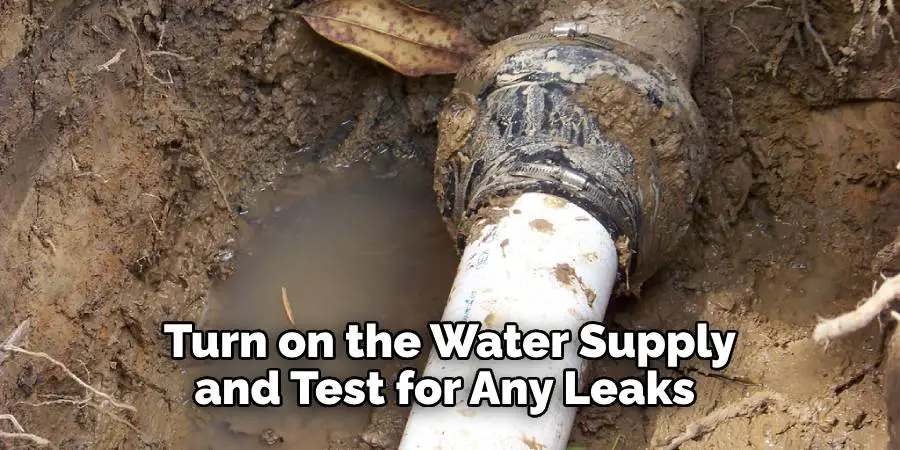
After the recommended setting time has passed, turn on the water supply and test for any leaks or issues. If everything looks good, give the area a final inspection to ensure all connections are secure and there are no signs of damage. Make any necessary adjustments or repairs before finishing up the project.
Following these step-by-step guidelines, you are now equipped with the necessary knowledge and tools to successfully repair your soil pipe. Remember to always take safety precautions and consult a professional if needed. By taking proper care of your soil pipe, you can prevent future problems and maintain a healthy plumbing system in your home. Happy repairing!
Additional Tips and Tricks to Repair Soil Pipe
1. If you are using a PVC soil pipe, use sandpaper to roughen up the surface of the pipe before applying primer and glue. This will help create a better bond between the pipes and prevent leaks.
2. When cutting out a damaged section of soil pipe, try to cut at least 2 inches beyond where the damage ends on both sides. This will ensure that there is enough room for the new section to be securely attached.
3. Use a handheld mirror or a smartphone with a camera to inspect hard-to-reach areas of the soil pipe. This will help you identify any potential issues that may not be visible from a direct view.
4. If you are using rubber couplings to connect two sections of soil pipe, make sure to tighten the bands evenly to avoid any uneven pressure on the pipes. This can cause leaks or even damage the pipes over time.
5. Use a pipe cutter instead of a hacksaw when cutting soil pipe. This will provide a cleaner and more precise cut, making it easier to fit in new sections of pipe.
6. When using solvent cement to join two sections of soil pipe, make sure to use the appropriate type based on the material of your pipe. Using the wrong type of solvent cement can lead to weak joints and potential leaks.
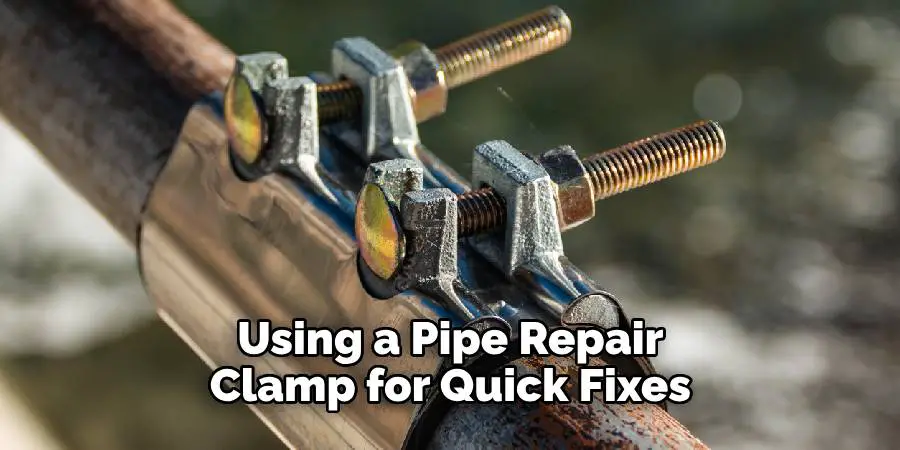
7. Consider using a pipe repair clamp for quick fixes on small cracks or holes in soil pipes. These clamps are easy to install and can provide a temporary solution until you have time for a permanent fix.
8. Always wear protective gear such as gloves and safety glasses when working on soil pipes. This will protect you from any potential hazards or chemicals used in the repair process.
9. If possible, try to have an extra set of hands to help with holding and aligning the pipes while making repairs. This will make the process smoother and reduce the risk of mistakes.
10. Regularly inspect your soil pipes for any signs of damage or wear and tear. Catching and fixing small issues early on can prevent larger and more costly repairs in the future. Overall, proper maintenance and regular inspections are key to keeping soil pipes in good condition and preventing any major issues from occurring.
Following these tips and tricks can help you efficiently repair soil pipes and keep your plumbing system functioning properly. Remember to always prioritize safety and be thorough in your repairs for long-lasting results. With these techniques, you’ll be able to confidently tackle any soil pipe repair project. So, don’t hesitate to take on the challenge and become a pro at repairing soil pipes! Happy fixing!
Frequently Asked Questions
What is a Soil Pipe and Why Does It Need Repair?
A soil pipe, also known as a sewer pipe or drainage pipe, is an essential part of your home’s plumbing system that connects the waste from your toilets, sinks, and other plumbing fixtures to the main sewer line.
Over time, these pipes can become damaged due to age, tree root intrusion, clogs, or other factors. If left unrepaired, it can lead to serious plumbing issues and even health hazards. Therefore, it is crucial to address any damage to your soil pipe promptly.
How Do I Know if My Soil Pipe Needs Repair?
There are a few signs that can indicate potential damage to your soil pipe. These include foul odors coming from your drains or yard, slow draining or backing up of water in sinks and toilets, and visible cracks or leaks in the soil pipe itself. If you notice any of these signs, it is best to call a professional plumber to assess the situation and determine if repair is necessary.
Can I Repair My Soil Pipe Myself?
While some minor repairs can be done by homeowners with basic plumbing knowledge and tools, it is generally recommended to leave soil pipe repair to the professionals. This is because soil pipes are typically buried underground, making it difficult to access and repair without proper equipment. Additionally, if not repaired correctly, it can lead to further damage and costly repairs in the future.
How is a Soil Pipe Repaired?
The specific repair method will depend on the type of damage and severity of the issue. In most cases, a plumber will begin by performing an inspection using specialized cameras to identify the location and extent of the damage.
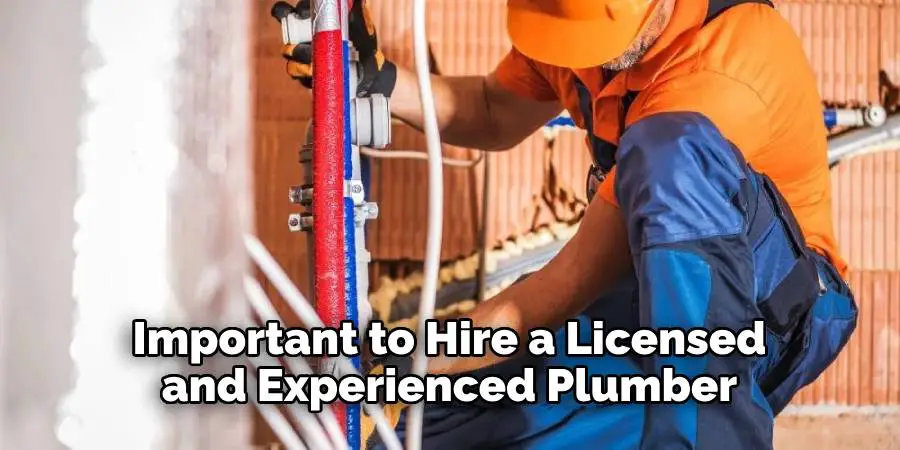
From there, they may use techniques such as pipe lining or traditional excavation and replacement to repair the soil pipe. It is important to hire a licensed and experienced plumber for soil pipe repair to ensure the job is done correctly and efficiently.
Conclusion
in conclusion, repairing soil pipes is a simple task when tackled with the right tools and attitude. While it may seem daunting at first, following the correct steps will ensure that your pipes are repaired quickly and properly. It may be a good idea to coordinate with a local plumbing expert if you don’t feel comfortable or confident that you can do this repair on your own.
Now that we’ve gone through everything you need to know about how to repair soil pipes, why not try tackling this challenge today? With the right resources, guidance, and support, you can have your pipes repaired without having to worry about excessive water damage or directing more money to a professional service. So go ahead and take control of your home’s plumbing system – get started on repairing that soil pipe today!

