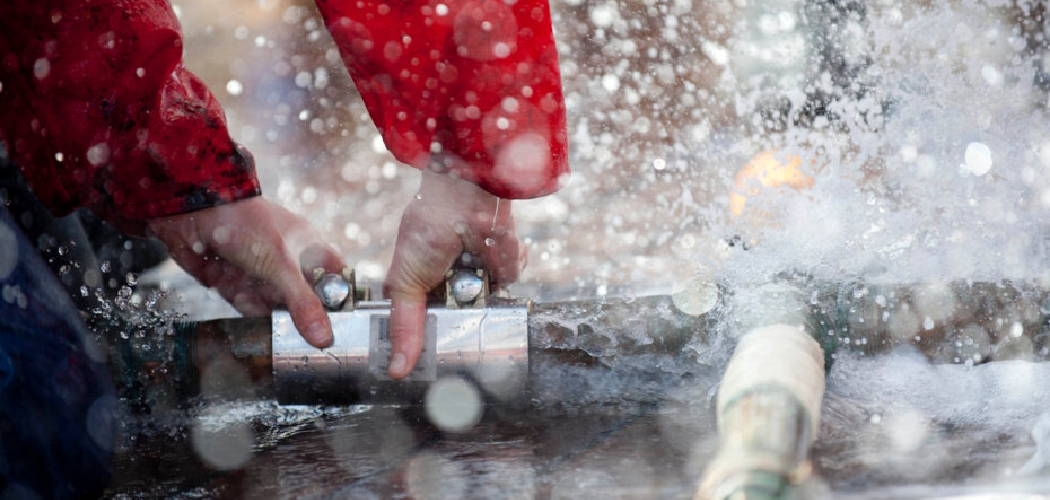
Repiping a house is a critical home improvement project that involves replacing old or damaged plumbing pipes with new ones. This article aims to outline the comprehensive process of how to repipe your house, highlighting the reasons behind the need for repiping and the benefits associated with upgrading your plumbing system.
Common reasons for repiping include aging pipes that are prone to leaks, frequent plumbing issues that lead to water damage, and deteriorating water quality, affecting health and hygiene. This guide will walk you through the main steps involved in repiping a house, from the initial planning phase through to the final installation and cleanup, ensuring that homeowners are well informed about the process and can make educated decisions about their plumbing needs.
Planning and Preparing for Repiping
Assess Your Plumbing System
Before diving into the repiping process, evaluating your existing plumbing system is essential. Start by inspecting the current pipes to identify their material—whether they are copper, galvanized steel, PVC, or PEX—and assess their condition. Look for signs of corrosion, leaks, or wear that may indicate potential issues.
Additionally, consider your household’s plumbing needs; this includes evaluating the number of fixtures in your home, understanding your water pressure requirements, and identifying any future upgrades you might want to implement. Understanding these factors will help you make informed decisions regarding your plumbing system.
Develop a Repiping Plan
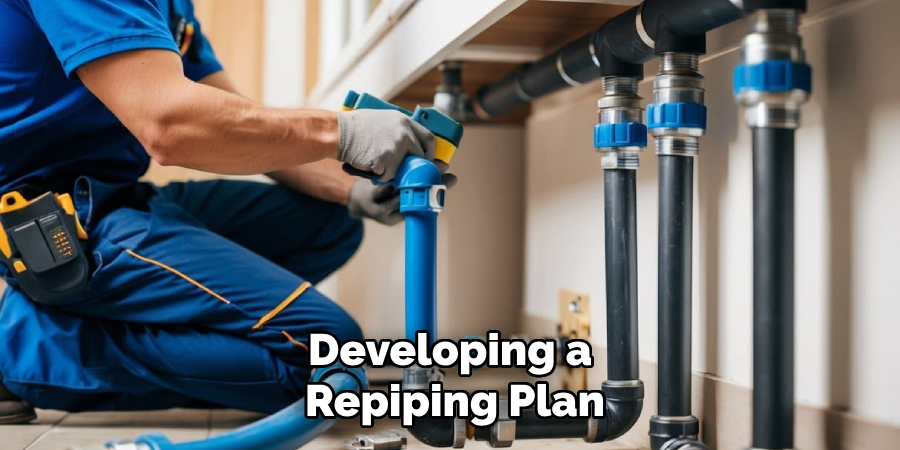
Once you have assessed your plumbing system, the next step is to create a detailed repiping plan. Start by drawing up a layout that includes routing new pipes, fixtures’ locations, and connections to the main water lines. This layout will serve as a roadmap for the installation process. Additionally, selecting the appropriate materials for the new plumbing system is crucial.
Focus on options such as PEX, copper, or CPVC, considering your budget, the climate in your area, and any local building codes that may apply. It’s often beneficial to consult a professional plumber at this stage to review your plans and ensure they comply with local codes and regulations, thus providing you with peace of mind as you prepare for the repiping project.
Acquiring Permits and Preparing the Site
Obtain Permits
Before initiating the repiping process, it is crucial to check local regulations pertaining to plumbing work. Different municipalities may have specific building codes that mandate obtaining permits for any substantial plumbing changes. Start by conducting thorough research to understand what is required in your area, ensuring compliance with all relevant regulations.
Once you have this information, submit your permit applications to the local building department. Be diligent in providing all necessary documentation and details about your project. Additionally, schedule any required inspections to facilitate a smooth approval process. Obtaining the right permits helps ensure the safety and legality of your work and protects you from potential fines and complications in the future.
Prepare the Site
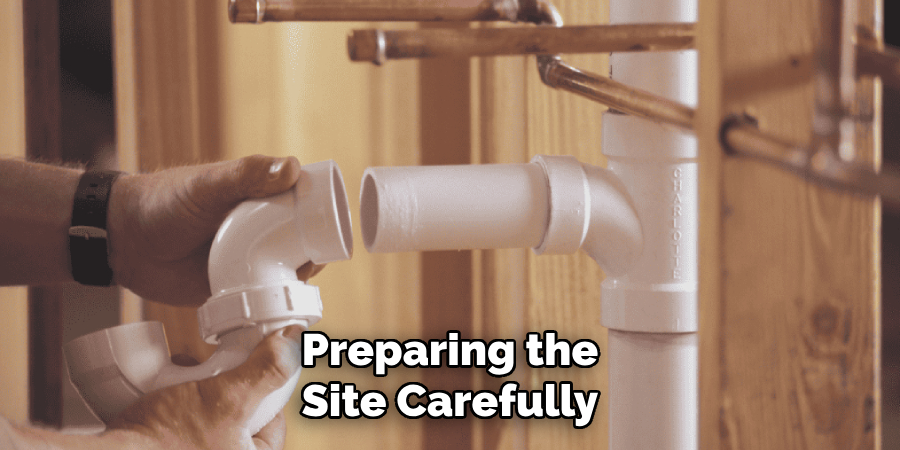
With permits in hand, the next step is to prepare the work area for repiping. Remove any furniture, fixtures, or items that could obstruct access to plumbing lines by clearing the vicinity where the repiping will occur. This ensures a safe and efficient working environment for the plumbing professionals. After clearing the area, it’s vital to protect any remaining surfaces from potential damage.
Use drop cloths to cover floors and plastic sheeting to shield walls, which will help prevent scratches, stains, or other marks caused by tools and materials used during the repiping. Preparing the site carefully sets the stage for a smooth installation experience and minimizes the risk of accidents or damage.
How to Repipe Your House: Removing Old Pipes
Step 1: Shut Off Water Supply
Before removing old pipes, turning off the main water supply valve is essential. This will stop the flow of water to the house and prevent any flooding during the process. Once the main valve is turned off, open all faucets and drains throughout the home to allow any remaining water to drain from the pipes. This step is crucial to ensure that the work area is dry and safe for further action.
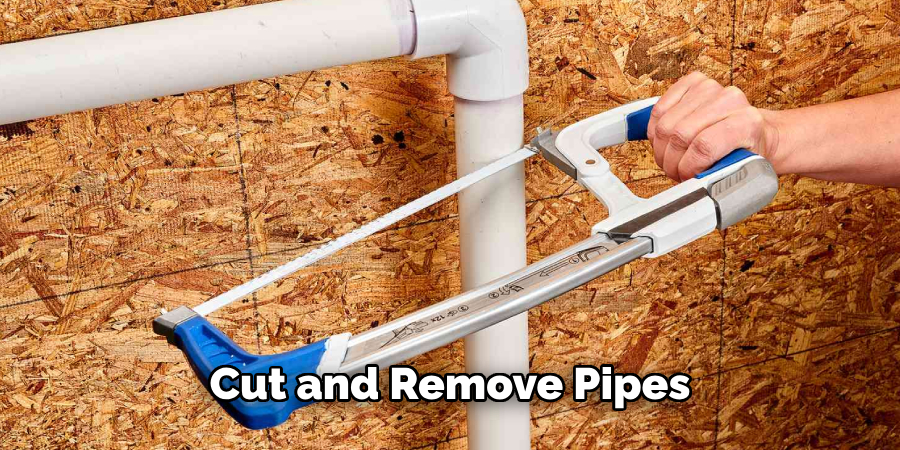
Step 2: Cut and Remove Pipes
You can begin cutting and removing the old pipes with the water supply successfully shut off and drained. Use a pipe cutter or a reciprocating saw to make precise cuts in the old pipes, being careful to avoid damaging any surrounding structures. After cutting the pipes, disconnect and remove any fittings, supports, and brackets secured to the old plumbing. Properly disposing of the removed materials is important to maintain a clean and organized work site.
Step 3: Inspect and Prepare
With the old pipes removed, take a moment to inspect the surrounding areas for any damage or issues caused by leaks or corrosion from the old plumbing. Addressing any concerns you find, such as water damage or mold, is vital to ensure that installing new pipes won’t cause problems later on. Finally, prepare the area for the new pipes by ensuring it is clean, debris-free, and well-organized. Confirm that all surfaces are ready for the new plumbing, allowing for a smooth installation process.
How to Repipe Your House: Installing New Pipes
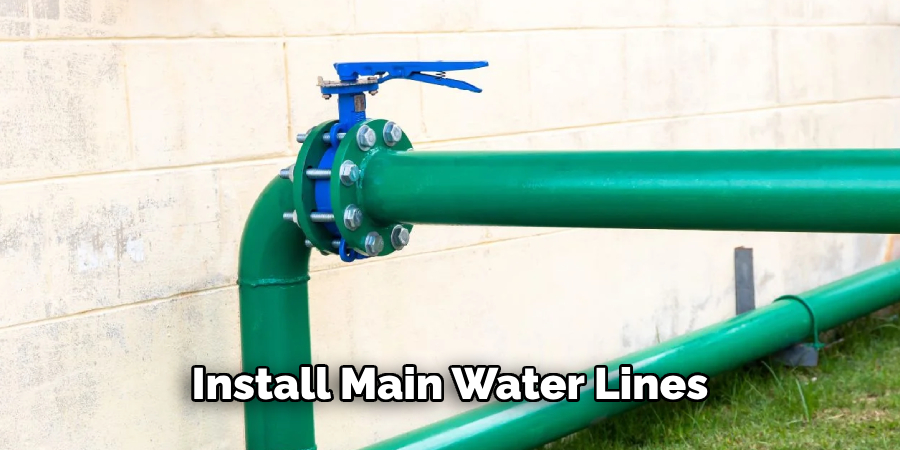
Step 1: Install Main Water Lines
Begin the installation by positioning and securing the new main water lines as your repiping plan outlines. Ensure that the pipes are correctly aligned and adequately supported to prevent any sagging or stress on joints.
Once positioned, connect the new pipes to the existing plumbing system using appropriate fittings and connectors, such as couplings or transition fittings, to ensure a uniform flow of water. It’s essential to follow manufacturer guidelines for any adhesives or sealants used to guarantee a watertight seal.
Double-check all connections for proper fit and stability, as this will prevent future leaks and ensure the longevity of your plumbing system.
Step 2: Install Branch Lines and Fixtures
Next, install branch lines that will lead from the main water lines to various fixtures throughout your home. Carefully route these branch lines to ensure they do not interfere with electrical wiring or other plumbing.
Use additional supports as necessary to hold the pipes in place securely. Once the branch lines are in position, it’s time to connect the new pipes to fixtures such as sinks, toilets, and appliances. Ensure all connections to fixtures are secure and leak-proof, using the plumber’s tape or thread sealant on threaded joints to create watertight seals.
Verify that each fixture is correctly installed and aligned, as improper installation can lead to issues down the line.
Step 3: Test the System
After the installation is complete, turn on the main water supply and check all connections and joints for leaks. Assess the system carefully for any drips or signs of water seeping from the joints, tightening them if necessary. Additionally, verify the water pressure throughout the system to ensure that it meets your household needs. Testing the system is crucial to confirm that the new plumbing functions efficiently and effectively before wrapping up the project.
Finalizing and Inspecting the Installation
Step 1: Inspect the Work
Once the installation is complete, scheduling a professional inspection to confirm that your new plumbing system complies with all relevant building codes and regulations is essential. A qualified inspector will evaluate the workmanship, from the installations’ quality to the connections’ integrity.
Be prepared to address any issues that arise during the inspection; this may involve making adjustments or repairs according to the feedback provided. Ensuring compliance at this stage guarantees safety and protects your investment in the long run.
Step 2: Clean Up and Restore
After addressing any inspection findings, the next step is to clean up the work area thoroughly. This involves removing all debris, old pipes, and leftover materials generated during the repiping process. A clean and tidy environment promotes safety and allows for an efficient workflow.
Once the area is cleaned, proceed to restore the site to its original condition. This may include replacing any removed fixtures and reinstalling furniture. By taking the time to properly clean and restore the site, you can ensure that your home is not only functional but also inviting once again.
Maintaining Your New Plumbing System
Regular Maintenance
Conducting routine maintenance is essential to ensuring the longevity of your new plumbing system. Regular checks should include inspecting for leaks, monitoring water pressure, and flushing the system to remove build-up or debris. Additionally, scheduling periodic inspections with a professional plumber will help identify potential issues before they escalate, ensuring the system operates smoothly.
Addressing Issues Early
Being proactive about repairs is crucial for maintaining your plumbing system’s efficiency. Should you notice any signs of problems, such as unusual noises, dampness, or changes in water flow, address these issues promptly. Early intervention not only prevents more significant damage but also prolongs the lifespan of your plumbing infrastructure, saving you time and money in the long run.
Conclusion
In summary, repiping a house involves a systematic approach that begins with carefully planning and assessing existing plumbing. It removes old pipes, installs new ones, ensures proper connections, and tests the system before final inspection.
This meticulous process enhances water quality and efficiency and significantly reduces the risk of leaks, providing homeowners with peace of mind. As you consider how to repipe your house, remember that enlisting the expertise of a professional plumber can be invaluable.
If you find any aspect of the process overwhelming or encounter complications, seeking professional help ensures a successful and hassle-free repiping experience. Prioritizing these steps and engaging expert assistance will safeguard your investment and support the long-term integrity of your plumbing system.

