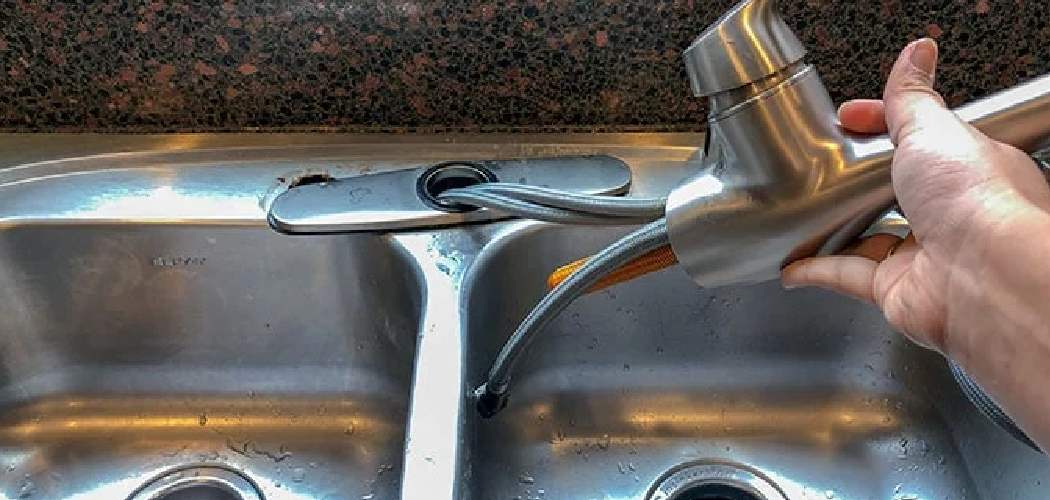
Replacing a kitchen faucet sprayer may seem like a daunting task, but it’s a straightforward process that can save you time and money. Whether your current sprayer is leaking, outdated, or just not functioning properly, installing a new one can improve both the appearance and functionality of your kitchen.
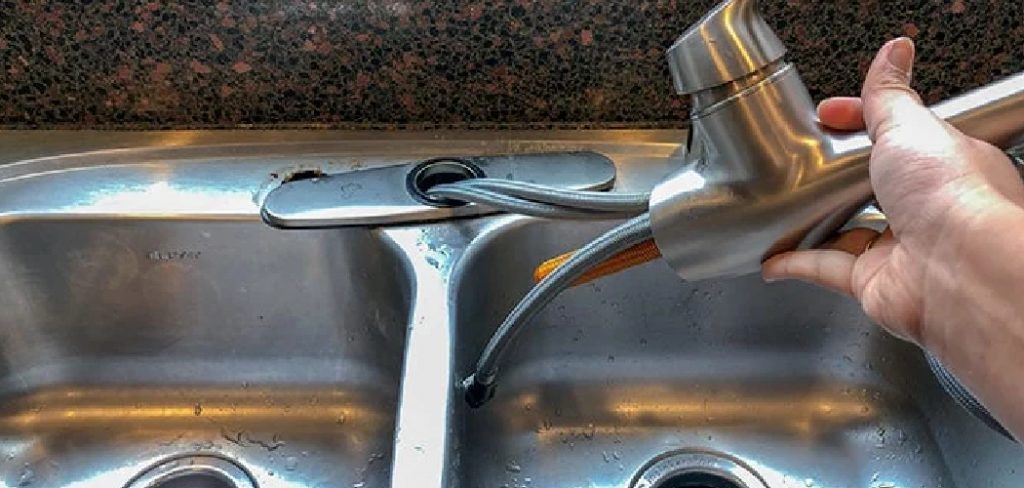
With a few basic tools and some simple steps, you can confidently upgrade your kitchen faucet sprayer in no time. This guide on how to replace a kitchen faucet sprayer will walk you through the process to ensure a smooth and successful replacement.
Why Replace Your Kitchen Faucet Sprayer?
There are several reasons why you might consider replacing your kitchen faucet sprayer. Over time, wear and tear can cause leaks, reduced water pressure, or inconsistent spray patterns, making the sprayer less effective and frustrating to use. Additionally, an outdated sprayer may not match the rest of your kitchen’s design, detracting from the overall aesthetic.
Replacing your sprayer can also provide access to newer, more efficient models with improved functionality, such as multiple spray settings or better water-saving features. By upgrading, you enhance both the practicality and appearance of your kitchen, ensuring it meets your needs and style.
Needed Materials
New Kitchen Sprayer
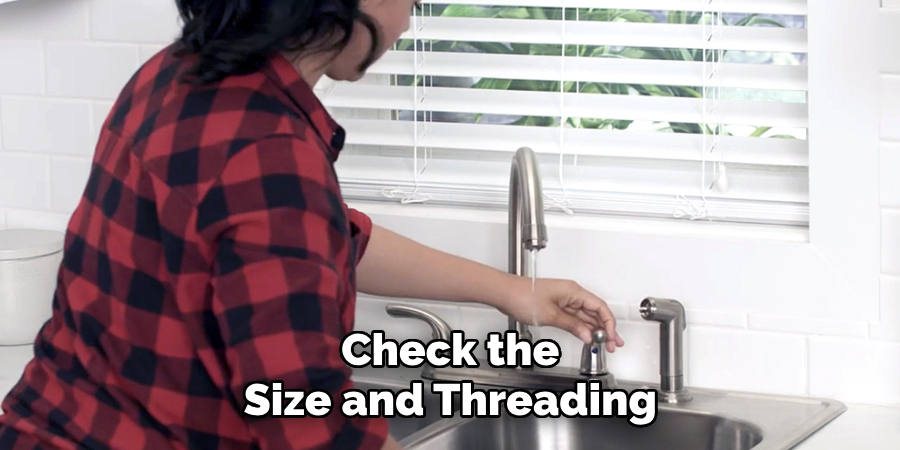
When purchasing a new kitchen sprayer, there are a few important factors to consider. First, make sure it is compatible with your current faucet and sink setup. Check the size and threading of the sprayer attachment to ensure it will fit properly. Additionally, consider the style and finish of the sprayer to ensure it matches your existing fixtures.
Plumbers Tape
Plumbers’ tape, also known as Teflon tape, is an essential material for installing a new kitchen sprayer. This thin white tape helps create a tight seal between threaded connections and prevents leaks.
Adjustable Wrench
A good quality adjustable wrench is necessary for installing a kitchen sprayer. This versatile tool can be used to tighten and loosen nuts on the sprayer and connecting pipes.
Screwdriver
Depending on the type of mounting kit your sprayer comes with, you may need a screwdriver to secure it in place. A Phillips head screwdriver is typically used for this task.
Plumber’s Putty
Plumber’s putty is a soft, moldable material that helps create a watertight seal around the base of the sprayer or faucet. It is especially useful when installing a deck-mounted sprayer.
Safety Measures
When working with plumbing fixtures and tools, it is important to take safety precautions. Always wear protective gear, such as goggles and gloves, to prevent any accidental injuries. It is also important to shut off the water supply before beginning any installation or repairs.
6 Simple Steps on How to Replace a Kitchen Faucet Sprayer
Step 1: Prepare Your Workspace
Before beginning the installation process, it’s important to prepare your workspace. This will not only make the installation easier, but also help prevent damage to other surfaces in your bathroom.
Start by clearing out any clutter around your sink area. Remove any objects that may get in the way of your work or could potentially be damaged during the installation process.
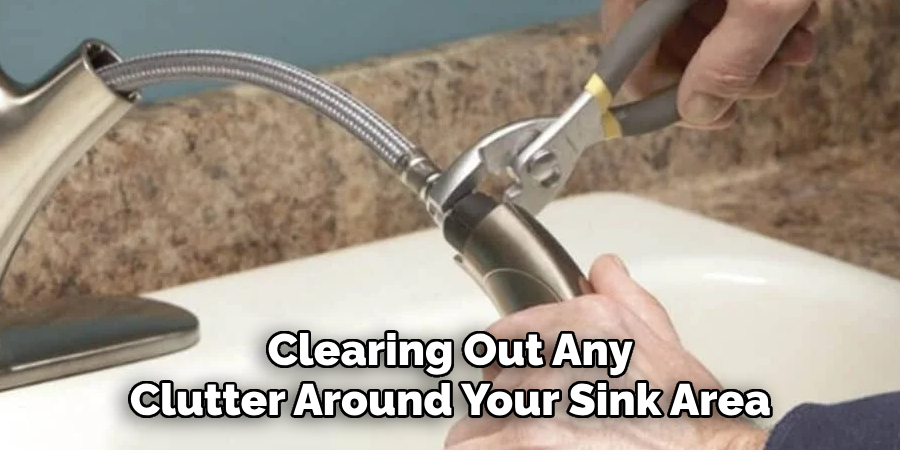
Next, place old towels or rags around the base of your sink. This will help catch any water or debris that may fall during the installation and protect your flooring from scratches or damage. It’s also a good idea to have all of your tools and materials readily available. This includes a pipe wrench, pliers, adjustable wrench, silicone caulk, plumber’s putty, and any replacement parts needed for the new sink.
Step 2: Remove Old Sink
To begin the actual installation process, you’ll need to remove your old sink. Start by turning off the water supply valves underneath your sink. Use a bucket to catch any excess water in the pipes as you disconnect them from the faucet.
Next, use a wrench or pliers to loosen and remove the nuts and bolts holding the sink in place. Depending on the type of sink you have, there may also be clips or brackets that need to be removed before you can lift out the old sink. Once the old sink is removed, clean up any remaining sealant or debris from the countertop. This will ensure a smooth and secure fit for your new sink.
Step 3: Install New Sink
Now it’s time to install your new sink! Begin by placing a bead of silicone caulk around the edge of the hole where your sink will sit. This will create a watertight seal between the sink and countertop.
Next, carefully lower the new sink into place and make sure it is centered and level. You may need a helper for this step to hold the sink in place while you work.
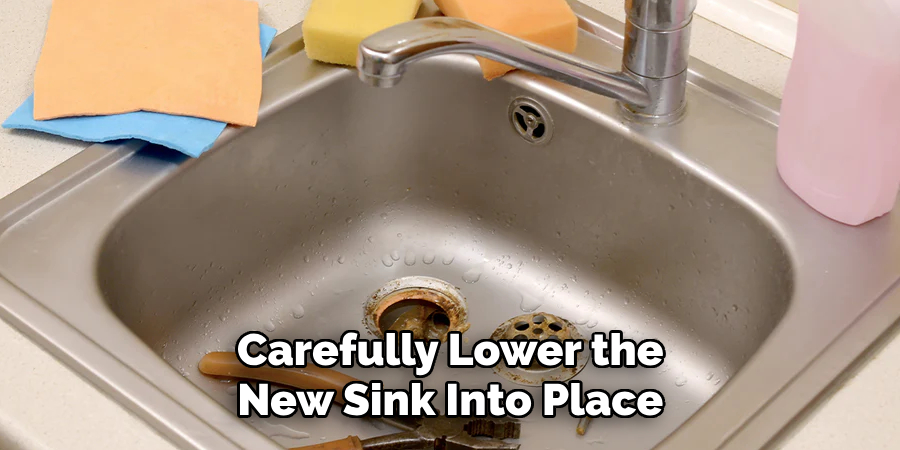
Once the sink is in place, secure it with clips or mounting hardware provided by the manufacturer. These are typically located underneath the sink and can be tightened with a screwdriver. Double-check that your sink is level and adjust as needed before moving on to the next step.
Step 4: Reconnect Plumbing
Now that your new sink is securely in place, it’s time to reconnect the plumbing. This will involve reattaching the water supply lines and drain pipes using plumber’s tape and/or pipe joint compound.
If your new sink has different dimensions from your old one, you may need to adjust the length of the pipes to fit. This can be done by using a pipe cutter or hacksaw.
Once everything is reconnected, turn on the water supply and check for any leaks. If there are any, tighten the connections as needed.
Step 5: Seal and Finish
To prevent water damage and mold growth, it’s important to properly seal around your new sink. Run a bead of silicone caulk along the edge where the sink meets the countertop. Use a wet finger or a smoothing tool to create a clean, smooth line.
Finally, give your sink a thorough cleaning with mild soap and warm water before using it again.
Congratulations! You have successfully installed your new sink. Now you can enjoy a fresh, updated look in your kitchen or bathroom. Don’t forget to properly maintain and clean your sink regularly to keep it looking its best for years to come.
Step 6: Maintenance and Care
Proper maintenance and care are essential to ensure the longevity and appearance of your newly installed sink. Regularly clean the sink using a non-abrasive cleaner and a soft cloth or sponge to prevent scratches and stains. Avoid using harsh chemicals or abrasive pads, as they can damage the finish. Immediately wipe up any spills, especially from acidic substances like vinegar or lemon juice, to prevent discoloration. Periodically check the caulk seal around the sink to ensure it remains intact; reapply caulk if necessary to prevent water damage. By following these simple steps, your sink will remain functional and pristine for years to come.

Following these maintenance tips on how to replace a kitchen faucet sprayer for your sink, it is also important to properly care for the plumbing and drainage system. Regularly clean out any debris or hair from the drain using a drain snake or plunger. This will prevent clogs and keep the water flowing smoothly.
Additional Tips
- If you are replacing an old sink, make sure to properly dispose of it according to your local waste management regulations.
- Consider upgrading your faucet and other fixtures while installing a new sink for a cohesive look.
- If you’re not confident in your plumbing skills, don’t hesitate to hire a professional plumber for the installation.
- Regularly check for any leaks or damage around your sink and address them promptly to avoid costly repairs in the future.
- To keep your sink looking clean and shiny, regularly wipe it down with a mild cleaner or soap and water.
- Consider using a sink mat or tray to protect the bottom of your sink from scratches and dings.
- For extra storage space, look for under-sink organizers or shelving units that can fit around your pipes.
- If you have hard water, consider installing a water softening system to prevent mineral buildup on your sink fixtures.
- Be cautious when handling heavy dishes near the edges of the sink to avoid chipping or cracking.
- Make sure to properly caulk around your sink to prevent any water damage to your countertops or cabinets.
- When choosing a new sink, consider the depth and placement of your faucet to ensure it will fit comfortably without splashing water everywhere.
- Consider adding a garbage disposal for convenience, but make sure to properly maintain and clean it to prevent clogs or odors.
- Don’t forget to regularly clean and disinfect your sink to keep it looking and smelling fresh.
Conclusion
Taking the time to choose the right sink and properly maintaining it can make a world of difference in your kitchen’s functionality and longevity. By following these tips on how to replace a kitchen faucet sprayer, you can ensure your sink remains efficient, durable, and a valuable part of your home.
A well-cared-for sink not only enhances your kitchen’s appearance but also supports a clean and organized workspace for all your culinary needs. Remember, investing in quality and maintenance today will save you time and hassle in the long run.

