

Are you having trouble with your shower faucet? Is it taking forever to get hot water or, even worse, getting cold when you’re in the middle of a relaxing shower? It may be time to replace your Kohler shower cartridge.
How to replace a kohler shower cartridge is a straightforward process that can restore proper functionality to your shower and resolve common issues like leaks or inconsistent water temperature.
Over time, shower cartridges can wear out due to regular use, leading to problems that affect the overall performance of your shower. By following a few simple steps and using some basic tools, you can easily replace the cartridge, saving time and money.
This guide will walk you through the steps needed to complete the replacement, ensuring your shower works like new again.
What Are the Benefits of Replacing a Kohler Shower Cartridge?
Replacing your Kohler shower cartridge has several benefits, including:
- Improved Water Pressure and Flow: A worn-out cartridge can restrict the water flow in your shower, reducing the pressure and making it difficult to get a comfortable shower experience.
- Consistent Water Temperature: The shower cartridge mixes hot and cold water to achieve the desired temperature. A faulty cartridge can cause fluctuations in water temperature, leading to an uncomfortable experience.
- Cost Savings: By replacing the cartridge yourself, you can save money on hiring a plumber or buying a new faucet.
What Will You Need?
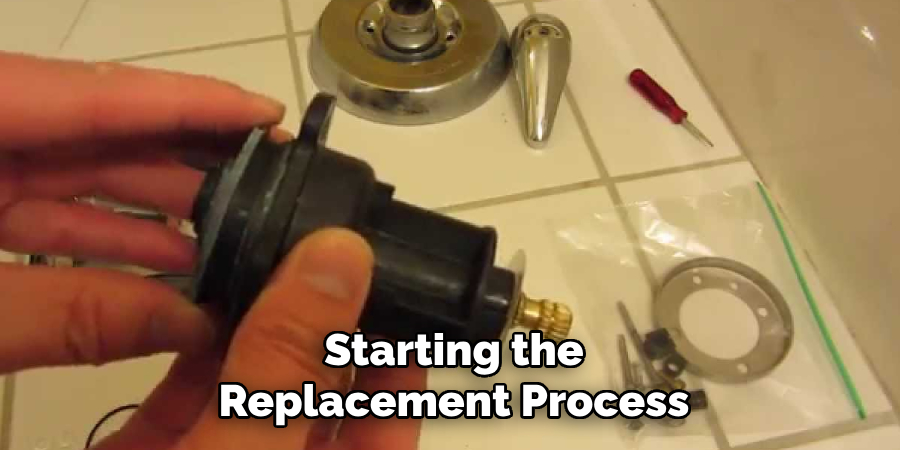
Before starting the replacement process, ensure you have the necessary tools and materials. These include:
- New Kohler shower cartridge
- Allen wrench
- Adjustable pliers
- Screwdriver
Once everything is ready, follow the steps below to replace your Kohler shower cartridge.
8 Easy Steps on How to Replace a Kohler Shower Cartridge
Step 1: Disassemble the Shower Faucet
Begin by turning off the water supply to your shower. This is a crucial step to avoid leaks or water spraying unexpectedly during the process. Locate the valve that controls the water supply and ensure it is fully closed. Next, use an Allen wrench to remove the handle of the shower faucet.
Often, there is a small screw located at the base or underside of the handle that holds it in place. Once the screw is removed, gently pull the handle off. Be mindful of how each component is attached; you’ll need to reassemble it later. If the handle is stuck, carefully use adjustable pliers to wiggle it free, ensuring you do not damage the hardware.
After removing the handle, proceed to remove any decorative trim or escutcheon plate that surrounds the faucet using a screwdriver. These parts help cover the inner mechanisms, so handle them carefully to maintain their appearance.
Step 2: Remove the Cartridge
With the handle and decorative trim removed, the next step is to remove the cartridge from the faucet assembly. Begin by identifying the retaining clip or nut holding the cartridge. Use needle-nose pliers or a screwdriver to carefully remove the retaining clip, being cautious not to damage it as it will need to be reinstalled later.
If there is a retaining nut, use an adjustable wrench to loosen and remove it. Once the clip or nut is removed, gently pull the cartridge out of the valve body. You may need to use cartridge pullers or a pair of pliers if the cartridge is stuck, but ensure you apply steady and even pressure to avoid breaking it.
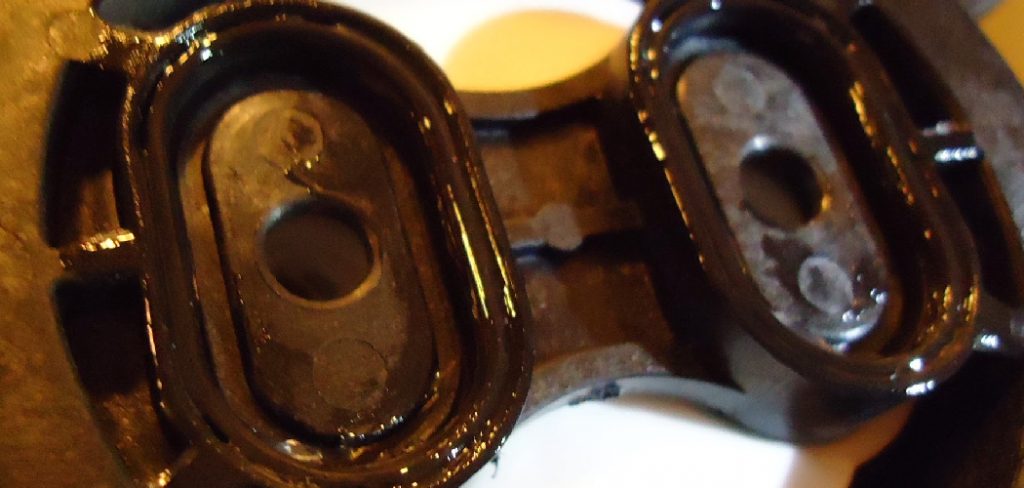
Pay attention to the orientation of the cartridge during removal, as it must be reinstalled in the same position for proper functionality. Inspect the cartridge for any signs of damage or wear, as this may indicate the need for a replacement.
Step 3: Clean the Valve Body
With the cartridge removed, take the time to clean the valve body thoroughly. Use a soft brush or a cloth to remove debris, mineral buildup, or old seal remnants inside the valve body.
If there are stubborn deposits, a mixture of vinegar and water or a commercial descaling solution can dissolve them. Ensure all surfaces are clean and smooth to provide a proper seal when the new or cleaned cartridge is reinstalled. Be cautious not to scratch or damage the valve body during cleaning.
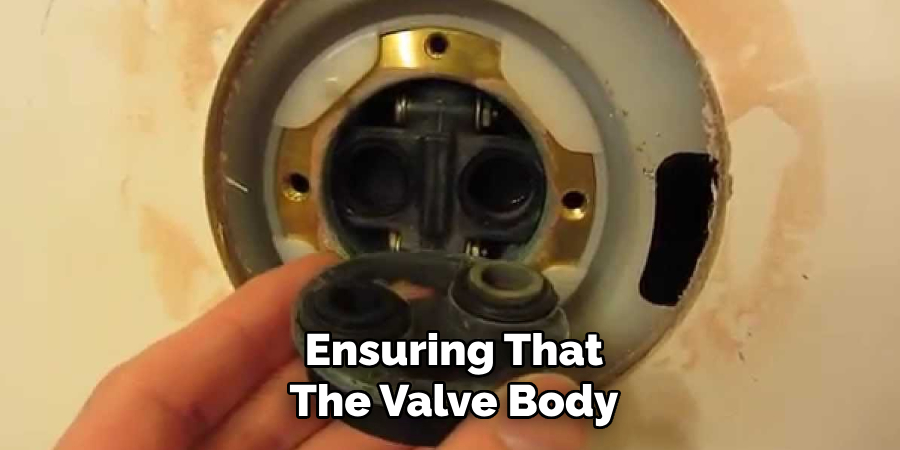
Step 4: Reinstall the Cartridge
After ensuring that the valve body is clean and dry, carefully reinstall the cartridge into the valve body. Align the cartridge with the correct orientation, as noted during the removal process, and slide it into place. Press gently but firmly to ensure it is properly seated. If your cartridge has any guide marks or tabs, make sure these are positioned correctly to avoid misalignment.
Step 5: Reassemble the Faucet
Once the cartridge is securely in place, reassemble the faucet by attaching any removed components, such as retaining clips, nuts, or washers. Tighten these components carefully, ensuring they are secure but not overtightened to avoid causing damage.
Replace the faucet handle and secure it with the screw or fastener removed earlier. Double-check that all parts are aligned correctly and firmly to ensure the faucet operates smoothly.
Step 6: Test the Faucet
After reassembling the faucet, slowly turn the water supply back on to check for leaks. Gradually increase the water pressure and test both hot and cold water to ensure the cartridge is functioning correctly.
Observe the faucet closely for any drips or irregular flow. If any leaks are present, turn off the water supply and verify the cartridge installation and tightening of components. The repair process is complete once the faucet operates smoothly without any leaks.
Step 7: Clean Up and Final Inspection
Clean up the work area once the faucet is functioning correctly and there are no leaks. Remove any tools, old parts, or debris from the sink and countertop.
Wipe down the faucet and surrounding surfaces with a clean cloth to remove any water spots or fingerprints. Finally, perform one last inspection to ensure everything is in order and the faucet operates as expected. Congratulations, your faucet repair is now complete!
Step 8: Maintenance Tips
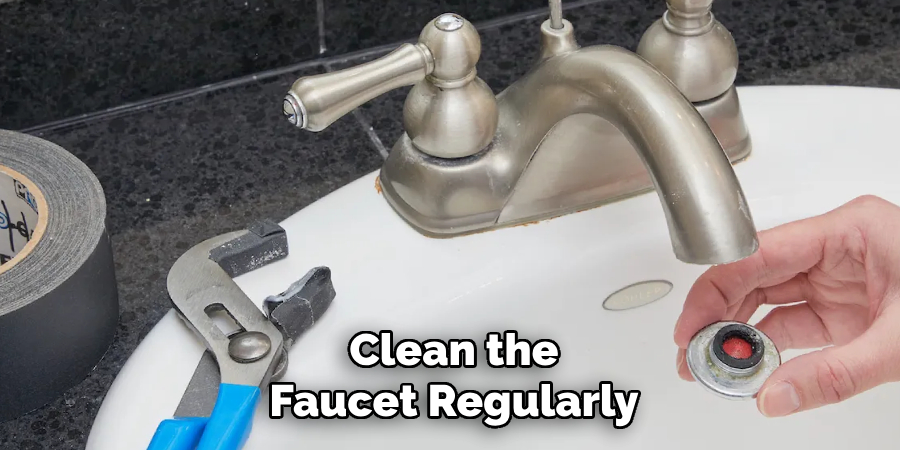
Regular maintenance is key to keep your faucet functioning efficiently and prevent future issues. Periodically check for any signs of leaks, corrosion, or mineral buildup around the faucet.
Clean the faucet regularly using a non-abrasive cleaner to maintain its finish and prevent buildup. If your area has hard water, consider installing a water softener or using vinegar to dissolve mineral deposits. Lastly, address any minor issues promptly to avoid costly repairs.
By following these simple maintenance tips, your Kohler shower faucet will continue to provide reliable performance for years.
5 Things You Should Avoid
- Using the Wrong Tools: Avoid using tools not specifically designed for plumbing tasks, as this can damage the shower cartridge or surrounding components.
- Forgetting to Turn Off the Water Supply: Never attempt to replace the cartridge without shutting off the water supply. This can result in water leakage or flooding during the process.
- Forcing the Cartridge Out: Do not force it out if it feels stuck. Excessive pressure can damage the valve or cartridge, making the repair more complicated.
- Skipping Proper Cleaning: Clean out debris or mineral buildup from the valve housing before installing a new cartridge. Failing to do so can affect the performance of the new cartridge.
- Installing the Cartridge Incorrectly: Be cautious while aligning the cartridge during installation. Incorrect placement can lead to water leaks or functional issues with the shower. Always double-check the orientation as per the instructions.
How to Remove Shower Handle With No Screws?
Removing a shower handle with no screws can be a bit tricky, but it is not impossible. Here are the steps to follow to remove the handle without any screws successfully:
- Identify the Type of Handle: Before attempting to remove the shower handle, you must know what type of handle you have. There are three common types – knob handles, lever handles, and push/pull handles.
- Look for Hidden Screws: Some shower handles may have hidden screws underneath decorative caps or buttons. Use a flathead screwdriver to carefully pry off these covers and check if any screws are holding the handle in place.
- Try Twisting Off: For knob handles, try twisting the handle counterclockwise to remove it. Some handles are designed to twist off without any screws or fasteners simply.
- Use a Screwdriver: If your shower handle has a small hole or slot, you may need to use a screwdriver to remove it. Insert the screwdriver into the hole or slot and turn it counterclockwise until the handle comes off.
- Use a Handle/Puller Puller: In some cases, you may need to use a unique tool called a handle/puller puller to remove the shower handle. This tool is specifically designed for this purpose and can be found at most hardware stores.
- Consult the Manufacturer’s Instructions: When all else fails, it is always best to consult the manufacturer’s instructions for your shower handle. They may have specific instructions or tools required for removing the handle without any screws.
Conclusion
How to replace a kohler shower cartridge can seem challenging at first, but with the right tools and step-by-step guidance, it becomes a manageable task.
Start by turning off the water supply and carefully removing the shower handle using the above methods. Once the handle and escutcheon plate are removed, access the cartridge by unscrewing the retaining clip or nut.
Pull out the old cartridge and replace it with the new one, ensuring it is securely fitted and aligned correctly. Reassemble the components in the reverse order and turn the water supply back on to test the installation.
Following these steps ensures your Kohler shower functions smoothly and maintains its performance.