Replacing a mercury thermostat can be an important step in maintaining the efficiency and functionality of your heating and cooling systems. While these classic thermostats have served homeowners well for decades, newer models offer advanced features such as programmable settings, digital displays, and enhanced energy efficiency.

This guide on how to replace a mercury thermostat will walk you through the process of safely removing your old mercury thermostat and installing a modern replacement, ensuring that your home remains comfortable year-round while also contributing to energy savings.
What is a Mercury Thermostat?
A mercury thermostat is a traditional temperature control device that uses a small amount of mercury enclosed within a glass bulb to detect temperature changes. As the temperature within a room rises or falls, the mercury expands or contracts, moving a metal arm that connects to the electrical circuit for the heating or cooling system.
This mechanism allows the thermostat to control the operation of the HVAC system, turning it on or off to maintain the desired temperature set by the user. Despite their reliability, mercury thermostats are being phased out in favor of more modern alternatives that offer greater precision, programmability, and energy efficiency, reflecting advancements in technology and environmental considerations.
Why Replace a Mercury Thermostat?
While mercury thermostats have been a staple in households for many years, they do have some drawbacks that make replacement a wise choice. These include:
Health Concerns:
Mercury is a toxic substance and exposure to it can be harmful to both humans and the environment. If your thermostat breaks or leaks, it can release mercury vapors into the air, posing a health risk to you and your family.
Inaccurate Temperature Readings:
Due to their use of a mercury bulb, these thermostats can be less accurate in detecting temperature changes compared to newer models. This can result in inconsistent heating or cooling, leading to discomfort and potentially higher energy bills.
Lack of Programmability:
Most mercury thermostats do not have programmable settings, meaning you cannot schedule temperature adjustments based on your daily routine. This can result in unnecessary energy usage when the HVAC system is running while no one is home.

8 Step-by-step Guidelines on How to Replace a Mercury Thermostat
Step 1: Gather Necessary Tools and Materials
Before you begin, make sure you have all the tools and materials required for the replacement. This may include:
Screwdriver:
You will need a screwdriver to remove the cover of the old thermostat and install the new one.
Wire Cutters/Strippers:
These tools may be necessary for cutting or stripping wires as you disconnect and reconnect them to the new thermostat.
Replacement Thermostat:
Choose a suitable replacement that fits your heating and cooling system, taking into account any specific features you desire, such as programmability or Wi-Fi connectivity.
Step 2: Turn off the Power to the HVAC System
Before you proceed with the removal of your old mercury thermostat, it is essential to turn off the power to your HVAC system. This ensures your safety while working with electrical components. Locate the circuit breaker that controls your heating and cooling system and switch it off.
If you are unsure which breaker corresponds to your HVAC system, you can turn off the main power supply as a precaution. Additionally, verify that the power is off by checking the old thermostat; if it is not lit up, you can proceed safely to the next step.
Step 3: Remove the Old Mercury Thermostat
Using a screwdriver, carefully remove the cover of your old thermostat. You should see several wires connected to it; these will be labeled with letters or colors that correspond to specific terminals on the thermostat.
Take note of which wire is connected to which terminal, as you will need this information when connecting the wires to the new thermostat. Carefully disconnect each wire from its respective terminal using pliers or wire cutters if necessary.

Step 4: Prepare and Mount the New Thermostat
Follow the instructions provided by your thermostat manufacturer to prepare and mount your new device. This typically involves attaching any mounting plates, connecting wires to their designated terminals, and securing the thermostat to the wall.
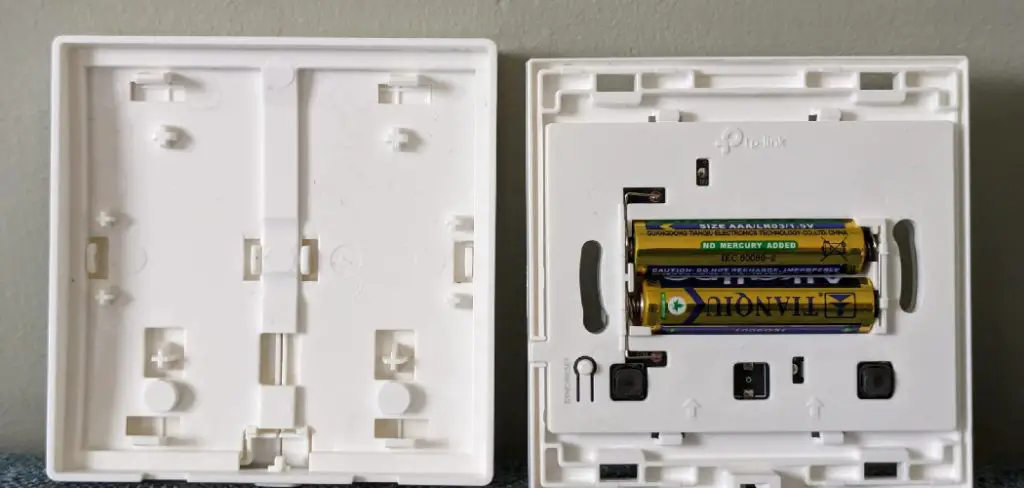
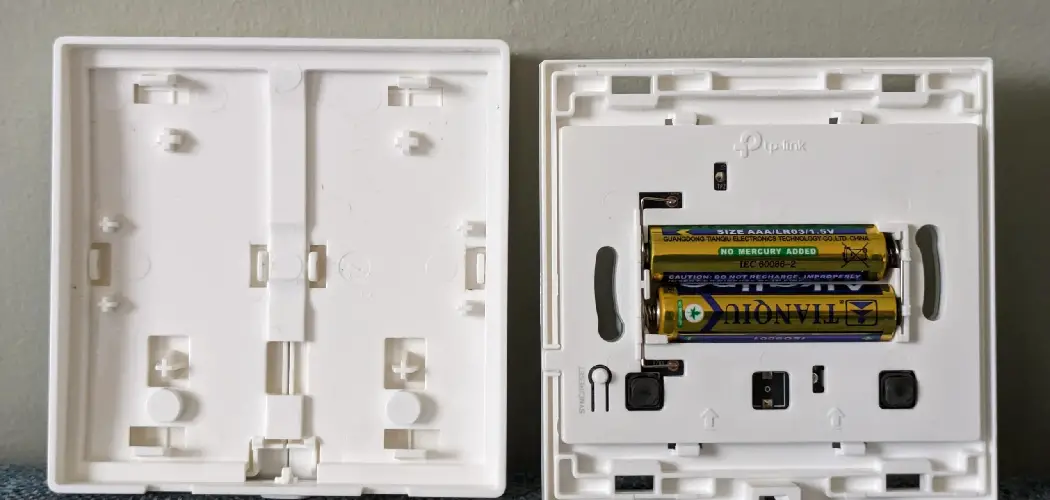
Be sure to refer to your notes from step 3 when connecting the wires to their proper terminals. The thermostat may also require batteries for operation; if so, be sure to install them before mounting the device.
Step 5: Test the New Thermostat
Once your new thermostat is securely mounted, turn the power back on and test its functionality. Follow the instructions provided by the manufacturer to properly set up and program your thermostat according to your preferences.
Be sure to monitor the operation of your heating and cooling system over the next few days to ensure it is functioning correctly with the new thermostat.
Step 6: Properly Dispose of Old Mercury Thermostat
Disposing of a mercury thermostat requires careful consideration due to the toxic nature of mercury. Do not simply throw the old thermostat in the trash, as this can lead to environmental contamination. Instead, contact your local waste management facility or environmental protection agency to find out the proper disposal procedures in your area.
Many communities have designated hazardous waste collection events or specific drop-off locations for items containing mercury. Additionally, some hardware or home improvement stores may offer recycling programs for old thermostats. Always ensure that you follow the recommended guidelines to safeguard both your health and the environment.
Step 7: Consider Upgrading to a Smart Thermostat
While replacing your mercury thermostat with a newer model is already an upgrade, you may want to consider investing in a smart thermostat for additional benefits.
These devices offer features such as remote temperature control and learning capabilities that adjust the temperature based on your habits and preferences. They can also integrate with other smart home devices for increased convenience and energy savings.

Step 8: Maintain and Monitor Your New Thermostat
To ensure your new thermostat continues to function properly, it is crucial to perform regular maintenance checks. This includes changing the batteries if necessary, cleaning any dust or debris from around the device, and checking for any loose connections or damage.
Additionally on how to replace a mercury thermostat, monitor your energy usage and bills to see if there are any changes or improvements with the new thermostat. This can help you determine if it is functioning correctly and if any adjustments need to be made. By properly maintaining and monitoring your thermostat, you can maximize its efficiency and lifespan.
Do You Need to Use a Professional?
While replacing a mercury thermostat can be a straightforward DIY task for many homeowners, there are circumstances where enlisting the help of a professional is advisable. If you feel unsure about working with electrical components or lack confidence in your ability to safely perform the installation, it’s best to seek professional assistance.
Additionally, if your HVAC system is complex or you encounter unusual wiring or installation challenges, a licensed HVAC technician can ensure that the new thermostat is installed correctly and functions optimally. Hiring a professional not only helps to prevent potentially costly mistakes but also provides peace of mind, knowing that the installation meets all safety standards and regulations. It’s always better to err on the side of caution when it comes to working with electrical components and systems.
Frequently Asked Questions
Q: Can I Replace a Mercury Thermostat Myself?
A: If you have experience working with electrical components, you may be able to replace your own thermostat. However, it is always recommended to consult a professional for any major changes to your HVAC system.
Q: Why Should I Replace My Mercury Thermostat?
A: Mercury thermostats are outdated and can be hazardous to both your health and the environment. By replacing it with a newer model, you can improve energy efficiency and reduce potential health risks.
Q: How Often Should I Replace My Thermostat?
A: It is recommended to replace your thermostat every 10-15 years or when it begins to show signs of malfunctioning. Upgrading to a newer model every few years can also provide additional benefits such as improved technology and energy savings.
Q: Are Smart Thermostats Worth the Investment?
A: Yes, smart thermostats offer a variety of benefits such as energy savings, convenience, and increased control over your heating and cooling system. They are also continuously evolving with new features and technology, making them a worthwhile investment for long-term use.

Conclusion
Replacing a mercury thermostat is a straightforward process that can lead to increased comfort and energy efficiency in your home. By following the outlined steps on how to replace a mercury thermostat, you can safely and effectively upgrade to a more modern and programmable thermostat, unlocking features that better suit your lifestyle.
Additionally, proper disposal of the old thermostat protects the environment, while the potential upgrade to a smart thermostat can provide further convenience and savings. Regular maintenance of your new device will ensure it operates efficiently for years to come, making your home a more comfortable and environmentally friendly space.

