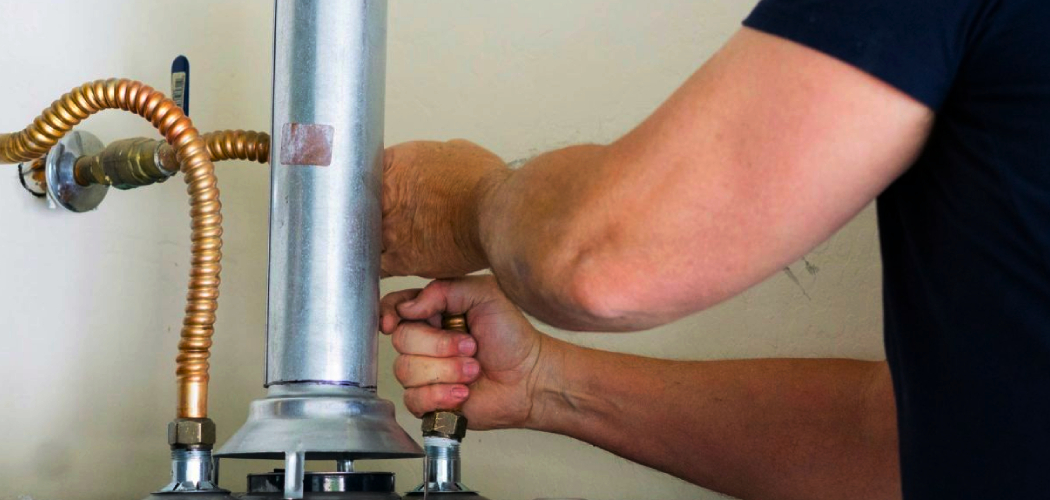
Are you having trouble with your water heater not staying lit? The problem could be a faulty thermocouple. A thermocouple is a safety device that senses the pilot light on your water heater and shuts off the gas if the flame goes out.
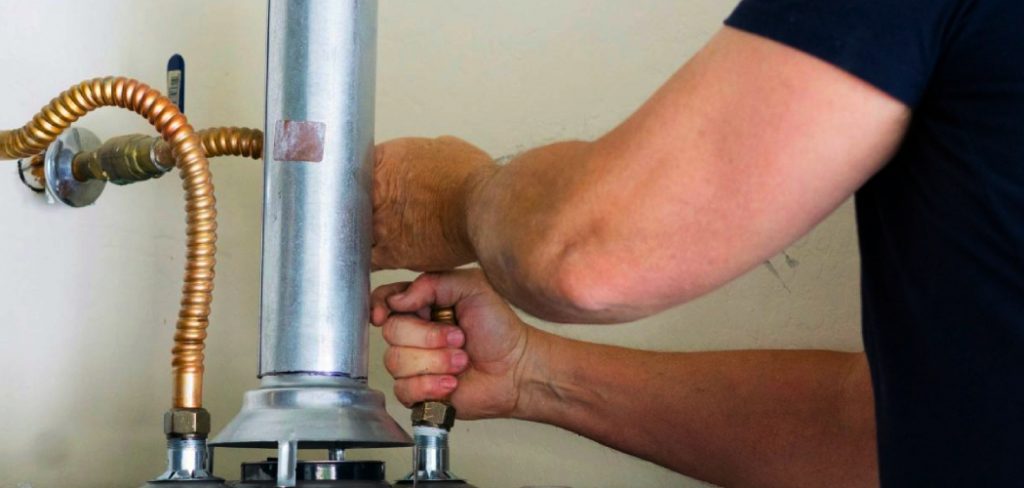
How to replace a thermocouple on a water heater is a relatively simple task that can restore proper functionality to your unit without the need for professional assistance. The thermocouple is a critical safety component that senses whether the pilot light is lit and, if not, shuts off the gas supply to prevent leaks. Over time, thermocouples can wear out or fail, causing your water heater to stop working.
This guide will take you through the steps required to identify, remove, and replace the thermocouple, ensuring your water heater operates safely and efficiently again.
What Are the Benefits of Using a Thermocouple?
Safety is one of the main benefits of using a thermocouple in your water heater. The thermocouple acts as a fail-safe mechanism, shutting off the gas supply if the pilot light goes out or malfunctions. This prevents potentially dangerous gas leaks and protects you and your family from harm.
In addition to safety, thermocouples also help improve your water heater’s efficiency. Ensuring the pilot light is always lit allows consistent heating and reduces energy waste. This can reduce utility bills and save you money in the long run.
Thermocouples are also relatively inexpensive and easy to replace, making them an affordable option for maintaining the safety and efficiency of your water heater. It is recommended to have a professional install or replace a thermocouple, as improper installation can lead to malfunctions.
Regular maintenance and inspection of your thermocouple are also essential to ensure its proper functioning. Over time, it may become dirty or corroded, affecting its performance. Regularly cleaning and checking your thermocouple can prevent any potential issues and ensure that it continues to work effectively.
What Will You Need?
You will need a few tools and materials to install or replace a thermocouple. These include:
- A new thermocouple
- Wrenches (specific sizes may vary depending on your water heater model)
- Sandpaper or steel wool
- A cloth or brush for cleaning
Make sure to read the instructions that come with your new thermocouple as well, as they may recommend specific tools or steps for installation.
8 Easy Steps on How to Replace a Thermocouple on a Water Heater
Step 1. Turn Off the Gas Supply
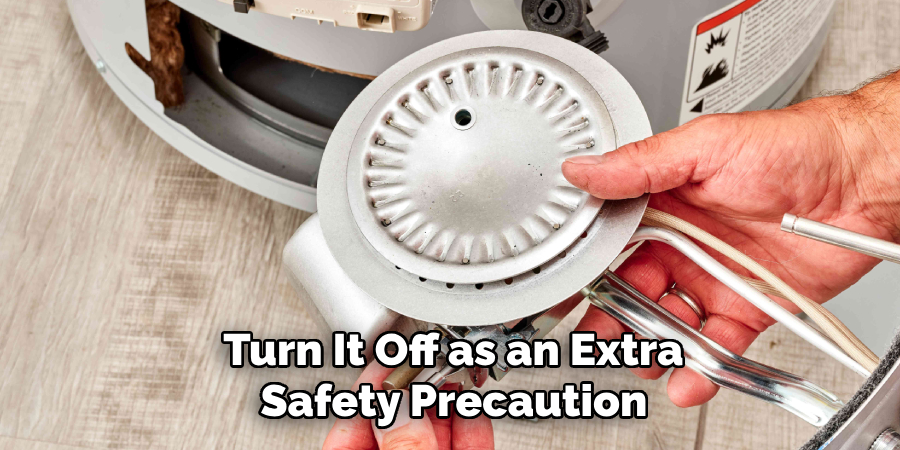
Before beginning any work, you must ensure your safety by turning off the gas supply to your water heater. Locate the gas control valve on your water heater, which is typically a knob or lever labeled “On,” “Pilot,” and “Off.” Turn the knob or lever to the “Off” position to stop the flow of gas completely. Additionally, locate the main gas shutoff valve for your home, often found near the gas meter, and turn it off as an extra safety precaution.
This step helps prevent potential gas leaks or hazards while you are working on the water heater. After turning off the gas, wait a few minutes to allow any residual gas to dissipate before proceeding. Safety should always be your first priority when working with gas appliances.
Step 2: Turn Off the Water Supply
Locate the cold water supply valve connected to your water heater. This valve is typically situated at the top of the unit. Turn the valve clockwise to shut off cold water flow into the tank. This prevents additional water from entering the heater while you perform maintenance or repairs. If the valve is difficult to turn, use a wrench for assistance, but be careful not to over-tighten. Once the water supply is entirely off, check any faucets connected to hot water to ensure there is no longer any water flow.
Step 3: Drain the Water Heater Tank
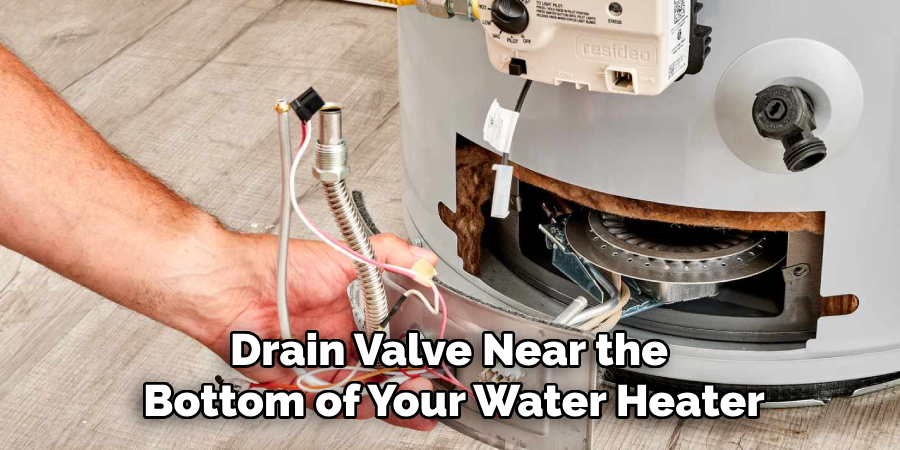
Locate the drain valve near the bottom of your water heater. Attach a garden hose to the drain valve, ensuring the other end of the hose is placed in a safe drainage area, such as a floor drain or outside. Open the drain valve carefully to allow the water in the tank to flow out. Be cautious as the water may still be hot, and take the necessary precautions to avoid burns. Allow the tank to drain completely before proceeding to the next step.
Step 4: Flush the Tank
Once the tank is fully drained, close the drain valve momentarily and remove the garden hose. Turn the cold water supply back on briefly to flush out any remaining sediment at the bottom of the tank. Allow the water to flow into the tank for a few minutes, then reopen the drain valve to release the water and sediment. Repeat this process until the water runs clear, ensuring all debris is removed from the tank.
Step 5: Refill the Tank
Close the drain valve securely after flushing the tank and ensuring it is sediment-free. Remove the garden hose and entirely turn the cold water supply on to refill the tank. While the tank refills, open a hot water faucet in your home to allow air to escape from the system. Turn the faucet off once the water flows steadily from the faucet without sputtering. This indicates that the tank is full and the system has purged air.
Step 6: Restore Power or Gas Supply
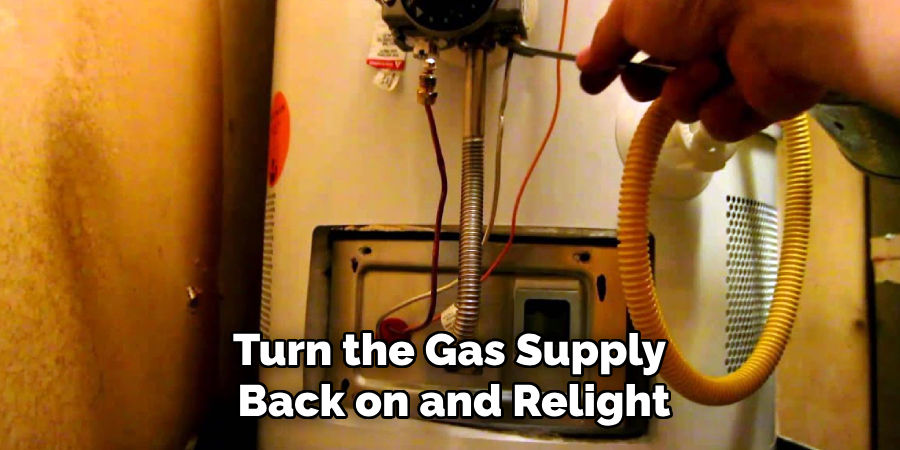
Once the tank is full and air has been purged, restore power to the water heater if it is electric by turning the circuit breaker back on. For gas water heaters, turn the gas supply back on and relight the pilot light if necessary, following the manufacturer’s instructions. Allow the water heater some time to heat the water before use. Ensure there are no leaks by checking around the drain valve and supply lines. If everything is secure, your water heater maintenance is complete.
Step 5: Regular Maintenance Schedule
To keep your water heater functioning efficiently, establish a regular maintenance schedule. Flush the tank at least once a year to remove sediment buildup that can reduce efficiency and damage the unit. Additionally, inspect the anode rod periodically and replace it if it shows significant signs of wear. This proactive approach can extend the lifespan of your water heater and ensure optimal performance.
Step 6: Check the Temperature Setting
Ensure your water heater’s thermostat is set to an optimal temperature, typically around 120°F (49°C). This setting is energy-efficient, reduces the risk of scalding, and helps prevent excessive wear on the appliance. Adjust the thermostat if necessary, and remember to check it periodically for accuracy. Maintaining the appropriate temperature keeps your water heater running efficiently and helps lower energy costs.
Step 7: Inspect for Leaks
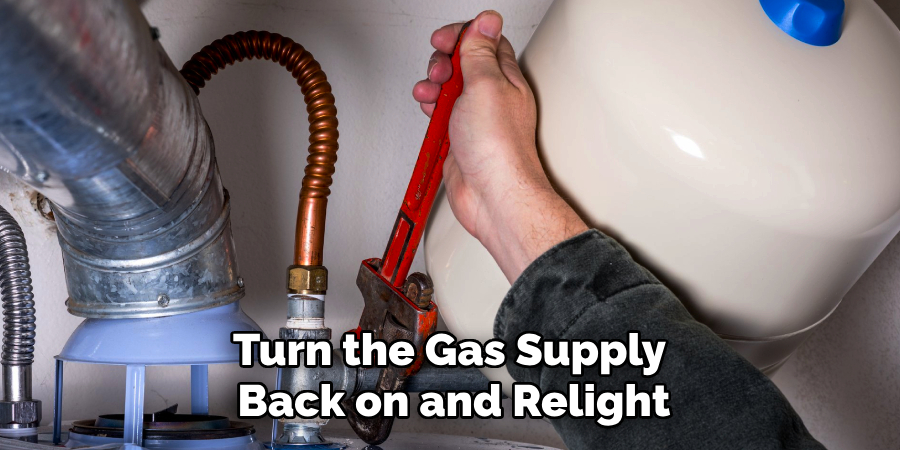
Regularly inspect your water heater for any signs of leaks or corrosion. Check around the unit’s base and near the connections for any moisture or rust. Even small leaks can indicate potential issues that could escalate over time, leading to water damage or inefficient operation. If you notice a leak, address it promptly by consulting a professional or replacing the affected component to ensure the longevity of your water heater.
Step 8: Flush the Tank Annually
Over time, sediment can build up in the bottom of your water heater tank, reducing its efficiency and potentially shortening its lifespan. To prevent this, flush the tank at least once a year. Turn off the power supply or gas, attach a hose to the drain valve, and direct the water to a safe drainage area. Open the valve and allow the water to flow until it runs clear, removing any sediment buildup. This maintenance step helps keep your water heater operating efficiently and extends its durability.
By following these simple maintenance tasks, you can ensure that your water heater continues to provide hot water reliably and efficiently.
5 Things You Should Avoid
- Skipping the Power Shut-Off Step: Always turn off the power supply to your water heater before attempting any work. For gas water heaters, ensure the gas valve is turned to the “OFF” position, and for electric models, switch off the power at the circuit breaker. Neglecting this crucial step could lead to serious safety hazards.
- Handling the Thermocouple Without Proper Tools: Using incorrect tools to replace the thermocouple can damage components of the water heater or result in a poor connection. Invest in the correct wrench size or pliers to avoid causing additional issues.
- Forgetting to Check for Gas Leaks: After replacing the thermocouple on a gas water heater, it is critical to check for leaks around the connections. Use a gas leak detector solution or soapy water to identify any leaks. Failure to do so can create a dangerous situation.
- Reassembling Without Testing: Failing to test the system before complete reassembly can make troubleshooting more difficult if something goes wrong. Once the new thermocouple is installed, test the pilot light and ensure the burner operates as expected before putting everything back together.
- Ignoring Manufacturer’s Instructions: Always consult your water heater’s manual for specific instructions for your model. Ignoring or overlooking these guidelines could lead to improper installation or void your warranty.
Conclusion
How to replace a thermocouple on a water heater is a task that requires careful attention to detail, patience, and adherence to safety precautions.
By following the correct steps—turning off the gas, removing the faulty thermocouple, and installing a new one—you can restore your water heater’s functionality and avoid unnecessary expenses. Always use tools appropriately, follow the manufacturer’s guidelines, and test the unit thoroughly after installation to ensure proper operation.
Replacing a thermocouple can be a manageable and rewarding DIY project with the right approach.

