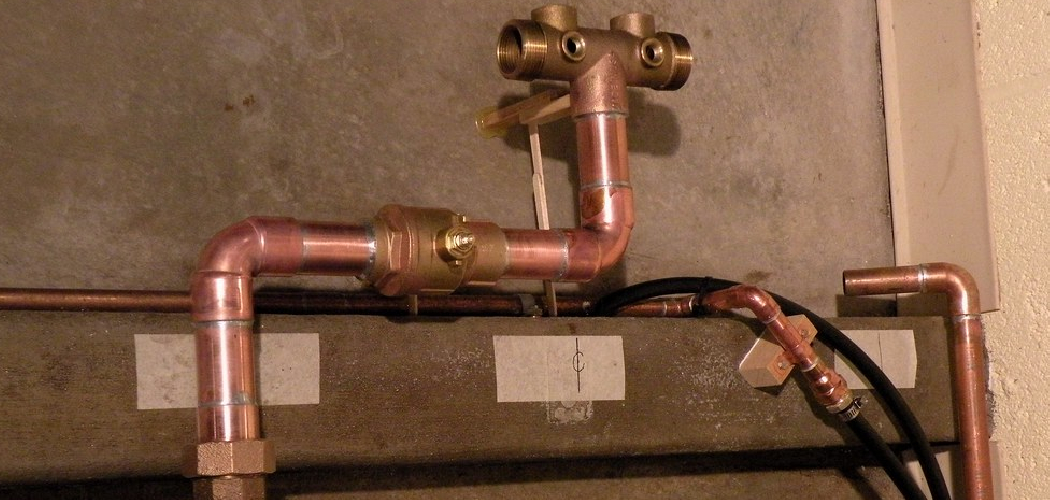
A water meter pressure regulator is an essential component of your home’s plumbing system, ensuring that water pressure remains at a safe and consistent level. Over time, these regulators can wear out or malfunction, leading to issues such as low water pressure, noisy pipes, or even damage to appliances.
Replacing a faulty pressure regulator may seem daunting, but with the right tools and guidance, it can be a straightforward DIY task. This guide will walk you through the step by step process of how to replace a water meter pressure regulator efficiently and safely.
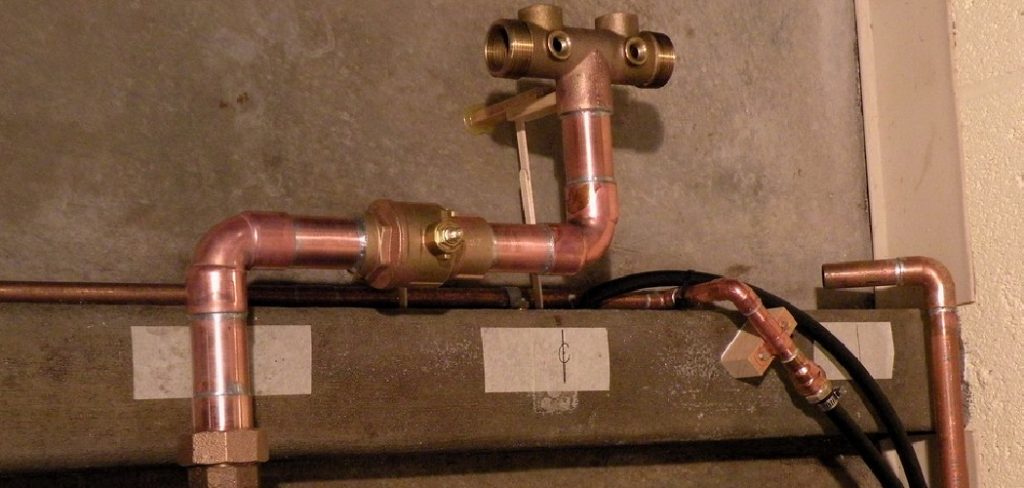
What Is a Water Pressure Regulator?
A water pressure regulator is a plumbing device designed to control and stabilize the water pressure coming into your home from the main water supply. Its primary purpose is to ensure that the pressure remains within a safe range, typically between 40 and 80 PSI (pounds per square inch), preventing excessive force that could damage pipes, fixtures, or appliances.
The regulator operates by reducing the high-pressure water from the main line to an appropriate level before it enters your home’s plumbing system. This not only protects your fixtures but also helps conserve water and improve the efficiency of water usage in your household. Water pressure regulators are commonly installed near the main shutoff valve and may be adjustable to accommodate the specific needs of your home.
Lifespan and Signs of Wear or Failure
Water pressure regulators are built to be durable, with an average lifespan of 10 to 15 years, depending on water quality and usage conditions. Over time, however, they can wear out or fail, leading to issues within your plumbing system. Common signs of a failing pressure regulator include fluctuating water pressure, unusual noises like banging or hammering in your pipes, or visible leaks near the regulator.
If you notice these issues or experience inconsistent water flow, it may be time to inspect the regulator and consider a replacement. Regular maintenance and periodic checks can help extend its lifespan and ensure your plumbing system continues to operate efficiently.
10 Methods How to Replace a Water Meter Pressure Regulator
1. Identify Symptoms of a Failing Pressure Regulator
Before attempting to replace your water meter pressure regulator, confirm that it’s indeed the source of the problem. Common signs include unusually high water pressure, fluctuating water pressure at faucets, loud banging noises in pipes (water hammer), or leaks at fixtures and appliance hoses.
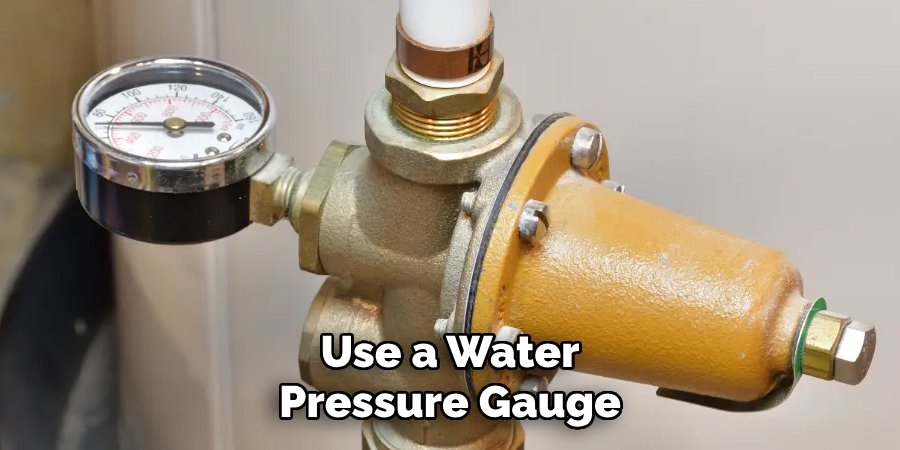
Use a water pressure gauge attached to an outdoor spigot to monitor your system’s pressure; if it consistently reads over 80 psi, it’s likely time to inspect or replace the pressure regulator. Accurate diagnosis ensures that you’re addressing the root cause rather than an unrelated plumbing issue.
2. Locate the Pressure Regulator and Assess Access
Next, identify where the pressure regulator is installed. It’s typically found downstream of the water meter, either in a utility room, basement, crawl space, or an outdoor meter box. In homes with buried water lines, the regulator may be enclosed in a concrete box with a removable lid. Once located, assess the surrounding space—adequate clearance is necessary for wrenching or cutting pipes. If it’s buried or obstructed, prepare to excavate or relocate items to make room for the replacement process.
3. Turn Off the Main Water Supply
Safety and cleanliness begin by shutting off the main water supply. Locate the main shut-off valve—either at the water meter itself or just upstream from the regulator—and rotate it clockwise to stop the flow of water. Then, open a faucet at the lowest point in your home (such as a basement laundry sink) to relieve water pressure and drain residual water from the lines. This step prevents accidental spray or flooding when you begin disassembly. For added safety, disconnect power to water heaters if they rely on constant pressure.
4. Remove the Old Pressure Regulator
With water off and pressure relieved, use pipe wrenches to loosen the compression fittings or unions that secure the pressure regulator to the plumbing lines. If your system uses soldered copper pipes, you may need a pipe cutter or reciprocating saw to cut the section out. Be cautious during removal—older fittings may be corroded or brittle, requiring gentle force. Take note of how the old regulator is oriented and installed, especially the direction of water flow indicated by an arrow or label. This will help ensure correct installation of the replacement unit.
5. Select a Compatible Replacement Regulator
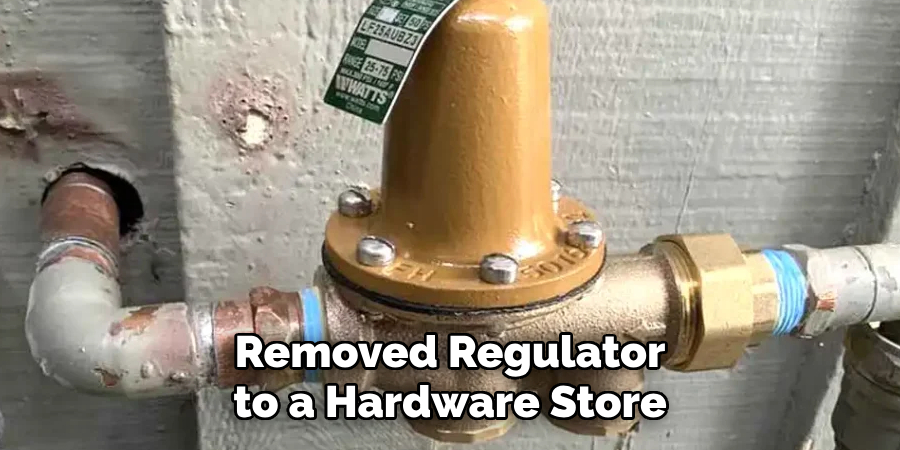
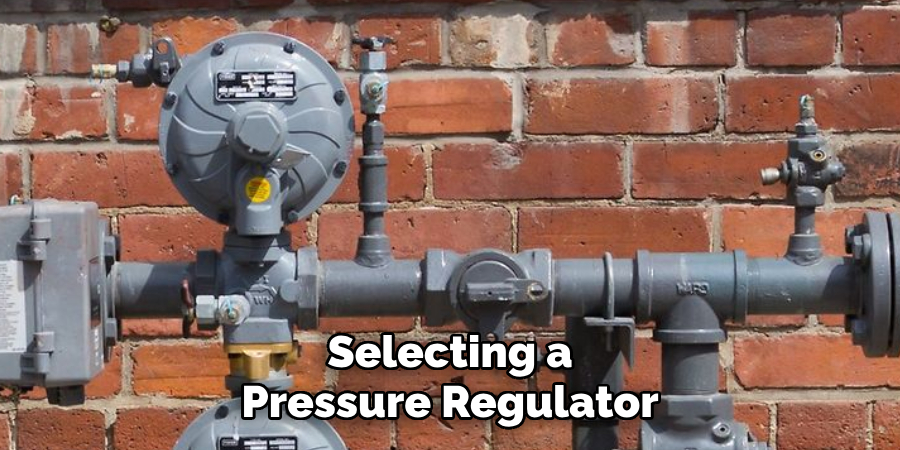
Pressure regulators vary in size, material, pressure range, and fitting type. Take the removed regulator to a hardware store or plumbing supply outlet to find a match. Most household systems use ¾” or 1″ fittings, and the new regulator should be rated for potable water. Check whether it is adjustable, allowing you to fine-tune pressure later. If your plumbing is galvanized, brass, or PEX, ensure the regulator is compatible with those materials. Avoid mixing incompatible metals to prevent galvanic corrosion, which can deteriorate fittings over time.
6. Prepare the Pipes and Fittings for Installation
Before installing the new pressure regulator, inspect and clean the pipe ends. Remove any corrosion, burrs, or debris with emery cloth, a wire brush, or sandpaper. Apply Teflon tape or thread sealant (pipe dope) to the male threads of the fittings, depending on your system’s needs. For compression fittings or union connections, align gaskets or O-rings properly to prevent leaks. Take time during this phase to dry-fit everything and ensure the new unit sits comfortably between the two pipes.
7. Install the New Pressure Regulator
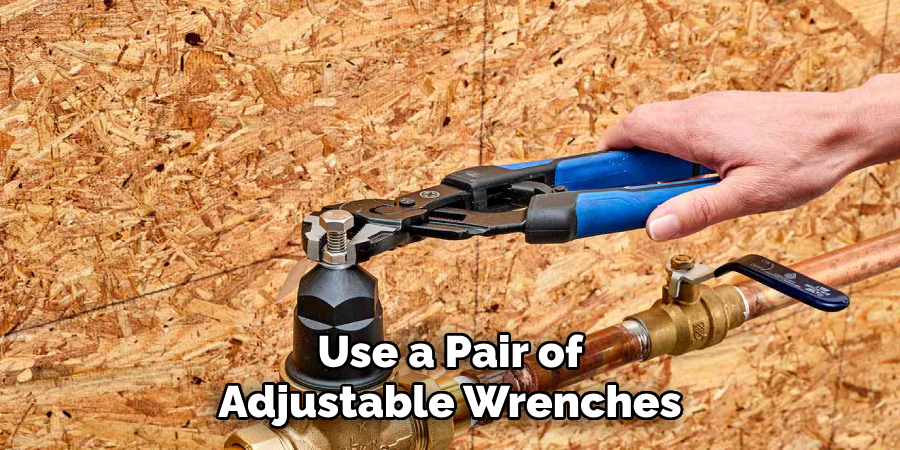
Carefully position the new regulator between the supply lines, ensuring the water flow arrow points in the correct direction—from the main supply toward the house. Use a pair of adjustable wrenches to tighten the unions or fittings evenly on both sides. Avoid overtightening, which can strip threads or damage seals. For soldered installations, clean, flux, and solder the joints properly, allowing them to cool before testing. Make sure the regulator body is level and not under strain from misaligned pipes, which could lead to premature wear or leaks.
8. Restore Water Supply and Check for Leaks
Once the new regulator is in place, gradually open the main shut-off valve to reintroduce water into the system. While the system refills, keep an eye on all connections and the body of the regulator for signs of dripping or leaking. Open indoor faucets to bleed air from the system and restore normal flow. If you notice any leaks, shut off the water and recheck your fittings—tightening or resealing them as necessary. Patience during this step prevents unnecessary flooding or future headaches.
9. Adjust the Regulator to Desired Pressure Settings
Many pressure regulators come pre-set to around 50–60 psi, but you may need to adjust the pressure to suit your home’s plumbing or appliances. Locate the adjustment screw on top of the regulator—typically under a cap—and use a screwdriver or wrench to turn it. Clockwise increases pressure, counterclockwise decreases it. Use a pressure gauge attached to an outdoor spigot or laundry faucet to monitor changes as you make small adjustments. Avoid exceeding 75 psi to protect pipes and fixtures from wear and tear.
10. Monitor Long-Term Performance and Schedule Periodic Checks
After completing the replacement, monitor the regulator over the following days for consistent performance. Ensure your fixtures deliver steady pressure and that appliances like dishwashers and washing machines operate normally. Schedule periodic pressure checks every 6 to 12 months to catch any degradation early. In homes with hard water, mineral buildup can reduce the regulator’s lifespan, so consider installing a water softener or flushing the regulator periodically. Long-term vigilance ensures the investment in a new regulator continues to protect your home for years.
Things to Consider When Choosing a Pressure Regulator
When selecting a pressure regulator, it’s essential to evaluate the specific needs of your plumbing system. Begin by determining the ideal pressure rating for your home and ensuring the regulator can handle the water demand of all fixtures. Consider the material and durability of the regulator to ensure it withstands harsh conditions, especially if your water supply contains high levels of chlorine or other minerals.
Compatibility with your existing plumbing setup is also crucial—check for proper sizing and connection types. Additionally, think about long-term maintenance requirements, such as ease of adjustment and potential periodic cleaning. Lastly, opt for a trusted brand or model with good reviews to ensure reliability and performance over time.
Conclusion
Replacing a water meter pressure regulator is a task that blends technical understanding with practical plumbing skills. By following these ten detailed methods—starting from diagnosing the issue, through careful removal, precise installation, and smart long-term monitoring—you can confidently maintain water pressure that is safe, reliable, and efficient. Whether you’re a DIY enthusiast or a homeowner aiming for preventative maintenance, replacing this vital component can protect your pipes, appliances, and peace of mind. So, there you have it – a quick and easy guide on how to replace a water meter pressure regulator.

