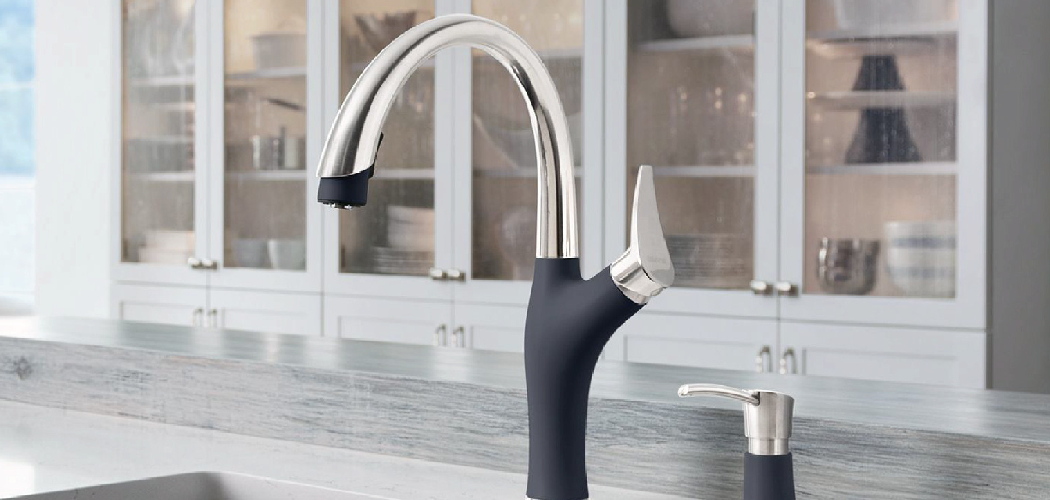
Replacing the cartridge in a Blanco faucet can restore smooth operation and resolve common issues like leaks or reduced water flow. This guide will walk you through the steps of how to replace blanco faucet cartridge safely and efficiently. With the right tools and a little patience, you can complete this task without the need for professional assistance, saving both time and money.
Understanding the Blanco Faucet Cartridge
The Blanco faucet cartridge is a crucial component that regulates water flow and temperature. It is housed within the faucet body and functions as a control mechanism, allowing you to adjust the water output seamlessly. Over time, due to regular use or mineral buildup, the cartridge may wear out, leading to issues like dripping, inconsistent water pressure, or difficulty in adjusting temperature. Knowing the type of cartridge your Blanco faucet uses is essential, as different faucet models require specific cartridges. This understanding will help you purchase the correct replacement and ensure optimal faucet performance.
When to Replace a Blanco Faucet Cartridge
Recognizing when to replace your Blanco faucet cartridge is crucial for maintaining efficiency and preventing further damage to your faucet. One clear indication is persistent dripping or leaking, even after the faucet has been fully turned off. This is often caused by wear and tear on the cartridge’s internal components. Another sign is fluctuating water pressure or difficulty in adjusting the water temperature, which could point to buildup or a deteriorated seal. If you notice grinding or stiffness when turning the handle, it may also suggest that the cartridge is worn out. Regular inspections and paying attention to these signs will help you determine the right time to replace the cartridge and keep your faucet functioning smoothly.
10 Methods How to Replace Blanco Faucet Cartridge
1. Identify the Faucet Model and Cartridge Type

Before you begin, it’s important to identify your Blanco faucet model and the specific cartridge type it uses. Blanco faucets come in a variety of designs, from single-handle to double-handle faucets, and the cartridge replacements vary depending on the model. Look for the model number on the base of the faucet or the underside of the spout. You can also consult your Blanco faucet’s manual or the manufacturer’s website for more detailed information. Once you know your model, purchase a replacement cartridge that matches your faucet’s specifications.
2. Shut Off the Water Supply
The first step in replacing the cartridge is to ensure that no water flows while you work. Locate the water shutoff valves under the sink and turn them off by rotating them clockwise. If your faucet doesn’t have individual shutoff valves, you may need to turn off the main water supply to the house. After shutting off the water, turn on the faucet to release any residual water pressure and allow any remaining water in the pipes to drain out. This step is crucial for preventing leaks or spills while you’re replacing the cartridge.
3. Gather the Necessary Tools and Materials
Before starting, gather all the tools and materials you’ll need for the task. Typically, you’ll require an adjustable wrench, a small flathead screwdriver, a Phillips head screwdriver, needle-nose pliers, and a cartridge puller (if the old cartridge is stuck). You’ll also need the replacement Blanco faucet cartridge and possibly some plumber’s tape. Having everything on hand ensures a smoother, faster repair process and avoids unnecessary trips to the hardware store.
4. Remove the Handle and Trim Plate
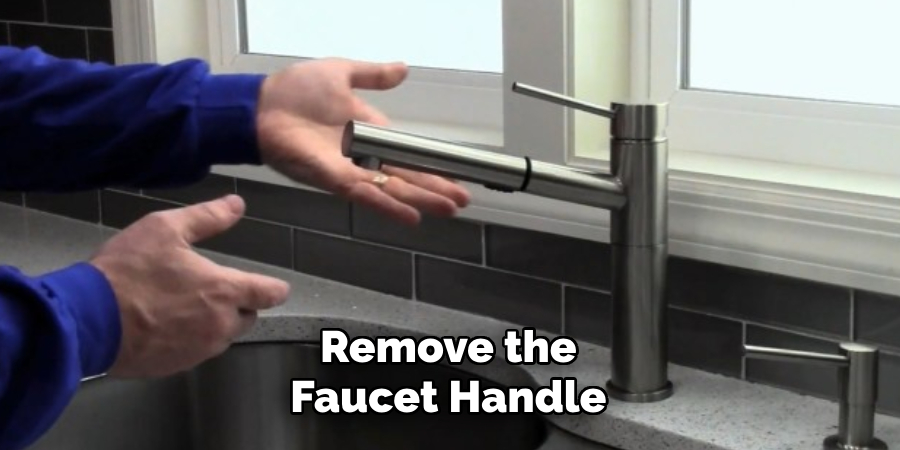
To access the cartridge, you’ll need to remove the faucet handle and trim plate. Depending on your faucet model, the handle may be held in place by a visible screw or hidden under a decorative cap. Use a small flathead screwdriver to pry off the cap, revealing the screw. Use a screwdriver to remove the screw and pull the handle off the faucet stem. Next, remove the trim plate that surrounds the cartridge, typically by unscrewing it or prying it away from the faucet. This will expose the cartridge and allow you to begin the replacement process.
5. Loosen the Cartridge Retaining Nut
Once the handle and trim plate are removed, you’ll see the cartridge within the faucet body. To remove the cartridge, first, look for the retaining nut or clip that holds it in place. In some models, this nut is a visible part of the faucet, while in others, it may be hidden beneath a plastic cover. Use an adjustable wrench to loosen the retaining nut, being careful not to damage the surrounding faucet parts. If there’s a retaining clip instead of a nut, use pliers to gently remove it. Keep these parts in a safe place, as you’ll need them to secure the new cartridge.
6. Remove the Old Cartridge
Once the retaining nut or clip is removed, it’s time to extract the old cartridge. Some cartridges slide out easily, while others may be stuck due to mineral buildup or corrosion. If the cartridge is stuck, you can use a cartridge puller, a tool specifically designed to extract stubborn cartridges. If you don’t have a puller, gently wiggle the cartridge back and forth while pulling it out. Avoid using excessive force, as this could damage the faucet assembly. Once the cartridge is removed, compare it to the new one to ensure they match in size and design.
7. Clean the Faucet Body
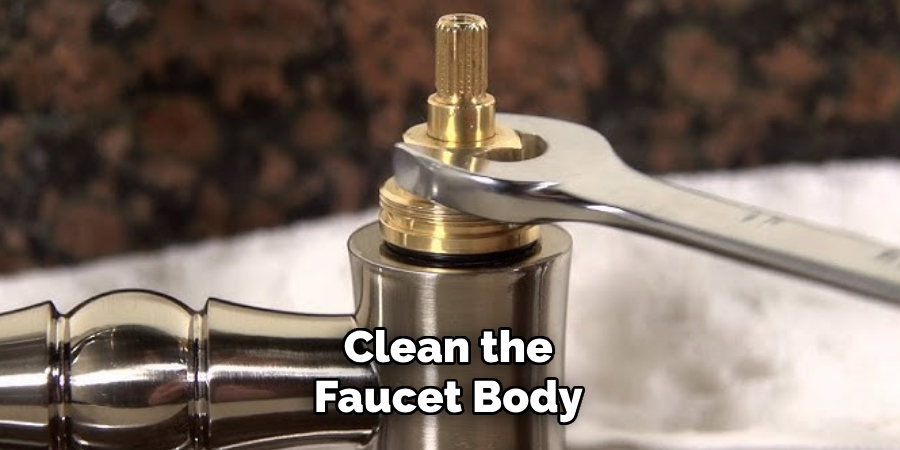
Before installing the new cartridge, take the time to clean the faucet body. Use a clean cloth to wipe away any dirt, debris, or mineral deposits that may have built up around the cartridge cavity. If there’s any calcium or lime buildup, use a vinegar-soaked cloth to soften the deposits, allowing you to scrub them away more easily. This step ensures a clean, smooth surface for the new cartridge to fit into, which is essential for preventing leaks and ensuring proper function.
8. Install the New Cartridge
With the faucet body clean and prepared, it’s time to install the new Blanco faucet cartridge. Insert the new cartridge into the cavity, ensuring it aligns properly with the faucet body. The cartridge should fit snugly without requiring force. If your new cartridge has a stem or notch, make sure it’s oriented correctly with the faucet’s valve assembly. Once the cartridge is seated in place, reinstall the retaining nut or clip to secure it, using the adjustable wrench or pliers as necessary. Tighten it just enough to hold the cartridge firmly in place, but avoid overtightening, as this can cause damage.
9. Reassemble the Faucet and Handle
After the cartridge is securely installed, it’s time to reassemble the faucet. Replace the trim plate and screw it back into position. Then, slide the handle back onto the faucet stem and tighten the handle screw. If there was a decorative cap, snap it back into place to cover the screw. Ensure that all parts are properly aligned and that the handle moves smoothly without obstruction. Double-check that everything is reattached correctly and tightly before moving on to the next step.
10. Turn on the Water and Test the Faucet
Now that the new cartridge is installed and the faucet is reassembled, it’s time to test it. Turn on the water supply by opening the shutoff valves under the sink or turning on the main water supply. Slowly turn on the faucet and check for any leaks around the cartridge and handle. Test the hot and cold water settings, as well as the flow rate, to ensure the faucet is functioning correctly. If there are no leaks and the water temperature and pressure are correct, your Blanco faucet cartridge replacement is complete. If you notice any issues, double-check the installation for errors or leaks.
Maintenance and Upkeep
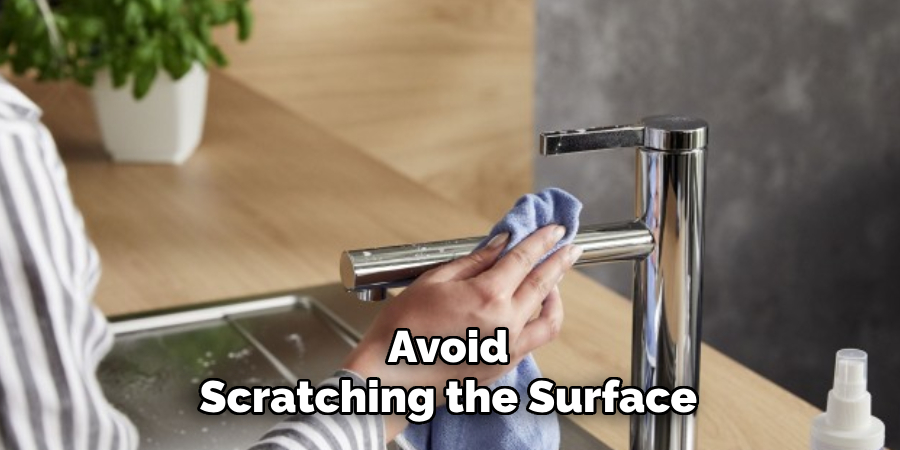
To ensure the longevity and optimal performance of your Blanco faucet, regular maintenance is essential. Start by cleaning the faucet with mild soap and warm water, using a soft cloth to avoid scratching the surface. Avoid harsh chemicals or abrasive cleaners, as they can damage the finish. Periodically check for any mineral buildup around the aerator and remove it by soaking the aerator in a solution of vinegar and water. Inspect the faucet for any leaks or signs of wear, and promptly address any issues to prevent further damage. Proper care and regular upkeep will keep your Blanco faucet looking and functioning like new for years to come.
Conclusion
Replacing a Blanco faucet cartridge is a straightforward DIY task that can restore your faucet’s functionality and prevent water waste. By following these 10 detailed methods—from identifying the faucet model to testing the new cartridge—you can confidently complete the replacement. Always ensure you’re using the correct replacement part, and take your time during each step to avoid mistakes. With a little effort, your faucet will work like new, saving you time and money in the long run. So, there you have it – a quick and easy guide on how to replace blanco faucet cartridge.

