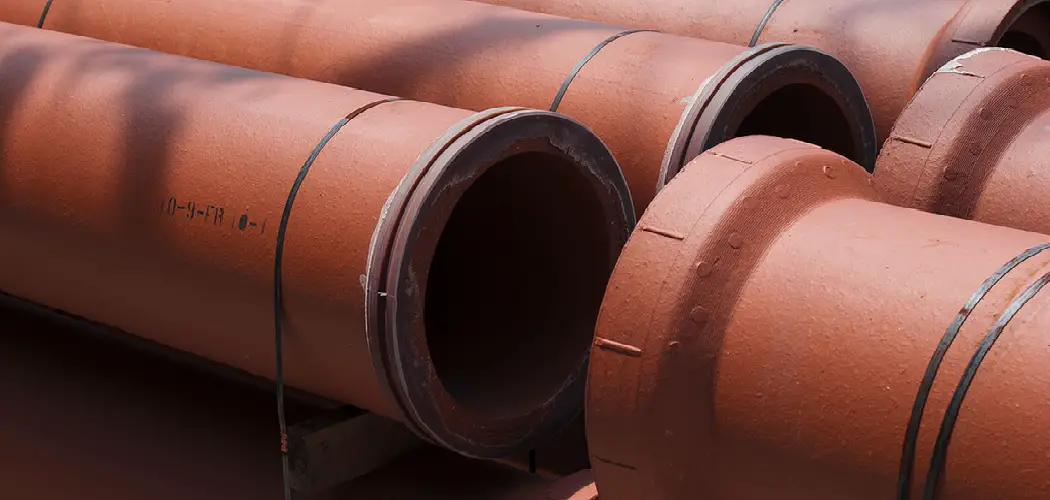
Are you facing the intimidating task of replacing your cast iron plumbing? Don’t worry, it’s not nearly as daunting a job as it may seem. With the right knowledge and tools, anyone can tackle this project with relative ease.
In this blog post, we’ll provide step-by-step instructions on how to replace cast iron plumbing with new materials such as PVC or copper piping – so you won’t have to face (or dread) any more leaky pipe nightmares! Plus, by getting familiar with this material change process yourself, you can save both money and time by doing the work instead of calling in an expensive professional. Read ahead to get started on bringing your home back up to code in no time!
Tools and Materials You Will Need to Replace Cast Iron Plumbing
- New piping (such as PVC or copper)
- Pipe cutter
- Hacksaw
- Jigsaw (for cutting out pipes if necessary)
- Measuring tape/marker
- Sandpaper (or any other deburring tool)
- Plumber’s putty or Teflon tape
- 2 pipe wrenches (to hold the pipe in place while working)
Step-by-step Guidelines on How to Replace Cast Iron Plumbing
Step 1: Turn Off the Water Supply
The first thing you’ll want to do is turn off the water supply before working on your piping. This will prevent any unexpected (and unwanted) surprises from occurring while you’re in the middle of a project.
This can be done by locating the main valve and shutting it off. Once the water is turned off, you should turn on a faucet in your home to completely drain any remaining water from the pipes.
Step 2: Remove Old Cast Iron Pipes
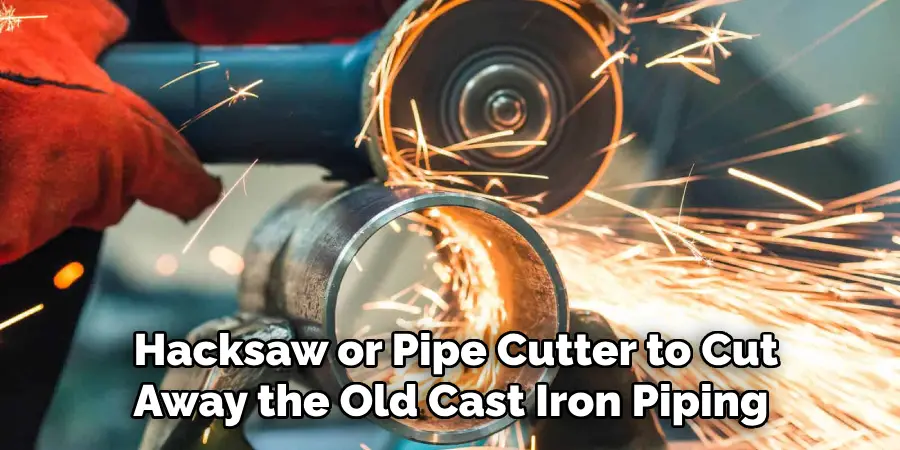
Use your hacksaw or pipe cutter to cut away the old cast iron piping. Make sure to wear protective gear (such as gloves and goggles) while working with sharp tools. Once you have removed the cast iron pipes, use your jigsaw to cut out any remaining pieces that can’t be reached with a pipe cutter. While doing this, be mindful of any potential damage to other pipes or surrounding materials.
Step 3: Measure and Cut New Pipes
Using your measuring tape, measure the length of your new piping and mark it with a pen or marker. Make sure to add a couple of inches to allow for adjustments. Then, using your pipe cutter or hacksaw, cut the new pipes according to your measurements.
Measuring and cutting accurately is crucial to ensure a proper fit for your new pipes. Make sure to deburr the ends of the pipes after cutting with sandpaper or a deburring tool.
Step 4: Attach New Pipes
Using a plumber’s putty or Teflon tape, seal the ends of your new piping. Then, using two pipe wrenches (one to hold the pipe in place and one to twist), attach the new pipes to each other and to the existing plumbing system. Make sure to tighten everything securely, but not too tightly as it can cause damage. While attaching the pipes, make sure to align them properly so that they are straight and level.
Step 5: Turn the Water Supply Back On
Turn the main valve back on and turn off the faucet you turned on earlier. Make sure to check for any leaks or loose connections in your new piping system. If everything looks good, congratulations! You have successfully replaced your old cast iron plumbing with new piping. This will not only improve the overall functionality and safety of your plumbing system, but it can also add value to your home.
Following these simple steps and using the right materials can make replacing cast iron plumbing a breeze. However, if you’re not confident in your DIY skills or if the job seems too big, it’s always best to call in a professional for assistance. Remember to always prioritize safety when working with plumbing and have fun tackling this project! Happy renovating!
Additional Tips and Tricks to Replace Cast Iron Plumbing
1. When working with PVC piping, make sure to use a pipe cutter instead of a hacksaw. This will result in cleaner and more precise cuts.
2. If you’re having trouble removing old cast iron pipes, apply heat to the joints using a propane torch or heat gun. Heat causes the metal to expand, making it easier to remove.
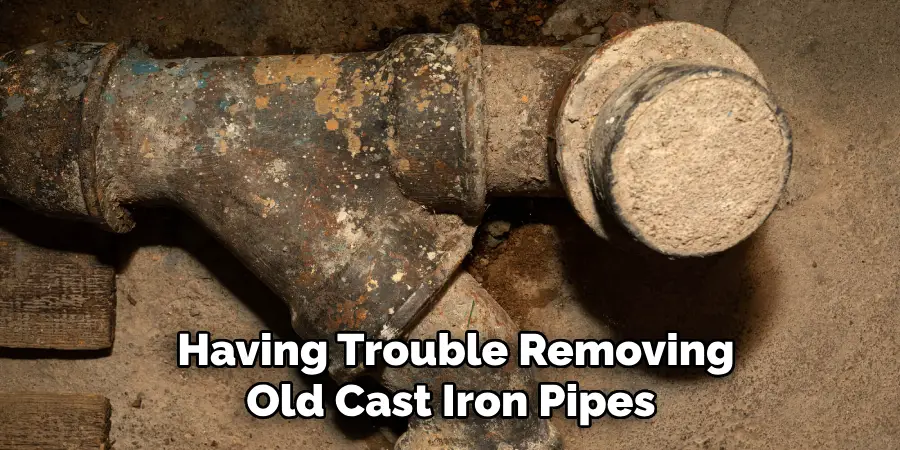
3. If there is any leftover residue from the old pipes, make sure to clean it off before attaching the new pipes. This will ensure a better seal and prevent leaks.
4. Always double-check your measurements and cuts before attaching new pipes. This will save you from having to make costly mistakes and waste materials.
5. If you’re using copper piping, make sure to use a pipe reamer to deburr the ends of the pipes after cutting. This will ensure a smoother and more precise fit.
6. Don’t forget to turn off all power sources in the area before starting your project to avoid any potential hazards or accidents.
7. Always have a backup plan in case something goes wrong. Keep a bucket, towels, and other cleaning supplies nearby in case of unexpected leaks or spills.
8. If you’re unsure about any steps or procedures, don’t hesitate to consult online tutorials or ask for advice from experienced DIYers. It’s always better to be safe than sorry when it comes to plumbing.
Following these additional tips and tricks can make your cast iron plumbing replacement project go even smoother. Remember to take your time and be patient, as this is not a task that should be rushed. With the right tools, materials, and knowledge, you’ll have your new piping system up and running in no time! Best of luck!
Precautions Need to Be Followed for Replacing Cast Iron Plumbing
1. First and foremost, make sure to wear protective gear such as gloves, safety glasses, and a face mask. This will protect you from any harmful particles or debris that may be released during the replacement process.
2. It is important to turn off the water supply before beginning any work on the plumbing system. This will prevent any potential flooding or accidents.
3. If working with larger sections of cast iron pipes, it is recommended to have a partner assist you in handling and removing them. These pipes can be heavy and awkward to maneuver on your own.
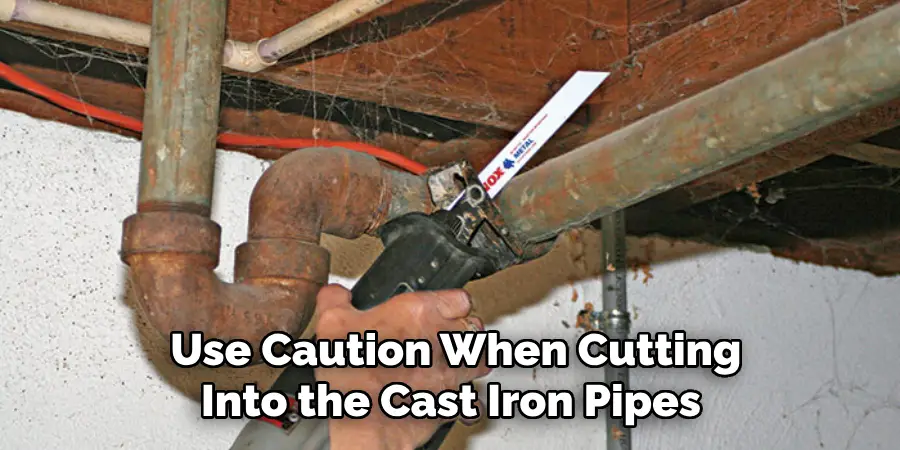
4. Use caution when cutting into the cast iron pipes. The edges can be sharp and may cause injury if not handled properly.
5. Before cutting into the pipes, make sure to mark the area where you will be making the cut. This will ensure accuracy and prevent any unnecessary damage to other parts of the plumbing system.
6. It is important to have all the necessary tools and materials on hand before starting the replacement process. This will save time and prevent interruptions during the project.
7. When removing old pipes, make sure to properly dispose of them according to local regulations. Cast iron pipes may contain hazardous materials and should be disposed of properly.
8. Once the replacement is complete, it is recommended to have a professional plumber inspect the work to ensure everything has been properly installed and connected.
Following these precautions will help ensure a safe and successful replacement of cast iron plumbing. It is important to take proper care and follow safety measures when working with any type of plumbing system, especially one as heavy and potentially hazardous as cast iron pipes.
Frequently Asked Questions
What is Cast Iron Plumbing?
Cast iron plumbing refers to a type of material commonly used for water and sewage pipes in older houses. It was widely used from the late 1800s until the 1960s. Cast iron pipes are made from molten iron that is poured into a mold to create the desired shape. They have been a popular choice for plumbing due to their strength and durability.
When Should I Consider Replacing My Cast Iron Plumbing?
There are several signs that indicate it might be time to replace your cast iron plumbing. These include frequent clogs, leaks or cracks in the pipes, and visible corrosion or rust. Additionally, if your cast iron plumbing is over 50 years old, it may be nearing the end of its lifespan and could benefit from being replaced.
How Do I Know If My House Has Cast Iron Plumbing?
If you live in a house that was built before the 1960s, there is a high likelihood that it has cast iron plumbing. However, the only way to definitively determine the type of plumbing in your home is by having a professional plumber inspect it.
Can I Replace My Cast Iron Plumbing Myself?
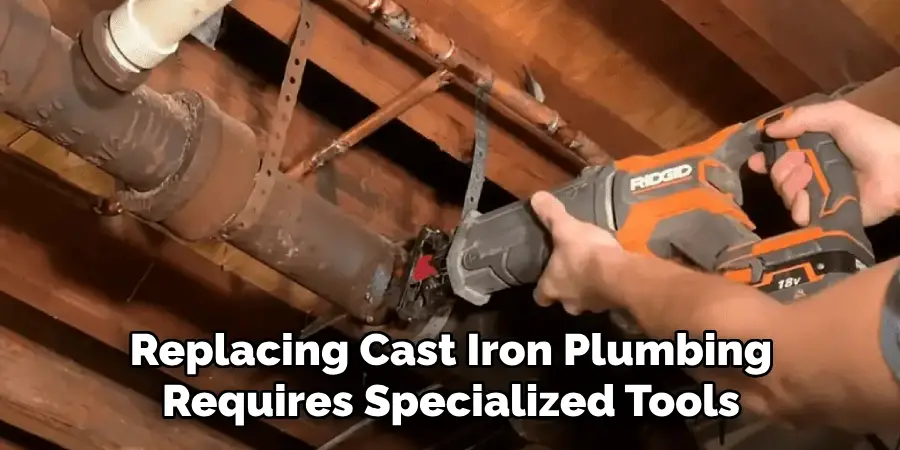
Replacing cast iron plumbing requires specialized tools and knowledge, so it is not recommended to attempt it yourself unless you have significant experience and expertise in plumbing. It is best to hire a licensed and experienced plumber to ensure that the job is done correctly and safely.
What Are The Benefits of Replacing Cast Iron Plumbing?
Replacing cast iron plumbing can bring several benefits, such as improved water flow, increased lifespan of your plumbing system, and reduced risk of leaks or cracks. It can also help prevent potential health hazards caused by old and corroded pipes.
Conclusion
All in all, knowing how to replace cast iron plumbing can save you from potential problems and expenses in the long run. If you suspect that your house has cast iron plumbing, it is best to have it inspected by a professional plumber and consider replacing it if necessary.
By taking care of your plumbing system, you can ensure the health and safety of your household as well as prevent costly repairs in the future. So keep an eye out for the signs and don’t hesitate to call a plumber if needed. Remember, it’s better to be proactive in maintaining your plumbing system than dealing with potential issues down the line. So take care of your cast iron plumbing and it will continue to serve you well. Happy plumbing!

