When you encounter a problem with your home’s water supply such as low pressure or noise from the pump, it could be due to a faulty check valve. Even though this is a fairly easy problem to address, it can still feel daunting if you don’t know exactly what needs to be done. This doesn’t have to worry you any longer!
In today’s article we will walk through how to replace check valve on well pump and get back that clear, consistent flow of clean water that your home relies on. With just some basic tools and an hour or two of dedicated work time, we’ll have running water like new in no time!

Why May You Want to Replace Check Valve on the Well Pump?
1 . To Improve Water Flow
Over time, the check valve on a well pump can become worn or damaged. This can lead to reduced water flow and pressure in your home’s plumbing system. By replacing the check valve, you can improve water flow and ensure that your household has an adequate supply of fresh water.
2 . To Prevent Backflow
The primary function of a check valve is to prevent backflow of water into the well pump. If the valve is not working properly, it can allow contaminated water or debris to enter your plumbing system and potentially cause a range of problems such as clogs or contamination of drinking water. Replacing a faulty check valve will help ensure that your family’s water supply remains clean and safe.
3 . To Extend the Lifespan of Your Well Pump
A malfunctioning check valve can put strain on your well pump as it tries to work against backflow or reduced water flow. This added stress can shorten the lifespan of your well pump and lead to costly repairs or replacements in the future. By regularly replacing the check valve, you can help extend the life of your well pump and avoid unnecessary expenses.
4 . To Maintain a Smooth Operation
A damaged or worn check valve can cause your well pump to work harder than necessary, resulting in noise, vibration, and even water hammering. Replacing the check valve will help restore the smooth operation of your well pump and reduce any potential disruptions in your household’s water supply.

How to Replace Check Valve on Well Pump in 5 Easy Steps
Step 1: Gather the Necessary Materials
Before you begin replacing the check valve on your well pump, make sure you have all the necessary materials. This will save time and ensure a smooth process. You will need:
- A new check valve (make sure it is compatible with your well pump)
- Pipe wrench
- Teflon tape
- Adjustable pliers
- Screwdriver
- Replacement pipe if needed
- Teflon paste (optional)
Step 2: Turn off the Power and Water Supply
Safety should always be a top priority when working on any type of machinery. Before you begin, turn off the power to your well pump at the breaker box. You should also shut off the water supply to prevent any accidents.

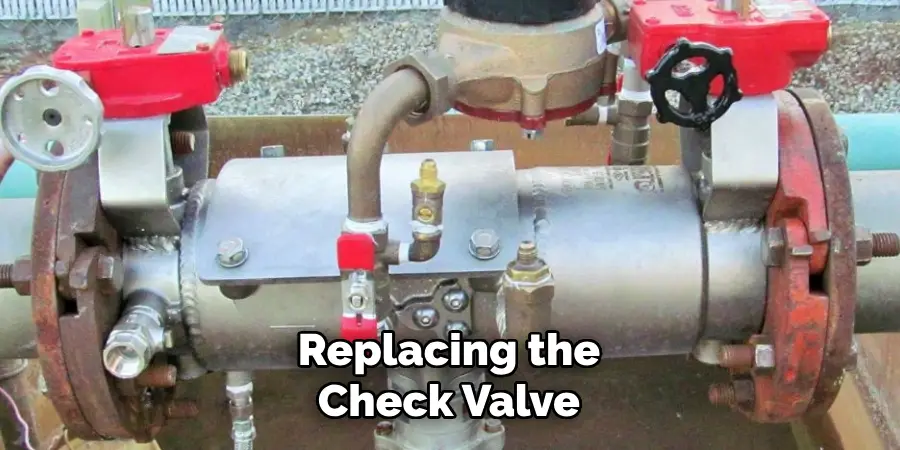
Step 3: Remove the Old Check Valve
Using a pipe wrench, carefully loosen and remove the old check valve from the well pump. If needed, use a screwdriver to remove any screws or bolts holding it in place. Make sure to support the pipes while removing the valve to prevent them from shifting and causing damage.
Step 4: Install the New Check Valve
Apply a layer of Teflon tape or paste to the threads of the new check valve. This will create a tight seal and prevent any leaks. Carefully screw the new valve into place, making sure it is securely attached to the well pump.
Step 5: Test the New Check Valve
Once the new check valve is installed, turn on the water supply and power to the well pump. Check for any leaks and make sure the valve is functioning properly by turning on a faucet or other water source connected to the pump. If everything looks good, you have successfully replaced the check valve on your well pump!
Additional Tips
1 . Do Not Force the Check Valve
When you’re replacing a check valve on your well pump, it’s important to keep in mind that these valves can be delicate. Forcing a new valve into place or trying to remove an old one too aggressively can cause damage and lead to bigger problems down the line. Be patient and gentle when working with these components.
2 . Double-Check the Valve Orientation
Before you fully secure the new check valve, make sure it’s in the correct orientation. The arrow on the valve body should be pointing in the direction of water flow. If it’s not, simply rotate the valve before securing it.
3 . Clean and Inspect Pipes
While you have the check valve removed, take some time to clean and inspect the pipes in the area. Look for any signs of corrosion or buildup that could be causing issues with your well pump’s operation. If you notice any problems, it may be worth replacing the affected pipes before installing the new check valve.
4 . Consider Upgrading to a Higher-Quality Valve
If you’ve had multiple instances of check valve failure in the past, it may be worth investing in a higher-quality valve. While these may cost more initially, they can save you money and headaches in the long run by lasting longer and requiring less frequent replacements.
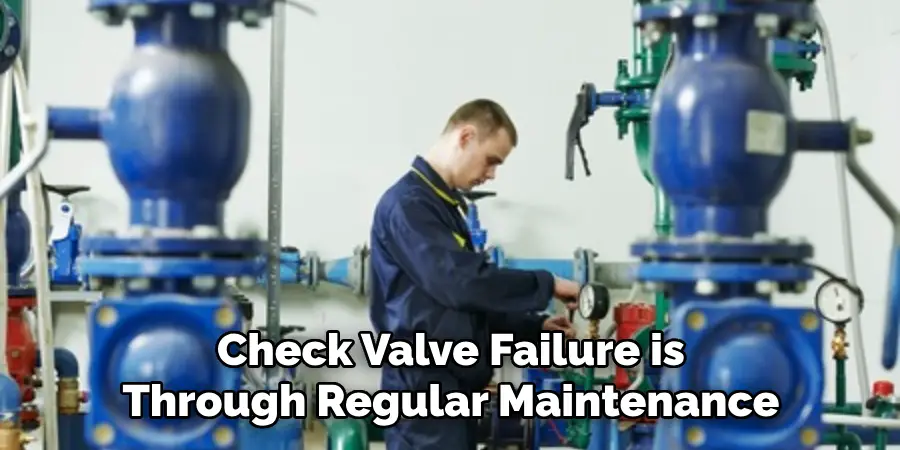
5 . Regular Maintenance is Key
The best way to prevent check valve failure is through regular maintenance. Make sure to inspect your well pump and its components regularly, particularly before and after periods of heavy use. This can help catch any potential issues early on and prevent them from becoming larger problems in the future.

Frequently Asked Questions
What Precautions Should I Take When Replacing Check Valve on Well Pump?
When you are planning to replace a check valve on your well pump, it is important to follow these precautions:
- Ensure that the well pump is turned off and not running before starting any work.
- Drain all the water from the pipes and pressure tank by opening all the faucets.
- Disconnect power to the well pump by flipping the circuit breaker or unplugging it from its power source.
- Wear protective gear, such as gloves and eye protection, to avoid any injuries while working.
- Make sure you have all the necessary tools and replacement parts before starting the replacement process.
How Often Should I Replace Check Valve on Well Pump?
Check valves should be replaced every 5-7 years or sooner if any signs of wear and tear are noticed. It is always a good idea to regularly inspect your well pump and its components for any issues.
How Can I Tell If My Check Valve on Well Pump Is Faulty?
There are a few signs that indicate a faulty check valve:
- Reduced water pressure in faucets.
- Air in the water lines.
- Frequent cycling of the well pump.
- The pump running but no water flowing.
If you notice any of these signs, it is likely that your check valve needs to be replaced.
Can I Replace Check Valve on Well Pump Myself?
While replacing a check valve on a well pump may seem like a daunting task, it can be done by a homeowner with the right tools and knowledge. However, if you are unsure or uncomfortable with the process, it is always best to call a professional for assistance.

What Are Some Common Mistakes to Avoid When Replacing Check Valve on Well Pump?
Here are some common mistakes that should be avoided when replacing a check valve on a well pump:
- Not turning off the well pump and draining the water before starting work.
- Using incorrect tools or not having all the necessary replacement parts.
- Reversing the direction of the check valve, can cause damage to your well pump.
- Not properly securing connections, leads to leaks and potential damage.
By taking proper precautions and following a step-by-step guide, you can easily replace a check valve on your well pump without making these common mistakes. However, if you are unsure or encounter any difficulties during the process, it is always best to seek professional help.
Overall, with regular maintenance and timely replacements, your well pump and its components will continue to function effectively for years to come.
Conclusion
In conclusion, replacing a check valve on a well pump can be done with the right tools and knowledge. It’s important to understand how your particular check valve works before attempting this job. Make sure you shut off the power before disconnecting your old check valve, and always follow manufacturer instructions when installing a new one.
Now you know how to replace check valve on well pump! Doing so will ensure that your replacement is successful and that your well pump is running optimally once again.
If you are unsure about any part of the process or have trouble completing the repair yourself, don’t hesitate to contact a professional for help. With a few simple steps, you can replace the check valve on your well pump yourself and get back to enjoying its quality performance again soon.

