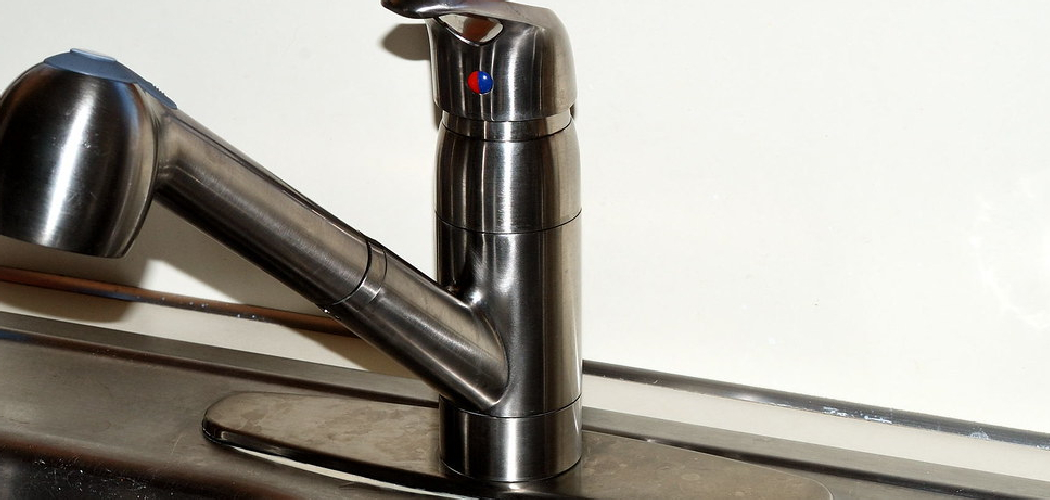
Replacing a Chicago faucet cartridge is a straightforward process that can restore the functionality of your faucet and prevent leaks. Over time, wear and tear can cause cartridges to malfunction, leading to dripping or inconsistent water flow.
By following a few simple steps and using the right tools, you can replace the cartridge yourself without the need for professional assistance. This guide will walk you through how to replace chicago faucet cartridge efficiently and effectively.
What is a Chicago Faucet Cartridge?
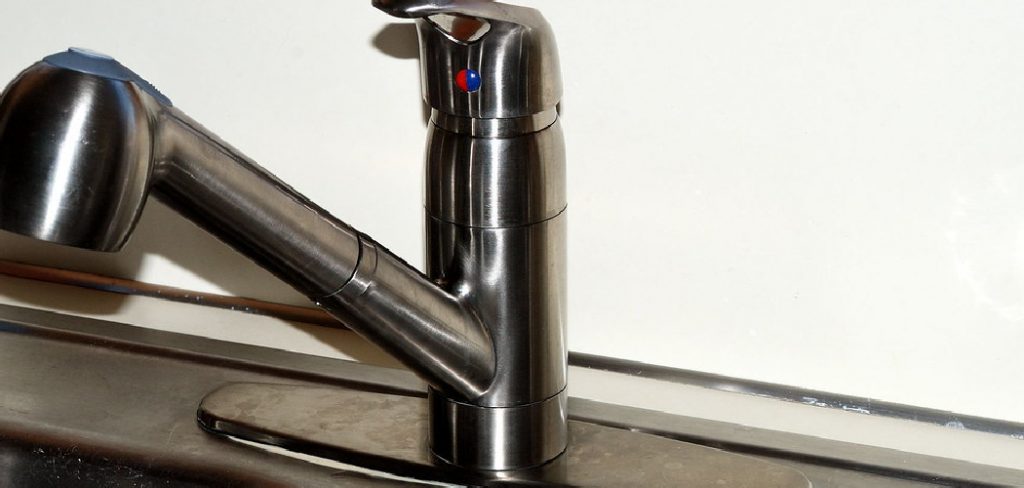
A Chicago faucet cartridge is a key component found in Chicago Faucets, designed to regulate the flow and temperature of water. It serves as the internal mechanism that controls how water moves through the faucet, ensuring smooth operation and precise adjustments.
Cartridges are crafted to withstand frequent use, making them durable and efficient. However, like any mechanical part, they may wear out over time. Available in various models to fit different faucet designs, Chicago faucet cartridges are essential for maintaining the proper functionality of your faucet system.
Why You Should Replace the Cartridge
Replacing a worn-out cartridge in your Chicago faucet is crucial to maintaining proper functionality and preventing potential issues. Over time, cartridges can develop leaks, cause inconsistent water flow, or make it difficult to control temperature. Ignoring these problems can lead to higher water bills and unnecessary waste.
By replacing the cartridge promptly, you ensure the faucet operates smoothly, extends its lifespan, and avoids costly repairs in the future. Additionally, a new cartridge can restore the faucet’s performance, providing a reliable and hassle-free experience for daily use.
Tools and Materials Needed
To replace a faucet cartridge effectively, you will need the following tools and materials:
- Adjustable wrench – To loosen and tighten fittings as needed.
- Screwdrivers (Phillips and flathead) – For removing screws and accessing the cartridge.
- Allen wrench – For loosening any set screws, depending on the faucet model.
- Pliers – To grip and remove the cartridge.
- Replacement cartridge – Ensure it matches the make and model of your faucet.
- Plumber’s grease – For lubricating components during reassembly.
- Towel or bucket – To catch any water that may spill during the process.
- Flashlight – To provide better visibility in tight or poorly lit spaces.
Having these tools and materials on hand will help make the cartridge replacement process quicker and more efficient.
10 Methods How to Replace Chicago Faucet Cartridge
1. Turn Off the Water Supply
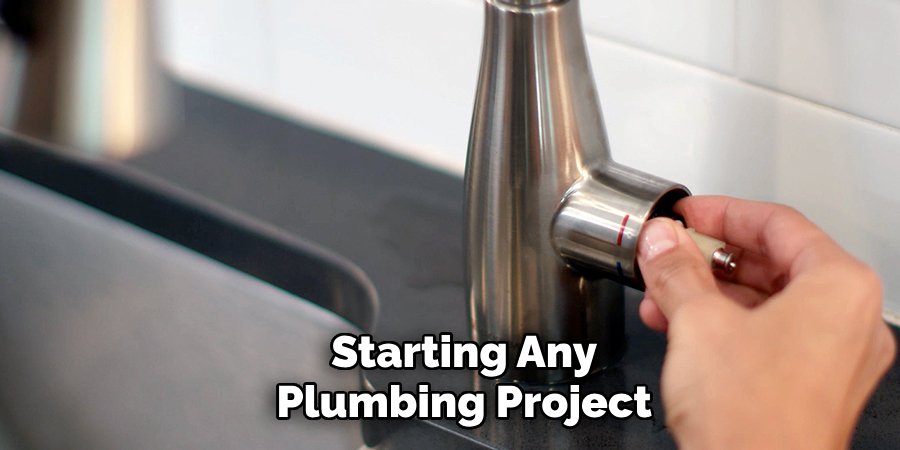
Before starting any plumbing project, it’s crucial to turn off the water supply to the faucet to avoid flooding or water damage. Chicago faucets typically have a shutoff valve located under the sink or near the fixture.
If there’s no individual shutoff valve, you’ll need to turn off the main water supply to the home. Once you’ve turned off the water supply, open the faucet to release any residual water and relieve any pressure in the pipes. This step will make the replacement process cleaner and safer.
2. Gather the Necessary Tools and Materials
To replace a Chicago faucet cartridge, you’ll need several essential tools and materials. These include an adjustable wrench or pliers, a flathead screwdriver, a Phillips-head screwdriver, a cartridge puller (if necessary), replacement cartridge, and plumber’s grease.
It’s also helpful to have a rag or towel on hand to clean up any water spillage during the process. Make sure to purchase a replacement cartridge that matches the model of your faucet, as using the wrong size can cause improper sealing or leaking.
3. Remove the Faucet Handle
The first step in accessing the cartridge is removing the faucet handle. Depending on the model of your Chicago faucet, the handle may be secured by a set screw located under a decorative cap or directly on the side. Use a flathead screwdriver to gently pry off the decorative cap, revealing the screw.
Once the screw is exposed, use a screwdriver to remove it and pull the handle off the faucet. If the handle is stuck due to mineral buildup, gently tap it with a rubber mallet to loosen it, being careful not to damage the faucet.
4. Take Off the Escutcheon or Trim Plate
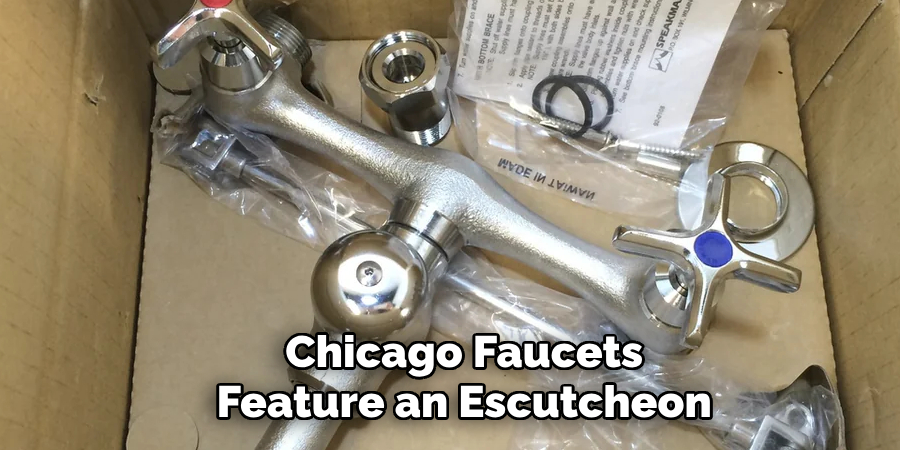
Many Chicago faucets feature an escutcheon plate or trim plate that conceals the inner workings of the faucet. Use a screwdriver or wrench to remove any screws holding the plate in place.
Once removed, the escutcheon plate should come off easily, exposing the cartridge beneath. If the plate is stuck due to rust or corrosion, gently tap it with a rubber mallet or use a penetrating oil like WD-40 to loosen any debris that may be causing resistance.
5. Locate the Cartridge and Remove It
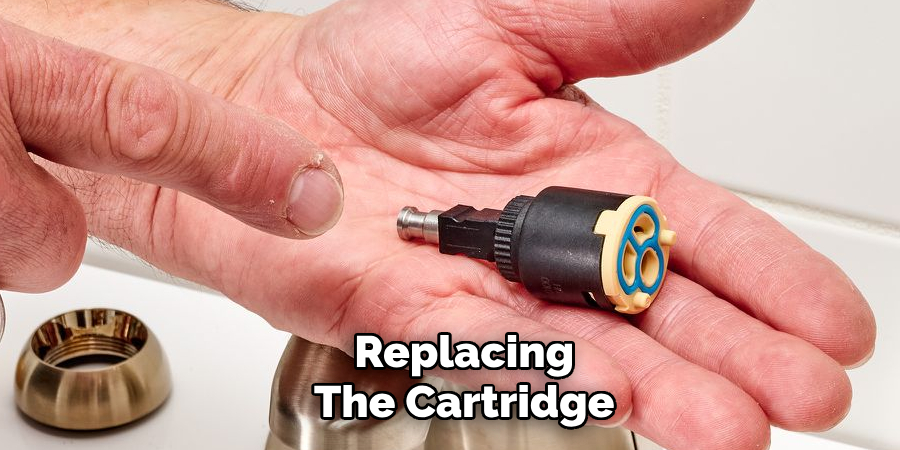
With the handle and escutcheon plate removed, the faucet cartridge should now be exposed. Depending on the model, the cartridge may be secured by a retaining nut or clip. Use a wrench to loosen and remove the nut or clip that holds the cartridge in place.
Once the securing mechanism is removed, you should be able to pull the cartridge straight out of the faucet body. If the cartridge is stuck, use a cartridge puller to gently extract it, making sure not to damage the surrounding components. Inspect the old cartridge for signs of wear, such as cracks, corrosion, or mineral buildup, which may be causing the issues with the faucet.
6. Clean the Faucet Housing
Before installing the new cartridge, it’s a good idea to clean the faucet housing. Use a rag or towel to wipe away any debris, mineral deposits, or old grease that may have accumulated inside the faucet body. A small brush, such as an old toothbrush, can help clean hard-to-reach areas.
It’s important to ensure the housing is free of any obstructions or grime to allow the new cartridge to fit properly. If necessary, you can use a mild vinegar solution to remove any mineral buildup, but make sure to dry the housing completely before proceeding.
7. Lubricate the New Cartridge
Before installing the new cartridge, apply a small amount of plumber’s grease to the O-rings and moving parts of the cartridge. This lubrication helps create a watertight seal and ensures the cartridge operates smoothly once installed.
Be sure to use a silicone-based lubricant that is compatible with your faucet model, as other lubricants may damage the cartridge over time. Avoid over-applying the grease, as too much can attract debris or cause issues with the faucet’s functionality.
8. Install the New Cartridge
With the new cartridge lubricated, insert it into the faucet body, ensuring it aligns with the proper grooves or connections inside the faucet housing. Carefully slide the cartridge into place, making sure it fits snugly. If your faucet has a retaining nut or clip, replace it to secure the cartridge in place.
Tighten the retaining nut or clip with a wrench, but be careful not to overtighten, as this could damage the faucet or cause the cartridge to be misaligned. Double-check that the cartridge is seated properly and that there is no movement or instability.
9. Reattach the Escutcheon Plate and Handle
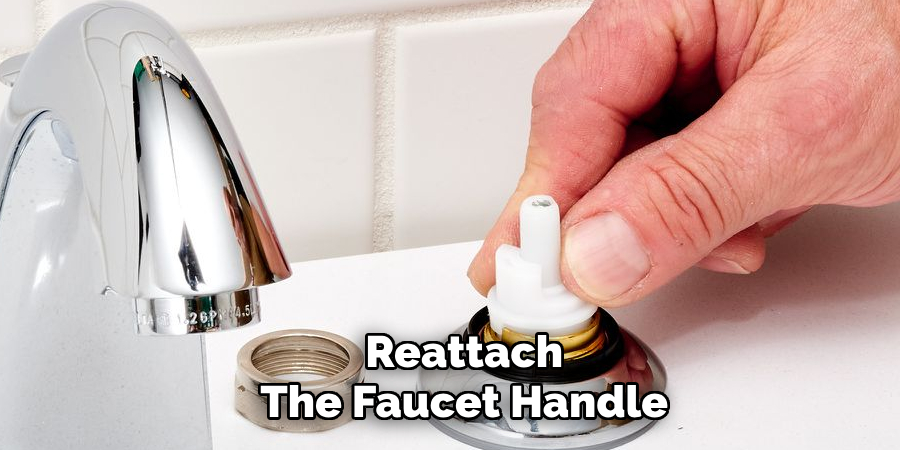
After securing the cartridge, it’s time to reassemble the faucet. First, reinstall the escutcheon or trim plate, aligning it with the faucet housing. Secure the plate with the screws you removed earlier.
Next, reattach the faucet handle by aligning it with the stem of the cartridge and securing it with the set screw. If your faucet has a decorative cap, replace it to conceal the screw. Tighten everything carefully, making sure the handle is securely fastened and functions smoothly.
10. Test the Faucet and Check for Leaks
Once the faucet is reassembled, turn the water supply back on and check for any leaks. Slowly open the faucet and check the handle’s operation to ensure it moves smoothly and controls the water flow properly. Inspect the area around the faucet for any signs of dripping or moisture,
paying close attention to the cartridge housing and connections. If you notice any leaks, turn off the water supply again and check the cartridge installation to ensure it’s seated properly and securely. If there are no leaks, your faucet should be functioning like new.
Maintenance and Upkeep
Regular maintenance is essential to keep your faucet functioning efficiently and to extend its lifespan. Start by cleaning the faucet regularly with a mild soap and water solution to prevent the buildup of mineral deposits and grime. Avoid using harsh chemicals or abrasive materials, as they can damage the finish.
Periodically inspect the faucet for any signs of wear, such as loose handles or deteriorating seals, and address these issues promptly to prevent larger problems down the line. Additionally, it’s a good practice to clean the aerator every few months to ensure consistent water flow. By staying proactive with maintenance, you can minimize repairs and keep your faucet in optimal condition for years to come.
Conclusion
Replacing the cartridge in your Chicago faucet is a straightforward task that can be completed in just a few simple steps. By following these ten methods—from shutting off the water supply and removing the faucet handle to installing the new cartridge and checking for leaks—you can successfully replace the faulty cartridge and restore your faucet’s performance. So, there you have it – a quick and easy guide on how to replace chicago faucet cartridge.

