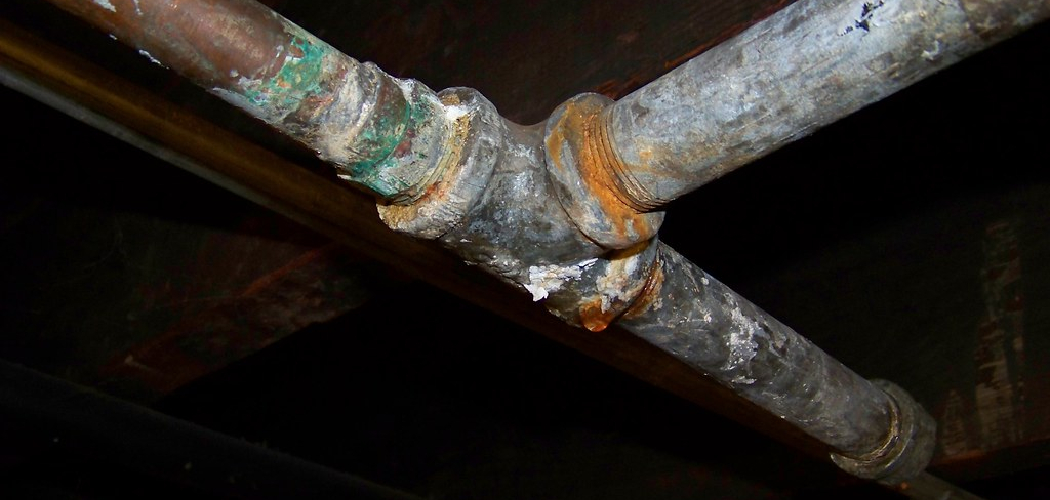
Are you experiencing problems with your pipes? If you notice discoloration, leaks, or low water pressure, it could be a sign of corroded pipes. If not addressed promptly, this can lead to serious health and safety issues.
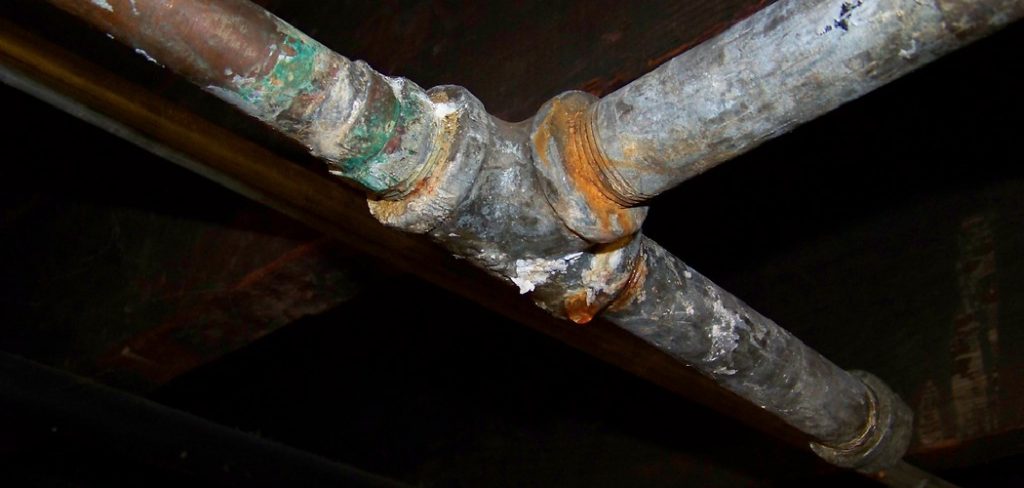
Corroded pipes can lead to various issues, including leaks, reduced water pressure, and even structural damage to your property. Over time, exposure to moisture, minerals, and harsh chemicals can cause pipes to deteriorate, necessitating their replacement to maintain a functional plumbing system. Understanding how to replace corroded pipes is essential for homeowners looking to prevent costly repairs and ensure the integrity of their plumbing.
This guide will walk you through the process, including identifying signs of corrosion, gathering necessary tools and materials, and executing the replacement safely and effectively.
What Will You Need?
Before beginning any plumbing project, gathering all necessary tools and materials is crucial. To replace corroded pipes, you will need the following:
- Work gloves
- Protective eyewear
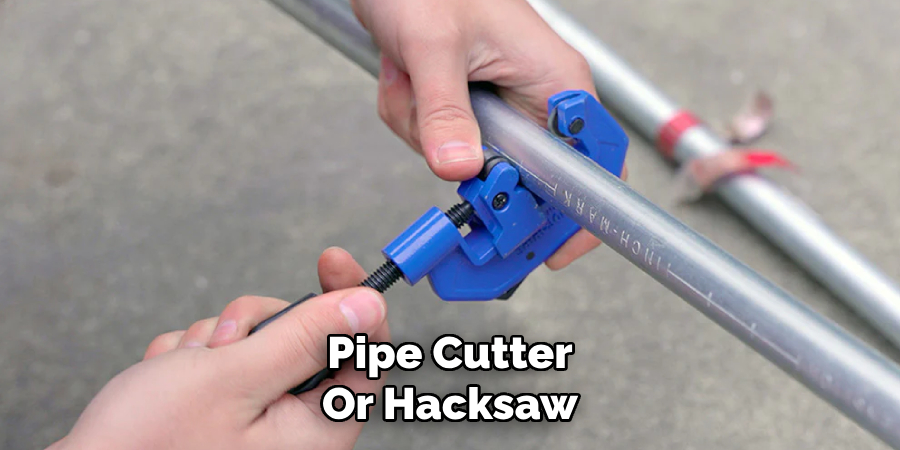
- Pipe cutter or hacksaw
- Adjustable pliers or pipe wrenches
- Replacement pipes (PVC, copper, or steel)
- Fittings (tees, elbows, couplings)
- Flux and solder (for copper piping)
- Teflon tape or plumber’s putty
It’s also essential to have a plan for properly disposing of the old pipes. Some local waste management companies may offer specific guidelines for safely disposing of corroded pipes.
10 Easy Steps on How to Replace Corroded Pipes
Step 1: Turn Off the Water Supply
Before you begin the replacement process, turn off the water supply to the affected area. Locate the main shut-off valve in your home and turn it clockwise to stop the water flow. This step is crucial to prevent leaks or flooding during the pipe replacement. Once the water is off, open a faucet at the lowest point in your home to drain any excess water from the pipes.
Step 2: Identify the Corroded Sections
Once the water supply is turned off and the pipes have drained, carefully inspect the plumbing system to identify the sections that need replacing. Look for signs of corrosion, such as rust, discoloration, or pitting on the surface of the pipes. It’s important to note all affected areas, as more than one section may require replacement. Use your adjustable pliers to disconnect fittings and determine how much pipe needs to be removed. Mark the areas for cutting to ensure precise measurements for your new pipes.
Step 3: Cut the Damaged Pipes
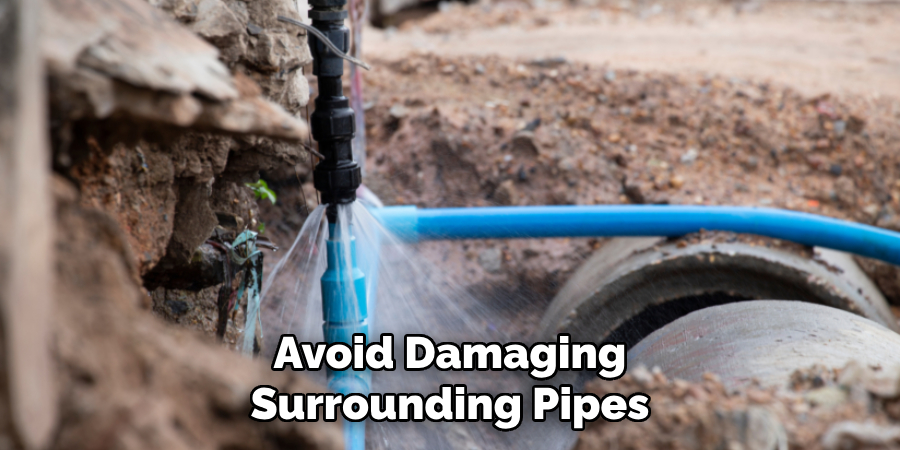
Using a pipe cutter or hacksaw, carefully cut the damaged sections of the pipes in the marked areas. Ensure that you make straight cuts to create smooth edges that will facilitate a proper seal with the new fittings. When using a hacksaw, take your time and apply gentle pressure to avoid damaging surrounding pipes or fixtures.
After cutting, remove any burrs or rough edges from the cut ends by using a file or sandpaper. This step is crucial because jagged edges can cause leaks when the new pipes are installed. Once the old pipes are removed, it’s a good idea to clean the fitting areas thoroughly, ensuring they are free of debris and moisture, which will help secure a watertight connection with your replacement pipes.
Step 4: Measure and Cut the Replacement Pipes
Once the damaged sections have been removed, it’s time to prepare your replacement pipes. First, accurately measure the lengths of pipe required to fill the gaps left by the removed sections. Take your time to double-check these measurements, as proper sizing is essential for a secure fit. After measuring, use a pipe cutter or hacksaw to cut the new pipes to the appropriate lengths. Ensure the edges are smooth by removing any rough spots, just as you did with the old pipes. This will ensure a tight seal when the new pipes are connected to the existing plumbing system.
Step 5: Install the Replacement Pipes
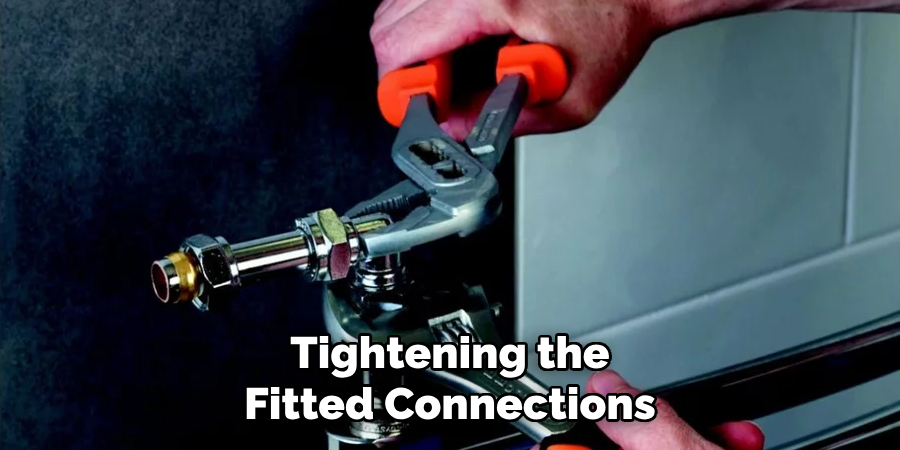
With the replacement pipes cut to the correct lengths, it’s time to install them. Begin by sliding any necessary fittings onto the ends of the new pipes before attaching them to the existing plumbing. For PVC pipes, apply a thin layer of PVC cement to both the pipe and fitting before pushing them together. For copper pipes, ensure the ends are clean, then use flux on the joint and heat the joint with a torch until the solder flows into the connection. Secure the pipes in place by tightening the fitted connections with your adjustable pliers or pipe wrenches. Ensure that everything is aligned correctly and that the pipes fit snugly to avoid future leaks.
Step 6: Test for Leaks
After installing the replacement pipes and securing all connections, testing for leaks is crucial before proceeding. Restore the water supply by turning the main shut-off valve counterclockwise. Once the water is on, check all newly connected joints and fittings for any signs of leakage. If you notice any drips or moisture, turn off the water supply again and ensure the fittings are correctly tightened.
Additional Teflon tape or plumber’s putty may sometimes be needed to create a watertight seal. Allow adequate time for any adhesive materials, like PVC cement or solder, to set before conducting a final inspection. As a precaution, keep an eye on the newly replaced pipes for any signs of leaks in the days following the repair.
Step 7: Insulate the Pipes
Once you have confirmed there are no leaks, insulating the new pipes is essential to prevent potential issues in varying temperatures, particularly in colder climates. Use foam pipe insulation or wrap the pipes with insulation tape, covering all exposed areas. This will help reduce heat loss, prevent condensation, and protect against freezing during winter. Proper insulation can also enhance energy efficiency in your plumbing system, leading to further savings on utility bills. If you live in an earthquake-prone area, consider using flexible fittings and pipe hangers to protect against potential damage.
Step 8: Secure the Pipes
Now that the insulation is in place, the next step is to secure the pipes. Use pipe straps or brackets to anchor the new pipes to the walls or floors, ensuring they are stable and not at risk of movement or vibration. Proper support not only helps maintain alignment but also reduces the risk of damage over time. Check for any bends or kinks in the pipe that may affect the flow of water and adjust as necessary before fully tightening the straps.
Step 9: Restore Water Supply
After securing the pipes, you can restore the water supply to the repaired area. Slowly turn the main shut-off valve back on, allowing the water to flow gradually into the plumbing system. As the water flows, monitor closely for any signs of leakage around the joints and fittings you have recently installed. If everything appears secure, let the water flow until all bubbles or air pockets have escaped the system.
Step 10: Final Inspection and Clean-Up
The final step involves a thorough inspection and clean-up of the work area. After allowing the water to flow for a few minutes, check each connection for leaks once more. Should any leaks be detected, tighten the fittings or apply additional sealing materials as needed. Once everything is functioning correctly, clean up the surrounding area, dispose of the old pipes according to local regulations, and ensure all tools are put away. This completes your pipe replacement project, again leaving you with a secure and efficient plumbing system.
By following these steps, you can successfully replace damaged pipes and restore proper water flow in your plumbing system.
5 Things You Should Avoid
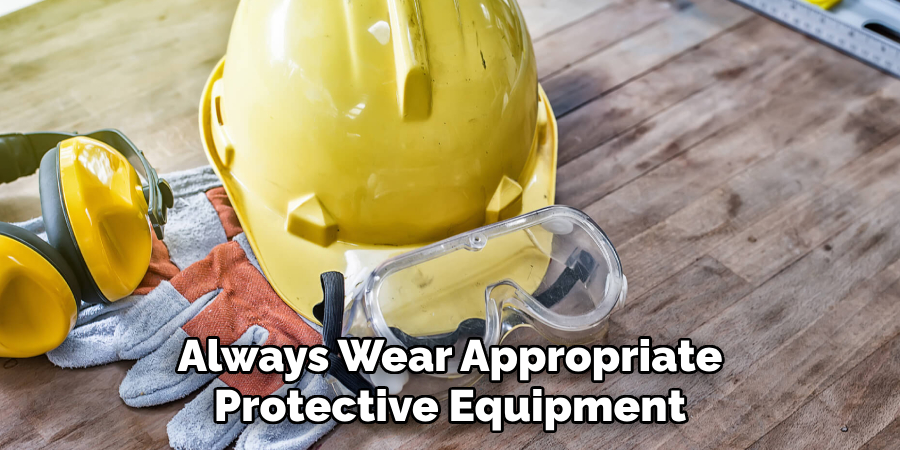
- Neglecting Safety Gear: Always wear appropriate protective equipment such as gloves, goggles, and a mask. Skipping this step can expose you to harmful substances, sharp edges, and debris.
- Rushing the Process: Taking shortcuts can lead to improper installations and future leaks. Allow adequate time for each step and ensure everything is correctly measured and aligned before proceeding.
- Ignoring Local Plumbing Codes: Adherence to local regulations can result in fines and may invalidate warranties. Always check and follow the plumbing codes relevant to your area.
- Using Incorrect Materials: Ensure you use the correct type of pipe and fittings for your plumbing system. Mismatched materials can lead to compatibility issues and leaks down the road.
- Overtightening Connections: While ensuring pipes are securely fastened is important, overtightening can damage the fittings and create cracks, leading to leaks. Use the appropriate tools and techniques to achieve a snug fit without excess pressure.
By avoiding these common mistakes, you can ensure a successful and long-lasting pipe replacement.
Conclusion
Replacing corroded pipes is a straightforward yet essential process that can significantly improve the efficiency and safety of your plumbing system.
By systematically following the outlined steps—from assessing the damage and removing old pipes to ensuring proper installation and insulation of the new pipes—you can effectively restore reliable water flow while minimizing the risk of leaks. Remember to prioritize safety, adhere to local plumbing codes, and use the correct materials to ensure a successful replacement. With careful attention to detail and proper maintenance, you can enjoy a well-functioning plumbing system that stands the test of time.
Hopefully, the article on how to replace corroded pipes has been informative and helpful in guiding you through the process. Happy plumbing!

