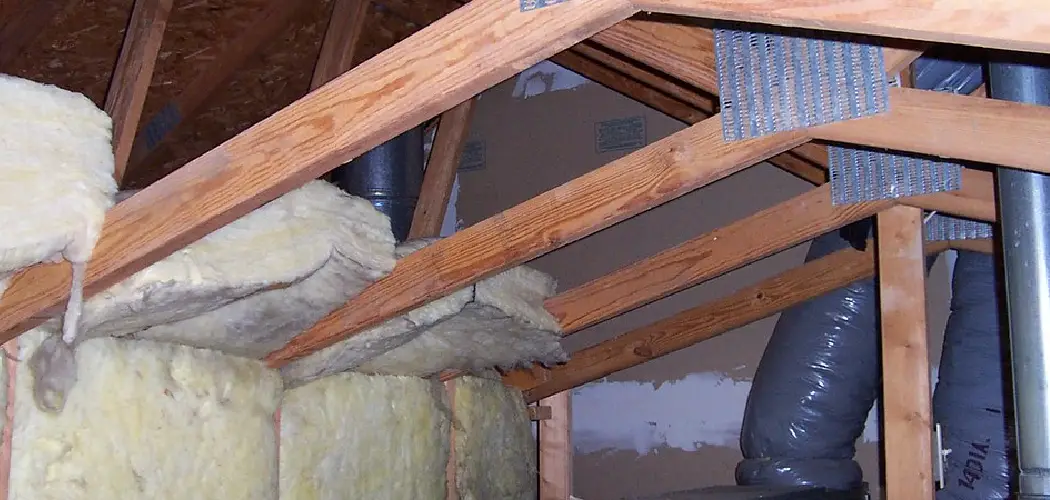
When you live in an older home, one of the most important tasks that is often overlooked is replacing your ductwork. This is the pathway through which airflow travels from your HVAC system to each room in your home. Over time, this ductwork can become damaged or clogged with debris, leading to decreased efficiency and potentially causing health issues.
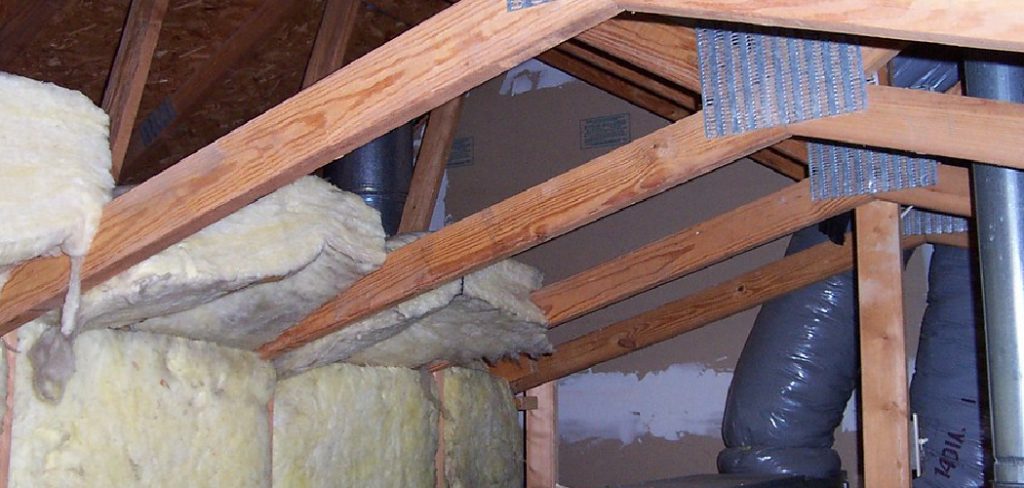
If you have noticed an increase in your energy bills or poor air quality, it may be time to replace your ductwork. Replacing ductwork in the attic can be a daunting task, but it is essential for maintaining proper air circulation and ventilation in your home. In this guide on how to replace ductwork in attic, we will walk you through the steps to replace ductwork in your attic.
Necessary Items
Before you begin the process of replacing your ductwork, there are a few items that you will need to have on hand. These include:
- Measuring tape
- Ductwork (make sure to measure and purchase enough for the entire attic)
- Cutting tools (such as tin snips or a hacksaw)
- Gloves
- Safety goggles
- Screwdriver or drill
- Nails or screws
- Insulation (if needed)
8 Things to Know Before You Start
1) Check for Permits
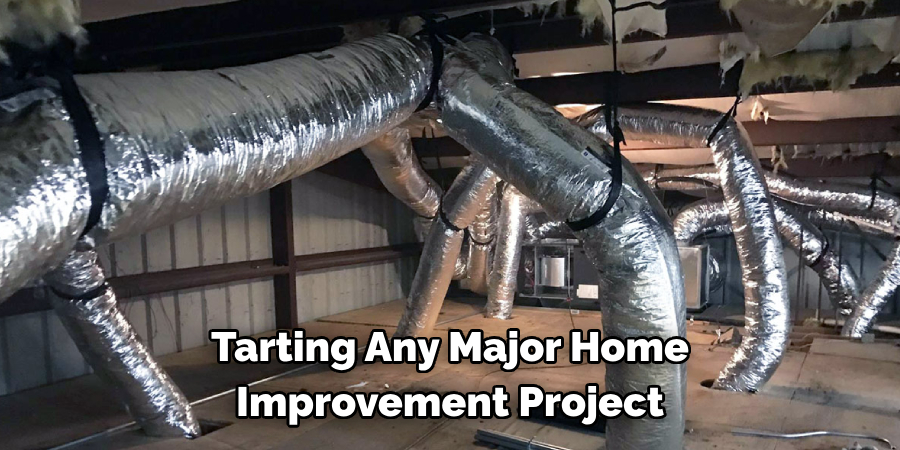
Before starting any major home improvement project, it is essential to check if you need a permit. Permit requirements may vary depending on your location and the extent of the work being done. It’s always better to be safe than sorry, so make sure to do your research or consult with a professional before beginning.
2) Determine the Type of Ductwork Needed
There are various types of ductwork materials available, such as flexible, rigid, and semi-rigid. Each has its advantages and disadvantages, so it’s essential to determine the best type for your home. Consider factors like cost, energy efficiency, and durability when making this decision.
3) Measure Your Attic Space
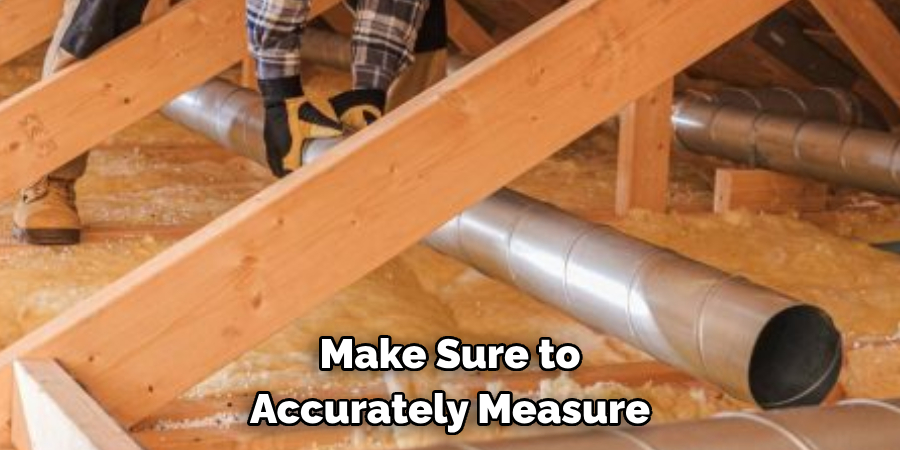
Before purchasing any materials, make sure to accurately measure the space in your attic. This will help ensure that you have enough ductwork and other necessary items for the job. If you are unsure of how to properly measure, consult with a professional or do some research beforehand.
4) Prepare the Work Area
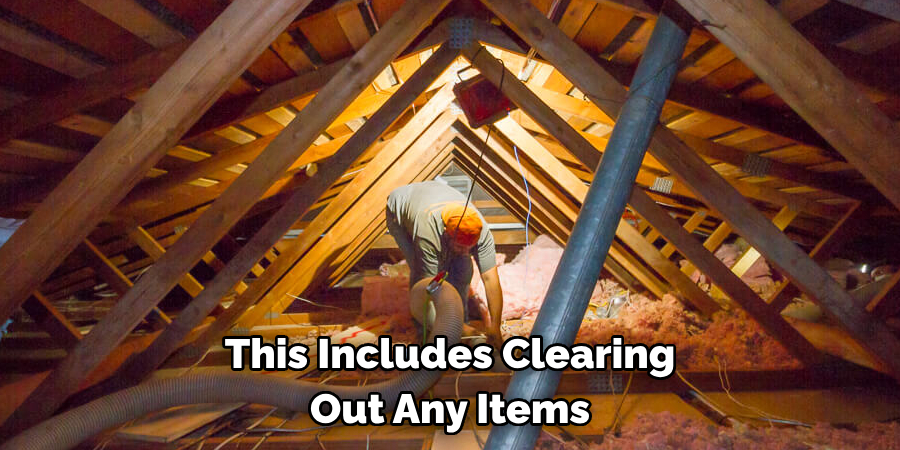
Make sure to clear out any clutter in your attic and create a safe work area. This includes removing any debris or insulation that may obstruct your path while working on the ductwork. And don’t forget to wear appropriate safety gear, such as gloves and goggles.

5) Disconnect Power
Before starting any work, make sure to turn off the power supply to your HVAC system. You don’t want to risk any potential danger or damage. But don’t worry; once the ductwork is replaced and secured, you can turn the power back on.
6) Remove Old Ductwork
Using your cutting tools, carefully remove the old ductwork from your attic. This may require some strength and patience, as ductwork is often compressed and tightly fit together. Make sure to use caution and precision to avoid any damage to the surrounding area.
7) Install New Ductwork
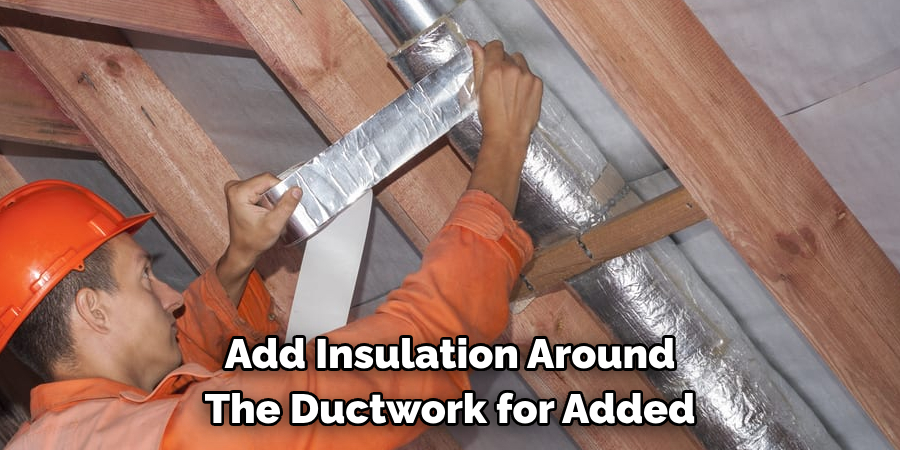
Once the old ductwork is removed, it’s time to install the new ductwork. Follow your measurements and carefully cut the pieces of ductwork as needed. Use nails or screws to secure them in place. If necessary, add insulation around the ducts for added energy efficiency.
8) Reconnect Power and Test
After everything is installed and secured, it’s time to turn the power back on and test your new ductwork. Make sure to check for proper air circulation and any potential leaks. Once everything looks good, you can enjoy improved airflow and energy efficiency in your home.
Replacing your ductwork in the attic may seem like a daunting task, but it is a necessary step for maintaining proper air circulation and ventilation in your home. By following these steps and taking the time to properly measure and prepare, you can successfully replace your ductwork and improve the overall comfort and efficiency of your home. Remember to always prioritize safety and consult with a professional if needed.
12 Steps on How to Replace Ductwork in Attic
Step 1: Prepare the Attic
The first step in replacing your ductwork is to prepare the attic for work. This includes clearing out any items that may be in the way and making sure you have enough space to move around comfortably. You will also want to ensure that there is proper lighting and ventilation in the attic.
Step 2: Gather Materials
Make sure you have all of the necessary materials on hand before beginning. This includes ductwork, cutting tools, gloves, safety goggles, and insulation if needed. Having everything ready will save you time and prevent any delays during the process.
Step 3: Turn Off Power Supply
Before starting any work, make sure to turn off the power supply to your HVAC system. This will prevent any potential accidents or damage while working on the ductwork. While you’re at it, it’s also a good idea to turn off any other power sources in the attic.
Step 4: Measure and Plan
Using your measuring tape, accurately measure the space in your attic and determine how much ductwork you will need. This will help prevent any surprises or delays later on. It’s also a good idea to plan out the layout and placement of the ductwork before starting.
Step 5: Disconnect Old Ductwork
Carefully remove the old ductwork using your cutting tools. This may require some strength and patience, as it is often tightly fit together. Be sure to take your time and use caution to avoid any damage to surrounding areas or other components in your HVAC system.
Step 6: Cut New Ductwork
Using your measurements and planning, cut the new ductwork pieces to fit the space in your attic. Make sure to double-check your measurements before cutting to avoid any mistakes. Assemble the pieces together and secure them with nails or screws as needed.
Step 7: Add Insulation
If necessary, add insulation around the ductwork for added energy efficiency. This will help prevent air leaks and improve overall efficiency in your home. Make sure to use appropriate insulation materials and techniques for maximum effectiveness.
Step 8: Secure Ductwork
Once the new ductwork is in place, use nails or screws to secure it in place. Make sure to follow any specific instructions for your chosen type of ductwork material. This will help ensure that the ductwork stays in place and functions properly.
Step 9: Reconnect Power
After everything is securely in place, you can turn the power back on and test your new ductwork. Make sure to check for proper air circulation and any potential leaks. If there are any issues, you may need to go back and make adjustments before proceeding.
Step 10: Clean Up
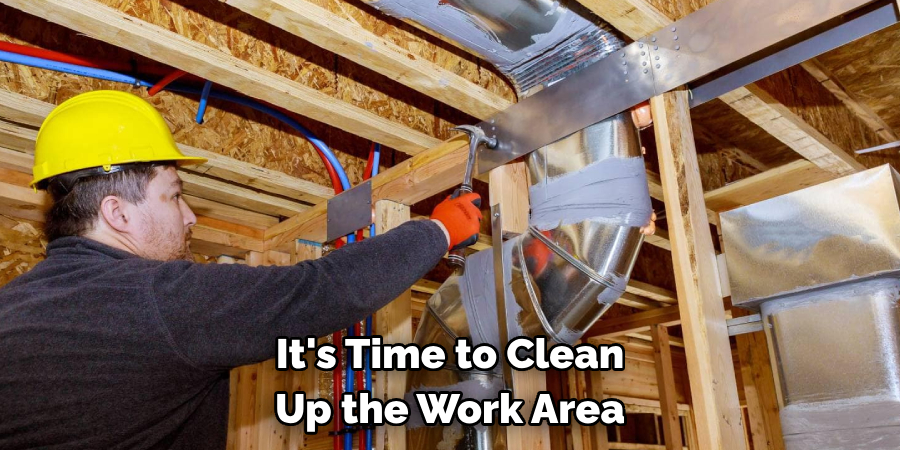
Once the ductwork is installed and functioning properly, it’s time to clean up the work area. Remove any debris or insulation that may have accumulated during the process. This will help prevent any potential hazards or damage in the future.
Step 11: Schedule Maintenance
It’s important to regularly schedule maintenance for your HVAC system, including the ductwork. This will help ensure that everything is functioning properly and efficiently. Schedule a professional inspection at least once a year to catch any potential issues early on.
Step 12: Enjoy Improved Airflow and Efficiency
Congratulations, you have successfully replaced your ductwork in the attic! Enjoy improved airflow and energy efficiency in your home. If you notice any issues or have concerns, don’t hesitate to consult with a professional for further assistance. By regularly maintaining your HVAC system, you can ensure that it continues to function properly for years to come.
Instead of worrying about potential air leaks and inefficient heating or cooling, you can relax in comfort and enjoy the benefits of a well-functioning HVAC system. So don’t put off replacing your ductwork any longer – follow these steps on how to replace ductwork in attic and make it happen! Remember, safety always comes first, so be sure to take all necessary precautions during the process.
8 Things to Avoid When Replacing Ductwork
1) Using Incorrect Measurements
One of the most important steps in replacing ductwork is accurately measuring the space and determining how much ductwork is needed. Using incorrect measurements can lead to delays, extra costs, and potential issues with the functioning of your HVAC system.
2) Forgetting to Turn Off Power Supply
Before starting any work on your HVAC system or ductwork, always make sure to turn off the power supply. This will prevent any potential accidents or damage while working.
3) Rushing Through the Process
Replacing ductwork may seem like a daunting task, but it’s important to take your time and carefully follow each step. Rushing through the process can result in mistakes, which may lead to future issues with your HVAC system.
4) Neglecting Safety Precautions
Safety should always be a top priority when working on any home improvement project. Be sure to wear appropriate safety gear, such as gloves and safety goggles, and follow all instructions carefully. At the same time, it may seem like a hassle, but taking these precautions can prevent serious injuries.
5) Using Incorrect Materials
It’s important to use the correct materials for your specific HVAC system and ductwork. Using incorrect materials can lead to inefficiency or even damage to your system over time. And don’t forget to properly seal all connections to prevent air leaks.
6) Skipping Professional Inspection
While you may feel confident in your DIY skills, it’s always recommended to have a professional inspect and ensure that the new ductwork is installed correctly. This can help catch any potential issues early on and prevent future problems.
7) Neglecting Maintenance
Simply replacing your ductwork is not enough – regular maintenance is necessary to keep your HVAC system functioning properly and efficiently. Make sure to schedule professional inspections at least once a year to catch any potential issues.
8) Ignoring Warning Signs
If you notice any warning signs, such as strange noises or unusual smells coming from your HVAC system, don’t ignore them. These can be indications of potential issues with your ductwork or overall system. It’s always better to address them early on rather than waiting for a major problem to occur.
By avoiding these common mistakes, you can successfully replace your ductwork and enjoy improved comfort and efficiency in your home. Don’t hesitate to seek professional assistance if needed, and make sure to follow all safety precautions throughout the process. With proper installation and maintenance, your new ductwork can last for many years to come. So don’t delay – start planning and preparing for your ductwork replacement today!
8 Additional Tips for Replacing Ductwork
1) Plan and Prepare Ahead of Time
Before starting the project, make sure to thoroughly plan and prepare by researching the necessary materials, tools, and techniques. This will help ensure a smooth and successful installation process. If needed, consult with a professional for guidance.
2) Consider Ductwork Insulation
Insulating your ductwork can help improve energy efficiency and reduce noise levels. This is especially important for ductwork located in unconditioned spaces like an attic or basement. Make sure to use appropriate insulation material and follow installation instructions carefully.
3) Opt for Sealed Ductwork
Sealing your ductwork is crucial for preventing air leaks and maximizing efficiency. Consider using mastic sealant or metal tape instead of common duct tape, which tends to deteriorate over time. This may require additional time and effort, but it will pay off in the long run.
4) Take Photos Before and After
Documenting the process by taking photos before and after can help you keep track of your progress and serve as a reference for any future maintenance or repairs. It can also be helpful in case any issues arise during the installation process.
5) Replace Old Ductwork Support Straps
If your ductwork is being replaced due to age, it’s likely that the support straps holding it in place are also worn out. Make sure to replace these with new ones to ensure proper and secure installation. Even if the ductwork is being replaced for other reasons, it’s a good idea to check and replace support straps as needed.
6) Clean and Seal Ducts Before Installation
Before installing the new ductwork, make sure to thoroughly clean and seal all ducts to remove any debris or buildup. This will help improve airflow and prevent any potential issues with the new installation.
7) Consider Upgrading to a Zoned System
If your current HVAC system is not zoned, take this opportunity to upgrade and improve the overall comfort and efficiency of your home. Zoning allows you to control different areas or zones of your home separately, which can save energy and money in the long run.
8) Schedule Regular Maintenance after Installation
Once the new ductwork is installed, make sure to schedule regular maintenance with a professional HVAC technician. This will help ensure that your system is functioning properly and catch any potential issues early on. Regular maintenance can also prolong the lifespan of your ductwork and HVAC system.
By following these additional tips on how to replace ductwork in attic, you can enhance your ductwork replacement project and enjoy long-lasting benefits for your home. Remember to take your time, prioritize safety, and seek professional assistance if needed. So don’t delay – start planning and preparing for your ductwork replacement today!

Frequently Asked Questions
How Often Should I Replace My Ductwork?
Ductwork typically lasts for about 15-20 years. However, it may need to be replaced sooner if there are signs of damage or inefficiency. If you are unsure, it’s best to have a professional inspect your ductwork and determine if replacement is necessary.
Can I Replace My Ductwork Myself?
While it may be tempting to save money by replacing your ductwork yourself, it’s recommended to seek professional assistance. Proper installation is crucial for optimal efficiency and comfort in your home, as well as for safety reasons. A professional HVAC technician has the knowledge and experience to ensure a successful replacement.
What are the Benefits of Replacing Ductwork?
Replacing old or damaged ductwork can improve energy efficiency, reduce utility costs, and enhance overall comfort in your home. It can also prevent potential health hazards from mold or dust buildup in old ducts. Additionally, replacing ductwork can increase the lifespan of your HVAC system.
Can I Insulate My Ductwork Myself?
Insulating your ductwork can be a DIY project, but it’s important to thoroughly research the appropriate materials and techniques. If not done correctly, insulation can actually cause more harm than good. It may be best to consult with a professional for guidance or to handle the installation. Overall, replacing ductwork is an important aspect of maintaining a comfortable and efficient home. By avoiding common mistakes and following these additional tips, you can ensure a successful replacement project and enjoy the benefits for years to come.
Conclusion
Don’t put off replacing your ductwork any longer. Take the time to properly plan and prepare, choose high-quality materials, and follow all necessary steps for a successful installation. Remember to prioritize safety throughout the process and consult with a professional if needed.
By following these tips on how to replace ductwork in attic and regularly maintain your new ductwork, you can improve the comfort and efficiency of your home for years to come. So don’t delay any longer – start planning and preparing for your ductwork replacement today!

