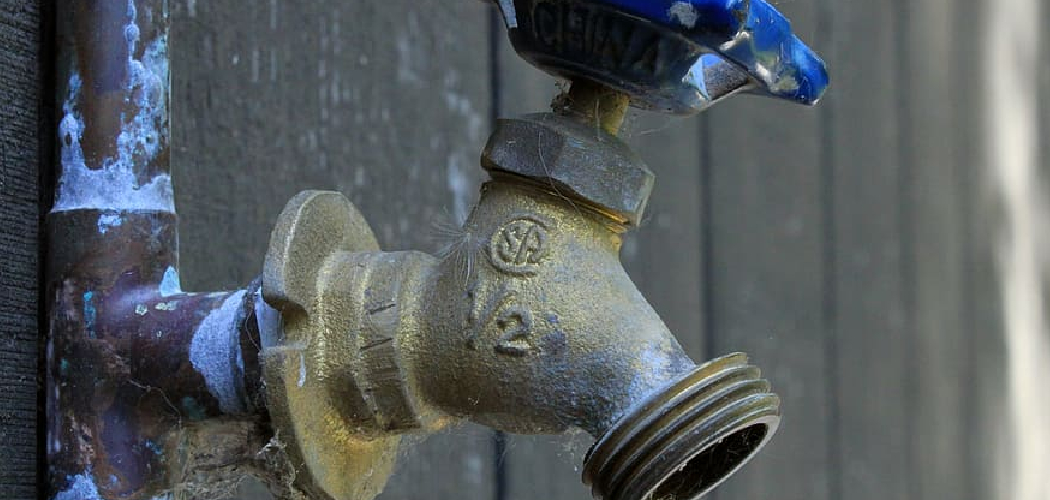
Outdoor faucet handles, commonly known as hose bibs or spigots, are essential fixtures that provide convenient access to water for gardening, cleaning, or other outdoor needs. Due to their constant exposure to the elements, these handles are highly susceptible to wear and tear.
Over time, factors such as corrosion, stripped threads, physical damage, or difficulty turning the faucet can necessitate a replacement. Addressing these issues can save time and money while ensuring your outdoor water supply remains functional.
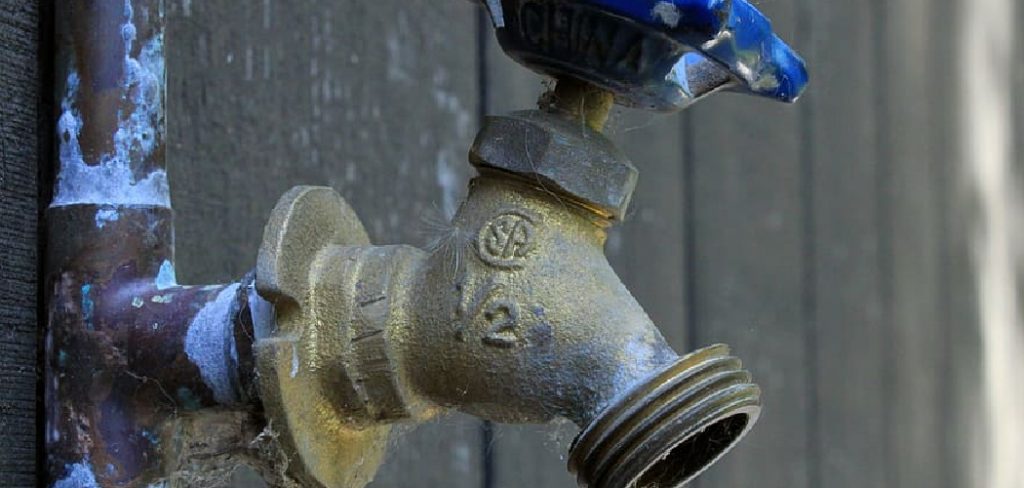
This article provides a comprehensive, step-by-step guide on how to replace handle on outside faucet using basic tools. With proper preparation and attention to safety, you can confidently undertake this straightforward DIY task to restore your faucet’s full functionality.
Tools and Materials Needed
To successfully replace the handle on an outside faucet, you’ll need a few basic tools, replacement parts, and safety materials to ensure the process is smooth and efficient. Below is a detailed breakdown of what you’ll need:
Basic Tools
- Adjustable wrench or channel-lock pliers – For loosening and tightening fittings.
- Flathead and Phillips screwdrivers – To remove and secure screws holding the handle in place.
- Penetrating oil (e.g., WD-40) – Helps loosen any rusted or stuck components.
Replacement Parts
- New faucet handle – Ensure it matches the type of valve stem on your faucet.
- Replacement screw (if needed) – Handy if the original is damaged or missing.
- Optional: Packing washers or stem caps – These may be required if additional wear is discovered during the repair.
Safety and Prep Materials
- Gloves – For protecting your hands from grime or sharp edges.
- Rag or towel – Useful for cleaning surfaces and preventing messes.
- Bucket – Can be used to catch any water drips while working.
These tools and materials will streamline the process and help you replace the handle with ease and precision. Always check the compatibility of the replacement parts to your specific faucet model before starting.
Turn Off the Water Supply
Locating the Shut-Off Valve
For most homes, the shut-off valve for outdoor faucets is located inside the house, typically in a basement, crawlspace, or utility area. Locate the valve connected to the outdoor faucet to control the water supply effectively. This step is essential to avoid any water flow while replacing the handle.
Shutting Off Water Properly
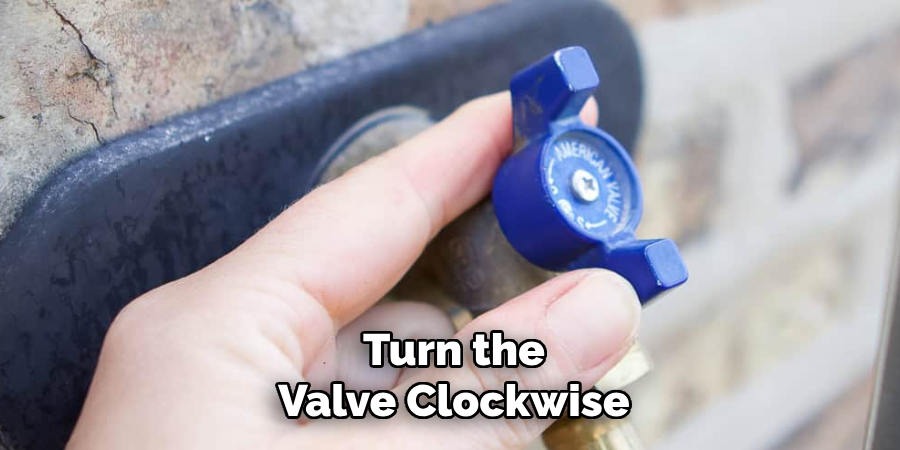
To shut off the water, turn the valve clockwise until it is fully closed. Next, open the outdoor faucet to allow any remaining water to drain out. This clears the faucet and relieves any built-up pressure within the pipe.
Check for Residual Leaks
Before proceeding with the handle replacement, double-check to ensure that the water has completely stopped flowing. Inspect the area for any residual leaks or drips, as these could complicate the repair process. Confirming the shut-off will allow for a safe and efficient repair task.
How to Replace Handle on Outside Faucet: Removing the Old Faucet Handle
Step 1: Apply Penetrating Oil
If the old faucet handle appears rusted or stuck, begin by applying a penetrating oil to the screw and the base of the handle. This helps to loosen any built-up corrosion that may keep the handle in place. Allow the oil to sit for a few minutes so it can effectively penetrate and break down rust or debris.
Step 2: Unscrew the Handle
Using a screwdriver, carefully remove the central screw that secures the handle to the valve stem. Be sure to keep the screw in a safe place for later use, if necessary. If the handle does not come off easily, lightly tap it with a rubber mallet or use a pair of pliers to wiggle it loose gently. Be cautious during this process to avoid damaging the valve stem or breaking the handle.
Step 3: Inspect the Valve Stem
With the handle removed, examine the valve stem for any signs of corrosion, wear, or damage. Rust or debris on the valve stem can affect the performance of the new handle. Use a wire brush or a cloth to clean the valve stem thoroughly, removing any rust or residue. Ensuring the valve stem is clean and functional will make reattachment smoother and more effective.
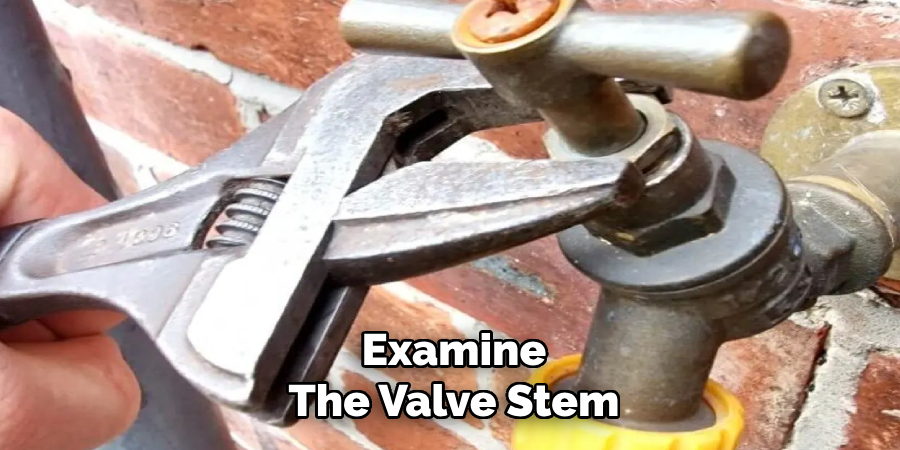
With the old handle removed and the area prepared, you are now ready to install the replacement faucet handle.
Installing the New Handle
Step 1: Match the Handle Type
Before installing the new handle, confirm that it matches the valve stem’s configuration. Most valve stems are designed with a specific spline pattern or D-shape to ensure a secure fit. Compare the grooves or fitting on the new handle to the valve stem to ensure compatibility. Using an incompatible handle can result in poor functionality or damage to the valve.
Step 2: Align and Attach the Handle
Once compatibility is confirmed, slide the new handle carefully onto the valve stem. Take your time to properly align the handle with the stem to avoid forcing it into place, which could lead to misalignment or damage. Using the screw that came with the replacement handle, secure it in position. Tighten the screw firmly to keep the handle in place, but take care not to overtighten. Overtightening may strip the threads or crack the new handle.
Step 3: Test for Smooth Operation
After attaching the new handle, test its operation to ensure it functions correctly. Rotate the handle to check that it opens and closes the valve smoothly without any resistance or looseness. If the handle feels unsteady or loose, revisit the screw fastening and check the alignment once more. Correcting these small adjustments will ensure the handle is securely installed and functions efficiently.
By following these steps, your replacement faucet handle should now be properly installed and ready for use.
Optional: Replacing the Stem Packing or Washer
Why Replace the Packing?
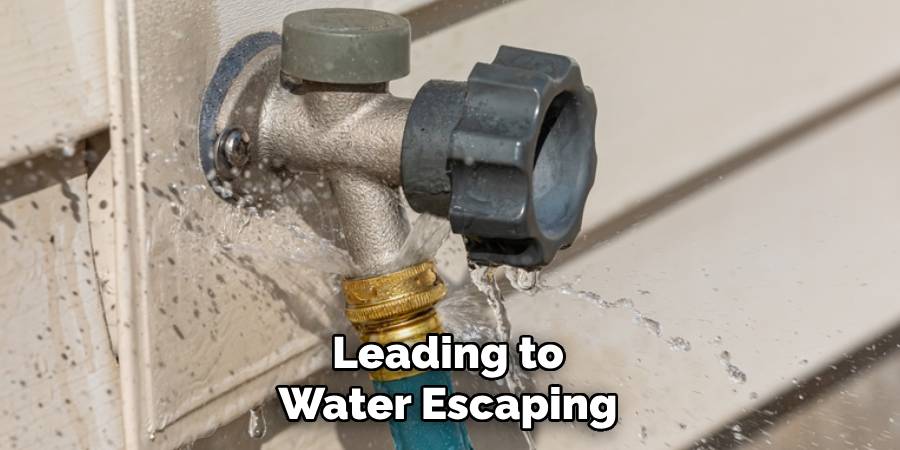
If your faucet is leaking, the issue may be due to worn stem packing or a deteriorated washer inside the stem. Over time, these components can degrade, leading to water escaping through the faucet even when it’s turned off. Replacing the packing or washer can restore your faucet’s functionality and prevent further water leaks.
Steps to Replace It
- Remove the Handle
Begin by removing the handle to access the internal parts of the faucet. Use a screwdriver to undo any screws securing the handle in place.
- Unscrew the Packing Nut
With the handle removed, locate the packing nut. Gently unscrew it using a pair of pliers to expose the faucet stem.
- Pull Out the Stem
Carefully pull out the stem to access the packing washer. Inspect it for signs of wear or damage.
- Replace the Packing Washer
Remove the old washer and replace it with a new one of the same size and type. Ensure the replacement washer is correctly seated.
- Reassemble the Faucet
Reinsert the stem, tighten the packing nut securely, and reattach the handle.
Test for Leaks After Reassembly
After completing the reassembly, slowly turn the water supply back on. Carefully check for any leaks around the stem and handle. If no leaks are present, the replacement was successful, and your faucet should now operate smoothly without issues.
Turn the Water Supply Back On and Test
Restore Water Flow
Slowly open the shut-off valve to allow water to flow back into the outdoor faucet. Gradually increasing the water pressure will help avoid any sudden surges, which could disturb the newly replaced components. Observe the faucet closely as the water starts flowing, keeping an eye out for any visible leaks around the handle or valve stem.
Operate the Faucet
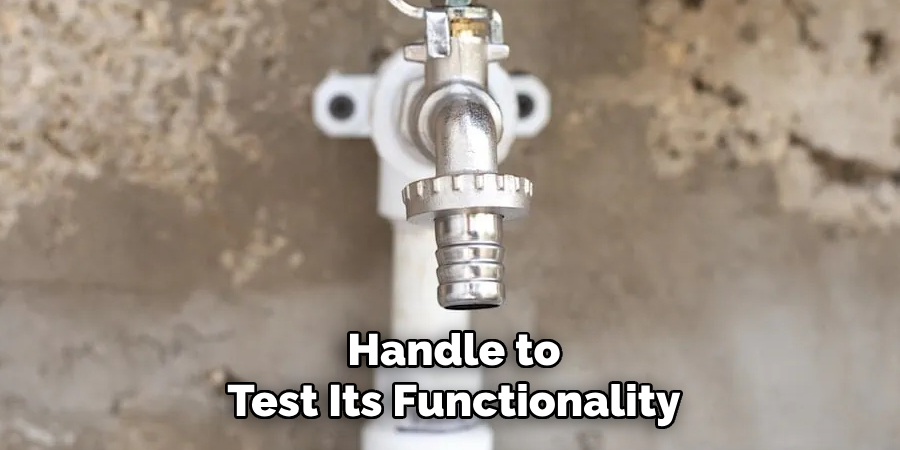
Turn the new handle to test its functionality. Please pay attention to how smoothly it operates and ensure that full water flow is restored without resistance. Check the newly repaired areas, such as the stem and handle, for any signs of water drips or leaks. If you notice any issues, turn off the water supply and adjust the connections.
Final Touches
Once you are confident there are no leaks and the faucet is operating correctly, tighten any loose connections that might have been overlooked during reassembly. Please clean up your tools and the workspace, neatly storing them for future repairs or maintenance tasks. With everything in place and functioning properly, your outdoor faucet is now ready for regular use.
Frequently Asked Questions
1. What Should I Do if My Outdoor Faucet Still Leaks After Installation?
If your outdoor faucet leaks after installation, double-check that all connections are properly tightened and the washers or O-rings are seated correctly. If the issue persists, it may require replacing a damaged component or seeking professional assistance.
2. How Can I Prevent My Outdoor Faucet From Freezing in the Winter?
Disconnect hoses and drain water from the faucet before temperatures drop to prevent freezing. Additionally, consider installing a frost-free outdoor faucet or using an insulated faucet cover for extra protection.
3. How Often Should I Check My Outdoor Faucet for Maintenance?
Inspecting your outdoor faucet seasonally is good practice, especially before and after winter. Look for any signs of wear, leaks, or rust, and address any issues promptly to ensure optimal performance.
Conclusion
Replacing an outdoor faucet handle is a quick and easy DIY fix that can restore full function to your outdoor water supply. By learning how to replace handle on outside faucet, you avoid unnecessary expenses and ensure your faucet remains in excellent condition.
Ensure you use the correct handle type and always follow safety steps, such as turning off the water supply beforehand. Regular maintenance, including inspections for leaks and corrosion, can significantly extend the lifespan of your faucet. You can confidently handle this straightforward repair yourself with just a few basic tools and a step-by-step approach.

