Replacing a hose bib, also known as an outdoor faucet, is a straightforward task that can save you from frustrating leaks and water waste. Over time, a hose bib may wear out or become damaged due to exposure to harsh weather conditions, leading to inefficiency or complete failure. With the right tools and a little guidance, you can replace a hose bib on your own without the need for professional assistance, ensuring your outdoor water system functions smoothly. Understanding how to replace hose bib can help in maintaining it properly and troubleshooting common issues that may arise over time.
When to Replace a Hose Bib
Knowing when to replace a hose bib is essential for avoiding potential water damage and ensuring efficient water flow. Signs that it may be time for a replacement include constant dripping, even when the faucet is turned off, or visible signs of rust and corrosion. Cracks in the hose bib or its components, often caused by freezing temperatures, can also render it unusable. Additionally,
if the handle becomes difficult to turn or fully open, it may indicate internal wear or damage. Regular inspections can help you identify these issues early on, saving you time and money in the long term. Replacing a hose bib at the right time can also help prevent leaks that could increase your water bill or damage surrounding structures.
Tools and Materials Needed for the Job
Before replacing a hose bib, it’s essential to gather all the necessary tools and materials to ensure a smooth and efficient process. Here’s a list of what you’ll need:
- Adjustable wrench – For loosening and tightening connections.
- Pipe wrench – To grip and turn pipes securely.
- Teflon tape (plumber’s tape) – To create a watertight seal on threaded connections.
- Pipe cutter or hacksaw – For cutting away damaged sections of pipe, if necessary.
- Replacement hose bib – Ensure it matches the size and type of the existing fitting.
- Bucket or towel – To catch any water remaining in the pipes.
- Sandpaper or wire brush – For cleaning pipe ends to ensure proper connections.
- Pipe sealant – Optional, for additional leak prevention.
- Screwdriver – If any mounting screws need to be adjusted or replaced.
By having these tools and materials ready beforehand, you can minimize disruptions and complete the job effectively.
10 Methods How to Replace Hose Bib
1. Turn Off the Water Supply to the Hose Bib
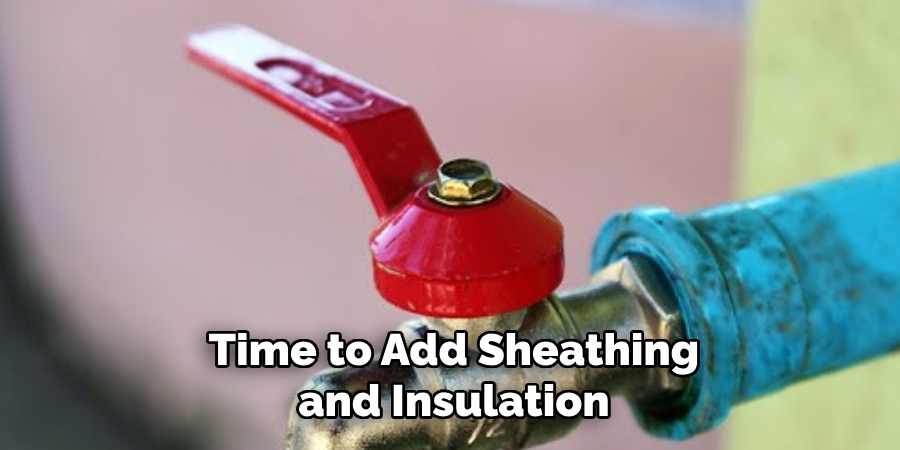
Before you begin any work on the hose bib, the most critical step is to turn off the water supply to the faucet. Typically, water to outdoor hose bibs is controlled by a shut-off valve located inside your home or in a basement, crawl space, or utility room. Locate this valve, and turn it clockwise to shut off the water. If your hose bib is connected directly to the main water line, make sure to turn off the main water supply. Once the water is off, open the hose bib to release any remaining water pressure, preventing any accidental spills during the replacement process.
2. Gather the Necessary Tools and Materials
Before beginning the replacement, ensure you have all the tools and materials you’ll need for the job. For this project, you’ll typically need a pipe wrench, adjustable pliers, a utility knife, Teflon tape, a new hose bib (choose the correct size and style for your existing plumbing), a bucket or towel to catch any water, and a hacksaw or pipe cutter (if the existing bib is hard to remove). Having all these items prepared beforehand will make the replacement process smoother and faster.
3. Remove the Old Hose Bib
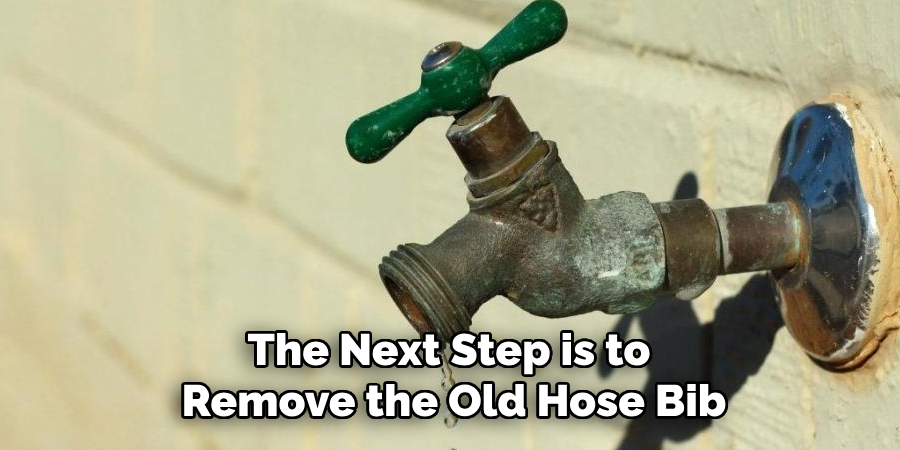
Once you’ve turned off the water and gathered your tools, the next step is to remove the old hose bib. Begin by using a pipe wrench or adjustable pliers to loosen and unscrew the existing faucet from the pipe. Depending on the type of installation, the hose bib might be screwed into the pipe directly or attached with a coupling. If the bib is difficult to remove, apply gentle heat with a heat gun to soften any stuck joints or corrosion. Be careful not to overheat the pipe, as this could cause damage. Once the hose bib is free, carefully remove it from the pipe, and allow any residual water to drain into a bucket or towel.
4. Inspect the Pipe for Damage or Corrosion
Before installing the new hose bib, carefully inspect the pipe for any signs of damage or corrosion. Look for cracks, leaks, or areas where the pipe may have deteriorated due to age or water exposure. If you notice any significant issues, it’s advisable to repair or replace the section of pipe before attaching the new bib. Use a pipe cutter to remove any damaged section of the pipe, and replace it with a new piece of piping. For minor corrosion, you can clean the pipe with a wire brush to ensure a smooth surface for the new bib to fit properly.
5. Prepare the New Hose Bib for Installation
Now that the old bib is removed and the pipe is inspected, prepare your new hose bib for installation. Make sure the threads of the new bib match the size and type of your existing pipe. If necessary, wrap Teflon tape around the threaded part of the pipe where the new hose bib will attach. Teflon tape creates a watertight seal and helps prevent leaks. Make sure to wrap the tape in a clockwise direction to avoid it unwinding during installation. Apply enough layers of tape to cover the threads but avoid over-wrapping, as this could prevent a secure fit.
6. Attach the New Hose Bib to the Pipe
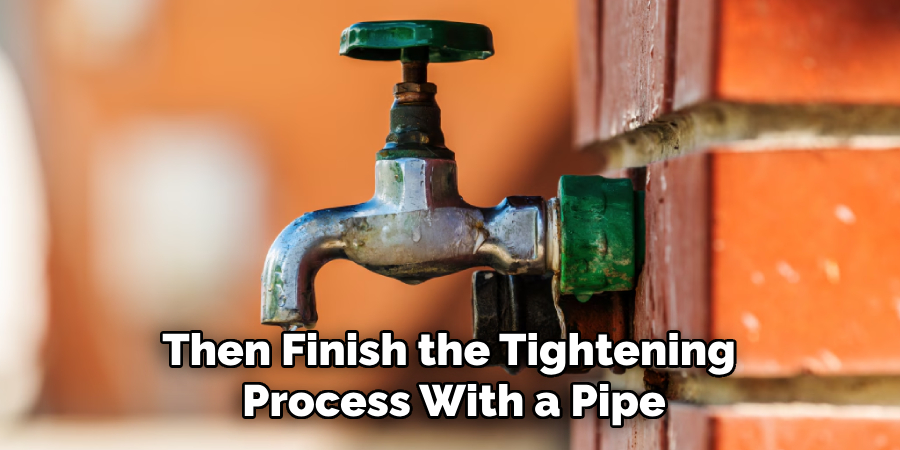
Once the new hose bib is prepared, align it with the threaded pipe and carefully screw it onto the pipe. Use your hands initially to tighten it into place, and then finish the tightening process with a pipe wrench or adjustable pliers. It’s important not to overtighten the faucet, as this could cause the threads to strip or the pipe to crack. The hose bib should be secure but not excessively tight. If you’re installing a frost-free model, make sure it extends sufficiently from the wall to prevent freezing during cold weather.
7. Check for Proper Alignment and Level
After the new hose bib is attached, step back and check the alignment and level of the faucet. It’s essential that the hose bib is installed in a straight and level position to ensure that hoses can be easily connected and that water flows freely without any leaks. If the bib appears to be misaligned, gently adjust it until it’s in the proper position. You can use a level tool to ensure accuracy, or simply use your eye to confirm it sits straight.
8. Turn On the Water Supply
Once you’re confident that the new hose bib is securely attached and properly aligned, it’s time to turn the water supply back on. If you turned off the main water supply, do so first, then gradually open the shut-off valve for the hose bib. Slowly allow the water to flow into the pipe and check for leaks around the new faucet. Open the new hose bib fully to ensure there’s a steady water flow. If you notice any leaks, turn off the water supply and carefully tighten the connection with your wrench. It’s important to test for leaks before you finish the installation.
9. Test the New Hose Bib
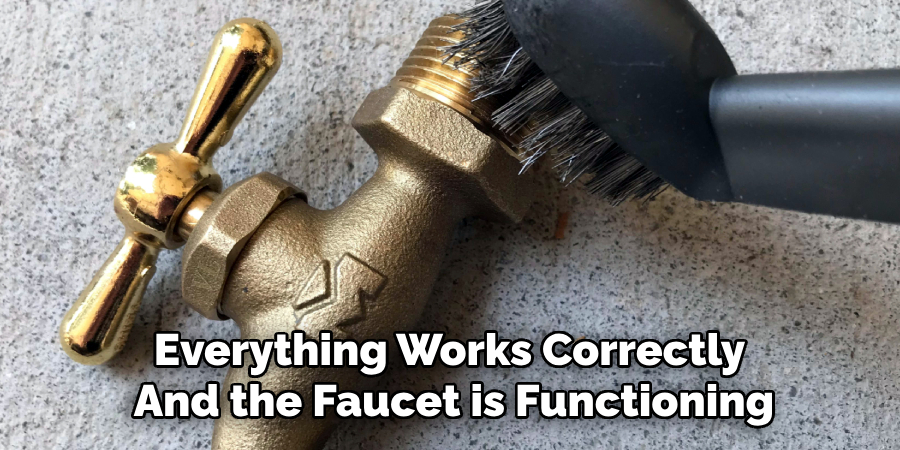
With the water supply back on and the connections checked for leaks, it’s time to test the functionality of the new hose bib. Attach a hose to the bib and turn the faucet on. Check for any weak water pressure, irregular flow, or leaks at the connection points. If everything works correctly and the faucet is functioning as expected, you’ve successfully installed the new hose bib. If you encounter issues with water pressure or flow, recheck all connections to ensure everything is properly tightened and that there are no obstructions in the pipe.
10. Clean Up and Final Checks
After confirming that the new hose bib is functioning properly, clean up the work area. Remove any tools, old parts, or debris from under the sink or around the installation site. Ensure that no water is left standing around the work area, as this could cause damage to cabinetry or flooring. Finally, test the faucet periodically over the next few days to ensure it continues to perform correctly and that no leaks develop.
Conclusion
Replacing a hose bib is a practical and rewarding DIY project that can save you time and money. By following these ten methods, you can efficiently remove the old faucet, install the new one, and ensure everything is functioning properly. Whether you’re replacing a damaged faucet or upgrading to a frost-free model, this simple home improvement task enhances your water management and helps prevent future problems. With a little care and the right tools, you’ll have a fully operational hose bib that serves you for years to come. So, there you have it – a quick and easy guide on how to replace hose bib.

