A functioning drain valve is crucial for properly maintaining and operating a hot water heater. Used to empty and flush the tank, the drain valve ensures sediment and debris do not accumulate, which can reduce efficiency and cause damage. Over time, these valves can wear out, leading to leaks or blockages which necessitate their replacement to maintain the system’s performance.
The purpose of this guide is to provide a comprehensive, step-by-step approach on how to replace hot water heater drain valve safely and efficiently. This ensures your water heater remains in optimal condition, extending its lifespan and maintaining its efficiency.
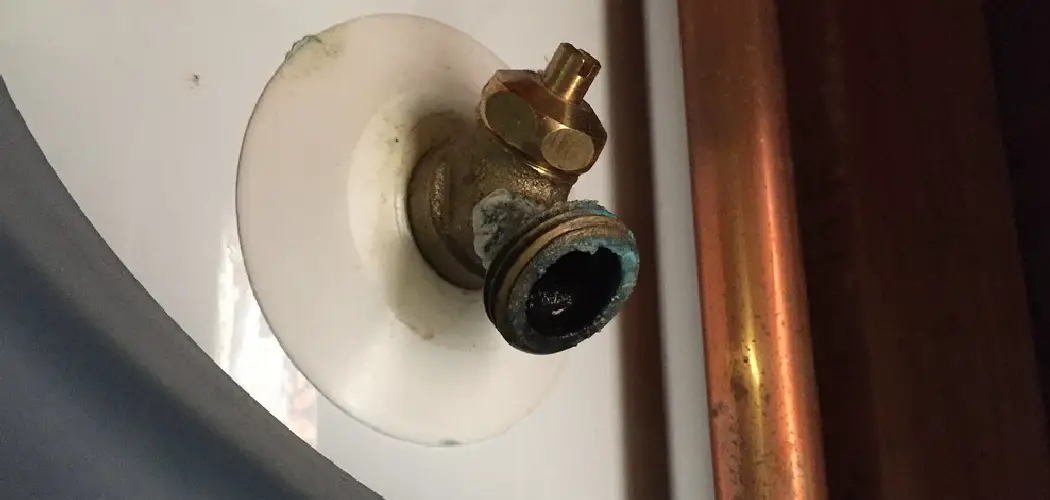
When working with water heaters, safety is paramount. Always turn off the power or gas supply before beginning any repair. Allow the water to cool down to avoid burns, and use appropriate safety gear such as gloves and safety goggles. Additionally, ensure you handle and dispose of drained water properly to prevent accidents and environmental harm.
Tools and Materials Needed
Tools Required:
- Adjustable Wrench: Essential for loosening and tightening the drain valve.
- Pipe Wrench: Useful for additional leverage and grip.
- Screwdriver: Needed for securing or loosening screw fittings.
- Teflon Tape: Ensures a tight, leak-free seal on threaded connections.
Materials Needed:
- Replacement Drain Valve (Brass or Plastic): Choose a high-quality valve suitable for your water heater model.
- Bucket or Hose for Draining Water: Aids efficiently drains water from the tank.
- Plumber’s Tape: Commonly known as Teflon tape, it is used to seal the new valve threads.
Safety Gear:
- Gloves: Protect your hands from heat and sharp edges.
- Safety Goggles: Prevent water or debris from causing eye injuries.
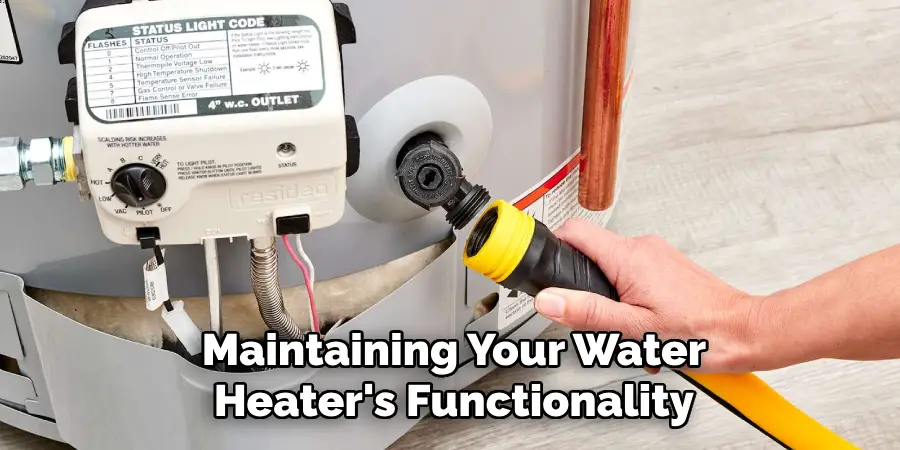
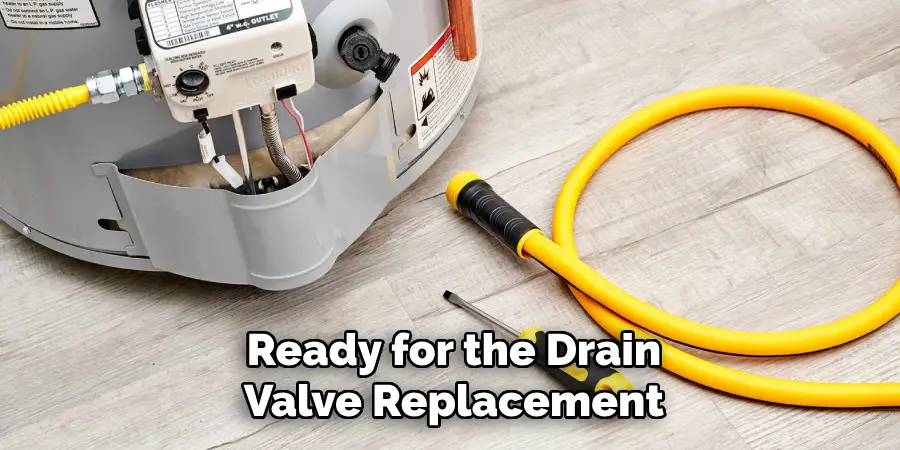
Having these tools, materials, and safety gear ready will ensure a smooth and safe process when replacing your hot water heater drain valve. Proper preparation is key to efficiently completing this maintenance task and maintaining your water heater’s functionality.
Preparing for Replacement
Turning Off the Water Heater:
- Electric Water Heater:
- Turn off the power at the circuit breaker. This is crucial to ensure no electrical current is running through the heater, preventing potential electrical shocks.
- Gas Water Heater:
- Turn the gas control knob to the “Off” position. This will cease gas flow to the heater, ensuring safety during the replacement process.
Shutting Off the Water Supply:
- Locate and turn off the cold water supply valve to the water heater. This step stops the flow of water into the tank, allowing you to fully drain the heater and replace the valve without any complications.
Draining the Water Heater:
- Connecting a Hose:
- Attach a hose to the existing drain valve. Ensure the other end of the hose is placed in a suitable drainage area, such as a floor drain or outside to prevent water damage inside your home.
- Opening the Drain Valve:
- Open the valve and let the water drain into a bucket or outside. If sufficient cooling time hasn’t been allowed, be cautious, as the water may still be hot.
- Opening a Hot Water Tap:
- Open a hot water tap nearby to allow air into the tank for easier draining. This will help the water flow out more smoothly and prevent a vacuum from forming inside the tank, thus speeding up the draining process.
By carefully following these preparatory steps, you can ensure that your hot water heater is safely and effectively drained and ready for the drain valve replacement. Proper preparation can make all the difference in achieving a smooth and hassle-free valve replacement process.
How to Replace Hot Water Heater Drain Valve: Removing the Old Drain Valve
Ensuring Complete Drainage:
- Verify Complete Drainage:
- Before removing the old drain valve, it’s essential to ensure that the water heater is completely drained. Double-check that the water has fully exited the tank through the hose or bucket setup in the previous step. Any remaining water could cause a spill and potentially lead to burns or water damage.
- Inspect for Residual Water:
- After the main drainage, inspect the opening of the drain valve to see if there is any small trickle of remaining water. Leaving the hose connected until no water is observed can be a useful technique to confirm complete drainage.
Loosening the Valve:
- Switch to an Adjustable Wrench:
- Switch to an adjustable wrench once you’re confident that the water heater is fully drained. This tool is essential for getting a good grip on the valve and ensuring you can loosen it effectively without causing damage. An adjustable wrench is particularly useful as it allows for a snug fit on the valve, minimizing the risk of stripping or damaging the valve head.
- Turn Counterclockwise:
- Position your adjustable wrench on the old drain valve and turn it counterclockwise. This direction is standard for loosening most threaded fittings. Apply steady and moderate pressure to avoid breaking the valve or damaging the surrounding components.
Removing the Valve:
- Continue to Loosen:
- Continue loosening the valve using steady, sustained force. If the valve is particularly tight or corroded, consider applying a small amount of penetrating oil around the threads and allow it to sit for a few minutes. This can help break down any rust or debris that may make turning the valve difficult.
- Carefully Remove the Valve:
- Once the valve is sufficiently loosened, carefully remove it by hand. During this step, ensure the threads on the water heater are not damaged. Having a clean reservoir is crucial for the installation of the new valve.
- Inspect the Threads:
- After removing the old valve, inspect the threads on the water heater’s drain opening. Ensure that they are clean and free from debris or corrosion. Clean the threads with a wire brush if necessary to prepare them for the new valve installation.
- Dispose of the Old Valve:
- Properly dispose of the old valve. Many local waste management facilities have specific guidelines for disposing of metal and plastic components, so check for the appropriate disposal method in your area.
How to Replace Hot Water Heater Drain Valve: Installing the New Drain Valve
Preparing the New Valve:
- Wrapping with Teflon Tape:
- Begin by wrapping the threads of the new drain valve with Teflon tape. This tape, also known as plumber’s tape, forms a better seal on the threads, helping to prevent leaks once the valve is installed. Wrap the tape around the threads clockwise, applying two to three layers. This ensures that the tape stays in place as you screw the valve into the drain opening.
Inserting the New Valve:
- Starting Installation by Hand:
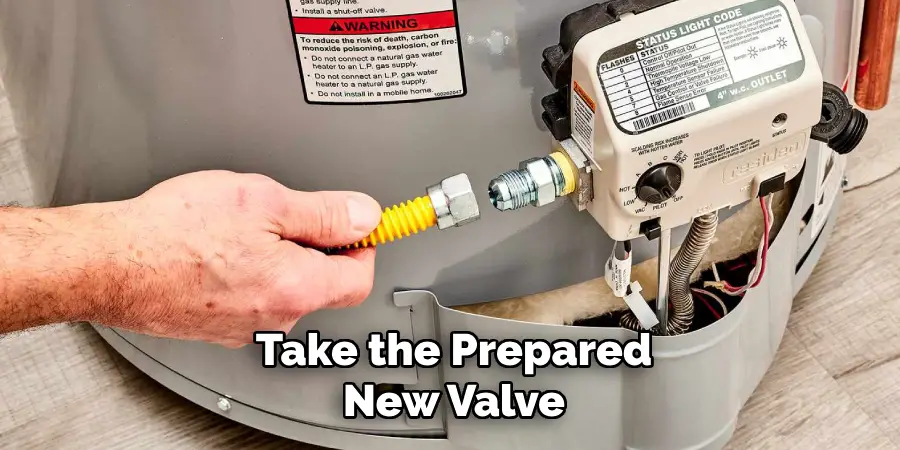
- Take the prepared new valve and carefully insert it into the water heater’s drain opening. Begin to screw the valve in by hand, turning it clockwise. Starting by hand helps ensure that the valve is threaded correctly and reduces the risk of cross-threading and damaging the threads on the valve or the water heater.
Tightening the Valve:
- Using an Adjustable Wrench:
- Once the valve is securely threaded by hand, switch to an adjustable wrench to complete the tightening process. Position the wrench on the valve and turn it clockwise to tighten. Be sure to apply moderate, steady pressure. While ensuring the valve is on firmly, avoid over-tightening, which could strip the threads or crack the valve.
Checking for Fit:
- Ensuring a Secure Fit:
- After tightening the valve with the wrench, take a moment to check the fit. The valve should sit snugly against the water heater without any wobbling. A properly fitted valve is critical to prevent potential leaks when the water heater is refilled.
- Inspecting for Leaks:
- Once you are confident that the valve is appropriately tightened and correctly fitted, the final step is to check for leaks. To do this, turn the cold water supply back on and allow the tank to begin refilling. As the tank fills, carefully inspect the new valve for any signs of water seeping out. If leaks are detected, use the adjustable wrench to gently tighten the valve further until the leaking stops. Make sure to test and observe carefully, ensuring that the seal is completely tight and leak-free.
By completing these steps with attention to detail, you will ensure that the new drain valve is securely installed and ready to handle the demands of your water heating system. Proper installation not only prevents leaks but also prolongs the life and efficiency of your water heater.
Refilling and Testing the Water Heater
Closing the Drain Valve:
- Ensure the New Drain Valve is Closed:
- Before starting the refill process, make sure the new drain valve is securely in the closed position. This step is crucial to prevent any water from escaping as the tank fills.
Turning On the Water Supply:
- Open the Cold Water Supply Valve:
- Locate the cold water supply valve and open it to begin filling the tank. Take your time to monitor the process, ensuring that the water flows steadily into the heater without any bursts or fluctuations.
Checking for Leaks:
- Inspecting the Valve Area:
- As the tank fills, carefully inspect the area around the new drain valve for any signs of leaks. Pay close attention to any drips, moisture, or pooling water that may indicate an incomplete seal or an improperly closed valve.
Restoring Power or Gas:
- Electric Water Heater:
- Once you are confident that there are no leaks, turn the power back on at the circuit breaker. Make sure all connections are secure before activating the heater to avoid any electrical hazards.
- Gas Water Heater:
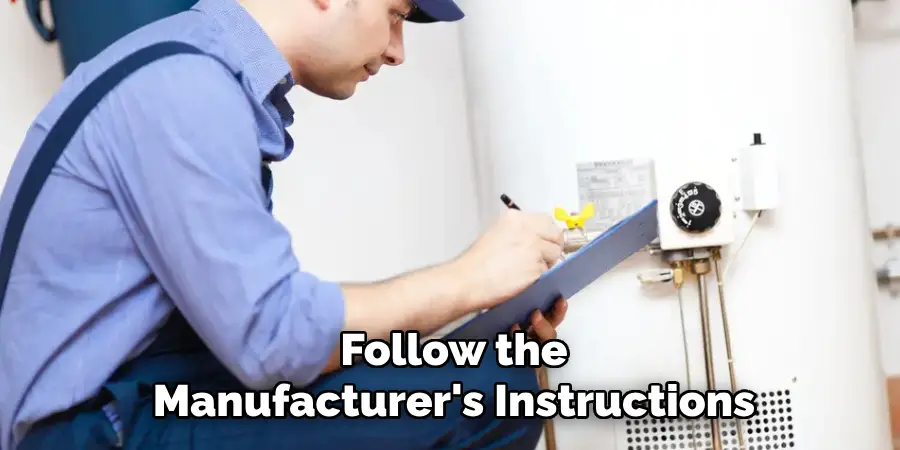
- For gas water heaters, follow the manufacturer’s instructions to relight the pilot. After the pilot is successfully lit, turn the gas control knob to your desired temperature setting. It’s advisable to set the temperature to a safe level, typically around 120°F (49°C), to avoid burns and conserve energy.
Final Leak Check:
- Complete Inspection:
- Once the tank is completely full and the water heater is operational, perform a final, thorough inspection for leaks around the new drain valve. Ensure that no water is seeping out and that the valve is securely fitted.
- Monitor for a Few Hours:
- While the heater warms up, monitor the valve area periodically over the next few hours. This helps to ensure that any slow leaks or potential issues are caught early. If any leaks are detected, gently tighten the valve using the adjustable wrench until the leaking stops completely.
By following these meticulous steps, you ensure that your water heater is refilled and tested efficiently, setting it up for reliable and long-lasting performance. Proper refilling and testing not only prevent potential water damage but also guarantee that your water heating system operates safely and effectively.
Troubleshooting Common Issues
Leakage at the Valve:
- Causes: Improperly sealed threads, damaged valves, or incorrect installation.
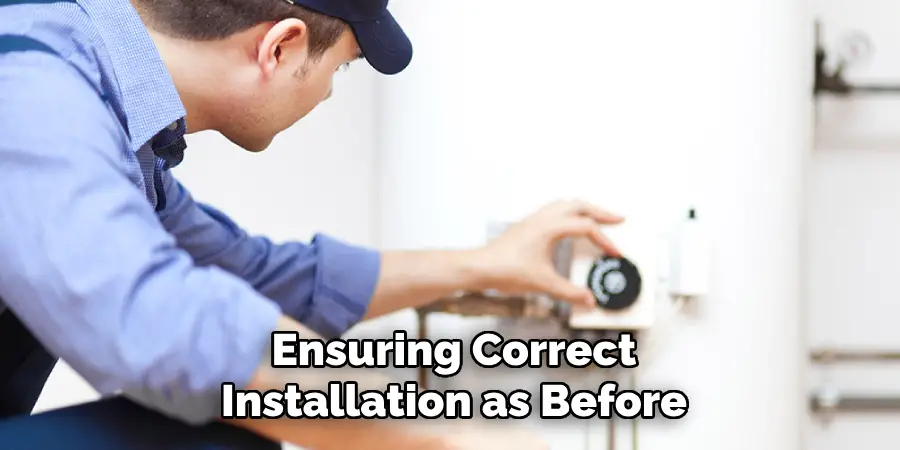
- Solutions: Begin by turning off the water supply to prevent further leakage. Carefully inspect the valve for any signs of improper threading or damage. If the threads were improperly sealed, drain the tank below the valve level, then remove the valve. Reapply Teflon tape to the threads, wrapping clockwise to ensure a snug fit. Reinsert the valve and tighten it as recommended. If the valve itself appears damaged or leaks persist after resealing and retightening, consider replacing the valve with a new one, ensuring correct installation as before.
Water Flow Issues:
- Causes: Blockage in the valve or improper opening.
- Solutions: First, make sure the valve is fully opened. If water flow remains obstructed, close the valve and turn off the water supply to examine the valve for blockages. Open the valve and check for any debris or sediment trapped inside. Use a small brush or other appropriate tool to clear any obstructions gently. Once cleared, close the valve, restore the water supply, and reopen the valve to ensure smooth water flow. If flow problems persist, consider inspecting and cleaning the inlet filters of the water heater as well.
Unusual Noises:
- Causes: Air trapped in the tank or pipes.
- Solutions: Unusual noises, such as banging or gurgling, often result from air pockets within the tank or plumbing system. To address this, start by turning off the water heater and opening several hot water taps located at the highest points in your home. Allow the water to run until the flow is steady and free of air bubbles. This process helps to bleed the air from the system, restoring normal functioning and eradicating the noises. If the noises persist, you might need to repeat the process or check for other underlying issues such as lime scale buildup within the tank.
By addressing these common issues with careful troubleshooting and following the provided solutions, you can maintain your water heating system’s optimal performance and longevity. Proper maintenance and prompt attention to problems ensure a reliable and efficient operation.
Maintenance Tips
Regular Inspections:
- Schedule Periodic Checks:
- To maintain the efficiency of your water heater, it’s crucial to schedule regular inspections of the drain valve. Look for any signs of wear, corrosion, or leakage, indicating that the valve may need maintenance or replacement. Early detection of issues helps prevent more significant problems down the line.
Flushing the Tank:
- Annual Flushing:
- Flushing the water heater tank annually is an essential maintenance step. Sediment buildup can accumulate at the bottom of the tank over time, reducing the heater’s efficiency and potentially clogging the drain valve. By flushing the tank yearly, you can remove these sediments, enhance heating efficiency, and extend the lifespan of both the tank and the drain valve.
Using Quality Parts:
- High-Quality Components:
- Always opt for high-quality replacement parts, including drain valves and Teflon tape, when performing maintenance or repairs. Quality components ensure a proper seal and reliable function, reducing the likelihood of leaks and extending the service life of your water heater. Investing in durable parts minimizes the frequency of replacements and maintains the system’s overall performance.
By incorporating these maintenance tips into your routine, you can ensure that your water heating system remains in optimal condition. Regular inspections, annual tank flushing, and the use of high-quality parts are proactive measures that contribute to the long-term efficiency and reliability of your water heater. Consistent maintenance not only enhances performance but also helps in avoiding unexpected breakdowns and costly repairs.
Safety Considerations
Handling Hot Water:
- Cooling Time:
- To avoid burns, always ensure the water has cooled before attempting to drain the heater. It’s essential to let the water heater sit for a significant amount of time after turning it off before beginning any maintenance involving hot water draining.
- Protective Gear:
- Wear appropriate protective gear, such as heat-resistant gloves, when working with hot water to protect your hands from potential burns. Use caution and avoid splashing when dealing with hot water.
Proper Disposal of Water:
- Environmental Safety:
- Drained water, especially if it contains sediment or debris, should be safely disposed of. Avoid releasing it into areas where it could cause environmental harm or clog drainage systems.
- Debris Handling:
- Use a strainer or filter to separate any sediment from the water before disposal to prevent blockages. Dispose of the sediment in accordance with local waste regulations.
Working with Gas Heaters:
- Gas Precautions:
- To avoid accidents, take extra precautions when relighting the pilot and handling gas controls. Ensure that the area is well-ventilated and free from open flames or sparks.
- Gas Leaks:
- Before attempting to relight the pilot, check for gas leaks using a mixture of soap and water. Apply the mixture to the gas connections and look for bubbles, which indicate a leak. If a leak is detected, immediately shut off the gas supply and call a professional technician.
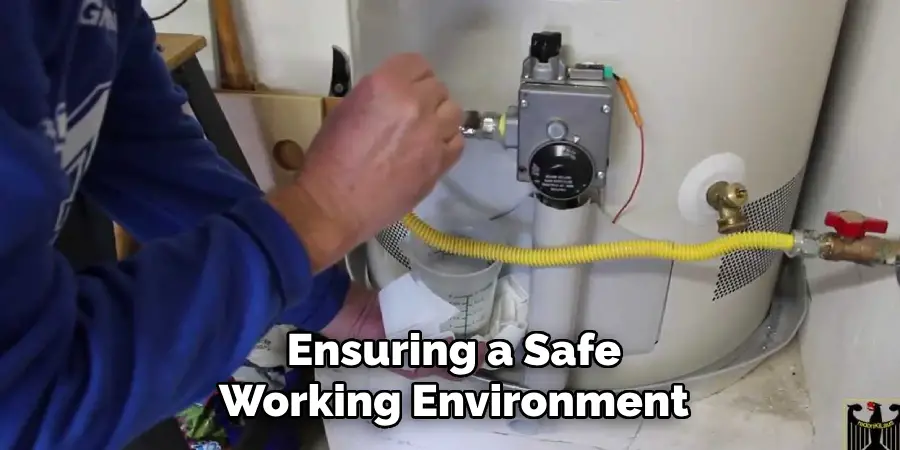
Adhering to these safety considerations can help you perform water heater maintenance with confidence, significantly reducing the risk of accidents and ensuring a safe working environment.
Conclusion
Replacing a hot water heater drain valve involves several crucial steps: first, turn off the power and water supply to the heater. Next, attach a hose to the drain valve and direct it to a safe drainage area. Open the valve to drain the tank, then remove the old valve using a wrench. Install the new valve by applying Teflon tape to the threads and securing it tightly. Finally, restore the water supply, check for leaks, and turn the power back on.
Maintaining a functional drain valve enhances your water heater’s efficiency by preventing sediment buildup and ensuring smoother maintenance procedures. A well-maintained valve also reduces the risk of leaks and water damage.
We encourage you to undertake this simple yet important maintenance task. Knowing how to replace hot water heater drain valve can significantly extend the life of your heater, ensuring reliable and efficient operation for years to come.

