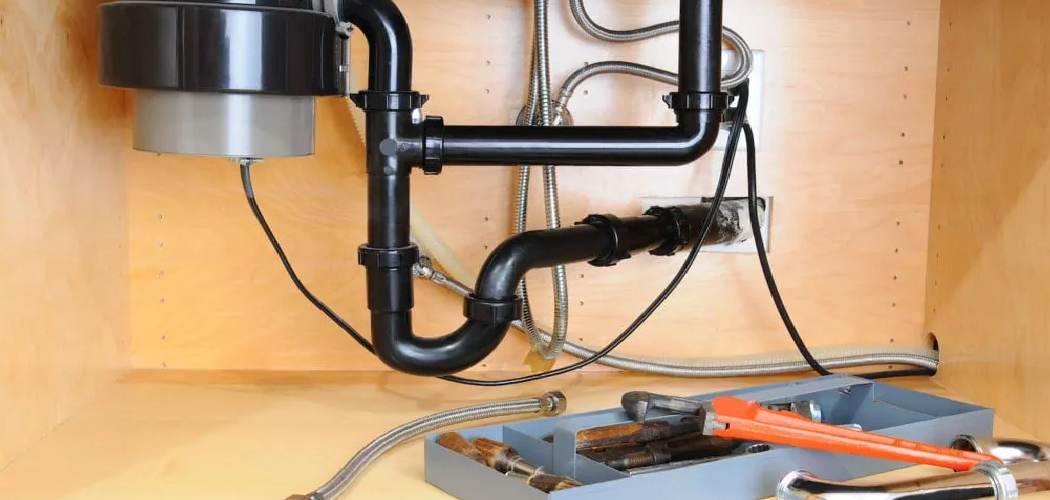
Replacing a Kohler bathtub faucet is a manageable DIY project that can significantly improve both the functionality and aesthetic appeal of your bathroom. Whether your current faucet is outdated, leaking, or no longer working correctly, installing a new one can improve water flow, reduce potential leaks, and give your tub area a fresh, modern look.
This project is ideal for homeowners who want to make minor upgrades without extensive remodeling. The purpose of this article is to provide a clear, step-by-step guide on how to replace Kohler bathtub faucet efficiently. We’ll cover everything from preparation to installation and share essential troubleshooting tips to ensure the process goes smoothly. With the right tools and a bit of patience, you can achieve a professional look while maintaining your bathtub’s optimal performance.
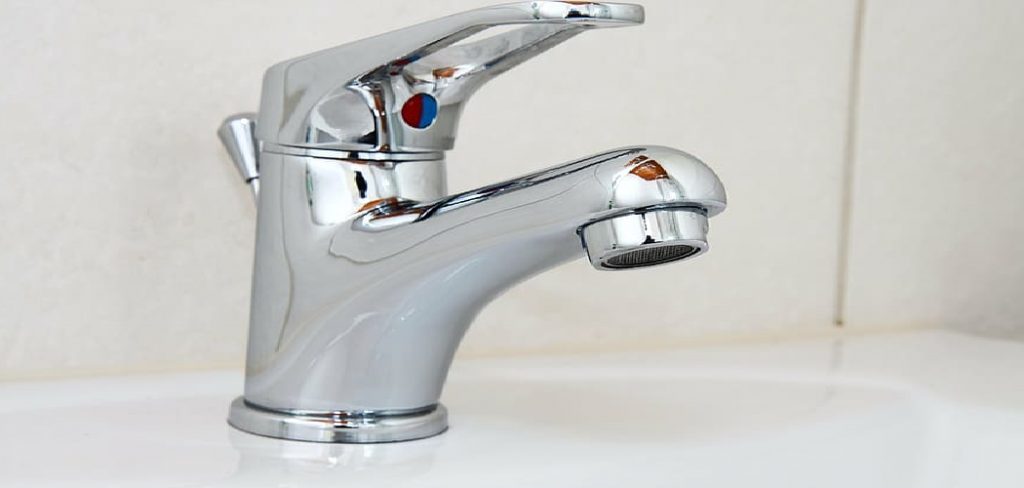
Materials and Tools Needed
Required Materials
- New Kohler bathtub faucet kit (ensure compatibility with your tub’s configuration).
- Replacement rubber washers and seals (if needed).
- Plumber’s tape or Teflon tape for secure fittings.
- Replacement handles (if necessary).
- Replacement faucet cartridge (if applicable).
Tools You’ll Need
- Adjustable wrench or pipe wrench for loosening and tightening connections.
- Flathead and Phillips screwdrivers for removing screws.
- Allen wrench (if applicable) for set screws on the faucet handles.
- Bucket or towels to catch any water drips and prevent messes.
- Pliers for disconnecting tight water lines.
- Utility knife or scissors for cutting plumber’s tape or seals as needed.
Having all the required materials and tools ready beforehand will save time and help the replacement process go smoothly. Double-check that each item is in good condition and appropriate for your specific faucet model to avoid any complications during installation.
Shutting Off Water Supply
Step 1: Locate the Shut-Off Valves
Identify the location of the water shut-off valves for both the hot and cold water supply lines. These valves are typically located under the sink in the cabinet space. Alternatively, they may be behind an access panel near the bathtub. If you cannot locate the individual shut-off valves, you may need to turn off the main water supply for your home.
Step 2: Turn Off the Water
Once you’ve located the shut-off valves, ensure that both the hot and cold water valves are completely turned off. This is usually done by rotating the valves clockwise until they stop. Take care to avoid forcing the valve if it feels stuck; this can prevent potential damage.
Step 3: Open the Faucet
To relieve water pressure and ensure no residual water remains, open the bathtub faucet. Allow any remaining water in the supply lines to drain out fully. This step provides a safer and cleaner working environment as you proceed with the faucet replacement process.
How to Replace Kohler Bathtub Faucet: Removing the Old Faucet
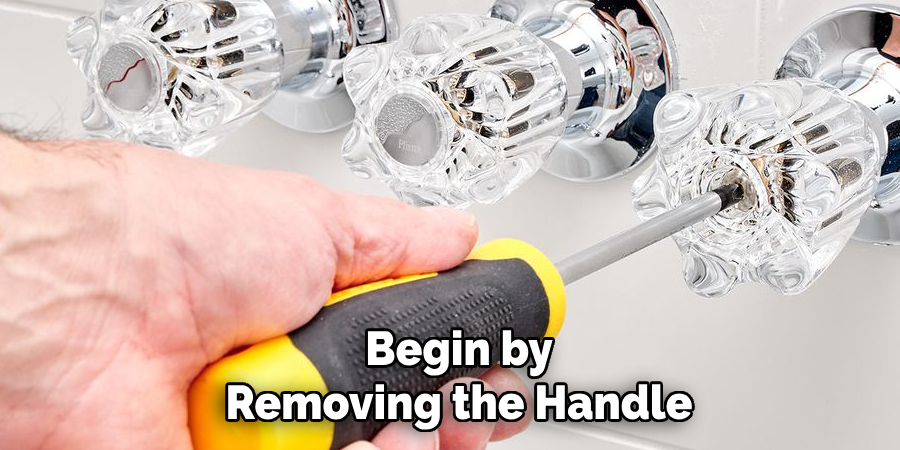
Step 1: Detach the Handle
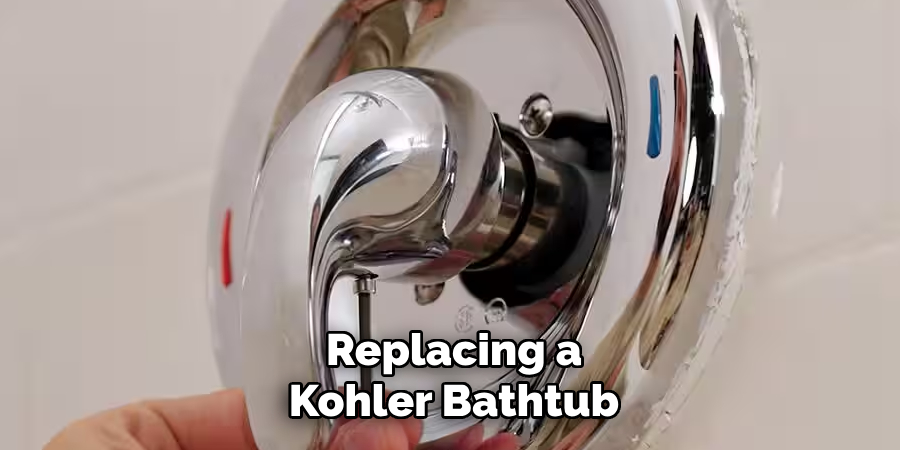
Begin by removing the handle(s) of the old faucet. Use an Allen wrench or a screwdriver, depending on the type of handle you have. Check for any set screws on the base or side of the handle that may need to be loosened. Once identified, carefully unscrew or loosen these screws to detach the handle. Set the handle aside in a safe location to avoid misplacing it or causing any damage.
Step 2: Unscrew the Faucet Escutcheon Plate
Next, remove the escutcheon plate, the decorative trim surrounding the faucet. Using a screwdriver or an adjustable wrench, unscrew the screws that hold the escutcheon in place. For faucets with adhesive or caulk securing the plate to the wall or tub, use a utility knife to cut through the bonding material carefully. Once loose, gently pull the escutcheon plate away from the surface and set it aside.
Step 3: Disconnect Water Supply Lines
Use a pipe wrench or pliers to disconnect the water supply lines attached to the faucet. These lines are usually connected to the hot and cold water valves. Before proceeding, place a bucket or towels underneath to catch any residual water that may drip out. Carefully loosen the connections until the supply lines are completely detached.
Step 4: Remove the Faucet Assembly
Finally, unscrew and remove the old faucet assembly from the wall or tub surface. Some faucet assemblies may be threaded, while others may be fastened with bolts or clips. If the faucet is stuck, tap it gently with a rubber mallet to loosen it. Once the assembly is freed, lift it away and discard or set aside for recycling, leaving the space ready for the new faucet installation.
Preparing the New Faucet
Step 1: Inspect the New Faucet
Open the packaging and inspect the new Kohler faucet for any missing parts. Carefully check that all components, such as washers, seals, and hardware, are present and in good condition. Reviewing the included instruction manual is also essential to familiarize yourself with the assembly and installation steps before beginning. If parts are found to be missing or defective, contact the manufacturer or retailer for replacements before proceeding.

Step 2: Apply Plumber’s Tape to Water Line Threads
Wrap plumber’s tape, also known as Teflon tape, around the threads of the water supply lines. Use two to three layers of tape, ensuring it wraps smoothly and securely in the direction of the threads. This step helps create a watertight seal and reduces the risk of leaks after the connections are tightened. Be sure not to overwrap the threads, as this may make it difficult to attach the lines properly.
Step 3: Prepare the Mounting Area
Thoroughly clean the mounting surface to ensure the new faucet can be installed securely. Remove any old debris, adhesive residue, or sealing compounds using a scraper or cleaning solvent as needed. Smooth out any uneven surfaces or imperfections, as a flat, clean area is crucial for a proper seal. Finish by wiping the area dry with a clean cloth, ensuring it is ready for the new faucet installation.
Installing the New Faucet
Step 1: Attach the Faucet Assembly
Position the new faucet in place and align it with the mounting holes. Carefully insert it into the designated openings, ensuring it sits flush against the prepared surface. Secure the faucet using the mounting hardware provided in the faucet kit. This typically involves threading screws or bolts through the mounting plate underneath the sink and tightening them securely. Be mindful not to overtighten the screws, as this could damage the faucet or create stress on the mounting area.
Step 2: Reconnect the Water Supply Lines
Next, reconnect the hot and cold water supply lines to the faucet’s corresponding inlets. Start by threading each water line by hand to avoid cross-threading, then tighten the connections using a pipe wrench or pliers. It is essential to strike a balance while tightening—firm enough to prevent leaks, but not so tight that the threads or fittings are damaged. Double-check the connections to ensure they are properly aligned and leak-free when connected.
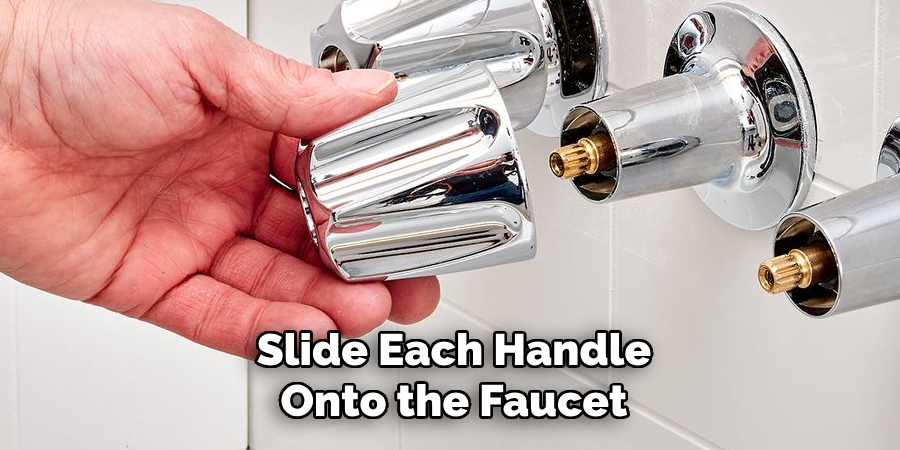
Step 3: Install the Handle(s)
Finally, reattach the faucet handle(s). Slide each handle onto the faucet stem, ensuring proper alignment, and secure them in place with the appropriate fasteners, such as screws or Allen bolts, provided with the faucet kit. Use a screwdriver or Allen wrench to tighten the handles firmly, but avoid excessive force. After installation, test the handle movements to confirm they operate smoothly with no wobbling or resistance. With the handles in place, your faucet installation is complete.
Testing the New Faucet
Step 1: Turn on the Water Supply
Slowly turn on the water supply valves for both hot and cold water. Be cautious while doing so to prevent pressure surges that could affect the connections. Gradually open the faucet to allow water to flow through freely, ensuring there are no blockages or interruptions in the flow.
Step 2: Check for Leaks
Carefully inspect all connections, including the supply lines and the base of the faucet, for any signs of leaking. If you notice any drips or moisture, use a wrench or tightening tool to secure the connections slightly. Be careful not to overtighten, as this could damage the fittings or seals. Continue monitoring momentarily to ensure the leaks are resolved.
Step 3: Test the Faucet
Run both hot and cold water through the faucet, alternating between the handles to verify their functionality. Confirm that the handles turn smoothly and without resistance. Check if the water temperature adjusts correctly when transitioning from cold to hot. Additionally, ensure that the faucet’s flow rate is steady and consistent. After completing these steps, your faucet installation and testing are successfully finalized.
Finishing Touches and Clean-Up
Step 1: Replace the Escutcheon Plate
If you removed an escutcheon plate during the installation process, now is the time to reinstall it. Carefully align the plate with the mounting holes, ensuring it fits snugly against the surface. Secure it tightly using the appropriate screws or hardware provided. Double-check that the plate is firmly in place to maintain a seamless, polished look.
Step 2: Clean the Area
Once the installation is complete, take a moment to tidy up the workspace. Use a soft, damp cloth to wipe down the faucet, removing fingerprints, smudges, and water spots that may have been left behind. Pay attention to the surrounding countertop or sink area to ensure no debris or residue remains from the process. A clean finish not only enhances the appearance but also ensures long-lasting performance.
Step 3: Dispose of Old Parts
Properly dispose of any old faucet components, used packaging materials, or broken parts. If possible, recycle materials like metal or plastic to minimize environmental impact. Use a trash bag or designated recycling bin for safe and responsible disposal. Tidying up ensures a clean and organized space, leaving your installation project fully complete.
Conclusion
Replacing a Kohler bathtub faucet is a straightforward process if you approach it methodically. Start by shutting off the water supply to prevent any leaks or accidents. Carefully remove the old faucet and ensure the area is clean before installing the new one. Once installed, test for leaks to confirm everything is functioning properly. Always double-check the compatibility of the new faucet with your bathtub before beginning the project to avoid complications. If you encounter any difficulties or uncertainty regarding how to replace Kohler bathtub faucet, refer to the Kohler user manual or seek the assistance of a professional plumber.

