Replacing O-rings on a single-lever kitchen faucet is an essential maintenance task that can help fix leaks and ensure the smooth operation of your faucet. Over time, O-rings can wear out or become damaged, leading to water leaks around the base of the faucet handle.
This guide on how to replace o-rings on single lever kitchen faucet will walk you through the necessary steps to replace the O-rings, restoring your faucet to its optimal condition. Whether you’re a seasoned DIY enthusiast or a beginner, this straightforward process will save you time and money by avoiding the need for professional plumbing services.
What is an O-ring?
Before we jump into the replacement process, let’s first understand what an O-ring is and why it is essential for your faucet. An O-ring is a small rubber ring that creates a seal between two surfaces to prevent leaks. In single-lever faucets, there are usually two O-rings – one on the upper portion of the cartridge and another on the lower portion.
You may be wondering, “Why do O-rings wear out?” The answer lies in their constant exposure to water and other harsh chemicals found in household cleaning products. Over time, this can cause the rubber material to deteriorate, leading to leaks.
Tools and Materials Needed
To replace the O-rings on your single-lever kitchen faucet, you will need the following tools and materials:
Adjustable Wrench
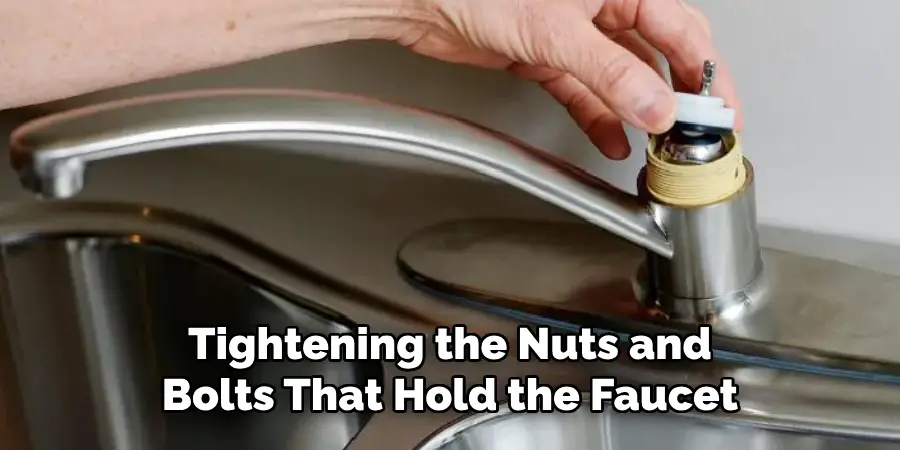
An adjustable wrench is essential for loosening and tightening the nuts and bolts that hold the faucet components in place. Its adjustable nature allows it to fit various sizes of fittings, making it a versatile tool for this task. Ensure the wrench is properly adjusted to avoid damaging the faucet parts during the replacement process. Additionally, having a cloth or rag handy can help prevent scratches on the faucet’s surface when using the wrench.
Replacement O-rings
Make sure to purchase replacement O-rings that are compatible with your faucet model. You can find this information in the user manual or by contacting the manufacturer. It’s always a good idea to have some spare O-rings on hand for future replacements.
Screwdriver
A screwdriver will come in handy when removing any screws holding the faucet handle or cartridge in place. Make sure to use the correct type and size of screwdriver for your specific faucet model.
White Vinegar
White vinegar is an excellent natural cleaner that can help remove any buildup or residue on the faucet components. Use it to clean the cartridge before installing the new O-rings, ensuring a tight seal and preventing leaks.

10 Step-by-step Guidelines on How to Replace O-rings on Single Lever Kitchen Faucet:
Step 1: Shut off the Water Supply
Before you begin the process of replacing the O-rings, it’s crucial to shut off the water supply to your kitchen faucet. Locate the water shut-off valves under the sink; these are typically found on the pipes leading to the faucet. Turn the valves clockwise to close them and stop the flow of water. To ensure that the water is completely off, turn on the faucet to release any remaining water in the pipes. This step is essential to prevent any water from accidentally spilling or spraying during the replacement process.
Step 2: Remove the Faucet Handle
Using a screwdriver, remove any screws that hold the faucet handle in place. Depending on your faucet model, these may be located at the top or bottom of the handle. Remember to keep these screws in a safe place to avoid losing them. You can also cover the drain with a cloth or plug to prevent any small parts from falling into it. It’s also a good idea to take a photo of the faucet handle before removing it so you have a reference for reassembly.
Step 3: Remove the Cartridge
Once the handle is removed, you will see the cartridge that controls the flow and temperature of water. Use an adjustable wrench to loosen and remove any nuts or bolts holding the cartridge in place. Keep track of their placement as they may be different sizes. Lift the cartridge out carefully, making sure not to damage any other components. But, if the cartridge is stuck, you can use pliers to gently pull it out.
Step 4: Inspect and Clean the Cartridge
Take a close look at the cartridge and O-rings for any signs of wear or damage. If they are visibly worn out or torn, it’s time to replace them. Before installing new O-rings, make sure to clean the surface of the cartridge with white vinegar and a cloth to remove any buildup or residue. Although this step may seem small, it’s essential to ensure a tight seal and prevent leaks. You can also clean the inside of the faucet handle at this time.
Step 5: Remove Old O-rings and Install New Ones
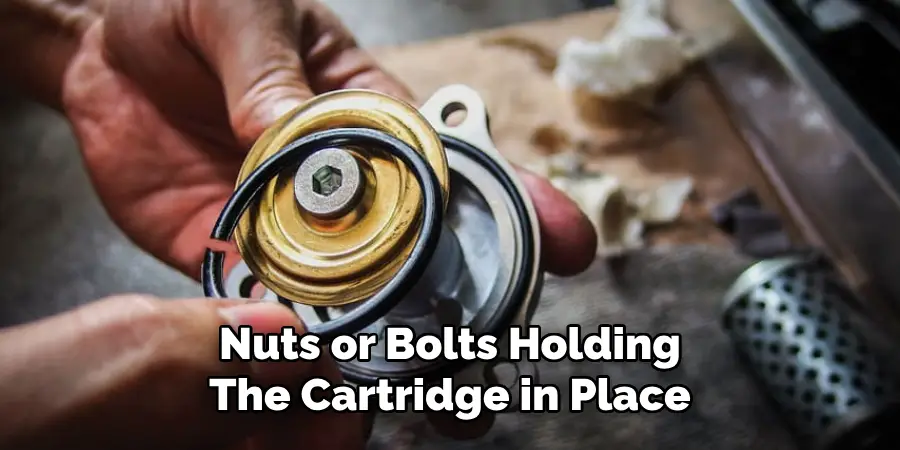
Carefully remove the old O-rings from both the upper and lower portion of the cartridge using your fingers or a flathead screwdriver. Then, slide the new O-rings into place on both sides. Make sure that they sit evenly and securely in their grooves. It’s also a good idea to add a small amount of plumber’s grease on the O-rings for smooth operation and to help prolong their lifespan.
Step 6: Reinstall the Cartridge
Gently place the cartridge back into its original position, making sure it is aligned correctly with the water supply lines. Use an adjustable wrench to tighten any nuts or bolts that hold it in place. Be careful not to overtighten as this can damage the new O-rings and cause leaks. But make sure they are secure enough to prevent any movement of the cartridge. The cartridge should move smoothly without any resistance.
Step 7: Reattach the Faucet Handle
Carefully reattach the faucet handle and tighten any screws that hold it in place. Once again, make sure not to overtighten as this can cause damage to the handle or cartridge. The handle should move smoothly without any resistance. You can also turn the water supply back on and test the faucet at this point to ensure there are no leaks.
Step 8: Replace any Other Components
As you reassemble the faucet, take the time to inspect any other components for signs of wear or damage. If you notice any worn-out parts, such as washers or seals, now is an excellent opportunity to replace them. This preventive measure ensures the longevity of your repair and helps maintain the overall functionality of your faucet. When reinstalling these components, make sure they are properly aligned and securely in place. Additionally, clean any buildup or residue from these parts with white vinegar before reassembly to ensure optimal performance. Once all components have been replaced and cleaned, proceed to reattach them carefully to avoid any potential leaks.
Step 9: Turn on the Water Supply
Once everything is reassembled, turn the water supply back on by turning the shut-off valves counterclockwise. Again, it’s essential to check for any leaks before using the faucet. If there are no signs of leaks, you can move on to testing the functionality of your kitchen faucet. Turn on both hot and cold water and adjust the temperature to ensure smooth operation without any dripping or leaking. Congratulations! You have successfully replaced your O-rings and restored the function of your single-lever kitchen faucet.
Step 10: Proper Maintenance
To prolong the life of your newly replaced O-rings, it’s crucial to perform regular maintenance on your kitchen faucet. This includes cleaning any buildup or residue on the faucet components and checking for any signs of wear or damage. If you notice any issues, address them promptly to prevent further damage and costly repairs in the future. With proper maintenance on how to replace o-rings on single lever kitchen faucet, your kitchen faucet will continue to function efficiently for years to come.
Troubleshooting Tips
Even with careful attention to detail during the installation process, you might encounter some issues. Here are some common troubleshooting tips to help ensure your kitchen faucet functions properly:
Leaks Around the Base of the Faucet:
If you notice water leaking around the base after reassembling the faucet, it is likely that the new O-rings are not seated properly or the nuts and bolts are not securely tightened. Carefully reposition the O-rings or tighten the nuts and bolts as needed to eliminate the leak.
Difficult to Turn On or Off:
If you experience any difficulty turning your faucet on or off after replacement, it may be due to the overtightening of the handle or cartridge. Loosen any screws that hold these components in place and adjust them until they move smoothly without resistance.
Uneven Water Flow:
If you notice uneven water flow from your kitchen faucet, it could be due to a clogged aerator. Remove the aerator and clean it with white vinegar before reinstalling it. If this does not resolve the issue, there may be other blockages within the faucet that require further cleaning.
Maintenance Tips to Extend O-Ring Lifespan
- Regularly clean the faucet and its components with white vinegar to prevent buildup and residue.
- Inspect O-rings for signs of wear or damage and replace them as needed.
- Avoid using harsh chemicals, such as bleach or abrasive cleaners, on your kitchen faucet to prevent any potential damage to O-rings or other components.
- Keep spare O-rings on hand for quick replacements in case of emergencies.
- Follow all manufacturer’s instructions for installation and proper use of your kitchen faucet.
- Consider investing in a water filtration system to prevent sediment and other debris from damaging your faucet’s components.
By following these tips, you can extend the lifespan of your O-rings and maintain the functionality of your kitchen faucet for years to come. Happy repairing!
Common Mistakes to Avoid
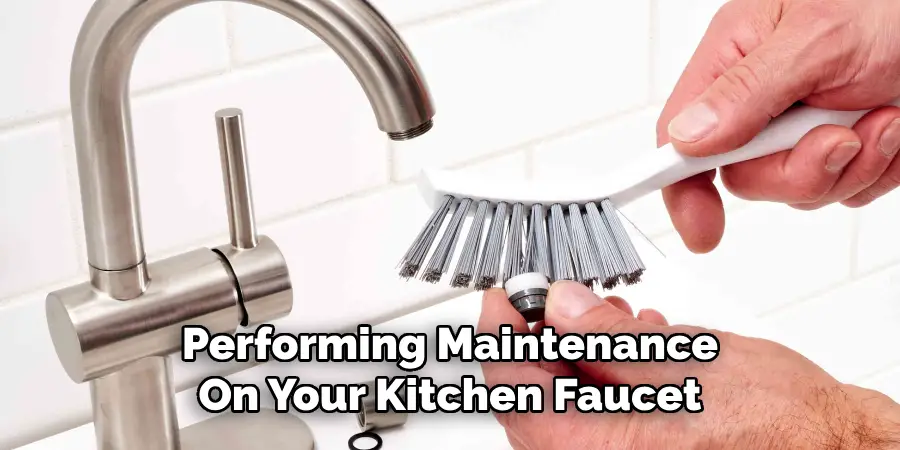
When replacing O-rings and performing maintenance on your kitchen faucet, it’s crucial to avoid common pitfalls that can lead to further complications or ineffective repairs. Here are some of the most frequent mistakes and how to avoid them:
Using the Wrong Size O-Rings
One of the most common mistakes is using O-rings that do not fit properly. Always check your faucet’s specifications and ensure you purchase the correct size. Using the wrong size can lead to leaks and reduced longevity of the repair.
Overtightening Components
While it’s important to ensure all parts are securely fastened, overtightening nuts, bolts, or screws can cause damage to the O-rings and other components. This can make the faucet difficult to operate and lead to leaks. Tighten components just enough to ensure they are secure without applying excessive force.
Skipping the Lubrication
Neglecting to apply plumber’s grease on the O-rings can make them wear out faster and may cause the faucet to operate less smoothly. Always apply a small amount of grease to the O-rings to keep them functioning optimally.
Ignoring Component Alignment
Incorrectly aligning the cartridge or other faucet components can lead to poor performance and leaks. Ensure all parts are properly aligned during reassembly. Taking the time to double-check alignment will save you from potential issues down the line.
Failing to Clean Components
Not cleaning the faucet components before reassembly can lead to buildup and debris, causing blockages and uneven water flow. Always clean any residue or buildup with white vinegar to maintain optimal faucet performance.
Forgetting to Turn Off the Water Supply
Starting the repair without turning off the water supply can result in a mess and potential water damage. Always ensure the shut-off valves are fully closed before beginning any maintenance work.
By being aware of these common mistakes and taking steps to avoid them, you can ensure a smoother, more effective repair process and prolong the life of your kitchen faucet.
Environmental Considerations
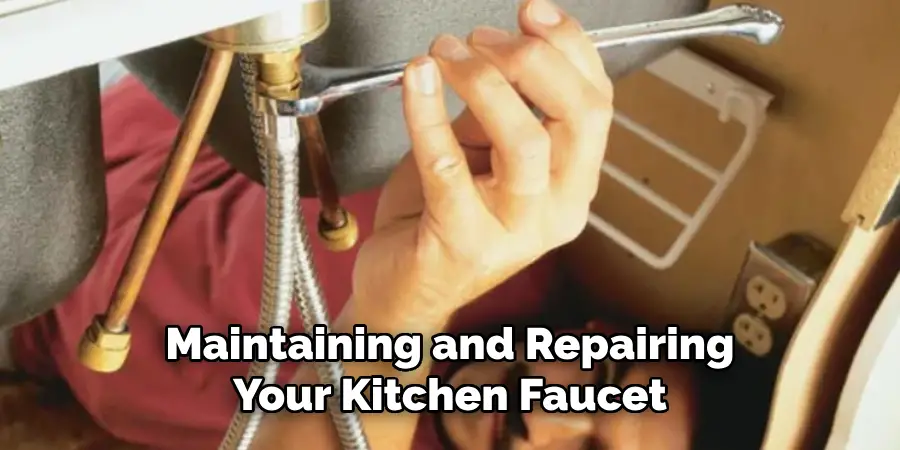
When maintaining and repairing your kitchen faucet, it’s important to consider the environmental impact of your actions. Here are some ways you can make more eco-friendly choices during the process:
Use Non-Toxic Cleaners:
Opt for natural and non-toxic cleaners, such as white vinegar and baking soda, to clean your faucet and its components. These alternatives are just as effective as chemical cleaners but are better for the environment and safer for your household.
Proper Disposal of Old Parts:
Old O-rings, washers, and other components should be disposed of properly. Many of these parts can be recycled rather than thrown away. Check with your local recycling facility to see if they accept these materials.
Water Conservation:
While repairing or maintaining your faucet, take the opportunity to check for any other leaks or inefficiencies in your kitchen. Fixing minor leaks can save significant amounts of water over time. Additionally, consider installing a low-flow aerator to reduce water usage without compromising performance.
Choose Quality Replacements:
Investing in high-quality replacement parts can extend the lifespan of your faucet, reducing the frequency of repairs and the amount of waste generated. Look for durable, well-made components that come with warranties when possible.
Energy Efficiency:
Consider the broader impacts of your kitchen’s water use. Using hot water efficiently can reduce the energy needed to heat it. Performing regular maintenance on your faucet to keep it functioning efficiently can help conserve energy.
Sustainable Brands:
When purchasing replacement parts or new faucets, opt for brands that prioritize sustainability and eco-friendly practices. Many manufacturers offer products made from recycled materials or employ sustainable production methods.
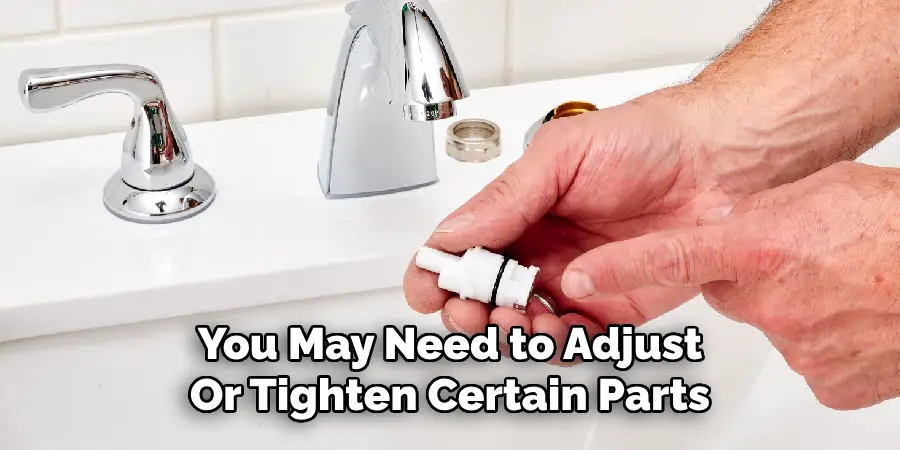
By taking these environmental considerations into account, you can make your kitchen maintenance not only effective but also more sustainable and environmentally responsible.
Frequently Asked Questions
Q: Can I Use Any Type of O-ring for My Kitchen Faucet?
A: It’s best to use the same size and type of O-rings that came with your faucet or consult the manufacturer’s instructions for compatible replacements. Using the wrong size or type can result in leaks and damage to your faucet over time.
Q: How Often Should I Replace My O-rings?
A: It’s recommended to replace your O-rings every 3-5 years or whenever you notice signs of wear or damage. Regular maintenance and cleaning can also help prolong their lifespan. You can also replace them as part of a preventive maintenance routine to ensure optimal functionality.
Q: Can I Replace My O-rings Without Turning off the Water Supply?
A: It’s not recommended to replace O-rings without turning off the water supply. Doing so can result in water leakage and possible damage to your faucet components. Always turn off the water supply before starting any repairs or replacements on your kitchen faucet.
Q: What Should I Do If There Are Still Leaks After Replacing the O-rings?
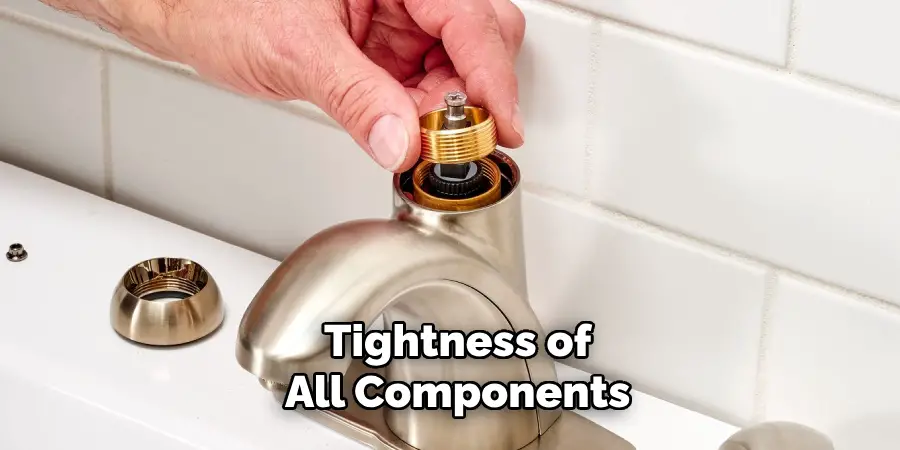
A: If you notice leaks after replacing the O-rings, check for proper alignment and tightness of all components. You may need to adjust or tighten certain parts, such as nuts, bolts, or screws, to stop the leaks. If the problem persists, it may be a sign of a more significant issue, and it’s best to consult a professional plumber for further assistance.
Conclusion
Replacing the O-rings in your single-lever kitchen faucet is a straightforward task that can save you both time and money. By following these steps meticulously, you can ensure the longevity and efficiency of your faucet, preventing leaks and maintaining smooth operation.
Regular maintenance and prompt attention to any signs of wear will further extend the life of your faucet and its components. With these guidelines on how to replace o-rings on single lever kitchen faucet, you have the knowledge and confidence to tackle this common household repair, enhancing your DIY skills and contributing to the upkeep of your home.

