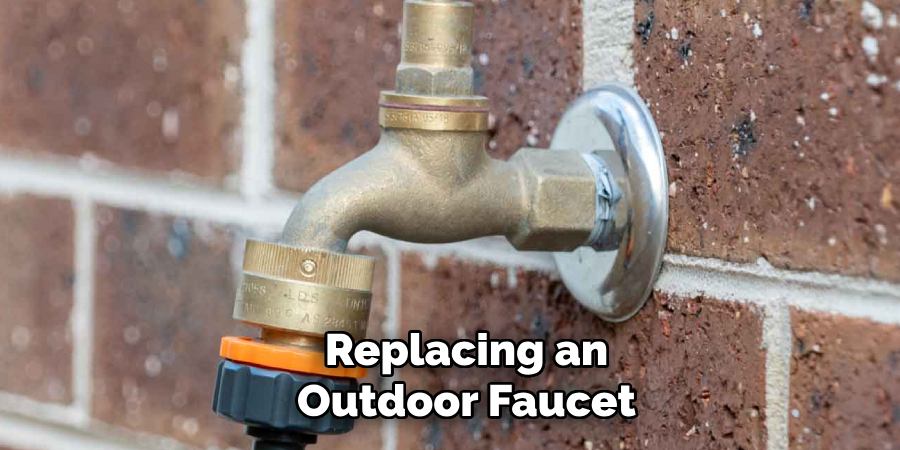
Outdoor faucets, commonly called hose bibs or spigots, play a vital role in maintaining a home’s outdoor functionality. They allow easy water access for gardening, car washing, and filling up pools or containers. However, over time, outdoor faucets are prone to common issues like leaks, rust, freeze damage, or general wear due to age and exposure to the elements.
When these problems occur, a full replacement might be the best solution to prevent further water waste or damage.
This article aims to provide a simple, step-by-step guide on how to replace outdoor faucets using basic tools, enabling homeowners to tackle this project with confidence and ensure a durable, leak-free installation. Proper maintenance and replacement techniques can save time, money, and water in the long run.
Understanding Types of Outdoor Faucets
Outdoor faucets come in various styles, each with its unique features and functionality. Knowing the different types can help you understand which faucet best suits your needs and when replacement might be better than repair.
Common Faucet Types
- Standard Hose Bibs: These are the most basic and widely used outdoor faucets. A hose bib simply turns the water flow on and off, making it ideal for everyday watering or general outdoor use.
- Frost-Free Faucets: Designed to prevent freezing, these faucets shut off water inside the house wall to protect the pipe from cold weather. They are instrumental in regions with harsh winters.
- Anti-Siphon Faucets: These faucets include a built-in mechanism to prevent backflow, which is critical in safeguarding your potable water supply from contamination.
When to Replace vs. Repair
It’s important to evaluate whether a faucet can be repaired or if replacement is the more practical approach. Consider replacing the faucet if you notice significant corrosion, broken or non-functional handles, cracked housing, or persistent leaks that cannot be fixed with simple repairs. A proactive replacement can save you from costly water damage and ongoing inefficiency in the long term.
Tools and Materials Needed
Tools
- Adjustable wrench or pipe wrench – Essential for loosening or tightening fittings during the removal and installation process.
- Pipe thread sealant or plumber’s tape – Helps ensure a watertight seal on threaded connections, preventing leaks.
- Bucket or rags – Useful for catching residual water from the pipes to keep the workspace clean and dry.
- Screwdriver – Required for loosening screws or clamps that may secure the faucet or related components.
Materials
- New outdoor faucet – Make sure to select a faucet that matches the size and type of your current setup for seamless compatibility.
- Optional materials: If you are dealing with soldered or copper pipes, tools like a pipe cutter, pipe dope, or Teflon tape may be necessary to ensure proper installation.
Safety Gear
- Gloves and eye protection – Protect your hands from sharp edges, rough surfaces, or corrosion and safeguard your eyes when cutting pipes or handling damaged parts.
All the necessary tools, materials, and safety gear will streamline the replacement process and minimize potential issues during installation.
Shutting Off Water Supply and Draining Lines
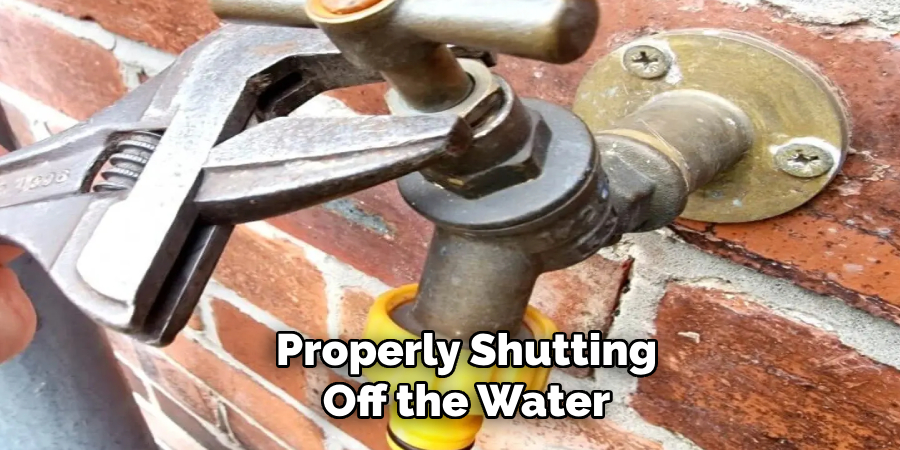
Properly shutting off the water supply and draining the lines is a critical first step in replacing an outdoor faucet. Follow these steps to ensure the process is completed effectively and without complications.
Step 1: Turn Off the Water
Locate the main water supply valve feeding the outdoor faucet. This valve is typically found inside the house, basement, or utility area. Turn the valve clockwise to stop the water flow to the outdoor faucet.
Step 2: Open Faucet to Drain
Head to the outdoor faucet and turn it on completely to allow any residual water in the line to drain. For better drainage, also turn on an indoor faucet connected to the same water line. This relieves any system pressure and ensures the pipe is clear. Place a bucket beneath the faucets to catch water drips and prevent a mess.
Step 3: Check for Shut-Off Valve Near Faucet
Many homes have a dedicated shut-off valve near the outdoor faucet. If your home has one, locate it and ensure it is securely closed. This step adds an extra layer of precaution and helps isolate the exterior line more effectively.
How to Replace Outdoor Faucets: Removing the Old Outdoor Faucet
Step 1: Loosen the Faucet
Use a wrench to turn the old faucet counterclockwise to remove it from the pipe. It’s essential to hold the supporting pipe steady with a second wrench to prevent any twisting or damage to the plumbing during this process. Take your time to ensure the faucet is loosened evenly without applying excessive force.
Step 2: Inspect the Pipe
Once the old faucet has been removed, carefully inspect the exposed pipe for any signs of cracks, rust, or corrosion. Damaged pipes need to be addressed before installing a new faucet to avoid future leaks or system failure. Use a wire brush or a clean cloth to thoroughly clean the threads of the connecting pipe, ensuring it is free from debris.
Step 3: Remove Old Sealant
Before installing a replacement faucet, ensure the threads are clean by removing any remnants of old Teflon tape or thread sealant. Use a scraper or rag to carefully peel away the old sealant, leaving the surface smooth and ready for new materials. This step is critical for creating a watertight seal and a secure connection.
Installing the New Outdoor Faucet
Step 1: Apply Thread Sealant
Start by wrapping the threads of the connecting pipe with Teflon tape, also known as plumber’s tape. Wrap the tape tightly around the threads clockwise to ensure even coverage and a reliable watertight seal. If preferred, you can also use pipe joint compound, often called pipe dope, as an alternative. Whichever you choose, apply the sealant evenly without leaving gaps or overlaps, as this is crucial for preventing leaks.
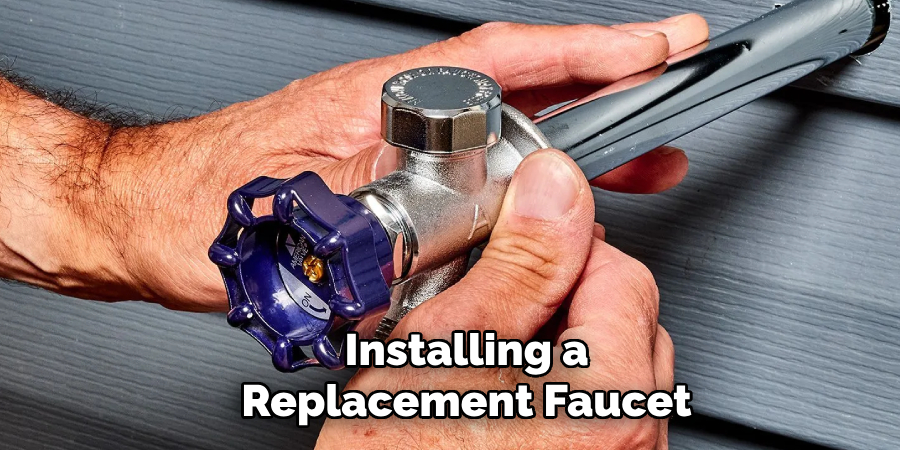
Step 2: Thread on the New Faucet
Take the new outdoor faucet and carefully align it with the pipe threads. Begin to screw the faucet onto the pipe gently by hand, ensuring it turns easily and does not cross-thread.
After hand-tightening, use an adjustable wrench to secure the faucet further, but avoid over-tightening, as this could strip the threads or damage the components. Proper tightening is essential for a secure fit without causing unnecessary material stress.
Step 3: Secure the Faucet to the Wall
If your outdoor faucet is designed to attach to a wall-mounted bracket, position the faucet properly against the wall. Then, use appropriate screws to secure it in place. Tighten the screws firmly to prevent movement, ensuring that the faucet remains stable during use.
Step 4: Check Level and Position
Once installed, ensure the faucet’s spout is angled downward or slightly forward. This positioning ensures optimal water flow and prevents water from pooling inside the faucet, which can cause freezing damage during colder weather. Double-check for proper alignment before completing the installation.
Testing and Checking for Leaks
Step 1: Turn Water Supply Back On
Open the shut-off valve slowly to allow water to flow into the newly installed faucet. Pay close attention as the water pressure builds, watching the faucet and connection points for any immediate signs of leaks. Proceed gently to avoid sudden pressure that might loosen connections.
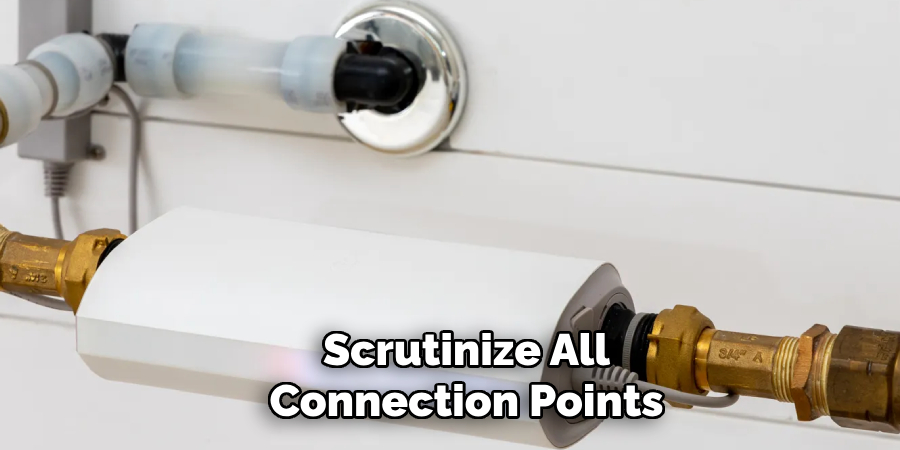
Step 2: Inspect Connection Points
Scrutinize all connection points, including the pipe joint and the faucet connection. Look for any drips or water seeping out. If you spot minor leaks, use a wrench to tighten the connections slightly. Be cautious not to overtighten, as this could strip the threads or damage the fittings.
Step 3: Test Faucet Function
Attach a garden hose to the faucet and turn the water on to test its functionality. Check the water flow to ensure it is steady and has no interruptions. Then, turn the faucet handle to the closed position and verify that water stops completely, confirming there are no leaks from the spout or connections when it is fully shut off. Repeat the process if necessary to guarantee a secure and leak-free installation.
Winterizing and Long-Term Maintenance Tips
Winter Prep
Before freezing weather sets in, disconnect all hoses from the faucet to prevent water from freezing inside. Consider installing a frost-free faucet for better protection, or shut off the interior valve that supplies water to the exterior faucet. After shutting off the valve, drain any remaining water from the line to avoid freezing and potential damage.
Routine Maintenance
Inspect the faucet annually for any signs of drips, leaks, or corrosion. Replace washers or seals as necessary to maintain proper functionality. Keep the area around the faucet clean and free of debris or mineral buildup to ensure longevity and optimal performance.
Conclusion
Replacing an outdoor faucet is a manageable DIY project when you have the right tools and follow the proper steps. By understanding how to replace outdoor faucets, you can save time and money while ensuring the integrity of your home’s plumbing.
Remember, proper shut-off and sealing during installation are crucial to prevent leaks and potential damage. Choosing high-quality materials for durability and inspecting connections regularly to catch any issues early is also important. With care and routine maintenance, your outdoor faucet will function reliably for years to come.

