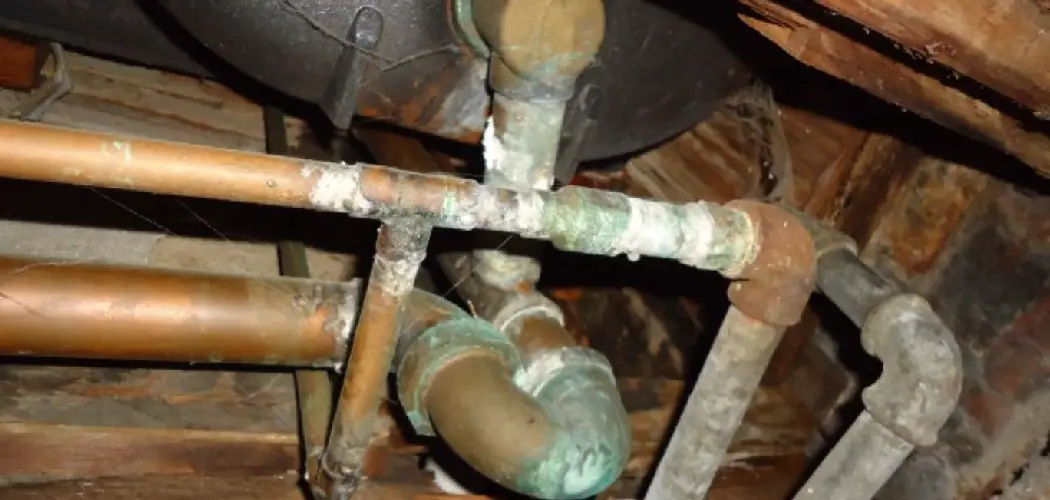
There are various reasons why homeowners may need to replace pipes in their house. Some of the common reasons include leakage, old age, and damage due to natural wear and tear. Regardless of the reason, knowing to replace pipes in house can save you time and money in the long run.
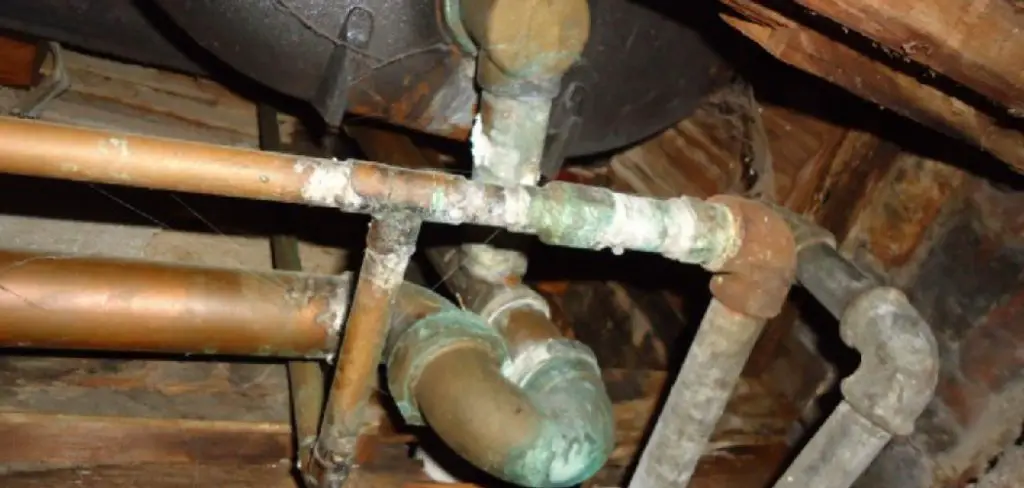
The main advantage of replacing pipes in house is the ability to quickly fix any plumbing issues that may arise. This can prevent further damage to your home and save you from expensive repair bills. Additionally, replacing old or damaged pipes can also improve the overall water flow and quality in your house. You can find step-by-step instructions on how to replace pipes in house in this blog article.
Tools You Will Need
- Pipe cutter
- Copper pipe
- Fittings and connectors
- Soldering torch
- Flux paste
- Sandpaper or emery cloth
- Pipe wrenches or pliers
- Adjustable wrench
- Hacksaw
- Tape measure
Once you have gathered all the necessary tools, it’s time to start replacing those old pipes in your house.
Step by Step Processes for How to Replace Pipes in House
Step 1: Inspect the Pipes
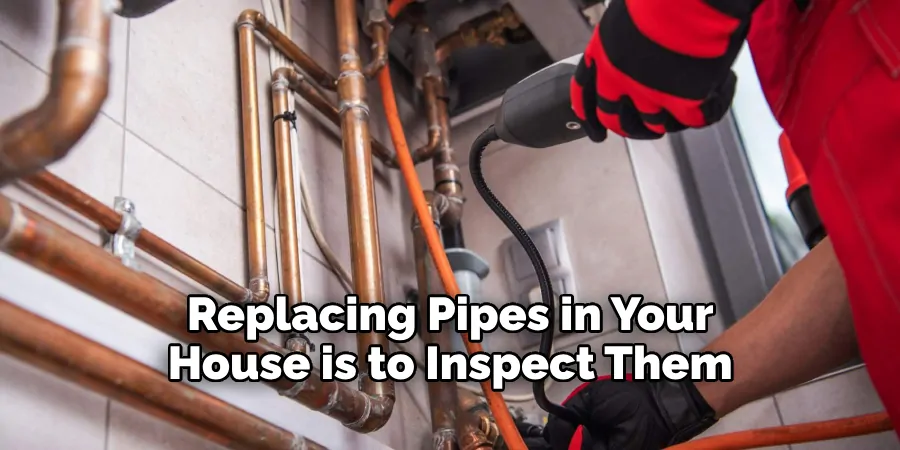
To start off, the first step in replacing pipes in your house is to inspect them. This will help you determine the type of pipes you have and if they are damaged or not. After inspecting the pipes, gather all the necessary tools and materials needed for the replacement process. Some of these may include pipe cutters, wrenches, replacement pipes, and sealants.
Step 2: Shut off Water Supply
Before beginning any work on the pipes, make sure to shut off the water supply to avoid any accidents or flooding. This can usually be done by turning off the main valve in your house. Once the water supply is turned off, drain out any remaining water in the pipes by opening the faucets. This will prevent any excess water from causing issues during the replacement process.
Step 3: Remove Old Pipes
Using pipe cutters or a hacksaw, carefully remove the old damaged pipes. Make sure to wear safety gloves and goggles while doing this to protect yourself from sharp edges or debris. Measure the length of your replacement pipes and cut them to the appropriate size using a pipe cutter. Double check the measurements before cutting to avoid any mistakes.
Step 4: Install New Pipes
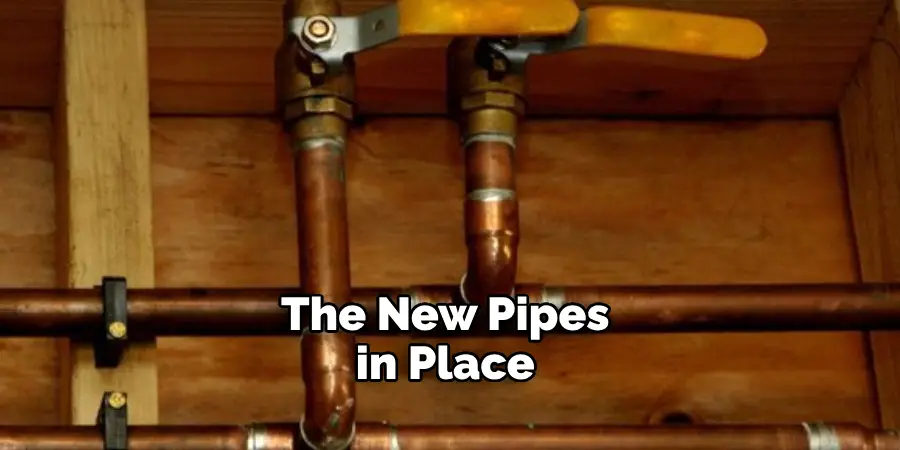
Fit the new pipes in place, making sure they are securely attached. Use sealant or joint compound to create watertight connections. Once the new pipes are installed, turn the water supply back on and check for any leaks. Fix any issues before moving on to the next step.
Step 5: Insulate Pipes
To prevent pipes from freezing during colder months, insulate them with foam pipe insulation. This will also help conserve energy and reduce noise from running water. Turn on all faucets and check for any leaks or issues. If everything seems to be in working order, move on to the next step.
Step 6: Clean up
Remove any debris or leftover materials from the replacement process and clean up the work area. To prevent future pipe damage, regularly inspect your pipes for any signs of wear and tear. This will help catch any issues early on and extend the lifespan of your pipes.
By following these steps, you can successfully replace pipes in your house and ensure the proper functioning of your plumbing system. Remember to always prioritize safety and seek professional help if needed.
Tips for How to Replace Pipes in House
- Make sure that the main water supply to your house is turned off before starting any work. You can either close the main valve or turn off the pump.
- It is important to wear protective gear like gloves, a mask and goggles when working with pipes, especially if you are dealing with old pipes that may contain harmful substances.
- Use proper tools for cutting, removing and installing pipes. Avoid using makeshift tools as they can cause accidents and damage to the pipes.
- Before starting any work, make sure that the area is well ventilated to avoid inhaling harmful fumes.
- If you are dealing with gas pipes, make sure to turn off the gas supply before starting any work. It is best to hire a professional for this task if you are unsure.
- When working with pipes that contain hazardous substances, make sure to properly dispose of them according to local regulations.
- Always have a first aid kit ready in case of accidents. It is also important to have someone else present when working on pipes for added safety.
Replacing pipes in your house can be a daunting task, but with the right knowledge and precautions, it can be done safely and effectively. This article will provide you with some safety tips to keep in mind when replacing pipes in your house.
What Are the Common Signs That Indicate the Need to Replace Pipes in a House?
Pipes are an essential part of your home’s plumbing system. They help transport water and waste throughout the house, providing you with necessities like hot water, clean dishes, and flushing toilets.
But like most things in life, pipes have a limited lifespan and will eventually need to be replaced. If you’re wondering how to replace pipes in your house, chances are you’ve noticed some issues with your current ones. Here are some common signs that indicate the need for pipe replacement:
1. Leaks
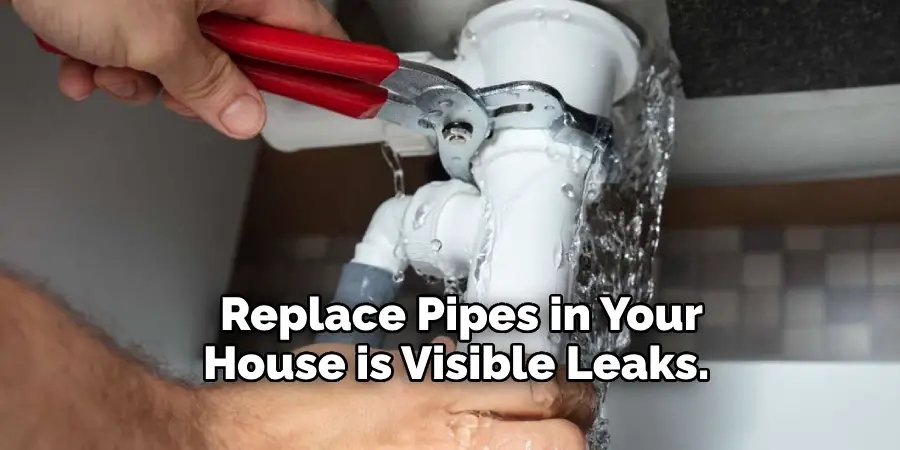
One of the most obvious signs that you need to replace pipes in your house is visible leaks. If you notice water stains on walls or ceilings, puddles under sinks or appliances, or a sudden increase in your water bill, it’s likely due to a leak in your pipes. Ignoring leaks can lead to further damage and higher repair costs, so it’s best to address them as soon as possible.
2. Discolored Water
If you turn on the tap and notice that the water has a brown or yellow tint, it could be a sign of rust buildup inside your pipes. This can affect the quality and safety of your drinking water, so it’s important to have the pipes replaced.
3. Low Water Pressure
Have you noticed that your taps and showerheads aren’t producing as much water as they used to? This could be a sign of clogged or deteriorating pipes. Over time, mineral deposits, debris, and corrosion can build up inside pipes and restrict the flow of water.
4. Strange Noises
If you hear banging, rattling, or whistling sounds coming from your pipes, it could indicate that they are loose or damaged. These noises can be especially prominent when turning on taps or flushing toilets.
5. Corrosion
Exposed pipes can develop rust and corrosion over time, especially in older homes. If you notice any signs of decay on your pipes, it’s a good idea to have them replaced before they burst and cause further damage.
6. Old Age
Like any other material, pipes have a limited lifespan. Depending on the type of material they’re made of, your pipes may last anywhere from 20 to 100 years. If you live in an older house and haven’t had your plumbing system inspected or updated in a while, it’s worth considering replacing the pipes as a preventative measure.
Replacing pipes in a house is not an easy task and often requires the help of a professional plumber. However, if you notice any of these signs, it’s important to address them promptly to avoid further damage and potential health hazards.
Are There Any Maintenance Tips to Prolong the Life of New Pipes in a House?
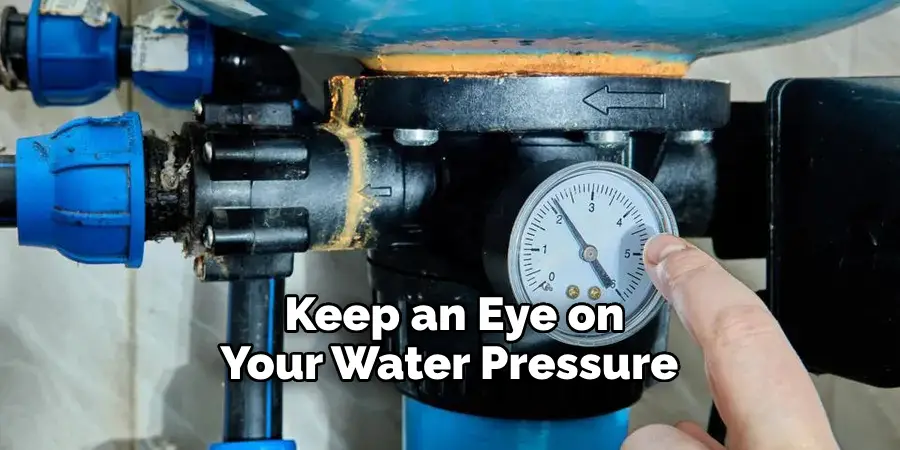
Once you’ve replaced your pipes, it’s important to maintain them to prolong their lifespan and prevent any future issues. Here are some tips to keep in mind:
- Regularly Check for Leaks: Even with new pipes, it’s important to keep an eye out for leaks. Inspect visible pipes for any signs of corrosion or damage and address any issues promptly.
- Monitor Water Pressure: Make sure to keep an eye on your water pressure and address any changes or abnormalities. High water pressure can put strain on pipes, leading to damage and potential bursts.
- Avoid Harsh Chemicals: Chemical drain cleaners may seem like a quick fix for clogs, but they can actually do more harm than good. These chemicals can corrode and weaken pipes over time, leading to costly repairs or replacements.
- Use Drain Screens: Installing drain screens can help prevent debris and hair from clogging pipes, reducing the risk of damage and backups.
- Insulate Exposed Pipes: In colder climates, it’s important to insulate any exposed pipes to prevent them from freezing and potentially bursting. This is especially important for outdoor pipes and those in unheated areas like basements and attics.
By taking these maintenance tips into consideration, you can help prolong the life of your new pipes and ensure a smoothly functioning plumbing system in your house for years to come. Remember to also schedule regular inspections and maintenance with a professional plumber to catch any potential issues early on.
Conclusion
In conclusion, knowing how to replace pipes in a house is an essential skill for homeowners. Whether you’re dealing with a minor leak or a complete pipe replacement, having the knowledge and tools to fix the issue can save you time, money, and stress. One of the key steps in replacing pipes in a house is preparation. This includes turning off the water supply, gathering necessary tools and materials, and ensuring proper safety measures are in place.
Replacing pipes in a house can be a daunting task, but with the right knowledge and approach, it can be a manageable and even rewarding experience. Not only will you save money by not having to hire a professional plumber, but you’ll also have the satisfaction of knowing you solved the issue yourself. I hope this article has been beneficial for learning how to replace pipes in house. Make Sure the precautionary measures are followed chronologically.

