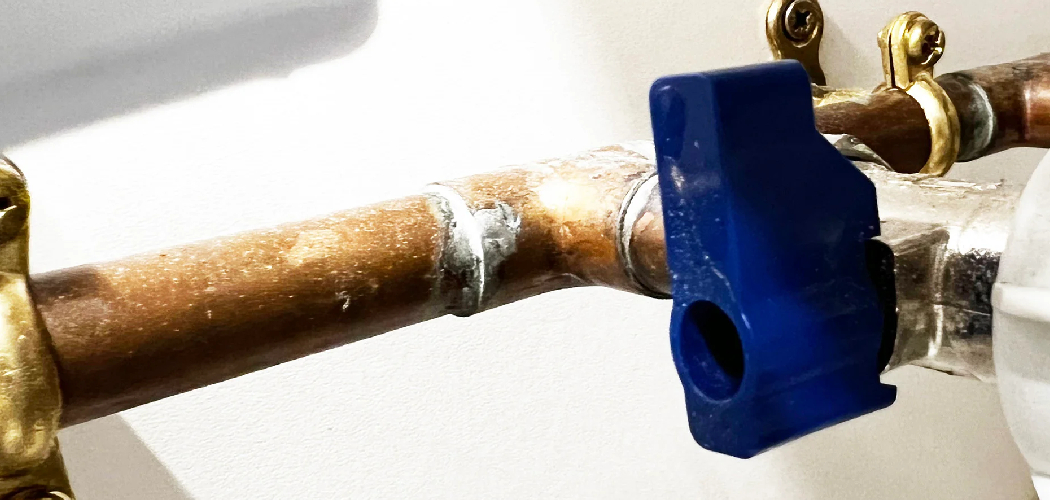
Replacing pipes under the kitchen sink is a crucial maintenance task for any homeowner. Common reasons for replacement include leaks that can lead to water damage, corrosion, and deterioration due to age or simply outdated plumbing that no longer meets household needs. Addressing these issues promptly is essential, as improper or delayed replacements can exacerbate leaks, resulting in costly repairs or property loss.
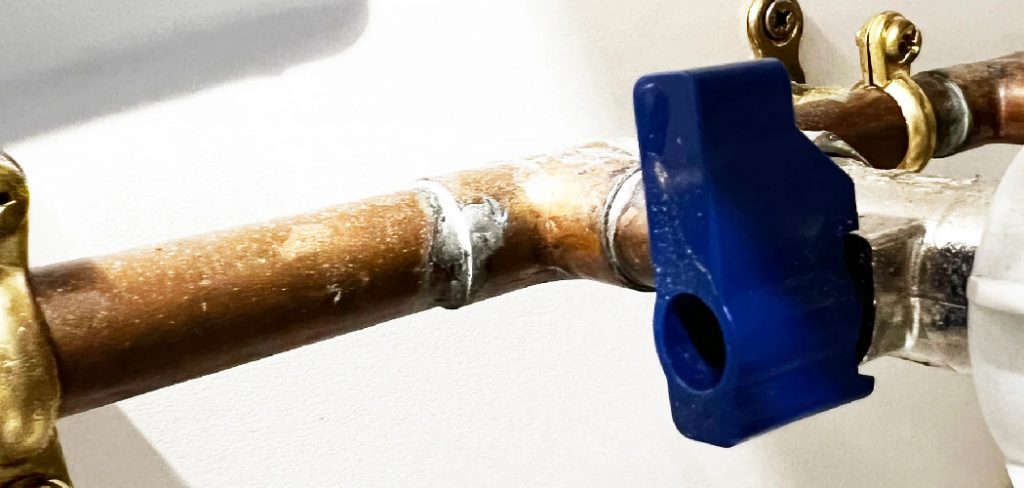
When considering how to replace pipes under kitchen sink, it’s vital to execute each step carefully to ensure a lasting solution. Proper replacement involves adequate preparation to gather tools and supplies, followed by careful removal of old pipes and installing new, efficient plumbing.
A systematic approach minimizes the potential for future leaks and optimizes the plumbing system’s overall functionality. By understanding these steps, homeowners can confidently tackle their plumbing challenges.
Tools and Materials Needed
Tools
To successfully replace pipes under the kitchen sink, you’ll need essential tools, including adjustable wrenches, pipe wrenches, a pipe cutter, a bucket to catch any water, pliers for gripping, a flashlight for illumination in tight spaces, and a utility knife for cutting through any seals or fittings.
Materials
In addition to tools, gather necessary materials such as new pipes (PVC, PEX, or metal), various pipe fittings to connect the new pipes, pipe thread sealant or Teflon tape to ensure watertight connections, plumber’s putty for sealing, and replacement gaskets to prevent leaks at joints.
Safety Precautions Before Starting
Turn Off the Water Supply
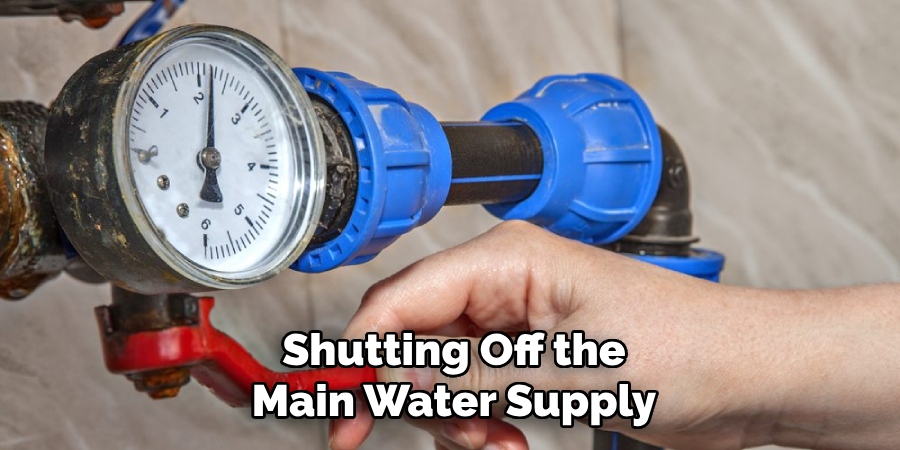
Before beginning any plumbing work under the kitchen sink, turning off the water supply is essential. This can be done by closing the valves directly beneath the sink or shutting off the main water supply. Taking this precaution will help prevent unexpected leaks and make the replacement process much smoother.
Protect the Area
Lay down towels and place a bucket under the sink to safeguard your work area. This will catch any residual water that may spill out while removing the old pipes, preventing damage to your cabinet and keeping the workspace tidy.
Check for Electrical Hazards
Before starting your project, ensure no electrical components are near the plumbing area. This includes outlets, wires, or appliances that could be affected by water or present hazards during pipe removal and installation. Keeping these electrical hazards in mind is crucial for a safe working environment.
How to Replace Pipes Under Kitchen Sink: Step-by-Step Guide
Step 1: Prepare the Area
To start off, it’s important to create a clean and safe workspace. Remove Items: Clear out the cabinet under the sink to provide ample space for working. This includes removing any cleaning supplies, pots, or other items that might hinder your movement. Drain Water: Place a bucket under the pipes to catch any residual water and open the faucet to drain any remaining water from the plumbing. This initial preparation helps to minimize mess and ensures a smooth replacement process.
Step 2: Remove Old Pipes
The next phase involves the careful disconnection of the old plumbing. Disconnect P-Trap: First, use adjustable wrenches to loosen and disconnect the P-trap, which is the curved pipe positioned under the sink that collects debris and prevents sewer gases from entering your home. Be prepared for water to spill out as you remove this component. Remove Additional Pipes: After the P-trap is removed, disconnect any additional pipes connecting to the sink, including the drain pipe and water supply lines.
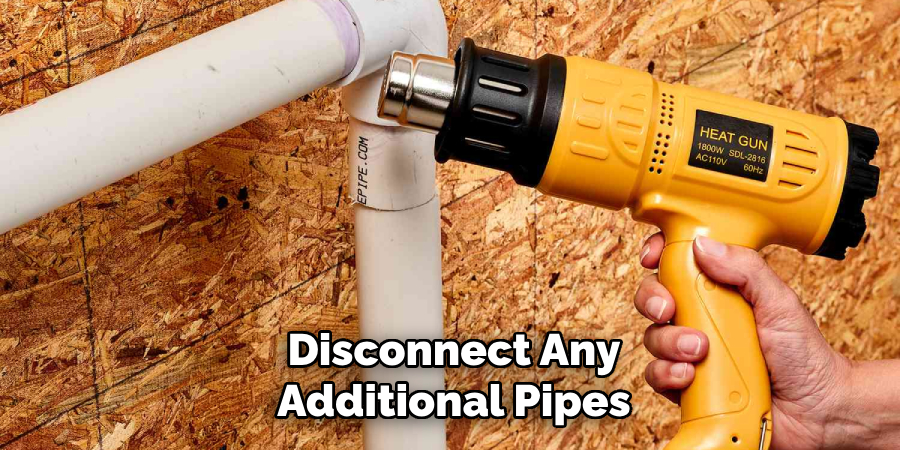
Utilize pliers or wrenches to loosen fittings securely, ensuring all connections are properly unfastened. Inspect and Clean: Once everything is disconnected, take the time to inspect the area for any signs of damage or leftover debris. It’s also a good idea to clean the pipe fittings and the surrounding area to prepare for the new installations.
Step 3: Install New Pipes
Now, it’s time to fit your new plumbing into place. Fit New Pipes: Begin by connecting the new P-trap to the existing drain. To ensure a watertight seal at all joints, apply pipe thread sealant or Teflon tape to the threads of the pipes and fittings. Attach Water Supply Lines: Next, install the new water supply lines to the faucet. Ensure they are tightly secured with wrenches.
If you are using flexible hoses, hand-tighten these connections first before using pliers for a snug fit. Check Alignment: As you work, ensure all pipes are aligned properly. Look for any kinks or bends that could lead to problems down the line. Proper alignment is crucial for the efficiency of your plumbing system.
Step 4: Test for Leaks
Once everything is installed, checking your work for leaks is essential.
Turn On Water Supply: Slowly turn the water supply back on and carefully examine the new pipes and connections for any signs of leakage.
Inspect for Leaks: Run the faucet and observe all connections, making sure that there are no leaks present. If you find any, tighten those connections as necessary.
Clean Up: Finally, wipe down the area under the sink to remove any water or debris. Be sure to collect your tools and any materials that were used during the replacement, leaving your workspace clean and safe.
Common Mistakes to Avoid
Incorrect Pipe Sizing
Using pipes and fittings that are not the correct size can lead to significant issues down the line. Ensure that you measure the existing plumbing accurately and choose pipes that match these dimensions to allow for proper fit and function. This step is crucial to maintain an efficient plumbing system.
Over-Tightening Connections
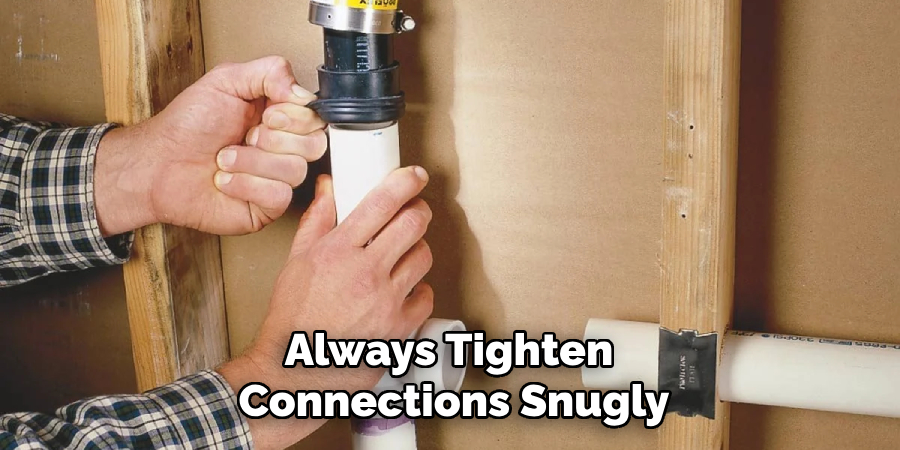
While it’s important to secure pipe connections tightly, overtightening can damage them. Excessive force on fittings can cause cracks or fractures in the pipes, leading to leaks that may require additional repairs. Always tighten connections snugly, but avoid using excessive strength.
Neglecting to Test
One of the most common oversights is failing to thoroughly test for leaks after installation. Always run the tap and inspect connections for any signs of leaking. A thorough check helps to ensure that everything is sealed properly, preventing costly repairs in the future.
Preventive Maintenance Tips
Regular Inspections
To ensure the longevity of your plumbing system, conduct regular inspections of the pipes under your sink. Look for signs of leaks, corrosion, or any damage. Early detection of issues allows for timely repairs, preventing costly plumbing emergencies in the future.
Keep Pipes Clean
Prevent clogs by using drain screens to catch debris before it enters the pipes. Regularly clean the sink drain and flush with hot water to ensure that your pipes remain clear of buildup. This proactive measure helps maintain a smooth flow and extends the life of your plumbing.
Use Gentle Cleaners
When maintaining your sink and pipes, opt for mild, non-corrosive cleaning agents. Harsh chemicals can damage the pipes and fittings, leading to deterioration and an increased risk of leaks. By using gentle cleaners, you can effectively maintain cleanliness without compromising the integrity of your plumbing system.
When to Call a Professional
Complex Plumbing Issues
While many plumbing tasks can be tackled through DIY methods, certain situations require the expertise of a professional plumber. Suppose you encounter complex plumbing issues, such as tangled pipe networks or persistent drain problems. In that case, it may be best to seek professional help to ensure a proper resolution without causing further complications.
Major Leaks or Damage
In cases where you discover significant damage or major leaks, it’s crucial to call in a professional for an assessment and repair. A qualified plumber can accurately evaluate the situation and implement effective solutions, preventing potential damage to your home or increased water bills from undiscovered leaks.
Improper Installation
If you suspect that an installation has been performed incorrectly or if your DIY repair efforts haven’t resolved the issue, it’s wise to consult a professional plumber. Their expertise can help rectify mistakes and ensure that your plumbing system operates effectively and safely.

Frequently Asked Questions (FAQs)
1. How Can I Tell if My Plumbing Needs Maintenance?
Signs that your plumbing may need maintenance include leaks, unusual sounds coming from pipes, slow drains, or discoloration of water. Regular inspections can help identify potential issues before they become serious problems.
2. What Should I Do if I Encounter a Persistent Clog?
If you face a persistent clog that doesn’t respond to standard methods like plunging or using a drain snake, it may be best to call a professional plumber. They can assess the situation and provide solutions that could include thorough cleaning or more complex repairs.
3. Can I Save Money by Handling Plumbing Repairs Myself?
While some simple plumbing tasks can save you money, knowing your limits is essential. If you lack the experience or if the issue seems complex, a professional plumber can ultimately save you from costly mistakes or further damage to your plumbing system.
Conclusion
In summary, replacing pipes under the kitchen sink involves several essential steps. First, thorough preparation is critical, including gathering tools and shutting off the water supply. Next, carefully remove the old pipes, ensuring that you inspect the area for any damage. After this, the new pipes are installed by fitting them securely and applying the proper sealing materials to prevent leaks.
Finally, test your connections by turning the water supply back on and checking for any leaks. Remember to use the correct pipe sizing, as this is vital for optimal functionality. Proper sealing techniques will help maintain a leak-free environment, while regular maintenance checks will extend the life of your plumbing system. Take your time with each step in the process of how to replace pipes under kitchen sink, and if you encounter any complications, don’t hesitate to seek professional assistance for a successful repair.

