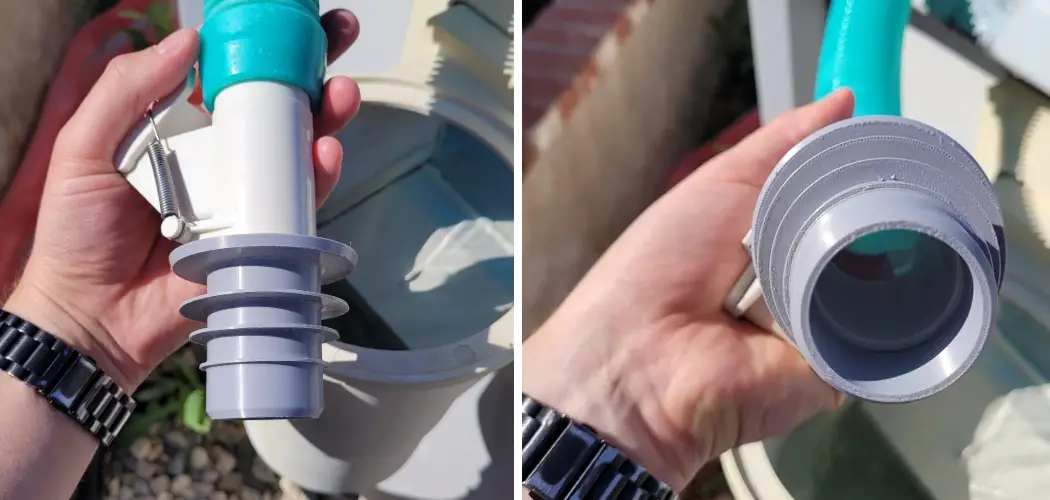
Keeping your pool clean and well-maintained is essential for pool lovers. However, sometimes, you may find yourself in a situation where your pool vacuum hose connector needs to be replaced. It can be quite challenging, and you might not be sure how to do it. But don’t worry; we are here to help you out. In this blog post, we will guide you on how to replace pool vacuum hose connector step-by-step.
What Is a Pool Vacuum Hose Connector and Why Does It Need to Be Replaced?
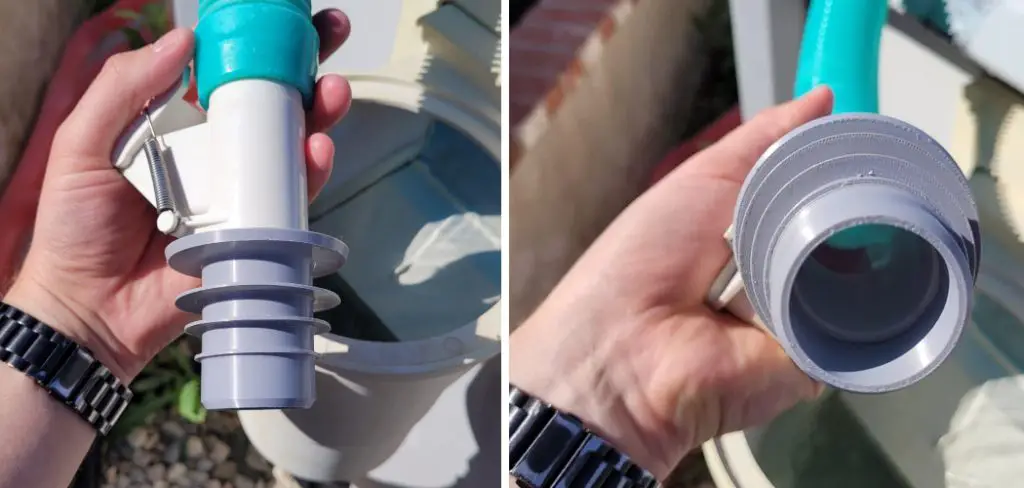
As any pool owner knows, keeping your pool clean and clear is essential for maintaining a safe and enjoyable swimming environment. One of the key components of your pool cleaning system is the pool vacuum hose connector, which connects your vacuum hose to the skimmer.
Over time, these connectors can become worn or damaged, leading to leaks and reduced suction power. That’s why it’s important to replace them as soon as you notice any signs of wear and tear. Doing so will help to ensure that your pool stays clean and clear of debris, providing you and your family with a safe and enjoyable swimming experience all summer long.
Different Types of Pool Vacuum Hose Connectors
Before we dive into the steps of replacing a pool vacuum hose connector, it’s essential to know that different types of connectors are available in the market. The most common ones are threaded, slip-fit, and push-to-connect connectors. Threaded connectors have threads on both ends and require a locking nut to secure them.
Slip-fit connectors are designed to be inserted snugly into the skimmer or suction port without any additional hardware. Push-to-connect connectors feature rubber gaskets that create a tight seal when pushed into the skimmer or suction port.
Signs that Your Pool Vacuum Hose Connector Needs to Be Replaced
Now that you know about the different types of pool vacuum hose connectors, let’s take a look at some signs that indicate when they need to be replaced. These include:
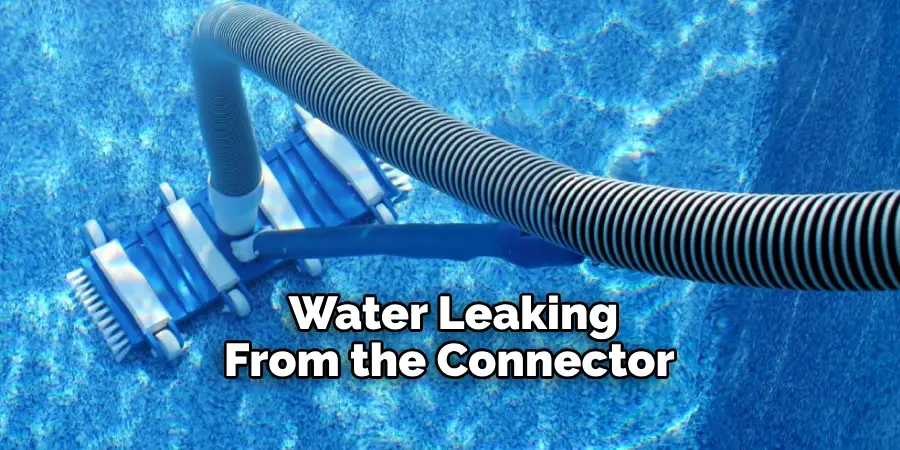
- Leaks: If you notice water leaking from the connector, it’s a sign that it needs to be replaced.
- Cracks or splits: Over time, exposure to chemicals and regular wear and tear can cause cracks or splits in the connector. These can lead to leaks and decreased suction power.
- Difficulty fitting into skimmer/suction port: If you find yourself struggling to fit the vacuum hose into the connector, it could mean that the connector is worn out or damaged.
If you notice any of these signs, it’s time to replace your pool vacuum hose connector.
How to Replace Pool Vacuum Hose Connector – A Step-by-Step Guide
Step 1: Turn Off the Pool Pump
Before you start replacing the pool vacuum hose connector, ensure that the pool pump is turned off. This will prevent any accidents from happening when you begin your repair.
Step 2: Remove the Damaged Connector
The next step is to remove the damaged connector. Use a pliers to loosen the hose clamp and remove it from the pool’s skimmer. Once you have removed the clamp, gently remove the damaged connector from the hose.
Step 3: Clean the Area
After removing the damaged connector, ensure you clean the area thoroughly. Use a rag to wipe the area where the connector was attached. This will ensure that the new connector is attached to a clean surface, guaranteeing a secure fit.
Step 4: Install the New Connector
Now, it’s time to install the new connector. Take the new connector and slide it into the hose. Ensure that it fits snugly into the hose. Use a hose clamp to secure the connector in place. Tighten the clamp using pliers until the connector is secure.
Step 5: Turn On the Pool Pump
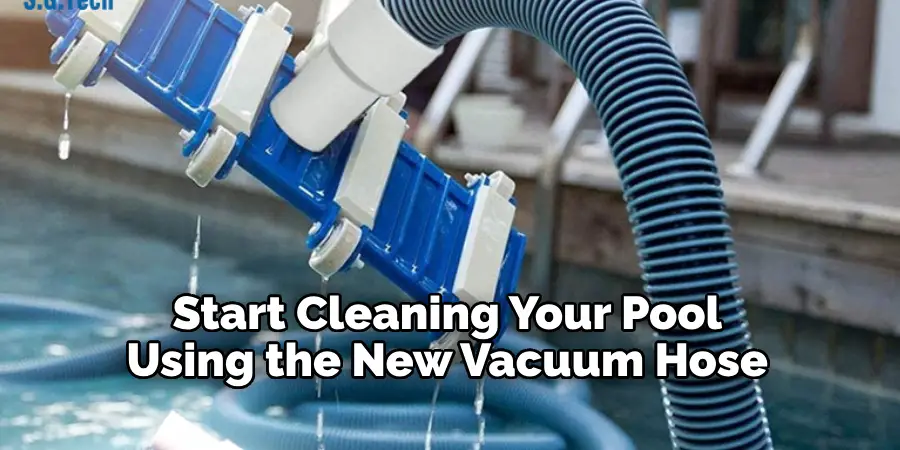
After you have completed the installation process, turn on the pool pump to check if the connector is secure and functioning as required. You can start cleaning your pool using the new vacuum hose if everything is in order.
Step 6: Check for Leaks
It is essential to check for leaks after installing the new connector. Turn off the pool pump and inspect the area around the connector. If you notice any leaks, tighten the hose clamp until it’s snug.
Step 7: Enjoy Your Clean Pool!
Congratulations! You have successfully replaced your pool vacuum hose connector. Now, you can enjoy a clean and well-maintained pool without worrying about any issues with your vacuum hose.
Remember to regularly check your connectors for wear and tear to prevent any future problems. With these simple steps, you can easily replace your pool vacuum hose connector and keep your pool in top condition all year round.
5 Common Problems that May Occur When Replacing a Pool Vacuum Hose Connector
1. Leaking Connectors
One of the most common issues that can arise when replacing a pool vacuum hose connector is leaking connectors. This can occur if the O-ring or gasket is not properly seated in the connector or if it is not lubricated correctly.
To prevent this from occurring, it is important to ensure that the O-ring or gasket is properly seated and lubricated before installing the new connector. Additionally, it may be necessary to use a plumber’s tape or a sealant to ensure an airtight connection between the hose and connector.
2. Improperly Connected Hose
Another issue that can arise when replacing a pool vacuum hose connector is an improperly connected hose. This can occur if the hose has been cut too short or if it has been twisted during installation. To prevent this from occurring, it is important to make sure that the hose is cut to the correct length and that it is installed without any twisting or kinking of the hose.
3. Corrosion
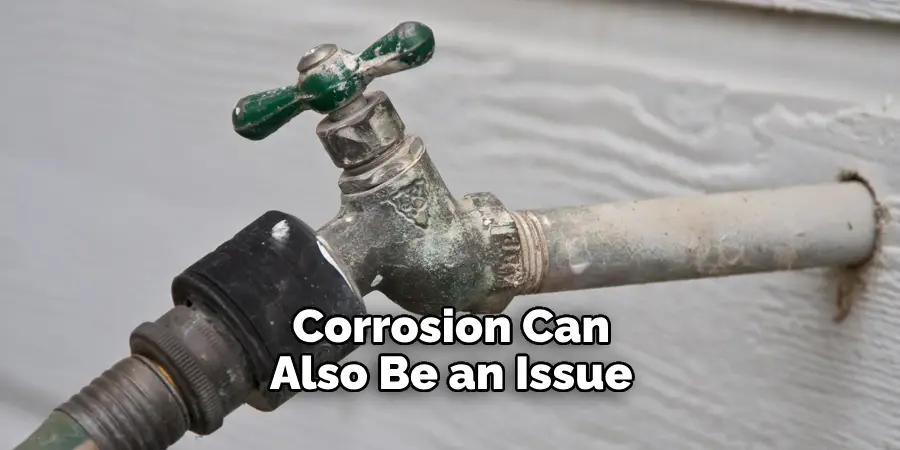
Corrosion can also be an issue when replacing a pool vacuum hose connector. This occurs when water and other chemicals come into contact with metal parts of the connector for an extended period of time, causing them to corrode and become brittle over time.
To prevent corrosion from occurring, it is important to use connectors made from materials such as stainless steel or brass, which are resistant to corrosion. Additionally, regular cleaning and maintenance of your pool equipment will help to reduce corrosion over time.
4. Air Leaks
Air leaks can also be an issue when replacing a pool vacuum hose connector, as they can cause suction problems in your pool’s filtration system. Air leaks occur when there are gaps between components in your filtration system, allowing air to escape instead of being drawn into the filter pump for circulation in your pool water.
To prevent air leaks from occurring, it is important to make sure all connections are secure and free from any gaps or cracks where air could escape through them. Additionally, regular filtration system maintenance should be done to identify any potential air leaks before they become a problem for your pool’s circulation system.
5. Clogged Filter Pump
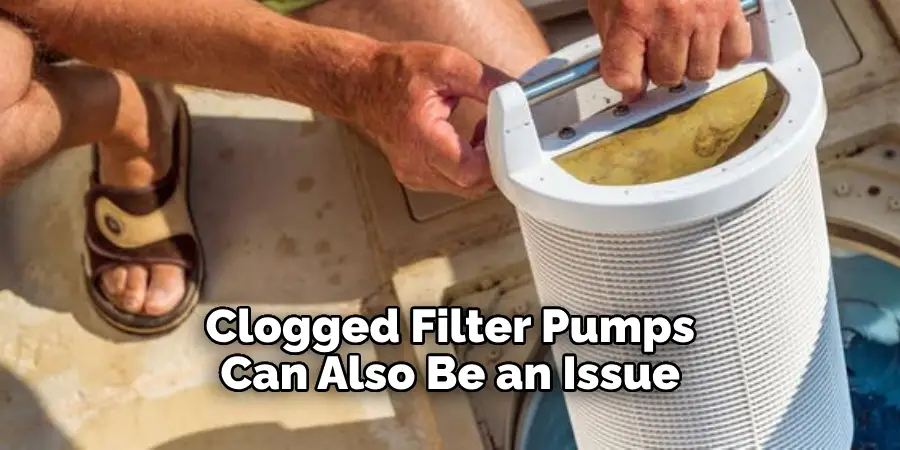
Finally, clogged filter pumps can also be an issue when replacing a pool vacuum hose connector, as they can reduce suction power and cause poor circulation in your pool water due to reduced water flow through them. Clogs typically occur due to debris such as leaves and dirt getting stuck inside of your filter pump, which restricts water flow through it, resulting in reduced suction power for your filtration system.
Regular filter pump maintenance should be done to identify any potential clogs before they become a problem for your filtration system’s suction power. Additionally, using a pool cover when not in use can help prevent debris from entering the filter pump and causing clogs.
5 Benefits of Replace Pool Vacuum Hose Connector
1. Improved Suction
One of the biggest benefits of replacing your pool vacuum hose connector is improved suction. The new connector will create a better seal between the hose and the vacuum head, allowing for more efficient suction. This improved suction will make cleaning out debris from your pool easier, helping you keep it looking its best.
2. Increased Durability
Replacing your pool vacuum hose connector can also increase the durability of your equipment. A new connector will be made with higher-quality materials that are designed to last longer than the original parts. This increased durability can help extend the life of your pool cleaner and save you money in the long run.
3. Easier Maintenance
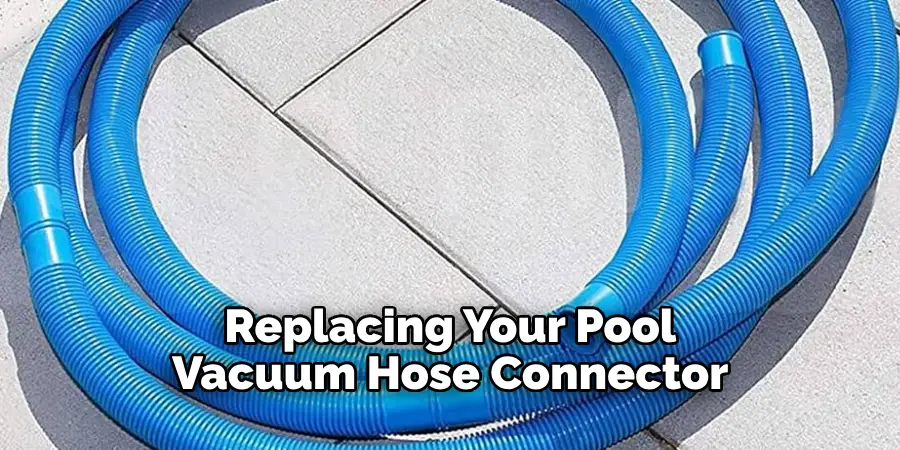
Another benefit of replacing your pool vacuum hose connector is that it can make maintenance easier. With a new connector, you won’t have to worry about leaks or other issues with an old connector. This makes it easier to keep your equipment in good condition and ensure that it’s always ready for use when needed.
4. Better Performance
Replacing your pool vacuum hose connector can also improve performance and give you better results when cleaning your pool. A new connector will create a tighter seal between the hose and vacuum head, which helps prevent air leakage and allows for more efficient suction power. This improved performance will help make cleaning faster and easier while also giving you better results overall.
5. Cost Effective
Finally, replacing your pool vacuum hose connector is cost-effective since it doesn’t require much time or money compared to buying a new cleaner or parts for an old one. Plus, with improved suction power, increased durability, easier maintenance, and better performance, you’ll get more bang for your buck in terms of value over time as well!
Conclusion
Replacing a pool vacuum hose connector is relatively easy as long as you know what to do. You can replace the connector in no time by following the above guide. However, if you feel the repair is beyond your ability, it’s best to call a professional for assistance.
Don’t let a damaged pool vacuum hose connector keep you from enjoying your pool. Get the repair done, and dive headfirst into a refreshing swim without any worries! Thanks for reading our post about how to replace pool vacuum hose connector.

