A clean pool is a happy pool, but keeping a pool clean requires maintenance. A pool vacuum hose is an essential tool in your arsenal for maintaining clean pool water. The pool vacuum hose lets you clean the pool floor and walls without draining the pool. Like all pool cleaning equipment, the hose can wear out or become damaged with time and use.
In this blog post, we will learn how to replace pool vacuum hose ends to keep the hose functioning as it should.
What Is a Pool Vacuum Hose End?
Swimming pools are a wonderful way to have fun during the hot summer months. However, keeping them clean can be a challenging task. A pool vacuum hose end is an important tool for maintaining a clean pool.
This handy device attaches to the end of your pool vacuum hose, allowing you to easily clean any dirt, debris, or algae that may have accumulated on your pool floor. With a pool vacuum hose end, you can have a sparkling pool that is always inviting. It is essential for every pool owner who wants to keep their pool in top condition, ensuring everyone can enjoy it safely and without hassle.
Why Might You Need to Replace It?
Over time, your pool vacuum hose end may wear out or become damaged due to regular use. It can also get brittle and break if left outside in harsh weather conditions. If you notice that the suction power has decreased or there is water leaking from the end of the hose, it may be time to replace the pool vacuum hose end. Damaged or worn-out pool vacuum hose ends can also cause scratches and scuffs on your pool walls, which can be unsightly and difficult to remove. Therefore, it is essential to regularly check and replace the hose end if needed to avoid any damage to your pool.
Common Signs of A Damaged Pool Vacuum Hose End
A few key signs may indicate that it is time to replace the pool vacuum hose end. These include decreased suction power, water leaking from the end of the hose, or visible wear and tear on the end itself.
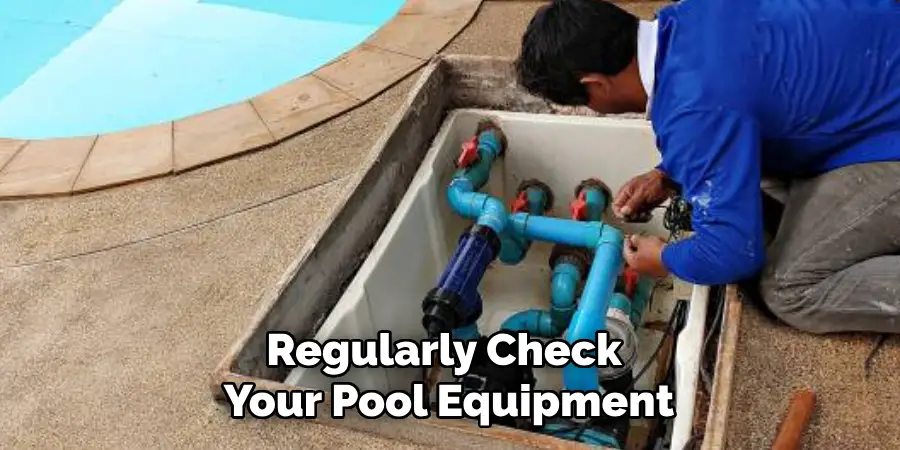
It is important to regularly check your pool equipment for any signs of damage and address them promptly to prevent further issues. Neglecting to replace a damaged pool vacuum hose end can result in more significant problems, such as reduced cleaning efficiency and potential damage to your pool walls.
Step-By-Step Instructions on How to Replace Pool Vacuum Hose Ends
Step 1: Identify Issues with the Hose End
Before you start taking apart your pool vacuum hose, it’s crucial to identify the problem with the hose end. The damage could be on the male or female ends of the hose, which is where the vacuum or skimmer head attaches. A common issue with the hose ends is the cracking of the plastic material, which can result from wear and tear, extreme temperatures, or chemical imbalances. If you notice damage, such as cracks or missing parts, it’s time to replace these hose ends.
Step 2: Purchase Replacements
Once you’ve identified the problem with the vacuum hose end, it’s time to purchase a new one. You can purchase new vacuum hose ends at any pool store or online. Ensure the new hose end matches your hose’s correct diameter, and ensure the material is suitable for the chemicals used in your pool.
Step 3: Remove Damaged Hose End
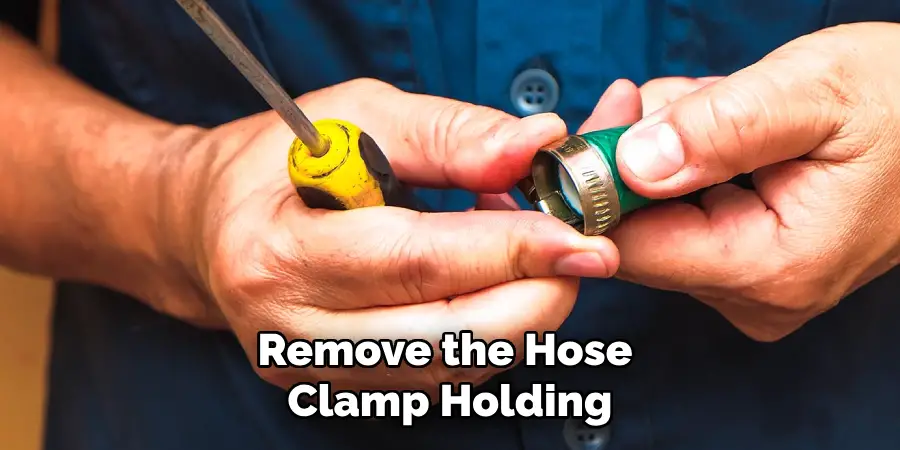
To remove the damaged end of the vacuum hose, use your pair of pliers to remove the hose clamp holding the hose onto the damaged end. Once the hose clamp is off, you can remove the current damaged end of the hose, which may require significant effort, especially if it’s an older hose. Once you’ve removed the damaged end, you can then clean the hose end and slip the new end onto the hose.
Step 4: Attach New Hose End
Once you’ve removed the damaged hose end, clean and prepare the end of the vacuum hose for the new end. Apply a layer of dish soap to ease the attachment of the new end to the hose. Repeat this process until you are satisfied that the new end fits snugly and firmly onto the hose with no leaks. Finally, attach the hose clamp to the new hose end.
Step 5: Test Your New Connection
Next, it’s important to test the connection by attempting to suck up debris with the vacuum hose. Check the connection point for leaks, and ensure the hose is firmly attached to the vacuum head and the skimmer basket. Congratulations on successfully repairing your pool vacuum hose end if there are no leaks.
Step 6: Consider Prevention Methods
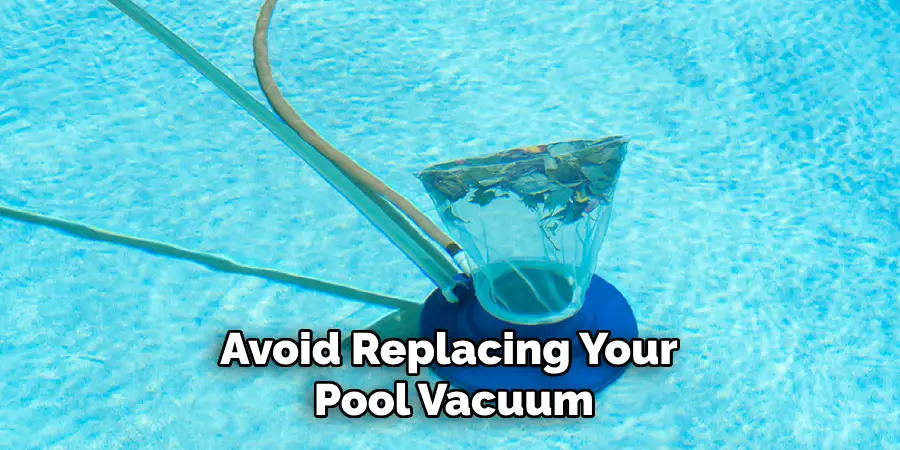
To avoid replacing your pool vacuum hose ends frequently, consider implementing prevention methods such as storing your hose in a shaded area or using a protective cover. Additionally, regularly checking for damage and addressing any issues immediately can help prolong the lifespan of your pool vacuum hose ends.
Step 7: Seek Professional Help
If you are unsure how to replace your pool vacuum hose ends or if the damage seems too extensive for a DIY fix, it’s always best to seek professional help.
A trained pool technician can not only assist in replacing the hose ends but also provide valuable maintenance tips and recommendations for prolonging the lifespan of your pool equipment. Proper care and maintenance ensure your pool vacuum hose ends last for many swimming seasons. So, always take good care of them!
Troubleshooting
What to Do if The New Vacuum Hose End Does Not Fit Snugly?
If the new hose end does not fit snugly onto your vacuum hose, you may need to clean and prepare the end more thoroughly. Make sure to use dish soap for lubrication, and if necessary, use a small amount of rubbing alcohol to remove any stubborn residue or dirt on the hose. If the issue persists, consider purchasing a different type of replacement hose end that may fit better.
How to Fix a Leaking Vacuum Hose End?
If you notice leaks from the new hose end, ensure the clamp is securely attached and tightened. If there are still leaks, remove the hose end and clean both surfaces before reattaching it with a new layer of dish soap. If the leak persists, try replacing the hose clamp, as it may be damaged or worn out. If the issue continues, it may be best to seek professional help to determine the cause of the leak.
How to Choose the Right Pool Vacuum Hose End for Your Needs
Cleaning your pool can be an enjoyable task when you have the right tools at hand. One essential tool that performs the job efficiently is a pool vacuum hose. However, not every hose works efficiently for all pools. When it comes to choosing the right pool vacuum hose end, there are several factors you need to consider.
Firstly, the size of your pool plays a significant role in the hose you choose. Secondly, the pool’s design matters because a flexible hose is necessary if there are awkward corners or curves. Lastly, the type of debris in your pool will determine the hose’s durability and its ability to clean. To make the pool cleaning process easy, ensure you choose the right pool vacuum hose end to suit your pool needs.
How to Maintain Your Pool Vacuum Hose Ends
Picture yourself basking in the sunshine next to your crystal-clear pool. Suddenly, you notice that debris is starting to accumulate on the water’s surface. You grab your trusty pool vacuum hose and begin cleaning, but as you dive down into the depths of the water, you realize that the end of your hose has seen better days. Don’t let a worn-out pool vacuum hose end ruin your summer fun!
Keeping your hose tips in great condition is a small task that can make a big difference in keeping your pool clean and enjoyable all season long. With a few simple steps and a little bit of regular maintenance, you can easily extend the life of your pool vacuum hose ends and spend more time splashing around in your pristine pool.
Common Mistakes to Avoid when Replacing Pool Vacuum Hose Ends
When it comes to swimming pool maintenance, replacing the vacuum hose ends may seem like a simple task. However, there are certain mistakes that you need to avoid to ensure that the job is done properly.
One common mistake is forgetting to measure the diameter of the end to ensure you are purchasing a compatible replacement. Another mistake is not properly lubricating the hose before attaching the new end, which can cause it to become stuck or damaged. Additionally, using a low-quality replacement end can cause leaks or other issues in the future. By avoiding these common mistakes, you can ensure your pool vacuum runs smoothly and effectively.
Conclusion
Repairing or replacing a pool vacuum hose end ensures your pool cleaning process runs smoothly and efficiently. Remember to always identify the issue correctly, purchase the correct replacement, use proper equipment to remove the old end, and attach the new end correctly while testing the new connection thoroughly for any leaks.
You must follow all the above steps to ensure your pool remains clean and healthy. So, go ahead and try it out yourself; it’s much easier than you think. Thanks for reading our post about how to replace pool vacuum hose ends.

