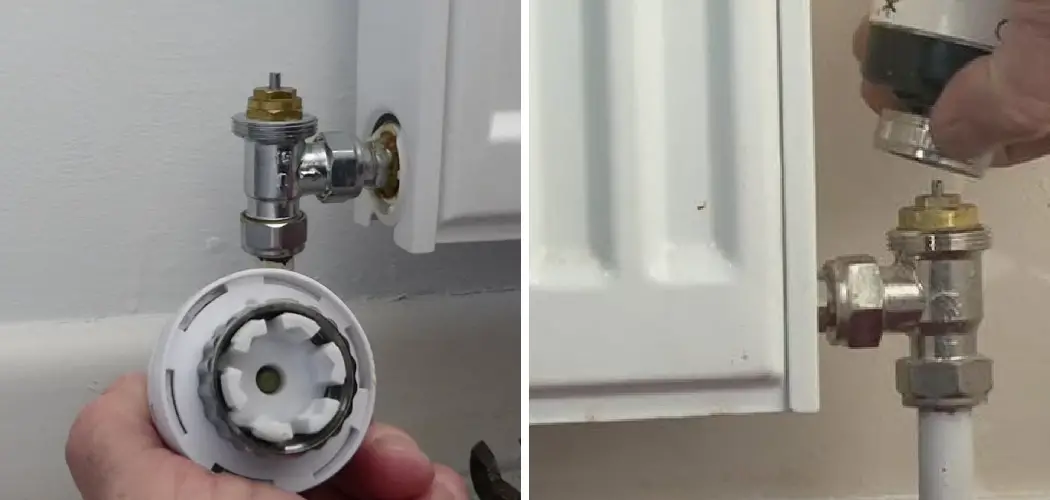
Have you ever been left in the cold when your radiator valve gave out at the worst possible moment? I know the feeling all too well, as just last winter my home’s heating system took an unexpected turn for the worse one frigid January night. After spending hours battling freezing temperatures inside my house as I attempted various DIY fixes, I finally broke down and called a professional. The verdict? One of my old radiator valves had seized up, preventing warm water from circulating as it should.
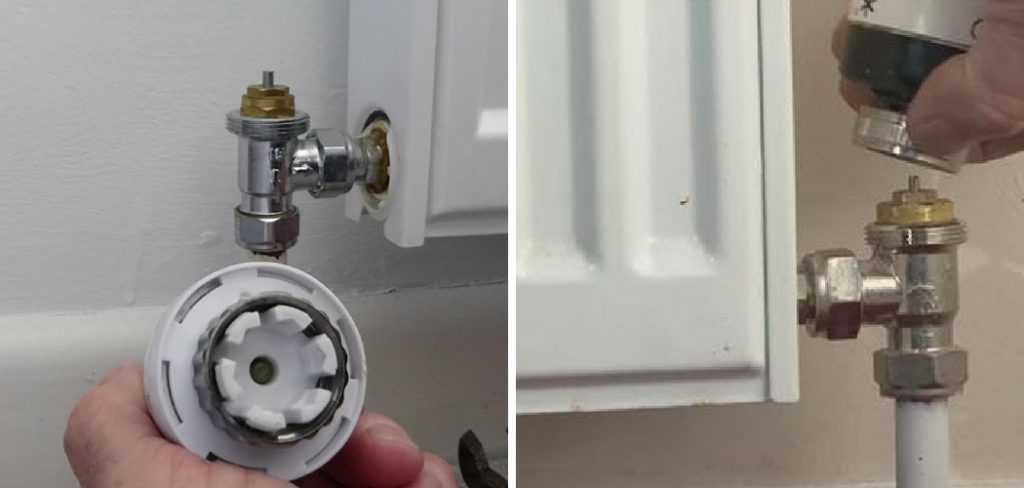
Like many homeowners, I didn’t relish the thought of shelling out big bucks for a repair I hoped I could tackle myself. That’s why I’m sharing my hard-earned radiator valve replacement lessons in this post. By following the step-by-step guide on how to replace radiator valve below, you’ll be able to swap out a faulty valve quickly and easily, saving you time and money compared to hiring a plumber. Let’s get started so you can stay cozy this winter!
Necessary Tools
Before you begin, make sure you have the following tools on hand to complete the job:
- Adjustable Wrench
- Vice Grip Plier
- Bucket
- Towels or Rags
- Pipe Wrench (Optional)
10 Simple Step-by-step Guidelines on How to Replace Radiator Valve
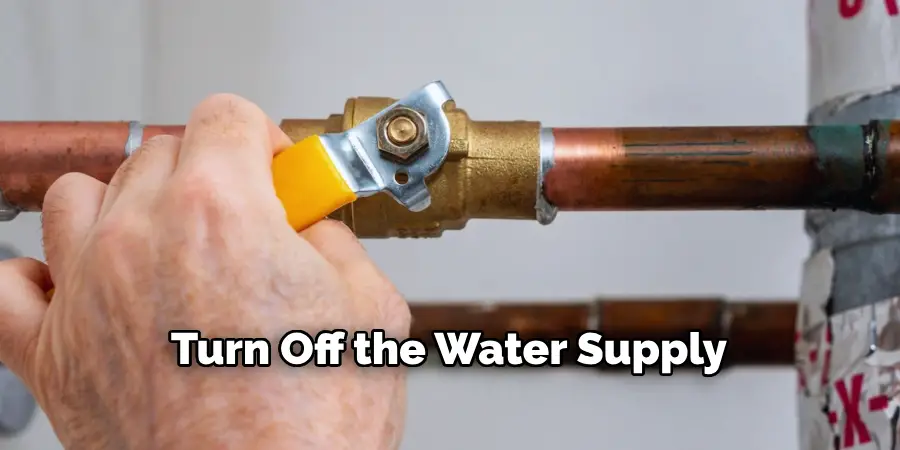
Step 1: Turn Off the Water Supply
To avoid any potential mess or water damage, it’s essential to turn off the water supply before you start working on your radiator valve. Locate the isolation valve usually found next to your boiler and turn it off by turning the handle clockwise. Next, turn on the hot water faucet to drain any excess water from the system.
Step 2: Loosen the Nut Connecting the Supply Pipe
With your adjustable wrench or pipe wrench, loosen the nut connecting the radiator’s supply pipe to the valve. Use a towel or rag to wrap around the nut, so you don’t damage it while loosening. But if the nut is stuck, you can use a vice grip plier to loosen it. You can also use WD-40 as a last resort if the nut is still stubborn. It’ll lubricate the metal and make it easier to loosen.
Step 3: Loosen the Nut Connecting the Radiator Valve
Next, use your adjustable wrench or pipe wrench to loosen the nut connecting the valve to the radiator. Make sure to place a bucket underneath to catch any excess water that may drain out. Otherwise, you’ll have a mess to clean up afterward! It’s a good idea to use WD-40 on this nut as well.
Step 4: Remove the Old Valve
Now that both connections are loosened, you can remove the old valve from the pipe. It may take some wiggling and gentle persuasion to get it off completely. It’s essential to wear gloves and use a towel or rag when handling the valve as it may be hot if your heating system has been running recently. But if the valve still won’t budge, use your pipe wrench to free it. You might also try pouring hot water over the valve to help loosen it.

Step 5: Clean the Area
Once you remove the old valve, use a towel or rag to clean up any debris or old pipe tape from the connection points. You’ll want a clean surface for the new valve to seal correctly. You can also use sandpaper to scrub away any corrosion or buildup if necessary. But don’t overdo it as you could scratch the threads and cause leaks. But if you notice significant corrosion, it’s best to replace the entire pipe.
Step 6: Wrap Pipe Tape Around the Threads
Next, wrap some pipe tape around the male threads of the radiator’s supply pipe. This will help prevent any water from leaking out at this connection point. Don’t wrap too much tape; a few layers should be more than enough. However, if you’re using a compression fitting valve, skip this step. It’s not necessary.

Step 7: Apply Pipe Compound to the Threads
To ensure that the valve seals correctly and tightens smoothly, apply pipe compound or join compound to the male threads on both sides of the valve. This will help fill in any gaps and create a watertight seal. You can also use PTFE tape instead; apply it by wrapping it clockwise around the threads 5-6 times.
Step 8: Attach the New Valve
With everything prepared, now is the time to attach your new valve. Make sure you install it the same way as the old one was removed, paying close attention to the flow direction arrow on the valve’s body. You want to make sure that your heating system is compatible with this new valve and that it isn’t installed backward. It may take some gentle persuasion, but the valve should fit snugly onto the pipe.
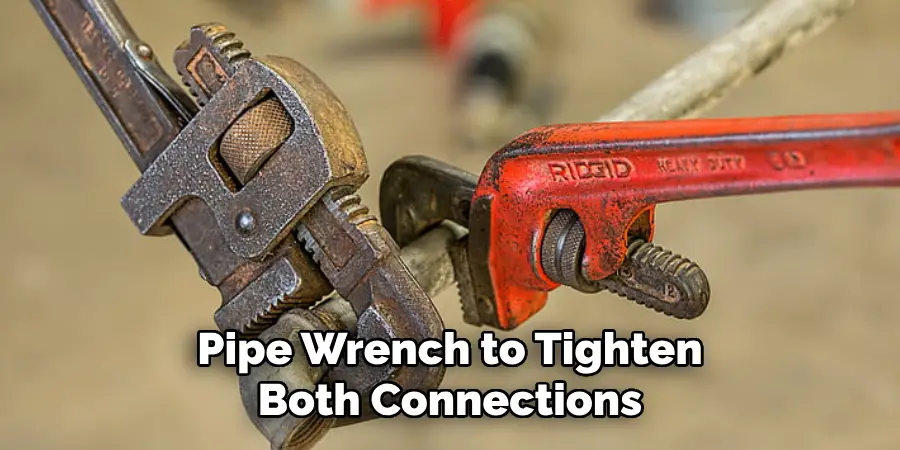
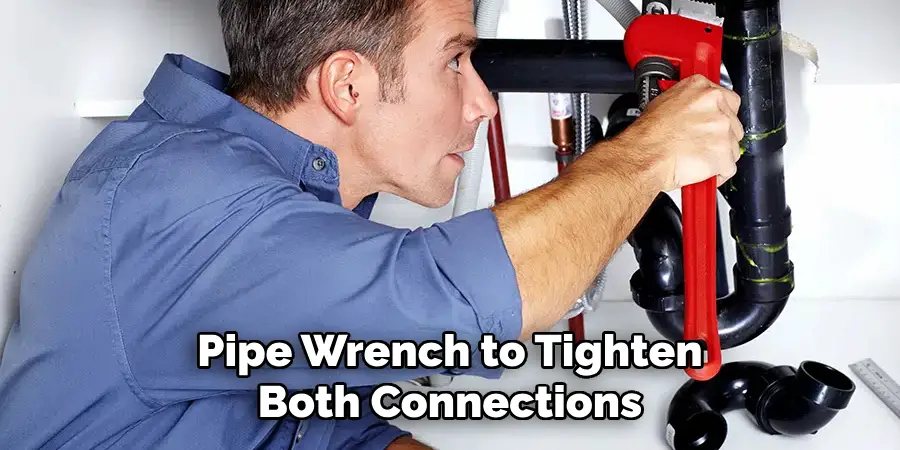
Step 9: Tighten Both Connections
Once your new valve is in place, use an adjustable wrench or pipe wrench to tighten both connections. Make sure they are tight but not too tight; you don’t want to damage the threads. If you’re using a compression fitting valve, make sure it’s tightened with your fingers plus 1/2 turn for added security. It’s a good idea to use a rag or towel to hold the valve body while tightening the nut.
Step 10: Turn On the Water Supply and Check for Leaks
Finally, once everything is connected and tightened, you can turn the water supply back on. Check for any leaks at both connection points, and if there are none, you’re all set! If you do spot a leak, make sure to re-tighten the connections gently.
But don’t overdo it as that could cause more significant issues. Once everything is secure and watertight, you can turn your heating system back on and enjoy the warmth. Congratulations, you’ve successfully replaced your radiator valve!
Following these simple steps on how to replace radiator valve will save you time, money, and hassle by avoiding costly plumber fees. By tackling this repair yourself, you’ll gain valuable knowledge and skills that will come in handy for future home maintenance tasks. Always remember to prioritize safety and take your time when working on any DIY projects to avoid accidents or mistakes. Happy fixing!
Do You Need to Use Professionals?
In most cases, you can replace a radiator valve yourself with the proper tools and guidelines. But if you’re unsure or uncomfortable doing it yourself, it’s always best to seek professional help. Attempting DIY repairs without the necessary knowledge or expertise may result in more significant issues and even pose safety hazards. If you feel overwhelmed or uncertain about how to replace your radiator valve correctly, it’s better to call a licensed plumber.
They have the necessary training and experience to handle this task efficiently and safely. And while hiring a professional may cost more upfront, it can save you from potential damages or injuries caused by DIY attempts gone wrong. So trust your instincts and make the best decision for yourself and your home. It’s always better to be safe than sorry.
So before you start any DIY project, make sure to weigh your options and consider all factors carefully. And if you’re not comfortable or confident in your abilities to complete a repair accurately, it’s best to leave it to the professionals. Remember, there’s no shame in asking for help when needed.
But with some determination, patience, and the right tools, you can successfully replace your radiator valve and save yourself both time and money! So go ahead and give it a try, and don’t forget to take pride in your accomplishment once the job is done. Happy fixing! #How to Replace Radiator Valve #DIY Home Repair #Plumbing Tips #Home Maintenance #Saving Money on Repairs
How Much Will It Cost?
The cost of replacing a radiator valve will vary depending on the type of valve you choose and its installation method. A basic manual valve can cost anywhere from $10 to $40, while a thermostatic or smart valve can cost upwards of $100. If you hire a professional plumber, they may charge an hourly rate of $50 to $150, depending on their experience and location.
Overall, replacing a radiator valve yourself will likely cost less than hiring a professional, but it’s essential to factor in your time and the potential risks involved. Remember to always prioritize safety and consider all costs before making a decision.
Other Maintenance Tips
Replacing your radiator valve is just one of many tasks you can do to maintain your home’s heating and plumbing systems. Here are a few other tips to keep in mind:
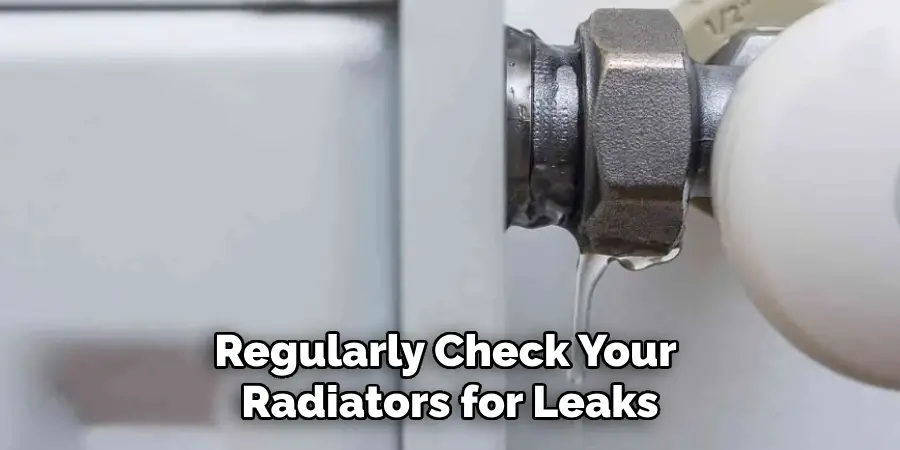
- Regularly Check Your Radiators for Leaks, Corrosion, or Other Issues That May Require Maintenance.
- Bleed Your Radiators at Least Once a Year to Release Any Trapped Air and Improve Their Efficiency.
- Insulate Your Pipes to Prevent Them From Freezing and Bursting During Colder Months.
- Keep an Eye on Your Boiler to Ensure It’s Functioning Correctly and Have It Serviced by a Professional at Least Once a Year.
By staying on top of these tasks, you can avoid costly repairs and keep your home comfortable and safe. Remember that regular maintenance is key to maintaining the longevity and efficiency of your heating system. And when in doubt, always consult a professional for any concerns or issues you may have. So don’t forget to give your home the attention it needs and deserves to keep it in tip-top shape!
Frequently Asked Questions
Q: Do I Need to Drain My Heating System Before Replacing the Radiator Valve?
A: No, you don’t have to drain your entire heating system. Just make sure to turn off the water supply and open a hot water faucet to relieve any pressure in the system. It’s also a good idea to have a bucket and towels on hand to catch any excess water as you work.
Q: Can I Use a Compression Fitting Valve Instead?
A: Yes, you can use a compression fitting valve if it’s compatible with your heating system. Just make sure to follow the manufacturer’s instructions carefully and tighten the connections with your fingers plus 1/2 turn for added security.
Q: How Often Do Radiator Valves Need to Be Replaced?
A: Radiator valves typically have a lifespan of 5-10 years, but this can vary depending on usage and maintenance. If you notice any signs of wear or leaks, it’s best to replace the valve as soon as possible to avoid further damage.
Q: Can I Replace Multiple Radiator Valves at Once?
A: Yes, you can replace multiple radiator valves at once if needed. Just make sure to turn off the water supply and follow the steps outlined in this guide for each valve. It may also be helpful to label each valve as you remove them to ensure they are installed back in their original positions.
Conclusion
In conclusion on how to replace radiator valve, replacing a radiator valve may seem like a daunting task, but with the right tools and knowledge, it can be easily accomplished. By following these steps, you’ll not only save money on hiring a professional plumber, but you’ll also gain a sense of accomplishment from successfully completing a DIY household project.
Remember to always take precautionary measures when working with pipes and plumbing systems. And don’t be afraid to ask for help from friends or family if needed.
With a little patience and determination, you can conquer any home maintenance task. Now that you have learned how to replace a radiator valve, why not try tackling other plumbing projects in your home? You never know what skills and talents you may discover! Don’t forget to share your experience in the comments below and send pictures of your finished project to inspire others. Happy fixing!

