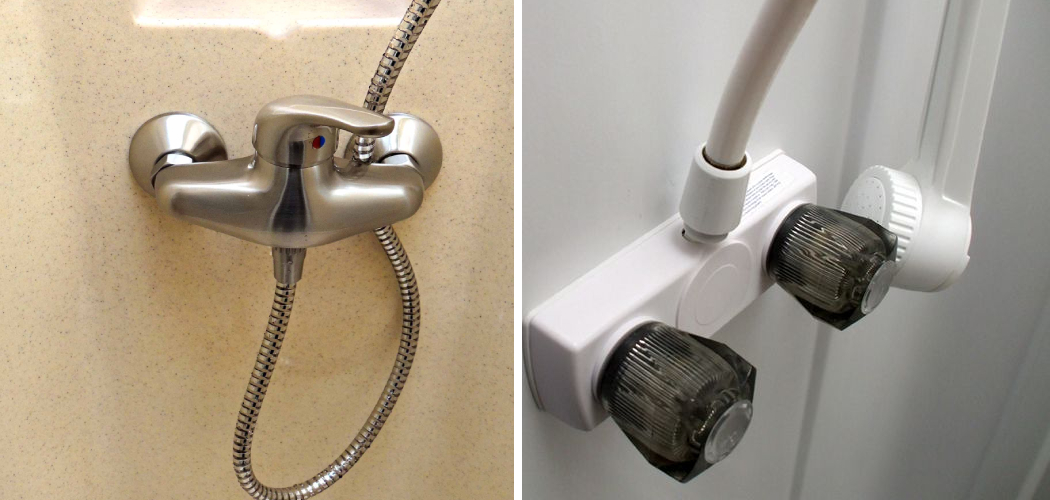
Embarking on a journey in your RV means embracing a nomadic lifestyle, complete with the comfort of home on wheels. Yet, even the most well-maintained vehicles require occasional repairs and upgrades.
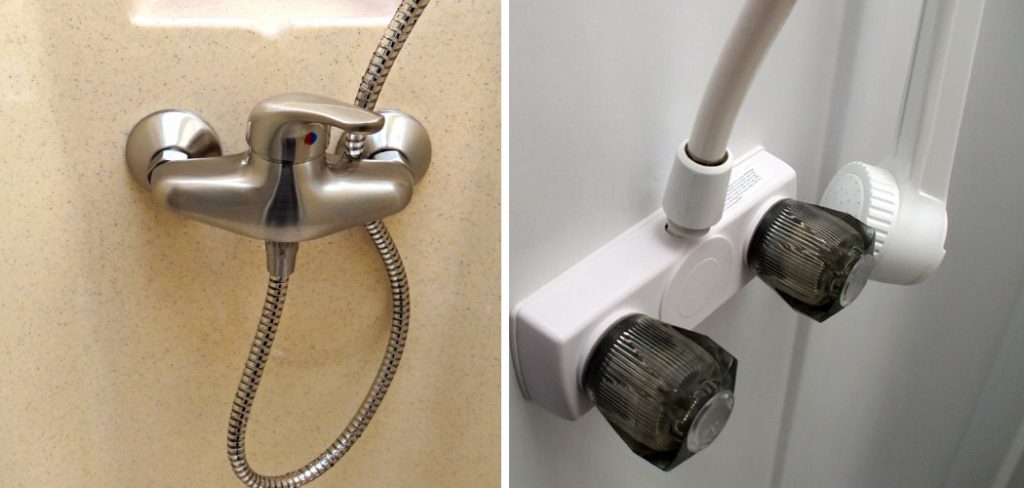
One such task that RV enthusiasts often encounter is replacing the shower faucet. While it might sound like a daunting endeavor, swapping out an RV shower faucet can be a manageable and rewarding DIY project with the right guidance.
Whether you’re dealing with a leaky fixture, seeking a modern update, or simply looking to enhance the functionality of your mobile home’s bathroom, understanding how to replace RV shower faucet is a valuable skill. In this article, we’ll walk you through the essential steps and considerations, empowering you to conquer this task efficiently and effectively, so you can get back to enjoying your home on the road.
Importance of a Functional RV Shower Faucet
RV shower faucets are an important part of the overall convenience of your RV. A functional shower faucet is key for a comfortable and enjoyable RV experience, providing adequate pressure and temperature control in the shower. Unfortunately, they can become damaged or worn over time due to excessive use, water pressure issues, or corrosion. If this is the case with yours, it may be time to replace the RV shower faucet.
Replacing RV Shower Faucets
The first step in replacing your RV shower faucet is to make sure you have the correct replacement parts. You’ll need a new spout, gasket, and handle. It’s important to purchase quality replacement parts that are designed for RVs and are corrosion-resistant. Once you have all the parts, it’s time to begin the replacement process.
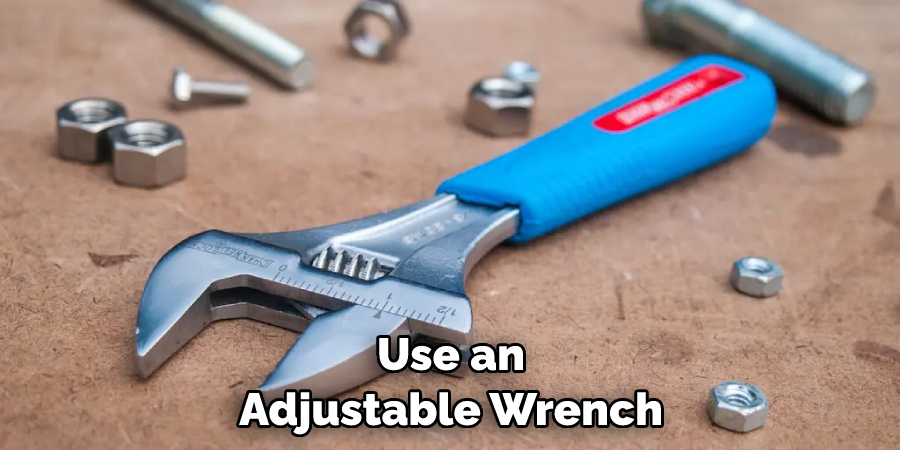
The first step in this process is to turn off the water supply valve for your RV shower faucet. This will ensure that no water flows while you are replacing the faucet. Then, use an adjustable wrench or pair of pliers to loosen and remove the old faucet. Once it’s removed, use a rag to wipe away any residue or debris from the shower walls.
Next, put the new gasket into place and then begin to install the new spout and handle. Make sure everything is tight and secure before turning on the water supply valve again.
Signs Indicating the Need for Faucet Replacement
It is important to pay attention to the signs indicating that your RV’s shower faucet needs replacement. A leaky faucet or one that is difficult to turn off and on are both indicators that it is time to replace the fixture.
Additionally, if you find rust around the faucet, then this could indicate problems with its internal components and may require a replacement. If you experience any of these issues, it is important to replace your RV shower faucet as soon as possible in order to keep your plumbing system running smoothly and efficiently.
Before you begin replacing your RV shower faucet, make sure you have the necessary tools for the job, such as a screwdriver, pliers and a wrench. Before you start unscrewing the faucet fixtures, be sure to turn off the water supply to prevent any flooding or damage from occurring.
Once the water is turned off, you can begin removing the old faucet by unscrewing the mounting screws that hold it in place and then gently prying away the faucet to reveal the supply lines and other components beneath.
Now that you have successfully removed the old faucet, it is time to install the new one. Start by carefully positioning the faucet in place and then secure it with mounting screws. Once it is secured, you can begin attaching each of the water supply lines to the back of the faucet. It is important to make sure that you have the right fittings for each line, as incorrect connections can lead to leaks or other problems.
10 Steps How to Replace RV Shower Faucet
Step 1: Gather Materials and Tools
Before diving into the replacement process, ensure you have all the necessary materials and tools. You’ll need a new RV shower faucet kit, adjustable wrenches, pipe thread tape, plumber’s putty, a bucket, towels, and safety equipment such as gloves and safety glasses.
Step 2: Turn Off Water Supply
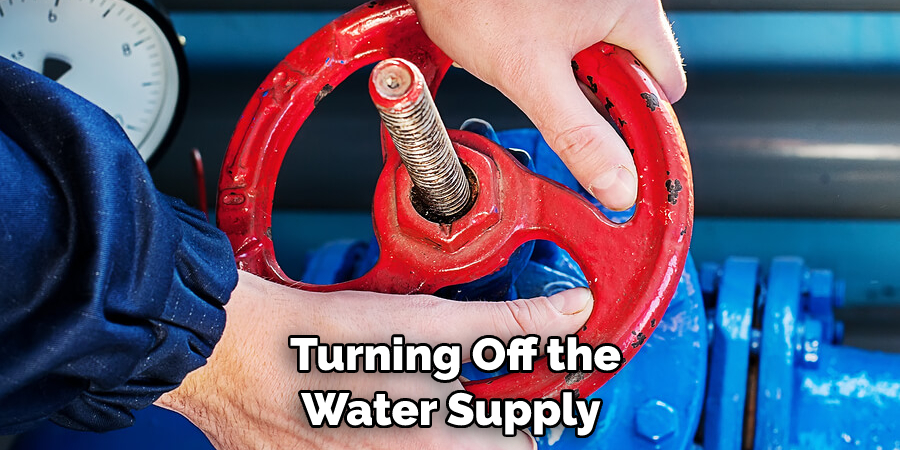
Begin by turning off the water supply to your RV. This is typically done at the water pump or city water connection. Run the faucets to drain any remaining water from the system and relieve pressure.
Step 3: Access the Faucet
Accessing the faucet might require removing a panel or accessing the plumbing through a cabinet. Carefully remove any screws or fasteners and gently take off the panel. This will give you access to the shower faucet and plumbing connections.
Step 4: Remove the Old Faucet
Using your adjustable wrench, carefully disconnect the water lines connected to the old faucet. Place a bucket underneath to catch any water that may still be in the lines. If the faucet is also screwed into the wall, unscrew it while supporting its weight to prevent any damage.
Step 5: Clean the Area
Once the old faucet is removed, clean the area around the installation site. Remove any old putty, caulk, or debris that might affect the installation of the new faucet.
Step 6: Apply Plumber’s Putty
Apply plumber’s putty around the base of the new faucet. This helps create a watertight seal between the faucet and the RV wall.
Step 7: Install the New Faucet
Carefully position the new faucet over the installation holes and press it firmly against the wall. If the faucet comes with a backing plate, make sure it’s aligned properly. From the back, secure the faucet with any included screws or fasteners.
Step 8: Connect Water Lines
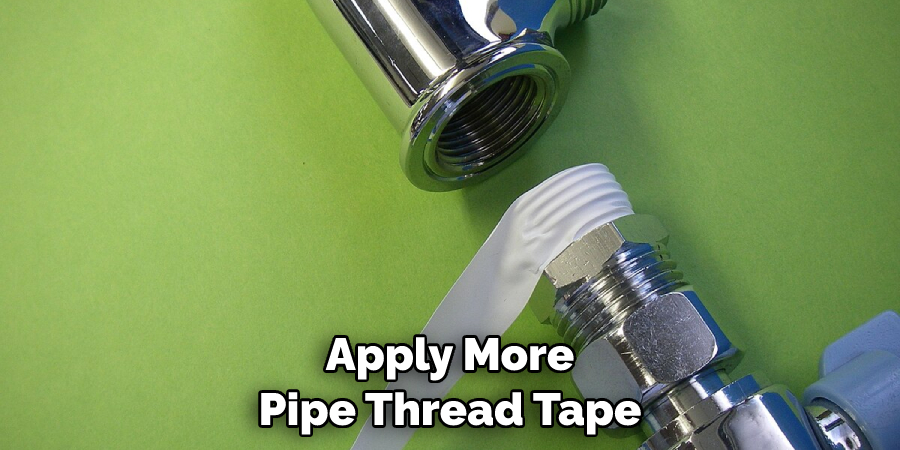
Connect the hot and cold water lines to the appropriate connections on the new faucet. Use pipe thread tape on the threaded connections to ensure a tight seal. Tighten the connections using adjustable wrenches, being careful not to overtighten and damage the fittings.
Step 9: Test for Leaks
Turn on the water supply to your RV and carefully inspect the new connections for any leaks. If you notice any leaks, tighten the connections slightly or apply more pipe thread tape as needed.
Step 10: Reassemble and Test
Once you’re confident that there are no leaks, reassemble any panels or cabinets you removed to access the faucet. Turn on the new faucet and check that both hot and cold water flows correctly. Adjust the handles if necessary to achieve the desired water temperature.
Things to Consider When Replacing RV Shower Faucet
Replacing an RV shower faucet can be a big job, so it’s important to consider all of the aspects involved before taking on this project. Here are some tips to help make sure you get the job done correctly:
- Measure twice, cut once: Take measurements of your current shower faucet to ensure that you’re purchasing the right size and shape for your RV.
- Know your parts: Familiarize yourself with the different types of plumbing supply and drain parts you will need for the job.
- Buy quality: Invest in a quality faucet that is designed to last and can handle frequent use.
- Have a plan: Before starting, design a plan of action so you know exactly what steps you need to take and in what order.
- Accurate installation: Ensure that the faucet is installed correctly by following the manufacturer’s instructions fully.
- Check for leaks: After you’ve completed the installation, test your work by checking for any possible leaks.
Safety Precautions for Replacing RV Shower Faucet
For any project involving plumbing, safety must be your top priority. When replacing an RV shower faucet, there are a few key safety precautions that you should always take:
- Wear protective gear, such as gloves and safety glasses.
- Disconnect the water supply and drain the RV tank before beginning the project.
- Turn off power to the RV before working on any electrical components.
- Make sure all pipes, fittings, and connections are completely dry and free of moisture.
- Connect only to the same size pipe as the one being replaced.
- Take extra care when working with sharp tools like screwdrivers and pliers.
- If you’re not familiar with the project, seek help from a qualified professional.

Following these safety precautions will ensure that you complete the project successfully and without any risks or injuries. With these in mind, you can move forward with replacing your RV shower faucet!
Conclusion
Replacing an RV shower faucet doesn’t have to be a daunting task. With simple tools, and the right steps, you can complete this project quickly and with minimal stress. Your first step should be consulting your manual for specialized instructions as well as having the right parts on hand. Shut off the water and relieve any existing pressure before removing the old faucet. After that, clean the area where you will install the new product.
The actual installation of the faucet and making sure it’s secure is important to finish the job correctly. Don’t forget to connect hoses, check all connections for leaks, attach handles or knobs and last but certainly not least test out your new shower faucet! If you follow these steps, replacing an RV shower faucet won’t be a hassle. Take action now and tackle your next DIY project- How to Replace Rv Shower Faucet!

