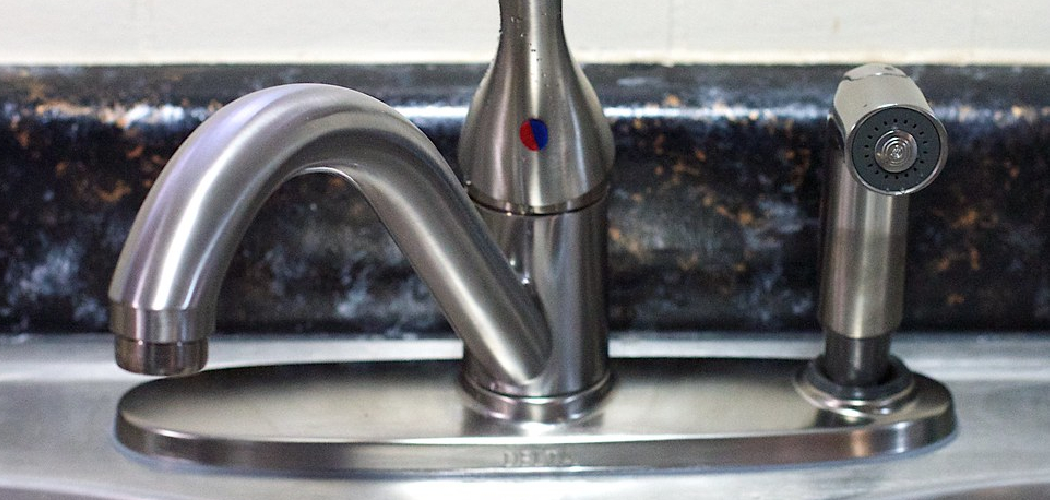
Delta kitchen faucets are renowned for their durability and sleek designs, making them a popular choice for many homes. However, even the most reliable fixtures can experience wear and tear over time. A common issue is a faulty internal cartridge, which may lead to leaks, reduced water flow, or inconsistent operation. Promptly addressing this issue is crucial to preventing water damage, improving faucet performance, and extending the fixture’s lifespan.
Replacing a malfunctioning cartridge is a practical and cost-effective solution that homeowners can often tackle on their own. This guide provides a clear, step-by-step explanation on how to replace the cartridge in a Delta kitchen faucet, ensuring your faucet is restored to optimal working condition.
By following these instructions, you can save money, conserve water, and prolong the life of your Delta kitchen faucet.
Understanding Delta Faucet Cartridges
What Is a Faucet Cartridge?
A faucet cartridge is a key component inside your faucet that controls both the flow of water and its temperature. It acts as a valve, opening and closing to regulate water pressure while mixing hot and cold water to your desired setting. Over time, cartridges can wear out or become clogged with debris, leading to leaks or inconsistent performance.
Types of Delta Cartridges
Delta kitchen faucets typically use one of two types of cartridges:
- Single-handle cartridges – These are the most common in modern kitchen faucets, allowing users to control both water temperature and flow with one handle.
- Multi-handle cartridges – Found in older or specialized faucet designs, these are used when separate handles manage hot and cold water individually.
Identifying the Right Replacement Cartridge
To find the correct replacement cartridge for your Delta kitchen faucet, check the faucet’s model number, which is often printed on the faucet or included in the product manual. If the model number is unavailable, you can bring the old cartridge to a hardware store for comparison.
Alternatively, Delta offers an online support system and detailed resources to help you identify the specific cartridge type for your faucet model. Proper identification ensures a seamless repair and improved performance.
Tools and Materials Needed
Ensuring you have the right tools and materials before starting the replacement process can make the task quicker and more efficient. Here’s what you’ll need:
Tools
- Adjustable wrench or basin wrench
- Allen wrench or hex key (usually 1/8-inch)
- Flathead and Phillips screwdrivers
- Pliers (needle-nose optional)
Materials
- Replacement Delta cartridge (OEM recommended)
- Plumber’s grease or silicone grease
- Clean cloth or rag
- Bucket or towel to catch excess water
Gathering these items will help prevent interruptions and facilitate a smooth cartridge replacement process. Proper preparation can save time and reduce the risk of damaging your faucet components.
Shutting Off Water Supply and Prepping the Area
Step 1: Shut Off Water Supply
Locate the water supply valves under the sink and turn them off by rotating them clockwise. Make sure to shut off both the hot and cold water valves to cut off the water flow to the faucet completely.
Step 2: Drain the Faucet
Turn on the faucet and allow any remaining water to flow out. This will relieve pressure in the lines and reduce the risk of water spilling during the cartridge replacement process.
Step 3: Clear the Area
Remove any cleaning supplies, tools, or other obstacles from the space under the sink to ensure a clear workspace. This will make it easier to access the valves and components. Place a towel or bucket underneath the faucet to catch any drips or excess water.

Step 4: Plug the Drain
To prevent small screws or parts from falling into the drain, plug it using either a sink stopper or a clean rag. This precaution will save time and prevent the potential loss of any crucial components during the repair.
Removing the Faucet Handle and Accessing the Cartridge
Step 1: Remove Decorative Cap (if present)
If your faucet has a decorative cap covering the handle’s set screw, use a flathead screwdriver to pry it off carefully. Check for any notches or grooves that indicate where to apply pressure. Be gentle to avoid scratching or damaging the finish of the cap.
Step 2: Unscrew the Handle
Locate the set screw beneath the decorative cap or on the side of the faucet handle. Use an appropriately sized Allen wrench to loosen the screw. Turn it counterclockwise until the handle slides off easily. Keep the screw in a safe place to ensure you do not misplace it.
Step 3: Remove Bonnet Nut or Retaining Clip
Underneath the handle, you’ll find a bonnet nut or, in some models, a retaining clip securing the cartridge in place. If it’s a bonnet nut, use an adjustable wrench and turn it counterclockwise to loosen and remove it. If your faucet uses a retaining clip, grab a pair of needle-nose pliers to pull it out carefully. Set the removed components aside for reassembly later.
Step 4: Lift Out the Cartridge
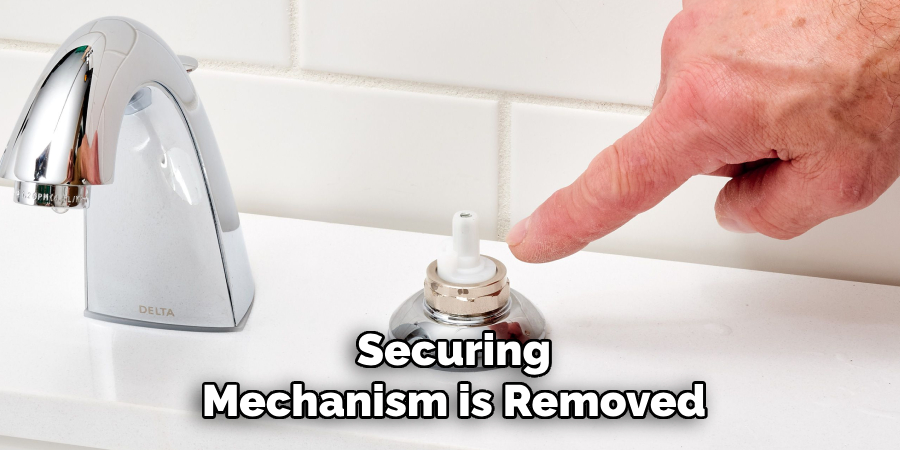
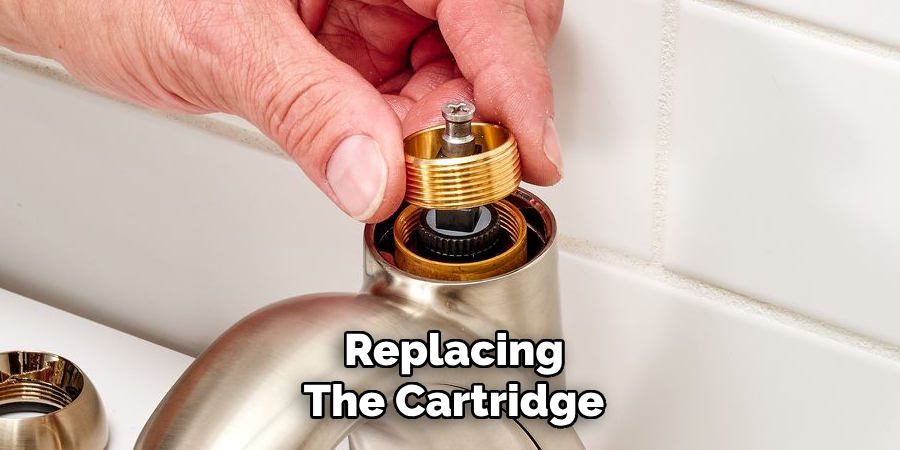
Once the securing mechanism is removed, grip the top of the cartridge and gently twist it back and forth to loosen it. Pull the cartridge straight up and out of the valve body. If it feels stuck, use a pair of pliers for additional leverage, being cautious not to damage the cartridge or surrounding faucet parts.
How to Replace the Cartridge in a Delta Kitchen Faucet: Installing the New Cartridge
Step 1: Apply Plumber’s Grease
Before installing the new cartridge, apply a layer of plumber’s grease to the O-rings and the base of the cartridge. This step helps create a watertight seal and ensures the cartridge moves smoothly during operation. Be sure to apply the grease evenly for optimal performance.
Step 2: Insert the Cartridge
Carefully align the tabs or notches on the new cartridge with the corresponding grooves inside the faucet body. This alignment is essential for proper functioning. Gently push the cartridge into the faucet body, ensuring it slides in smoothly and is fully seated in position.
Step 3: Reattach Bonnet Nut or Retaining Clip
Once the cartridge is in place, secure it by reinstalling the bonnet nut or retaining clip. Tighten the component gently but firmly, avoiding over-tightening, as this can damage the cartridge or surrounding parts. Ensure it is secure to prevent leaks.
Step 4: Reinstall the Handle
Finally, reattach the faucet handle by aligning it with the cartridge stem. Secure the handle using the Allen screw, tightening it sufficiently to hold the handle steady without overdoing it. Once the handle is secure, snap the decorative cap back on to cover the screw and restore the faucet’s finished appearance.
Your faucet is now reassembled and should operate smoothly with the newly installed cartridge. Turn on the water supply and check for leaks to confirm a successful installation.
Testing the Faucet and Checking for Leaks
Step 1: Turn On Water Supply
Slowly turn on the hot and cold water supply valves located beneath the sink. Be cautious during this step to prevent a sudden rush of water pressure that can potentially damage the faucet or connections. Ensure both valves are fully opened.
Step 2: Check Faucet Functionality
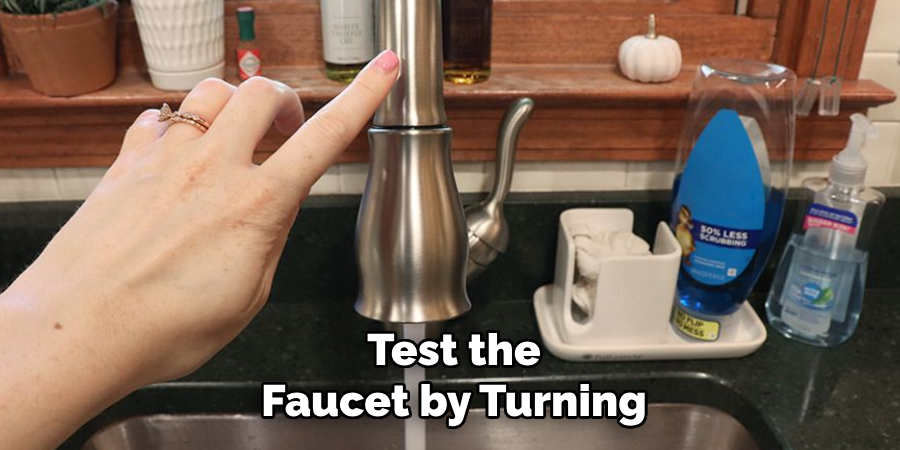
Test the faucet by turning it on and off multiple times. Make sure to test both the hot and cold water settings by adjusting the handle and monitoring the water flow and temperature. Confirm that the handle operates smoothly without resistance and that the water temperature changes accurately based on your adjustments.
Step 3: Inspect for Leaks
Carefully inspect the area around the faucet’s base to ensure no water pooling or dripping. Additionally, check underneath the sink for any signs of leakage from the connections to the water lines. If you notice any leaks, gently tighten the connections as needed. If the problem persists, consider reseating the cartridge to ensure it is properly installed. This thorough inspection ensures your faucet is functioning correctly without any issues.
Maintenance Tips and When to Call a Plumber
Routine Maintenance
To keep your faucet functioning efficiently, performing routine maintenance is essential. Clean the faucet aerators periodically to prevent debris and mineral buildup that can restrict water flow. Additionally, operate the faucet handles gently to avoid unnecessary strain, which can lead to premature wear on the cartridge or other components. These simple steps can extend the life of your faucet and reduce the need for frequent repairs.
Signs You May Need Professional Help
Sometimes, even with proper care, you may encounter issues requiring a plumber’s expertise. For instance, if you cannot remove the old cartridge during a replacement, a professional can assist without causing further damage.
Similarly, corrosion or broken components may make repairs challenging and require specialized tools or techniques. Even after installing a new cartridge, persistent leaks may indicate a deeper issue that needs expert attention. Contacting a licensed plumber in these situations will help ensure your faucet is repaired correctly and efficiently, saving you both time and effort.
Conclusion
Replacing the cartridge in a Delta kitchen faucet is a manageable DIY task with the right tools and steps. By performing this repair yourself, you can save time and money and reduce water waste caused by leaks. When done correctly, installing a new cartridge restores the faucet’s smooth operation and significantly extends its lifespan.
To ensure success, always check compatibility and follow manufacturer guidelines carefully. If you encounter issues, don’t hesitate to seek professional assistance. Understanding how to replace the cartridge in a Delta kitchen faucet empowers homeowners to maintain their fixtures effectively and keeps plumbing systems running efficiently.

