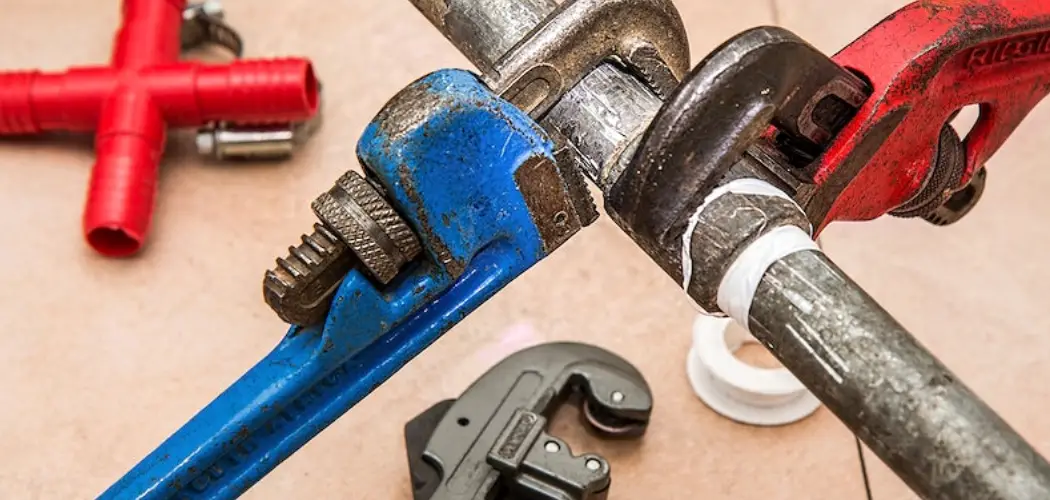
Like most homeowners, you probably don’t think about your toilet’s water supply line until there is a problem. A water supply line break can be a big hassle, but it is a repair you can do yourself.
This blog post will show you how to replace toilet water supply line. We’ll also show you how to troubleshoot common problems with toilet water lines. Remember that before starting any plumbing repairs, you should always turn off the main water valve. Let’s get started!
Tools and Materials Needed
- Adjustable wrench
- Teflon tape
- Pliers
- Flathead screwdriver
- New water supply line
Common Reasons That Cause Leaky Toilet Water Supply Lines
1. Worn Out Flapper
A worn-out flapper is one of the most common reasons for a leaky toilet. The flapper is a rubber seal that sits at the bottom of the tank and prevents water from leaking. Over time, the flapper can become worn out and no longer create a tight seal, which can cause water to leak out of the tank and into the bowl.
2. Broken Fill Valve
Another common reason for a leaky toilet is a broken fill valve. The fill valve is responsible for filling the tank with water after it has been flushed. If the fill valve is broken, water can leak out of it and into the bowl. If water leaks from the fill valve, you must replace it.
3. Cracked Tank
A cracked toilet tank can also cause water to leak into the bowl. A cracked tank can be caused by several things, including age, wear and tear, or an impact (such as dropping something heavy on the tank). If there is a crack in the tank, you will need to replace it.
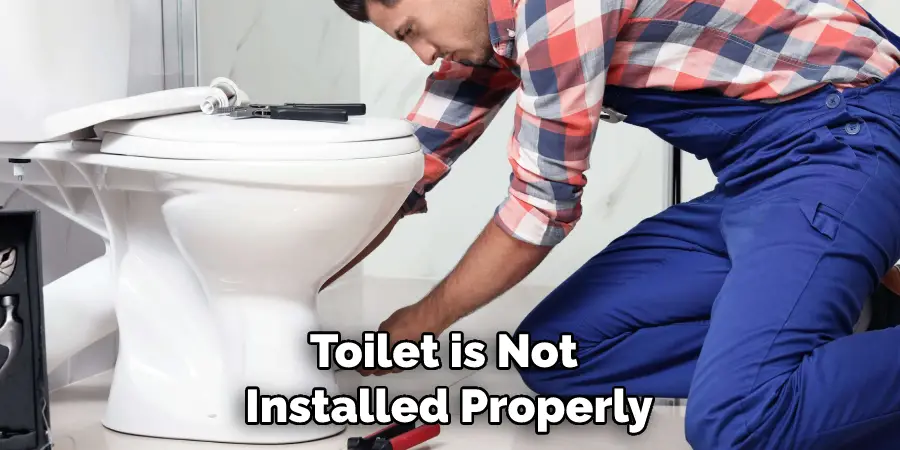
4. Improperly Installed Toilet
If a toilet is not installed properly, it can also cause water to leak into the bowl. This is usually due to an incorrect wax ring or gasket used when installing the toilet. A wax ring or gasket helps to create a seal between the bottom of the toilet and the drain pipe, and if it is not installed correctly, water can leak through. Thus, it can cause water to leak into the bowl.
5. Loose Toilet Bolts
If the bolts that hold the toilet to the floor are loose, it can also cause water to leak into the bowl. This is because the bolts help create a seal between the bottom of the toilet and the floor; if they are loose, water can leak through. It can also make your toilet feel wobbly, so be sure to tighten them if you notice this problem.
6. Poorly Sealed Toilet Bowl
Water can also leak through if the toilet bowl is not properly sealed. This usually occurs when there is a gap between the bowl and the floor or when the bolts that hold the bowl in place are loose. If the bowl is properly sealed, there should be no gaps between the bowl and the floor.
To check for leaks, put a few drops of food coloring in the tank and wait 15 minutes. If the water in the bowl is tinted, there is a leak.
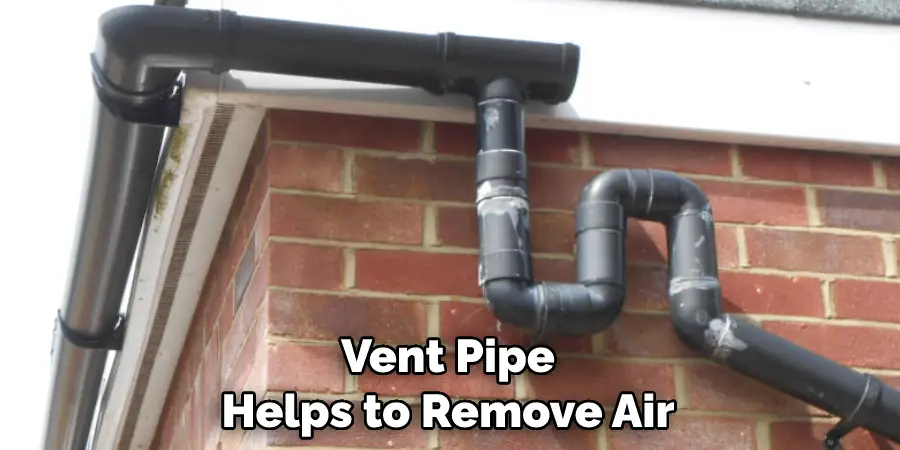
7. Clogged Vent Pipe
A clogged vent pipe can also cause water to leak into the bowl. The vent pipe helps to remove air from the sewer line and allows sewage gases to escape from the home. If the vent pipe becomes clogged, it can cause pressure to build up in the sewer line, which can then cause water to leak into toilets in homes that are connected to that line.
If you have a leaky toilet, it is important to determine the cause and make the necessary repairs. In most cases, you will be able to fix the problem yourself. However, if you are unsure of what to do or if the problem is more serious, it is always best to call a plumber.
Step-by-Step Guide on How to Replace Toilet Water Supply Line
Step 1: Turn Off the Water Supply to Your Toilet
The first step in replacing your toilet’s water supply line is to turn off the water supply to your toilet. This can usually be done by turning a knob or lever located behind the toilet. Once the water is turned off, flush the toilet to empty the tank. If water is still in the tank, use a sponge or rag to remove it.
Step 2: Disconnect the Old Water Supply Line
Once the water is turned off and the tank is empty, you can disconnect the old water supply line from the toilet tank. To do this, simply unscrew the coupling nut that connects the line to the tank. If your old water supply line is made of metal, you may need a wrench to loosen the coupling nut.
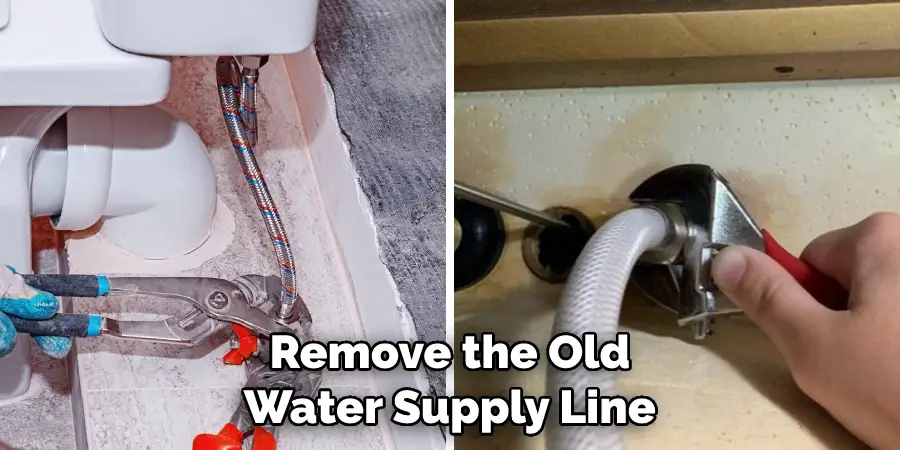
Step 3: Remove the Old Water Supply Line
Once the coupling nut is loosened, you can remove the old water supply line from the toilet tank. If there is any water remaining in the line, be sure to empty it before removing the line. Also, ensure no water remains in the line, as this could cause leaks. If your old water supply line is made of metal, you can dispose of it with your regular trash.
Step 4: Cut off any Remaining Water Supply Line
If any remaining water supply line is attached to your toilet, you must cut it off before proceeding. To do this, use scissors or a utility knife to cut through the line. Once you have cut through the line, you can remove it from your bathroom. First, check if the new water supply line you will use is the same length as the old one. If not, cut it to size with scissors or a utility knife.
Step 5: Attach the New Water Supply Line
Now that you have prepared the new water supply line, you can attach it to your toilet tank. To do this, simply screw the coupling nut onto the threaded end of the new water supply line. Once the coupling nut is tight, you can turn on the water supply to your toilet.
Ensure the water pressure is not too high, or the new water supply line may be loose. Also, check for any leaks from the connection between the new water supply line and the valve on your toilet tank. If there are no leaks, you have successfully replaced your old water supply line with a new one!
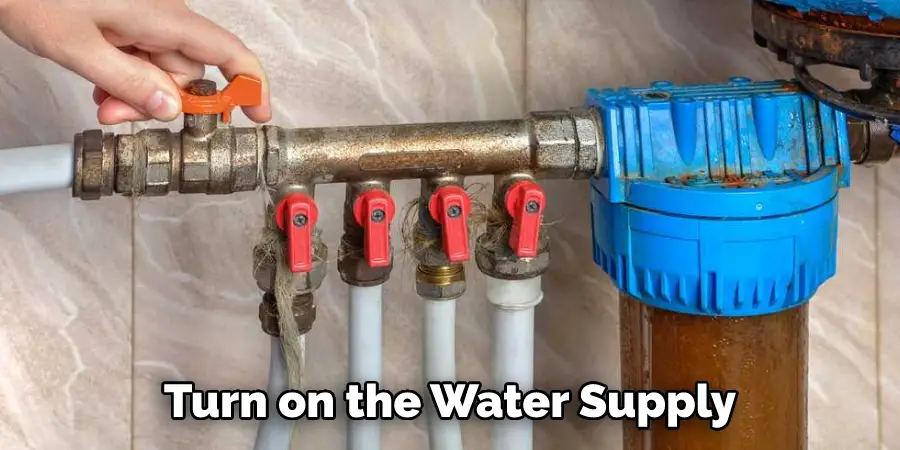
Step 6: Turn on the Water Supply and Test for Leaks
Once you have attached the new water supply line to your toilet tank, you can turn on the water supply. Slowly turn on the water at the shut-off valve, and check all of your connections for leaks. If there are any leaks, tighten the connection until it stops. After you have confirmed no leaks, flush the toilet a few times to fill up the tank and bowl. Test the toilet by flushing it a few times to ensure everything works properly.
Please get in touch with a professional plumber for assistance if you have any questions or concerns. Thank you for taking the time to read this guide on replacing the toilet water supply line. We hope that you found it helpful and informative!
You Can Check It Out to Fix Toilet That Won’t Flush Properly
Additional Tips About Fixing Leaky Toilet Water Supply Line
- If the leak is from the supply line connection to the toilet, shut off the water supply valve to the toilet.
- If the leak is from the supply line between the shut-off valve and the toilet, you will need to cut off the water supply to the house.
- Once the water is turned off, repair or replace the leaking section of the tubing.
- Turn on the water supply and check for leaks. If there is still a leak, you may need to replace the entire water supply line.
- It is a good idea to have a spare toilet water supply line on hand in case of future leaks. Keep in mind that different types of toilets require different water supply lines. Be sure to purchase the correct type of replacement line.
- If you are not confident in your ability to repair, it is best to call a plumber. Plumbers have the experience and tools necessary to make the repairs quickly and correctly.
Final Words
Now that you know how to replace a toilet water supply line, you can do it yourself and save money on a plumber. This is a relatively easy repair that anyone with basic plumbing skills can do.
Just be sure to turn off the water before you begin, and follow the instructions in this blog post carefully.
With a few simple tools and these step-by-step instructions, you’ll have your toilet working like new again in no time. We hope this guide on how to replace toilet water supply line has been helpful. If you’ve any questions or want to know more, feel free to comment below!
You Can Check It Out To Fix Short Cycling Sump Pump

