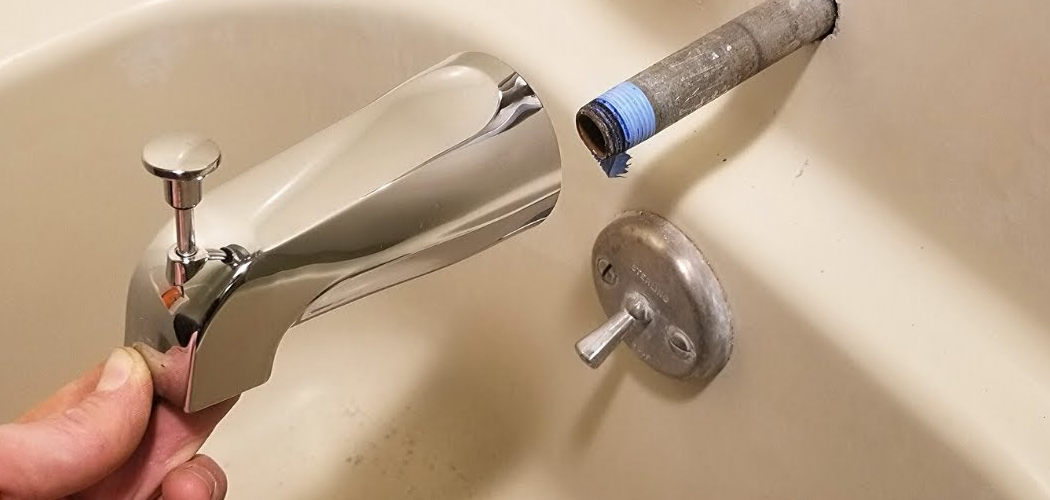
Replacing a tub faucet diverter can seem like a daunting task, but with the right tools and a step-by-step approach, it’s a manageable DIY project. The diverter is a key component that directs water flow either to the tub spout or the showerhead, and over time, it can wear out or become damaged. By replacing it, you can restore proper functionality and improve water efficiency. This guide will walk you through the process of how to replace tub faucet diverter, ensuring a smooth and effective replacement.
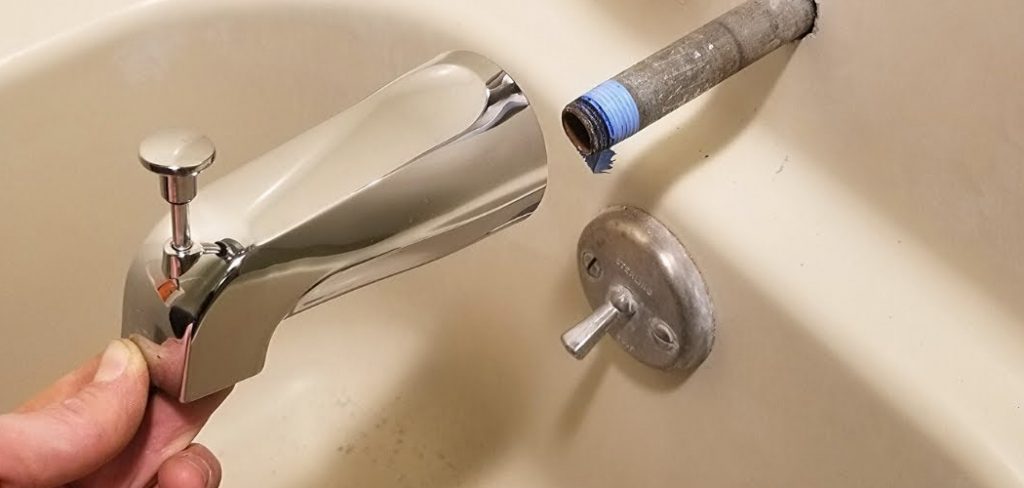
Understanding the Types of Tub Diverters
Before beginning the replacement process, it’s important to familiarize yourself with the different types of tub diverters. Tub diverters come in three main types:
- Lift Gate Diverter: This type is typically found on the tub spout. It functions through a small lever or knob that you lift to redirect water to the showerhead. It is one of the most common types and is easy to recognize.
- Three-Valve Diverter: Found in older plumbing systems, the three-valve diverter has separate hot and cold knobs alongside a third knob in the middle that controls the flow of water to the tub or shower. This type may require a bit more effort to replace.
- Two-Valve Diverter: Similar to the three-valve diverter but with only two knobs for hot and cold water. A small mechanism within one of the valves typically controls the direction of the water flow.
Understanding which type you have will help you determine the tools and steps required for replacement. Identifying the right diverter ensures a smoother and more effective repair process.
Signs Your Tub Diverter Needs Replacement
Over time, your tub diverter may show signs of wear and tear, indicating that replacement might be necessary. Here are some common signs to look out for:
- Water Leaking from the Showerhead or Spout: If water continues to drip or flow from the tub spout when the shower is engaged, the diverter may not be sealing properly.
- Difficulty Switching Water Flow: A stiff or unresponsive knob or lever can be a clear indication that the diverter’s internal mechanism is failing.
- Reduced Water Pressure: If you notice a drop in water pressure when using the shower, the diverter may not be effectively directing water.
- Uneven Water Distribution: Water flowing equally from both the showerhead and tub spout simultaneously often points to a faulty diverter.
- Visible Wear or Damage: Corrosion, cracks, or other visible damage to the diverter mechanism can lead to water flow issues and signal the need for a replacement.
Paying attention to these signs can help you address the problem early, preventing more costly repairs or water waste down the line.
10 Methods How to Replace Tub Faucet Diverter
1. Identify the Type of Diverter You Have
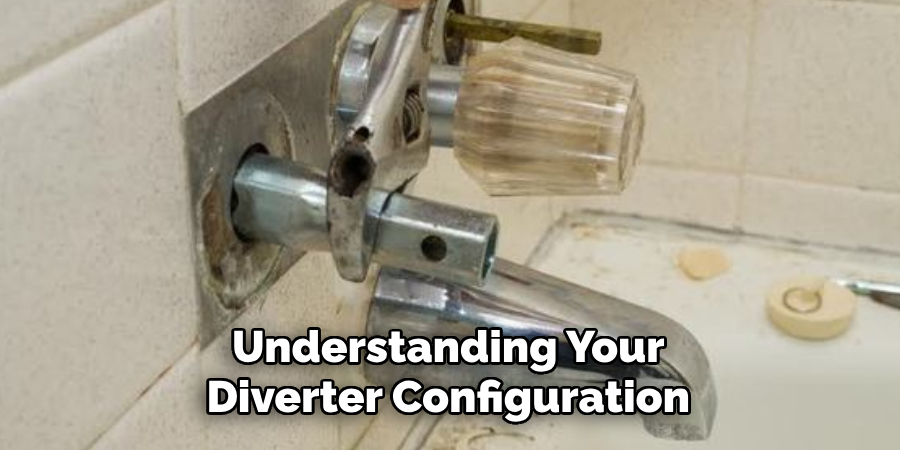
Before you can begin the replacement process, it’s essential to determine the type of diverter you’re working with. Diverters come in several styles: a pull-up knob located on the tub spout, a separate third handle between hot and cold water valves, or an in-line valve within a single-handle faucet. Some modern systems even use push-button mechanisms. Take a close look at your setup to recognize the diverter type, as the replacement technique and parts required vary significantly. Understanding your diverter configuration helps you purchase the correct replacement parts and prevents mid-job frustration.
2. Shut Off the Water Supply
Once you know what you’re working with, safety and cleanliness should be your next priority. Begin by shutting off the water supply to the bathroom. While many tub setups don’t have a local shutoff valve, you can close the home’s main water supply to prevent flooding. Open the tub faucet and shower valve to drain any remaining water and relieve pressure. Having a dry workspace not only keeps the area clean but also reduces the risk of water damage while working on the plumbing system.
3. Remove the Existing Tub Spout or Diverter Handle
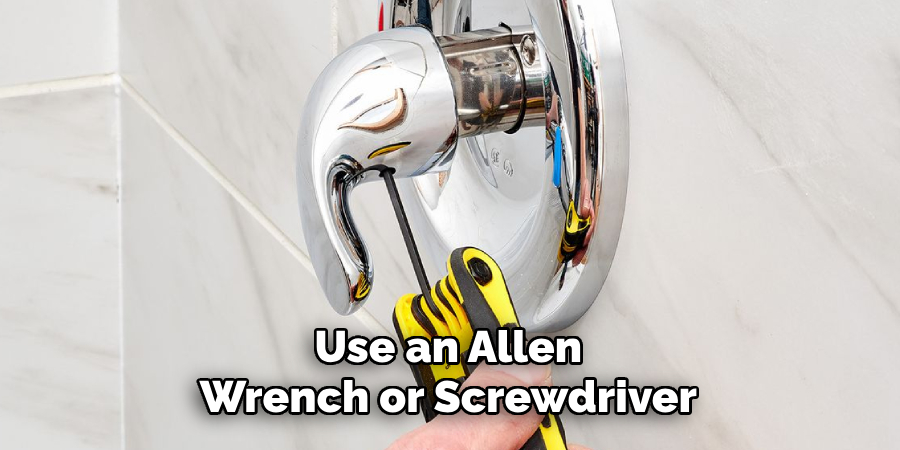
With the water safely off, remove the existing tub spout or diverter handle. For spout diverters, check for a small set screw—often located underneath the spout near the wall. Use an Allen wrench or screwdriver to loosen this screw, then gently pull the spout straight out from the wall. If the spout is threaded, turn it counterclockwise to unscrew it. For three-valve diverters, remove the handle by prying off the decorative cap and unscrewing the mounting screw beneath. Gently wiggle the handle off the stem, taking care not to damage surrounding tiles.
4. Inspect the Plumbing Connection
Once the diverter is removed, inspect the plumbing connection for wear, corrosion, or thread damage. For slip-on spouts, check the copper pipe for debris or burrs. For threaded fittings, look for worn or stripped threads. If corrosion or buildup is present, clean the area with a wire brush or use vinegar and a cloth to dissolve mineral deposits. This ensures a secure, leak-free fit when the new diverter is installed. It’s also a good idea to measure the pipe’s diameter and length, so you’re confident the new spout or diverter fits properly.
5. Purchase the Correct Replacement Part
Armed with accurate measurements and knowledge of the diverter type, you can now confidently purchase a replacement. Bring the old part with you to the hardware store if possible for easy matching. Whether you’re replacing a tub spout diverter or a valve stem, make sure the new component is compatible with your plumbing setup and materials. Look for high-quality metal or brass fittings over plastic versions for long-term durability. While you’re at it, pick up plumber’s tape (Teflon tape) and possibly silicone caulk to ensure a watertight finish.
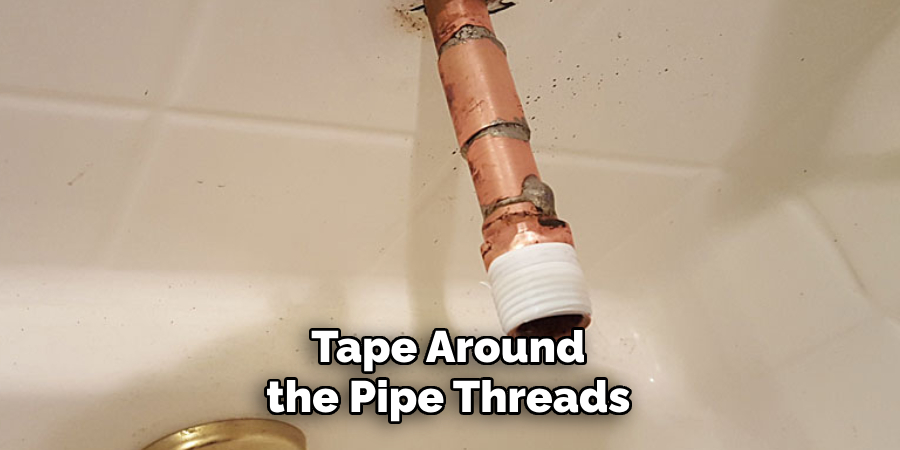
6. Apply Plumber’s Tape or Sealant Where Needed
Before installing the new diverter, prepare the connection by wrapping plumber’s tape around the pipe threads (if applicable). Wrap the tape clockwise to match the direction of installation, applying two or three layers to create a secure seal. This step is crucial to prevent leaks at the threaded joint. For slip-on spouts, ensure the O-ring inside the spout is seated correctly and the set screw aligns with the groove on the copper pipe. For diverter handles, apply silicone grease to the valve stem to ensure smooth movement and prevent corrosion over time.
7. Install the New Diverter Assembly
Now it’s time to install the new diverter. If you’re replacing a spout diverter, slide it onto the pipe (for slip-on) or screw it into place (for threaded types). Tighten securely by hand and use a wrench only if necessary—avoid over-tightening to prevent damaging the pipe. If you’re working on a three-valve diverter, align the new stem into the valve body and tighten it with a wrench, taking care to not overtighten. Reattach the handle with the mounting screw and snap the decorative cap back into place. Ensure the new part sits flush with the wall or tile for a clean look.
8. Test the Diverter for Functionality
With the new diverter installed, turn the water supply back on and slowly run water through the tub faucet. Engage the diverter mechanism to redirect water to the showerhead. Observe whether water switches smoothly between the tub and shower and check for any leaks around the connections. If you notice dripping, you may need to reapply plumber’s tape or tighten the connection slightly. Confirm that the diverter handle or pull-up knob operates easily and doesn’t stick, indicating that it’s been properly lubricated and aligned.
9. Seal the Edges with Caulk for a Waterproof Finish
Once everything is functioning properly, apply silicone caulk around the base of the tub spout or diverter plate where it meets the wall. This prevents water from seeping behind the wall, which could cause mold or damage over time. Use a caulking gun and apply a smooth bead of sealant, then shape it with a damp finger or caulk tool for a neat finish. Allow the caulk to cure according to the manufacturer’s instructions before using the shower to ensure long-lasting waterproof protection.
10. Maintain Regularly to Prevent Future Issues
To extend the life of your new diverter, perform periodic maintenance by cleaning mineral deposits from the faucet and checking the mechanism for stiffness or leaks. If your water is hard, consider installing a water softener to reduce buildup. Occasionally applying silicone grease to moving parts will keep them functioning smoothly. Early attention to dripping or malfunctioning diverters can prevent costly water damage and plumbing repairs down the road.

Conclusion
Replacing a tub faucet diverter may seem intimidating at first, but with a methodical approach, the right tools, and a little patience, it can be a manageable DIY project that restores the functionality and comfort of your bathroom. Whether you’re dealing with a faulty pull-up spout or a worn-out valve stem, each step in the process—from identification to installation—builds your confidence as a capable home repairer. Equipped with these ten detailed methods, you’re now ready to take on the task and enjoy a fully functional tub and shower system.

