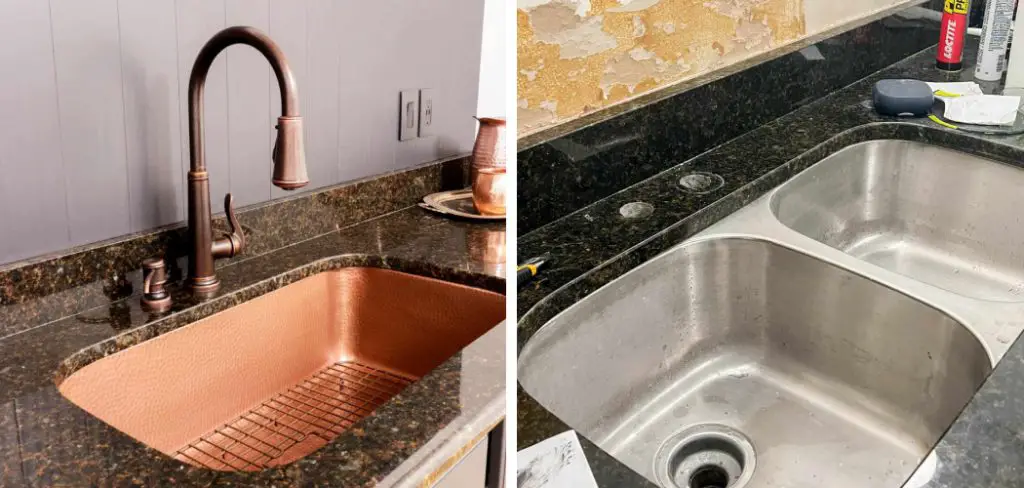
Are you looking for a way to replace your undermount sink without the hassle of taking out the entire countertop? If so, this article has everything that you need to know! With just a few steps and some basic plumbing tools, you will be able to successfully get rid of an old undermount sink and install a new one.

Whether it’s due to damage or simply needing an upgrade, replacing an undermount sink can feel like a daunting task. But don’t worry, with the method outlined in this article; it doesn’t have to be hard at all! Read on for our step-by-step guide on How to Replace Undermount Sink Without Removing Countertop.
Undermount sinks add a sleek, modern look to any kitchen countertop. However, replacing an undermount sink can be tricky since you typically have to detach the countertop from the wall in order to do so.
If you’re looking for an easier solution that doesn’t require this kind of work, then read on—we’ve got all the steps you’ll need to know in order to replace your undermount sink without removing your countertops!
Why Should You Replace Undermount Sink Without Removing Countertop?
There are many reasons why you should replace an undermount sink without removing the countertop. Such as:
1. To Save Time and Money
One of the main reasons to replace an undermount sink without removing the countertop is that it will save you both time and money. Removing a countertop can be expensive, as well as time-consuming. By simply replacing the sink itself, you’ll avoid having to go through such a lengthy process.
2. To Avoid Damage
By replacing an undermount sink without removing the countertop, you’ll greatly reduce the chances of damaging your countertop. Removing a countertop can be tricky, and if not done correctly, it can easily cause damage to your countertop as well as your sink.
3. To Enhance Your Home
Replacing an undermount sink without removing the countertop can give your home a fresh, updated look. Replacing your existing sink with a new one that is stylish and modern will instantly add value to your home.
No matter what reason you have for wanting to replace an undermount sink without removing the countertop, it’s important to make sure you do so safely and correctly.
Make sure to read the installation instructions carefully and consult with a professional plumber if you have any questions or concerns. Taking the proper steps to replace an undermount sink without removing the countertop can help ensure that you get the job done right the first time.
How to Replace Undermount Sink Without Removing Countertop in 5 Easy Steps
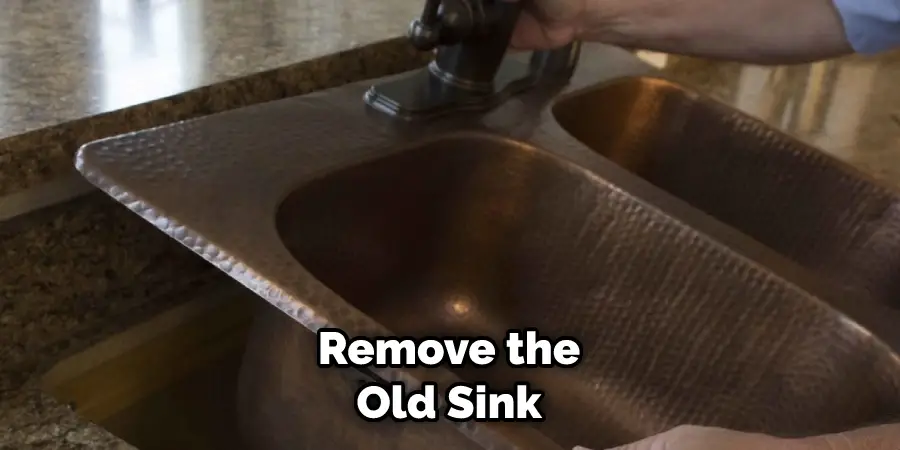
Step 1: Remove the Old Sink

The very first step is to remove the old sink. Disconnect the plumbing, unscrew any fasteners that are holding it in place, and then gently lift it out of the countertop. But you have to make sure to take extra precautions when doing this as most under-mount sinks are made of glass or other fragile materials.
Step 2: Prepare the New Sink
Once you have the old sink removed, you will need to prepare the new one. Start by getting all your supplies ready and make sure that everything is properly fitted before placing it into the countertop.
Step 3: Place the Sink in Position
When you are ready to place it on the countertop, you should use a putty knife or another thin tool to spread some caulking around the rim of the sink. This will help to make sure that it is sealed and secure when placed on the countertop.
Step 4: Secure the Sink
The next step is to secure the sink in place. Use a drill to attach some screws into the underside of the countertop, and make sure that they are tight and secure. You may also need to use some additional caulking around the edges of the sink where it meets the countertop.
Step 5: Clean and Test

Once you have secured the sink to the countertop, it is time to do a final check and make sure that everything is properly sealed. Use a damp cloth or sponge to clean up any excess caulking and then turn on the faucet to make sure that there are no leaks. If all looks good, you can now enjoy it!
Some Additional Tips to Replace Undermount Sink Without Removing Countertop
1. Do Not Remove the Old Sink
When replacing an undermount sink without removing the countertop, do not remove the old sink. This is because the old sink may be necessary to install a new one in its place. Ensure that all of the caulk and sealants are removed from around the edges of the old sink before beginning installation on a new one.
2. Remove the Drains and Faucets
Before beginning the installation of a new sink, remove the drains and faucets from the old one to make room for installing a new sink in its place without damaging existing fixtures or plumbing lines.
3. Cut Holes for New Sink
Using a jigsaw and a sharp blade, carefully cut the holes for installing the new sink. Ensure that each hole is only slightly larger than the outward edge of the new sink to ensure proper installation. Also, ensure that these cuts are properly sealed with caulk to prevent water from seeping into the joint.
4. Install the New Sink

Use a putty knife to spread a thin layer of caulk around the edges of the new sink before sliding it into position. Make sure that all areas are securely caulked and left undisturbed for a few hours to allow the caulk to set. Once this is done, attach the drain and faucet components with washers and screws as needed.
5. Test the Installation
Finally, test the installation of your new under-mount sink by running water through it and making sure that everything is working properly and there are no leaks.
Make sure to also check the caulk around the edges and recaulk any areas that may be loose. With these steps, you should be able to replace an undermount sink without removing the countertop.
With these tips and a bit of patience, you can replace your undermount sink without having to remove the countertop. Good luck!
Frequently Asked Questions
What Precautions Should I Take Before Replacing an Undermount Sink?
Before replacing your undermount sink, it’s important to take certain precautions. Make sure the countertop is properly supported and that the new sink will fit correctly without interfering with existing plumbing. Also make sure you have all the necessary tools and materials on hand before beginning the project.
Can I Replace an Undermount Sink Without Removing the Countertop?
Yes, it is possible to replace an undermount sink without removing the countertop. You will need to disconnect and remove the existing sink along with any associated plumbing lines. Once this is done, you can install the new sink in its place, making sure everything is connected properly.
What Tools and Materials Do I Need?
Tools you may need for this project include a drill, screwdriver, pliers, and adjustable wrench. You will also need silicone caulk, a bucket to catch excess water when disconnecting the sink, and new plumbing supplies such as flexible hoses or supply lines.

What Are the Steps for Replacing an Undermount Sink Without Removing the Countertop?
The steps for replacing an undermount sink without removing the countertop include:
Disconnect and remove the old sink, along with any associated plumbing lines. Make sure to catch excess water in a bucket before disconnecting the sink.
Clean the countertop surface where the new sink will go, then apply silicone caulk to both the bottom of the sink and top of the countertop. Make sure all the necessary plumbing supplies are present and properly connected. Once everything is in place, position the new sink over the countertop and secure with screws.
How Much Time Does Replacing an Undermount Sink Take?
The amount of time required to replace an undermount sink varies depending on the complexity of the installation. Factors such as the materials being used, as well as any unexpected complications that arise during the process, can affect how long it will take. Generally speaking, replacing an undermount sink should take no more than a couple of hours.
How Often Should I Replace My Undermount Sink?

Replacing your undermount sink should not be necessary unless there is damage or deterioration to the sink or countertop. If you are looking for an upgrade, however, it’s best to wait until you can safely remove the countertop before replacing the sink. This will ensure you get better fit and longer-lasting results.
Do I Need Professional Assistance to Replace an Undermount Sink?
It’s not necessary to hire a professional for this job, but it may be helpful if you’re unfamiliar with plumbing and have never replaced an undermount sink before. A professional can help you get the job done correctly and safely while also providing helpful advice on how to replace an undermount sink in the future.
Overall, replacing an undermount sink without removing the countertop is possible, but it’s important to take all necessary precautions beforehand. Make sure you have all the tools and materials you need, and understand the process before beginning.
With the right preparations, you should have no problem replacing your undermount sink without removing the countertop.
Conclusion
Replacing an undermount sink without removing the countertop is a great DIY project, and with the right tools and knowledge can be accomplished in no time. However, it is important to remember that without proper care, your newly installed sink may not last as long as you’d hope it or any damage caused by not following these steps could put you out of pocket.
If there are any doubts at all in your mind about this task, it is always best to consult a professional before beginning. It pays to make sure the job is done correctly!
With the correct guidance on how to replace undermount sink without removing countertop and preparation, replacing an undermount sink without taking off the countertop can be a simple task for anyone. So now you have the skills and tips that you need to attack this project with confidence—let’s get started!

