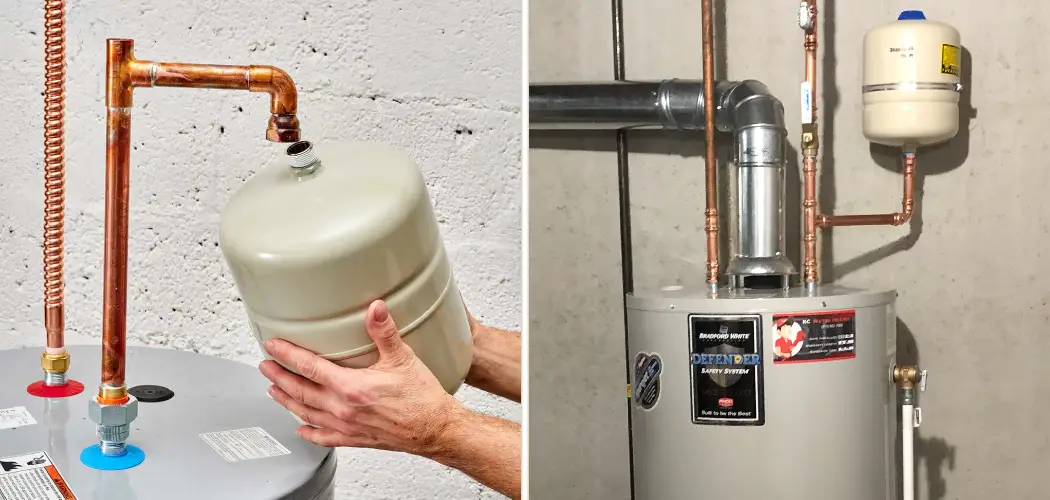
If you’ve been experiencing issues with your water heater and suspect the problem stems from an old, faulty expansion tank, replacing it may be the ideal solution. Expansion tanks are designed to protect a water heater from potential damage due to excess pressure buildup; however, if yours isn’t working correctly or is several years old, swapping out your existing unit for a newer one could restore far more peace of mind!
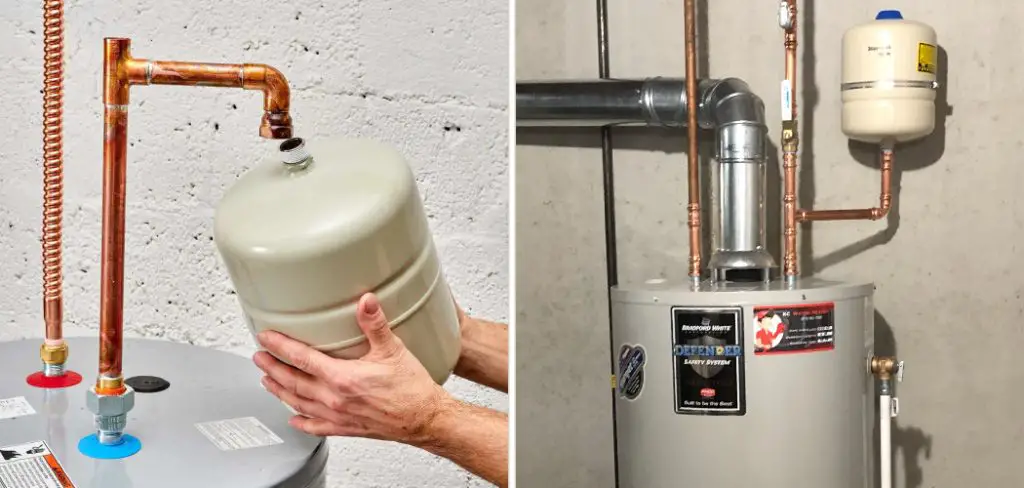
In this article, we’ll discuss everything you need to know about how to replace water heater expansion tanks safely and accurately — plus provide some helpful insight into troubleshooting and maintenance tips that can save you time (and money!) in the long run.
What Tools and Supplies Will You Need to Replace Water Heater, Expansion Tank?
Before beginning the process of replacing your water heater expansion tank, you must ensure you have all the essential tools and supplies. These should include:
- Replacement Water Heater Expansion Tank
- Adjustable Wrench or Pipe Wrench
- Level or Plumb Bob
- Teflon Tape
- Pipe Cleaner or Steel Wool
- Screwdrivers (Phillips and Flathead)
Step-by-Step Guideline About How to Replace Water Heater Expansion Tank
Step 1: Shut Off the Gas or Electricity to Your Water Heater
Most water heaters have both an electrical and a gas shut-off switch, which should be used to fully disconnect the unit from its power source before any work is done. Failing to do so could result in serious injuries or even death due to electricity or gas leaks.
Step 2: Drain the Water From Your Water Heater
Next, you will need to drain the water from your existing water heater tank by connecting a garden hose to the drain valve at the unit’s bottom. Once the tank has been drained, you can begin removing the old expansion tank.
Step 3: Disconnect Your Old Expansion Tank
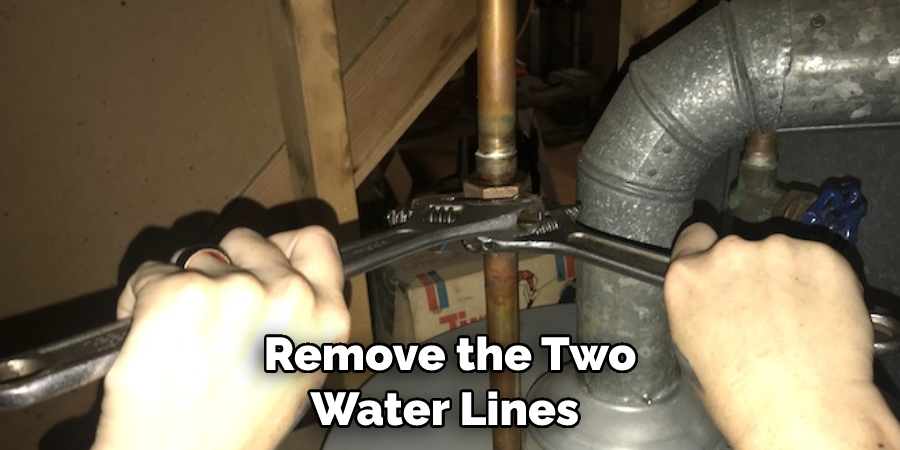
Loosen and remove the two water lines connected to the existing expansion tank using either a pipe or an adjustable wrench. Once these have been disconnected, you will be able to remove the tank from its mounting bracket.
Step 4: Mount Your New Expansion Tank
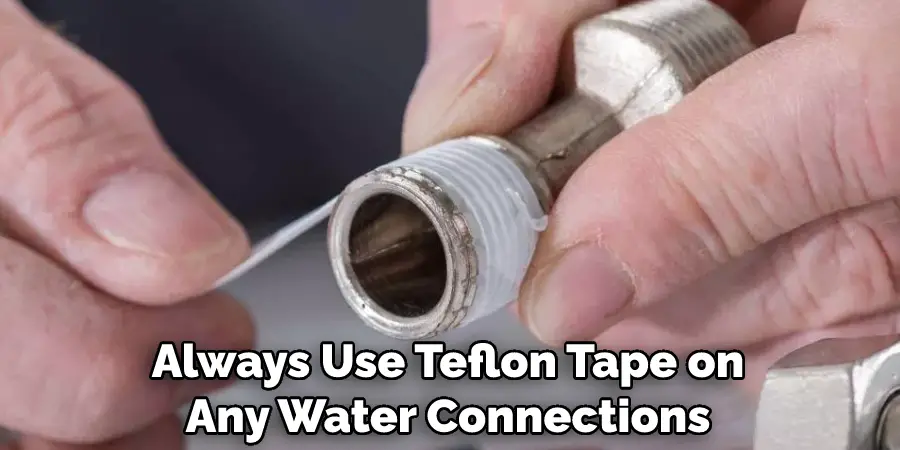
Using a level or plumb bob, align your new expansion tank in the same location as the old unit was mounted and secure it to the bracket using screws. Re-connect both hot and cold water lines to the new tank using Teflon tape for each connection.
Step 5: Check for Leaks
Once the new expansion tank has been connected and mounted, turn on your water heater’s power source and check for any leaks around the connections. If there are no visible signs of leaking, you can proceed to the next step.
Step 6: Refill Your Water Heater Tank
Finally, refill the water heater tank by turning on hot and cold water valves and allowing them to fill until pressure reaches the manufacturer’s recommended level. Once this has been completed, you have successfully replaced your water heater expansion tank!
Troubleshooting Tips for Water Heater Expansion Tanks
When it comes to troubleshooting issues with water heater expansion tanks, some of the most common problems can be avoided by following these simple tips and tricks!
1. Make sure that your new expansion tank is properly sized for your particular water heater. If it’s too small or too large, it won’t work properly and could cause pressure buildup in the tank.
2. Always use Teflon tape on any water connections to ensure a secure, leak-proof seal.
3. Make sure that you clean the existing mounting bracket of all debris with either a pipe cleaner or steel wool before attaching your new expansion tank. This will help prevent corrosion and prolong the life of your tank.
4. When filling your water heater tank after installation, do so slowly to avoid shocking the system with a sudden influx of pressure.
By following these simple tips and guidelines, you can easily replace your water heater expansion tank safely and accurately — plus provide some helpful insight into troubleshooting and maintenance!
Good luck and happy repairing!
How Can You Install a Water Heater Expansion Tank?
Installing a water heater expansion tank is an easy and cost-effective way to keep your water heater running in peak condition. It serves as a pressure reducer, protecting your home’s water heater and other fixtures by balancing the hot and cold water pressures. While it varies depending on your specific model of expansion tank, installation typically requires little more than connecting it to the hot and cold sides of the water heater using appropriate fittings.
In addition, you’ll need to connect the tank to an air supply pipe, which may require you to drill a small hole in a sink or cabinet base. Once in place, you can adjust the tank’s pre-charge as needed; be sure to refer to your product manual for specific instructions depending on your setup. Following these steps will help ensure that your water heater expansion tank functions safely for years to come.
Frequently Asked Questions
How Much Money I Need to Replace Water Heater Expansion Tank?
The cost of a replacement water heater expansion tank can vary significantly depending on the size and type you select. Generally speaking, you should budget anywhere from $50 to over $200 for a quality model. Be sure to factor in installation costs as well, which can range anywhere from $150 to over $500, depending on the complexity of your setup.
What Size Expansion Tank Do I Need?
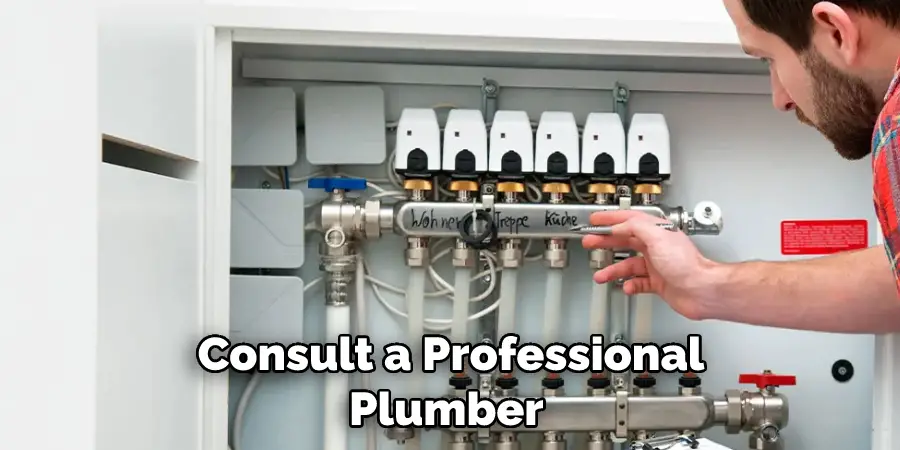
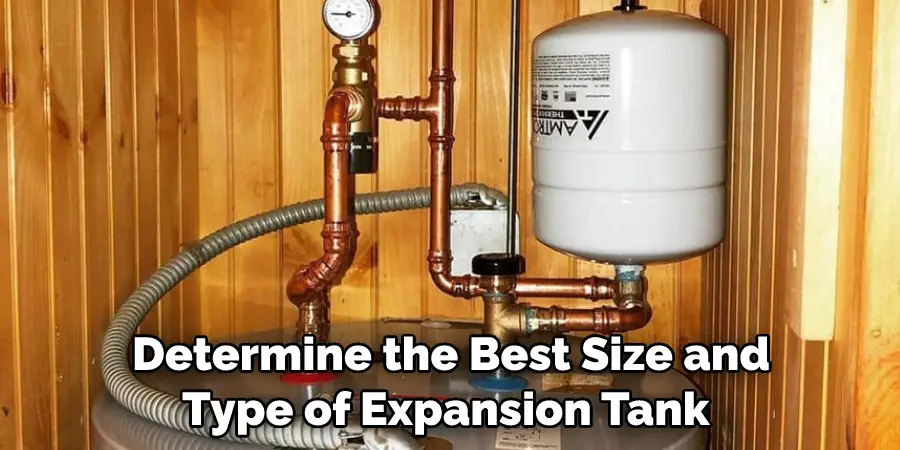
The size of the expansion tank you need will depend on the capacity of your water heater and the pressure rating of your plumbing system. Generally speaking, a larger expansion tank is better as it can handle more pressure and provide greater protection for your home’s water heater and other fixtures. To determine the optimal size for your setup, consult a professional plumber or experienced technician.
Do I Need to Replace My Expansion Tank Regularly?
No, expansion tanks typically last many years without needing to be replaced. However, if you notice any leaks or malfunctioning of the tank, it’s important to get it inspected and address any issues right away. Keeping an eye on the tank’s pre-charge and pressure readings can help you spot potential problems before they become too expensive to repair.
Can I Replace My Expansion Tank by Myself?
Yes, you can absolutely replace your expansion tank on your own. However, if you’re not an experienced professional, it’s important to take necessary safety precautions and make sure that you understand the installation instructions for your specific model of the expansion tank. If in doubt, always ask a trusted professional for advice or assistance.
How Can I Maintain My Expansion Tank?
Regular maintenance is essential to keep your expansion tank in working order. This includes regularly checking the tank’s pre-charge, pressure readings, and water levels. In addition, it’s important to ensure there are no leaks in the fittings or hoses connected to the tank and to check for any signs of corrosion or damage. If any problems are detected, be sure to address them as soon as possible to ensure the safety and efficiency of your water heater.
Do I Need a Professional to Replace Water Heater Expansion Tank?
You don’t necessarily need a professional to replace your expansion tank, but it can save you time and money in the long run. A qualified plumber or technician will be able to inspect your setup, determine the best size and type of expansion tank for your home, and ensure that it is properly installed. In addition, they can provide essential maintenance advice and answer any questions you may have about keeping your water heater running safely and efficiently.
Conclusion
Replacing a water heater expansion tank is an easy enough task. After gathering the right tools and materials, following instructions, and obtaining permit approval if necessary, installation should take no more than a few hours.
Now your plumbing system should accommodate additional pressure that’s created when hot water is heated. You may consider adding an expansion tank to prevent additional damage, especially depending on the age of your home and plumbing pipes.
Of course, it’s always best to research your local codes or consult with a plumbing professional before beginning any project; however, our step-by-step guide provides a general outlook on how to replace water heater expansion tank safely and effectively.
Hopefully, this article has helped guide you through replacing a water heater expansion tank. Remember that if you’re ever in doubt, it’s always best to consult with a qualified professional so that you can ensure your home is safe and efficient for years to come. Good luck!

